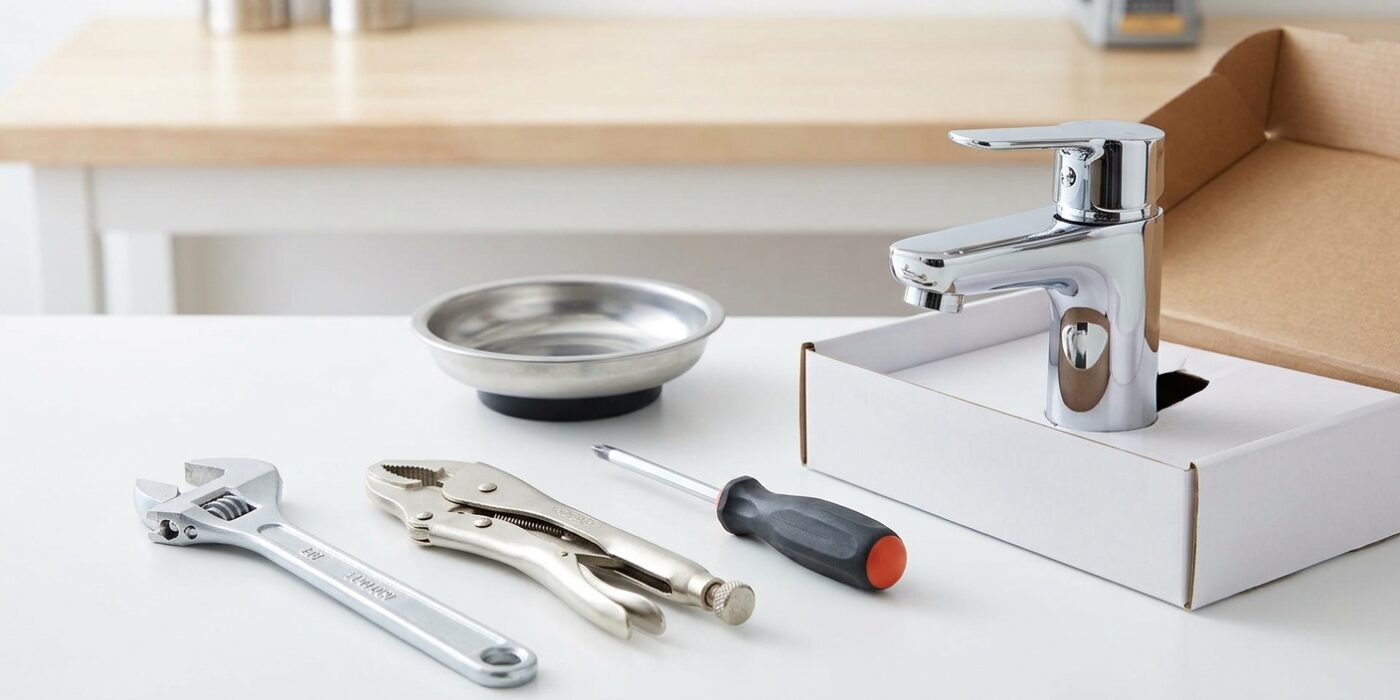
Project Shopping List
Replacing a bathroom faucet – a sink faucet in the vanity – is very similar to a kitchen faucet replacement but typically easier because the work area is slightly more accessible and bathroom faucets are lighter. The process is also a good introduction to under-sink plumbing for anyone tackling their first faucet job. Budget 1.5–2 hours for your first replacement.
This guide covers single-hole and widespread (three-hole) bathroom faucet installation on a standard vanity with an open cabinet below, including the often-tricky drain assembly connection.
What You’ll Need
Tools
- Basin wrench
- Adjustable wrench and channel-lock pliers
- Bucket and towels
- Putty knife
- Flashlight
- Needle-nose pliers
Materials
- Replacement bathroom faucet (single-hole or widespread, matching your sink holes)
- New flexible supply lines – 3/8 inch x 1/2 inch, 12 inch length
- Plumber’s putty or silicone (per faucet manufacturer’s recommendation)
- Teflon tape
Step 1: Know Your Sink Configuration
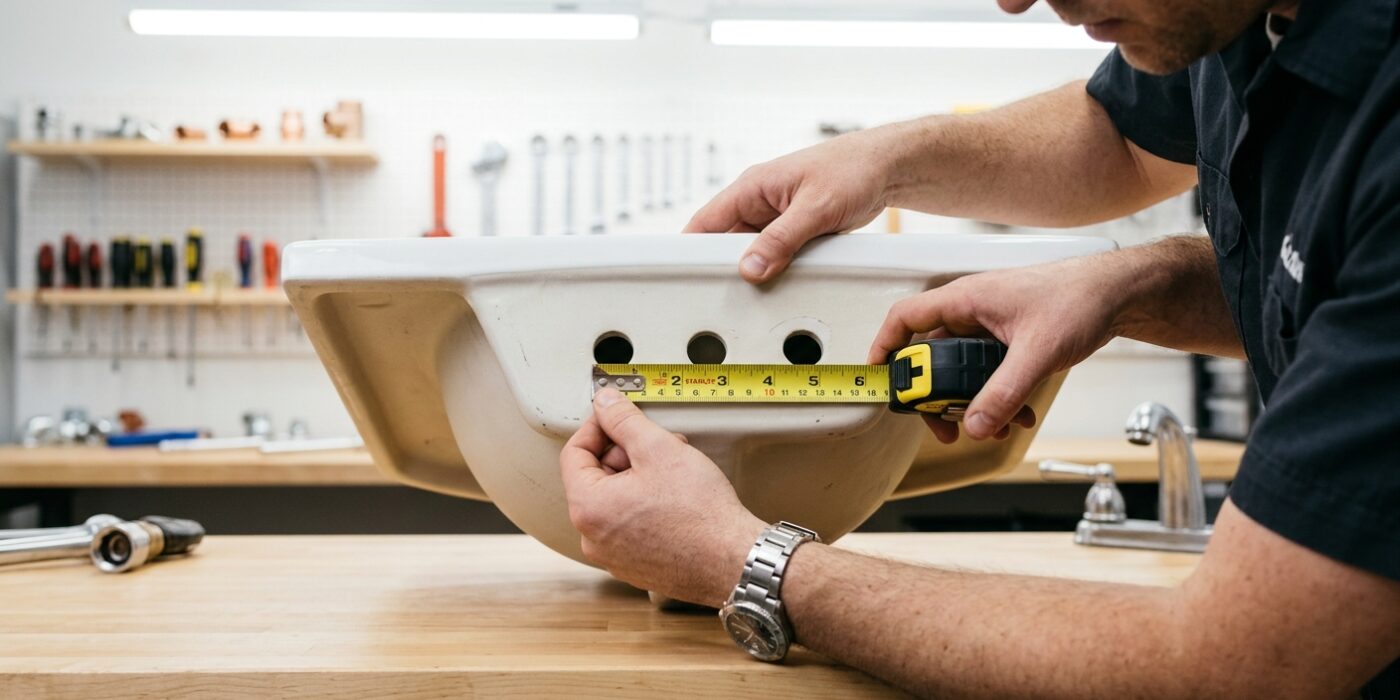
Before you purchase a shiny new faucet, you need to identify your current sink’s configuration to ensure the new hardware will fit perfectly. Most bathroom sinks feature pre-drilled holes in the porcelain. You need to measure the distance between the centers of the two outer holes. A single-hole sink has one opening. A centerset sink features three holes with exactly 4 inches between the two outer ones, and the faucet body is one single piece. A widespread configuration also has three holes, but they are spaced 8 inches apart, and the handles and spout are three distinct pieces connected by flexible supply lines beneath the basin.
Why does this matter? If you buy the wrong type, the faucet simply won’t cover the holes correctly or line up with your existing plumbing, leading to leaks or a wobbly install. Always measure twice before heading to the store.
Beginner Tip: Avoid the mistake of measuring from the outside edge of the holes. Always measure from the dead center of the left hole to the dead center of the right hole to get an accurate reading.
Pro Tip: If you are struggling to see the holes clearly due to grime or hard water buildup, take a clear photo of the top of your sink and the underside of the cabinet with your phone. Show the photo to a store associate; they can usually identify your configuration instantly and save you a return trip.
Step 2: Remove the Old Faucet and Pop-Up Drain Assembly
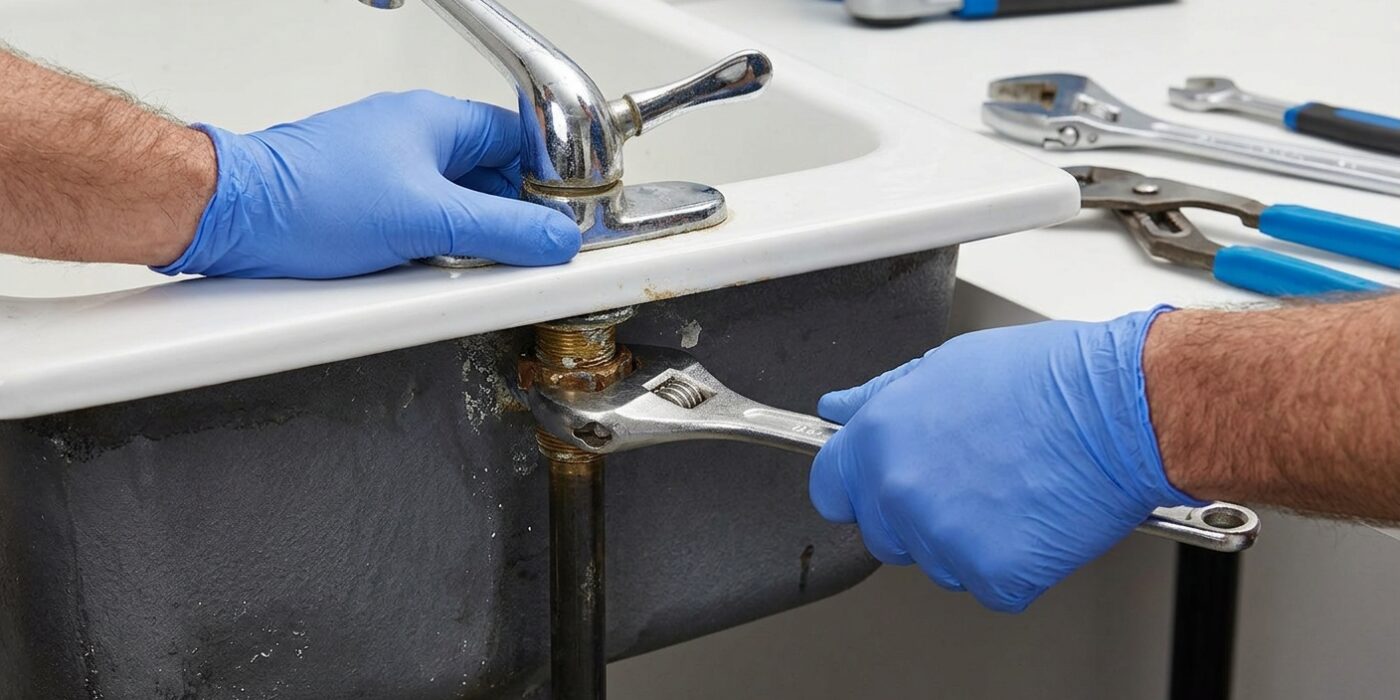
Now that the water is off and the lines are empty, it is time to remove the old hardware. Start by disconnecting the two flexible water supply lines from the wall valves using an adjustable wrench. Place a small bowl or towel underneath to catch the few ounces of water left in the lines. Next, locate the lift rod assembly behind the faucet. You will see a small metal clip connecting the vertical lift rod to the horizontal pivot rod; simply squeeze this clip to release it, then pull the rod free.
Reach underneath the sink to find the large mounting nuts holding the faucet base to the countertop. You will need to turn these counter-clockwise to loosen them. Once removed, you can lift the old faucet assembly straight up and away from the sink. Finally, to remove the drain assembly, unscrew the large plastic ring or metal nut located directly under the sink drain pipe. If the drain feels stuck, a gentle wiggle back and forth will help break the seal of the old plumber’s putty.
Beginner Tip: Working in a cramped vanity cabinet is challenging. Before you start, clear everything out from under the sink and lay down an old blanket or a piece of cardboard to protect your knees and catch any stray debris or water droplets.
Pro Tip: If the mounting nuts are rusted or stuck, do not force them. Spray a small amount of penetrating oil onto the threads and let it sit for ten minutes. This will lubricate the metal, allowing the nut to spin off smoothly without damaging the sink’s surface.
Step 3: Clean and Prep the Sink Surface
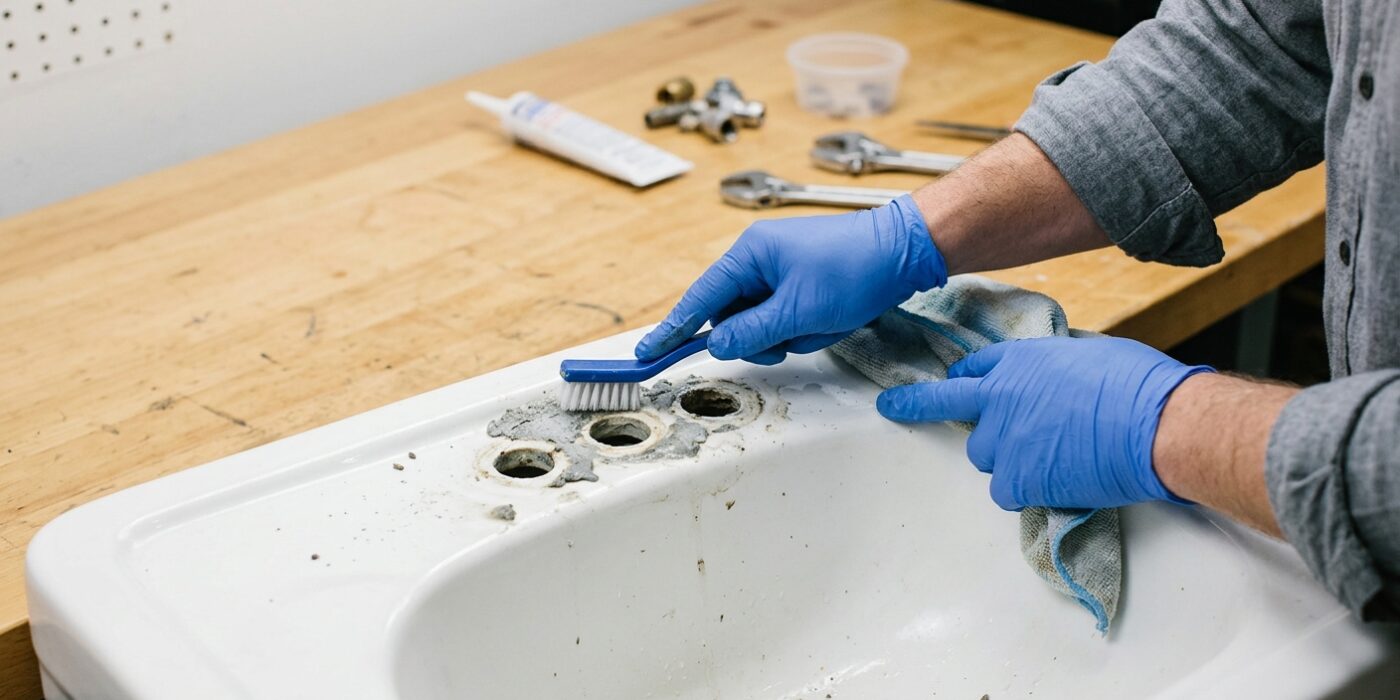
Now that your old faucet is gone, you will likely see old, hardened gunk or mineral deposits left behind on the sink deck. This surface must be perfectly smooth to ensure a watertight seal for your new fixture. Take your putty knife and gently scrape away any dried putty or silicone residue around the mounting holes. Hold the knife at a low 30-degree angle to avoid scratching the sink’s finish. Once the area is clear, wipe it thoroughly with a damp rag or a bit of rubbing alcohol to remove dust and oils.
If your new faucet includes a rubber gasket, skip the mess – simply place it directly over the holes. If your instructions call for plumber’s putty, take a golf-ball-sized amount and roll it between your palms to create a consistent 3/8-inch thick “rope.” Wrap this snake of putty around the underside of the faucet base, ensuring the ends overlap slightly. When you tighten the faucet later, this putty will squeeze out to create a perfect, leak-proof barrier.
Beginner Tip: Do not use silicone sealant if your new faucet instructions specify plumber’s putty. Silicone is permanent and incredibly difficult to remove later, whereas plumber’s putty remains pliable, making future repairs or replacements much easier for you down the road.
Pro Tip: To get a professional finish, place the faucet onto the sink and tighten the mounting nuts underneath until they are just snug. Wipe away the excess putty that squishes out around the base using a clean, dry cloth. If you drag a corner of a credit card along the edge of the base, you can create a perfectly clean, crisp line where the faucet meets the sink.
Step 4: Install the Faucet Body
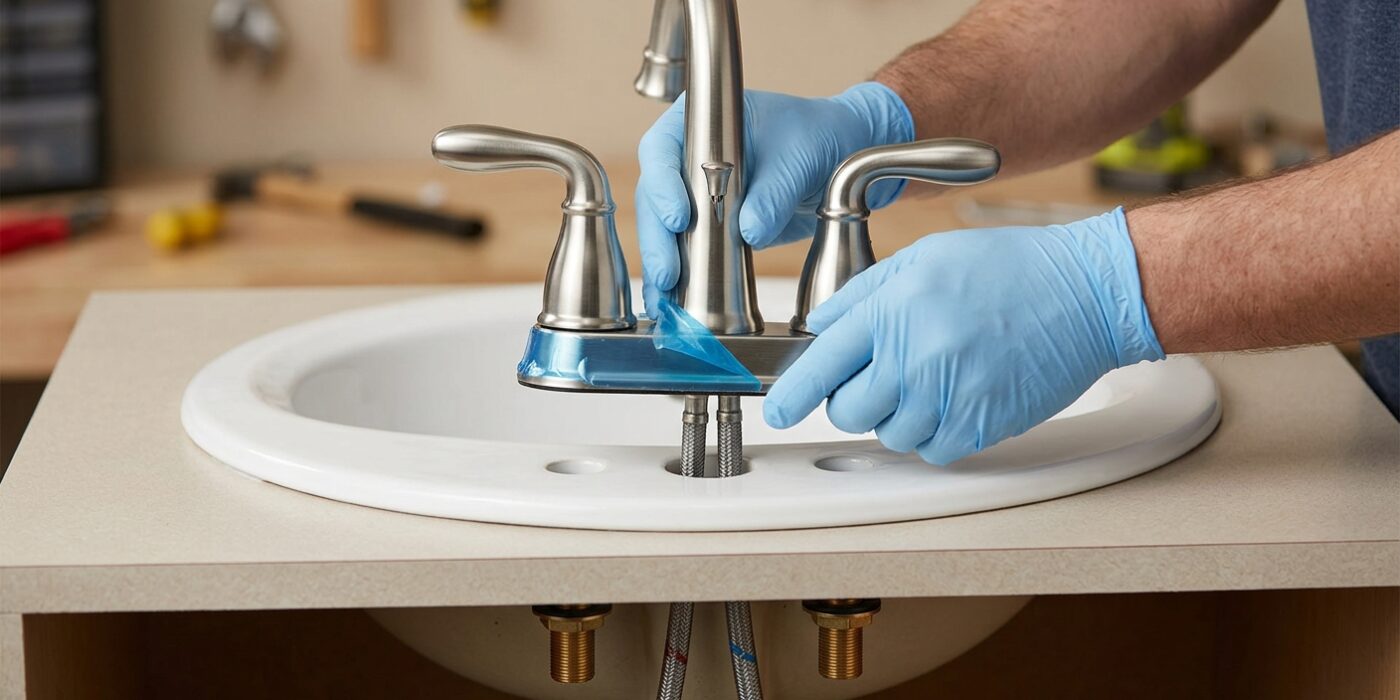
Now that your old faucet is gone and the area is clean, it is time to install your new fixture. If you have a single-hole or centerset faucet, gently feed the supply lines and the threaded mounting shank down through the opening in the sink. Once the base of the faucet is resting flat against the surface, head underneath the sink. You will need to slide the rubber gasket and the metal washer onto the shank, followed by the mounting nut. Twist the nut by hand until it is snug, then use a basin wrench to tighten it fully. Having a helper hold the faucet steady from above is vital here to ensure the spout stays perfectly centered while you tighten from below.
For widespread faucets, start by installing the center spout through the middle hole. Next, place the hot and cold valve bodies through the outer holes, securing them with the provided mounting hardware. Finally, connect the crossover hoses to link the valves to the center spout, ensuring all connections are hand-tightened to prevent leaks.
Beginner Tip: The most common mistake is overtightening the nuts. While you want the faucet to feel secure, cranking too hard with a wrench can crack your sink or damage the internal washers. Tighten until the faucet no longer wiggles, then stop.
Pro Tip: Before you secure the faucet permanently, place a thin bead of plumber’s putty or silicone sealant around the base of the faucet. This creates a watertight seal that prevents water from seeping into your cabinet through the holes in the sink deck.
Step 5: Install the New Drain Assembly
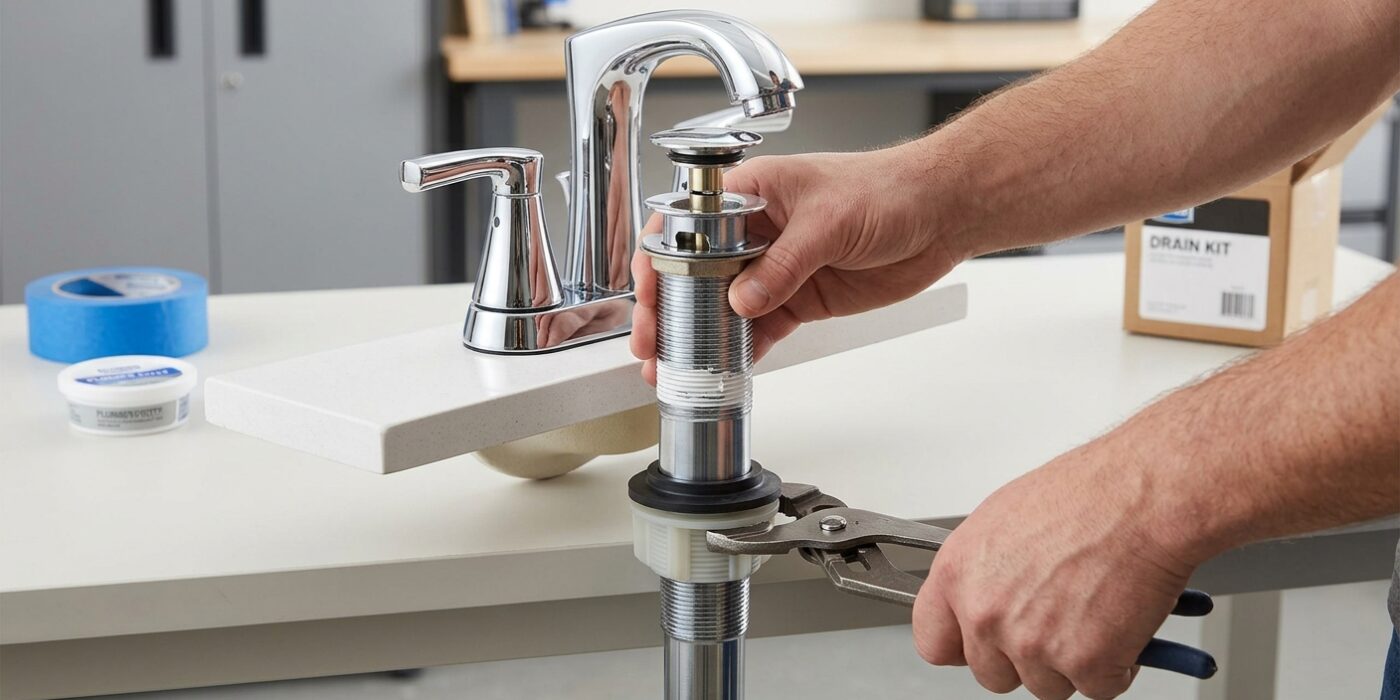
Now it is time to install your new drain. Start by taking a marble-sized piece of plumber’s putty, rolling it into a long, thin “snake,” and wrapping it around the underside of your new drain flange. Press this firmly into the sink’s drain hole from above; the putty acts as a watertight seal to prevent leaks under your sink.
Working underneath the basin, slide the rubber gasket and large mounting nut up the drain body. Tighten the nut until snug against the sink, then add one extra quarter-turn with a wrench. Next, insert the stopper into the drain. Reach underneath and thread the pivot rod through the stopper’s loop – you may need to wiggle it slightly to ensure it catches. Finally, connect the vertical lift rod from behind your faucet to the pivot rod using the provided metal strap. Adjust the clips so that pulling the knob up lifts the stopper high enough to drain water quickly, but seals it tight when pushed down.
Beginner Tip: A common mistake is overtightening the large nut under the sink. If you tighten it too much, you risk cracking the porcelain sink or damaging the plastic threads. Hand-tightening followed by a very gentle nudge with a wrench is almost always sufficient.
Pro Tip: If your sink basin is shaped in a way that makes it hard to see the pivot rod connection, hold your smartphone underneath and use the front-facing camera as a mirror. This gives you a clear view of the cramped space without needing to contort your neck.
Step 6: Connect Supply Lines and Restore Water
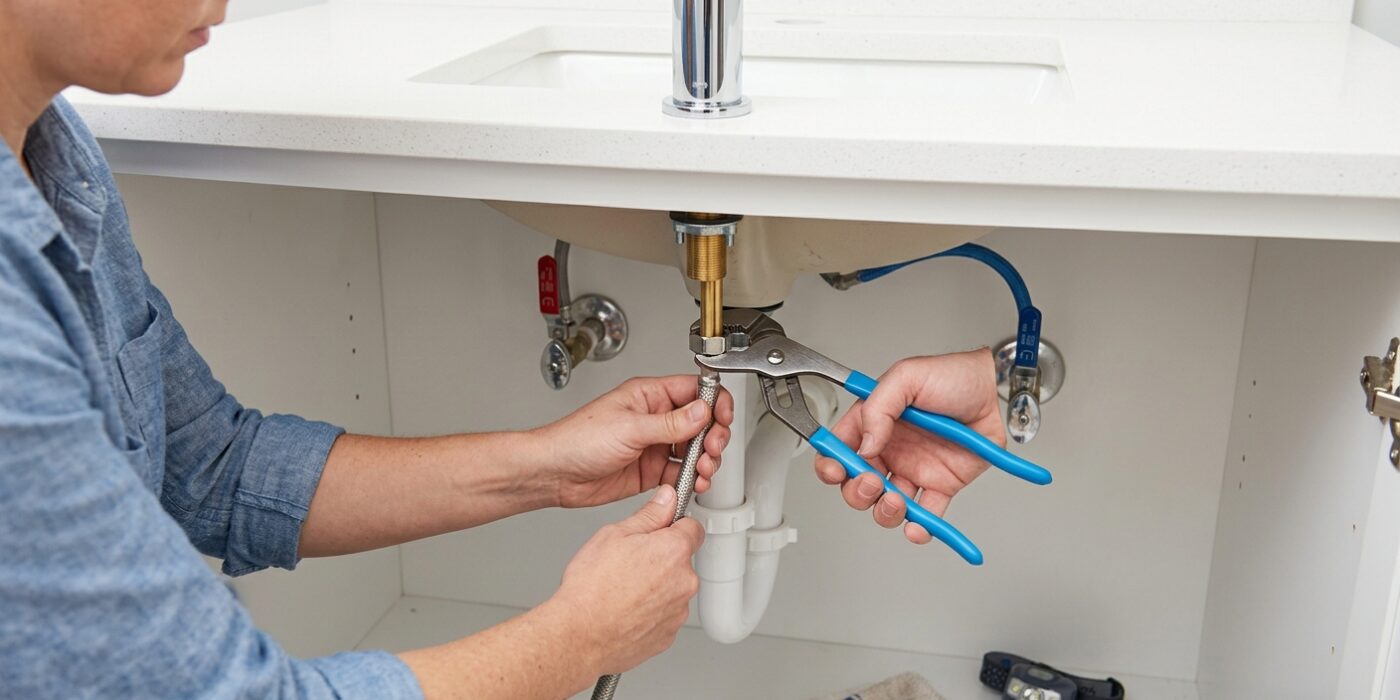
Now that your faucet is secured, it is time to connect the water. First, wrap a small amount of Teflon plumber’s tape clockwise around the threads of your shutoff valves – three rotations are plenty. This tape acts as a sealant to prevent tiny leaks. Screw your supply lines onto these valves by hand until they feel firm, then use a pair of pliers to give them a final “snug” turn – about a quarter turn more. Do not overtighten, as you could crack the plastic threads or damage the rubber gaskets inside.
Slowly turn the handles on your valves counter-clockwise to restore water flow. Watch the connections under the sink immediately for any beads of moisture. If you see a drip, simply tighten the connection slightly more with your pliers. Finally, run the hot and cold water to clear air from the lines, and cycle your drain stopper to ensure it operates smoothly. If it sticks, adjust the small metal clip on the back of the drain rod until the stopper opens and closes cleanly.
Beginner Tip: The biggest mistake beginners make is overtightening. If you crank the supply line nut with all your might, you may crush the internal rubber washer, which actually causes the very leak you are trying to prevent. Hand-tighten as much as possible, then use tools only for that final, gentle nudge.
Pro Tip: Keep a dry paper towel wrapped around each connection when you first turn the water back on. Any moisture will show up immediately as a dark spot on the paper, making it much easier to detect small leaks than by looking with your eyes alone.