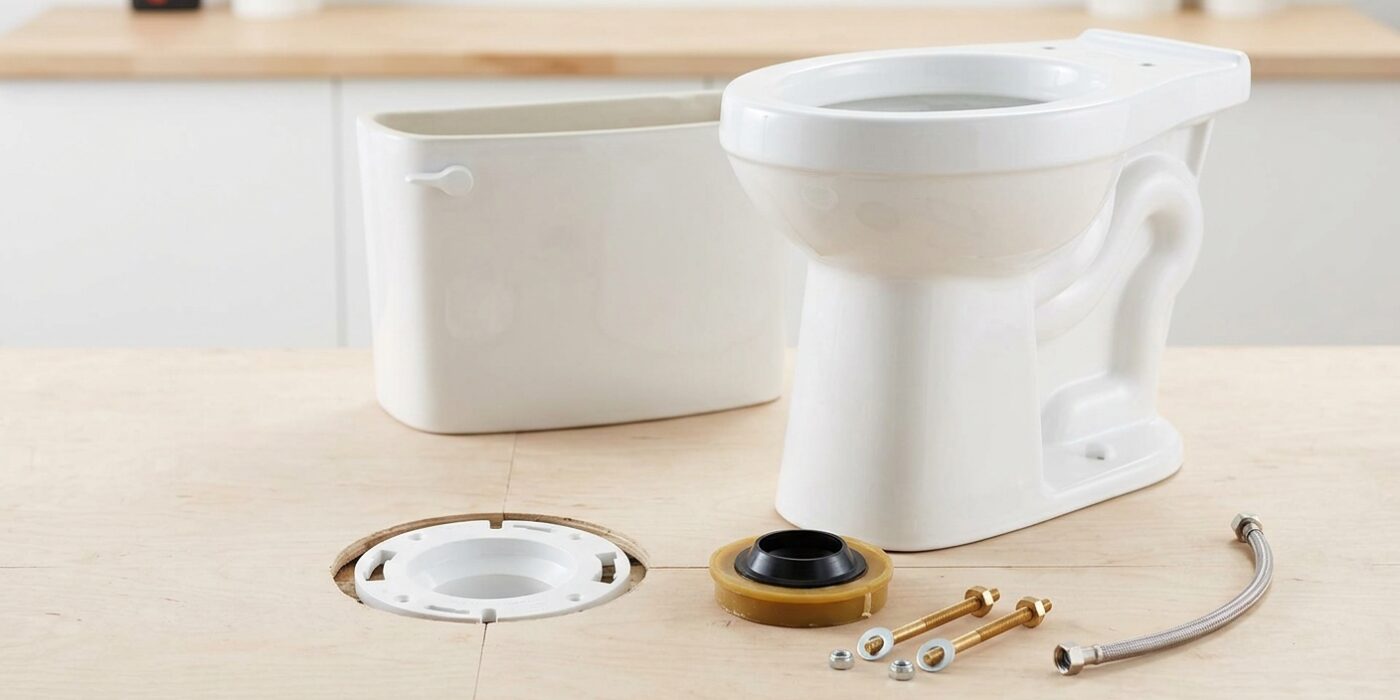
Project Shopping List
Installing a toilet from scratch – setting a new toilet on a prepared flange – is a project most intermediate DIYers can tackle confidently. It’s essentially the wax ring replacement process plus connecting the tank and supply, plus verifying the rough-in measurement matches the toilet you bought. Done right, a toilet installation lasts 20–30 years. Done wrong, the most common problem is a leak that develops slowly and rots the subfloor – this guide ensures you get it right.
This guide assumes the drain flange is already in the floor (as part of rough plumbing) and you have an electrical-free toilet (standard). Installing the water supply connection and setting the tank are covered as part of the process.
What You’ll Need
Tools
- Adjustable wrench and pliers
- Level
- Sponge and bucket
- Tape measure
- Hacksaw (for trimming closet bolts)
- Drill (if new supply stop valve needed)
Materials
- New toilet (bowl and tank – usually sold together)
- Wax ring with horn (for new installs where flange height may vary)
- Closet bolts (T-bolts)
- Toilet supply line – braided stainless, 12-inch
- Angle stop valve (if not already present)
- Toilet shims
- Silicone caulk
Step 1: Measure the Rough-In Distance
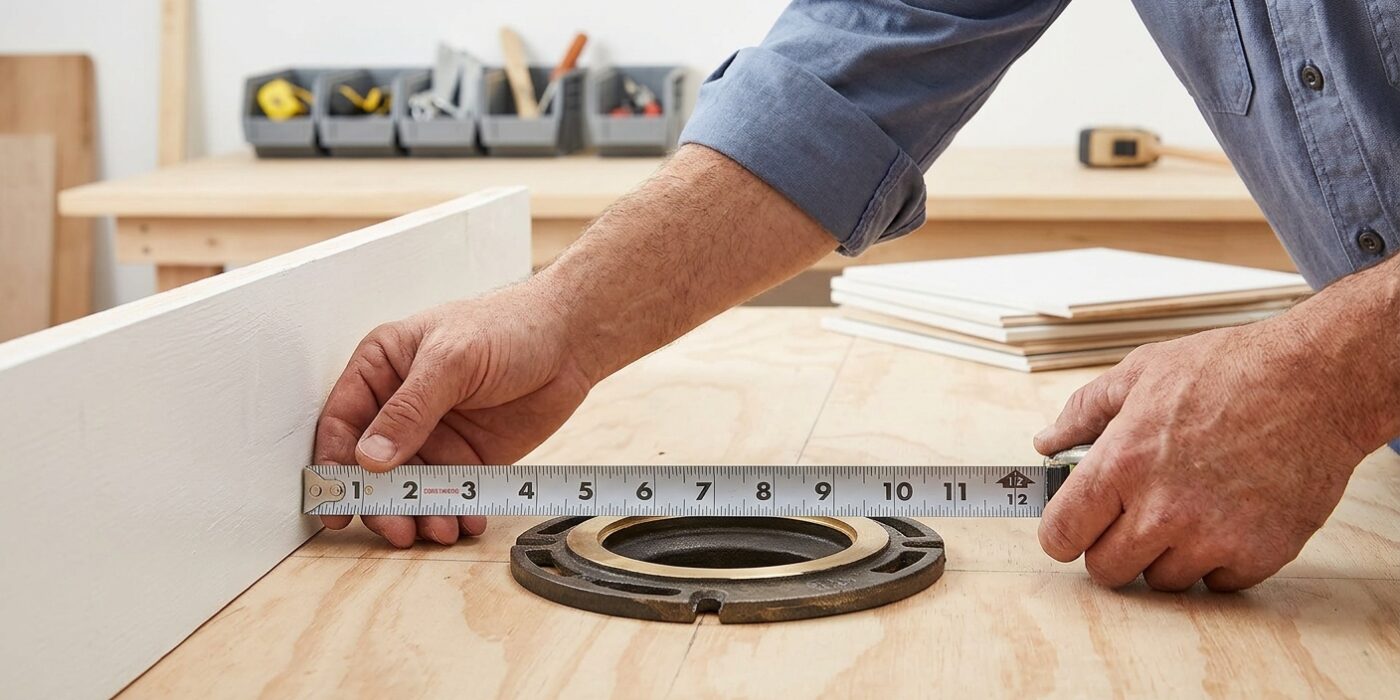
Before you buy your new toilet, you must measure the “rough-in” distance. This is simply the distance from the finished wall behind the toilet to the exact center of the drain pipe (the flange) in the floor. Most modern bathrooms use a 12-inch standard, but older homes frequently feature 10-inch or 14-inch rough-ins. Measuring this now is critical because if you purchase a standard 12-inch toilet for a 10-inch space, the tank will hit the wall before the bolts line up, making installation impossible.
To measure, take your tape measure and hook it against the finished wall – ensure you are measuring from the wall surface itself, not the baseboard trim. Extend the tape across the floor to the center of the large pipe visible in the floor flange. If the pipe is covered, find the two large bolts securing the flange to the floor and measure to the center point between them.
Beginner Tip: Many beginners make the mistake of including the baseboard molding in their measurement. Always measure from the wall surface where the toilet tank will actually sit, as a thick piece of molding can throw your reading off by an inch, resulting in a toilet that refuses to fit flush against the wall.
Pro Tip: If you find it difficult to eyeball the exact center of the drain pipe, place a straight edge – like a level or a piece of wood – across the drain hole. Measure to the center of that straight edge to get a perfectly accurate reading.
Step 2: Inspect the Flange
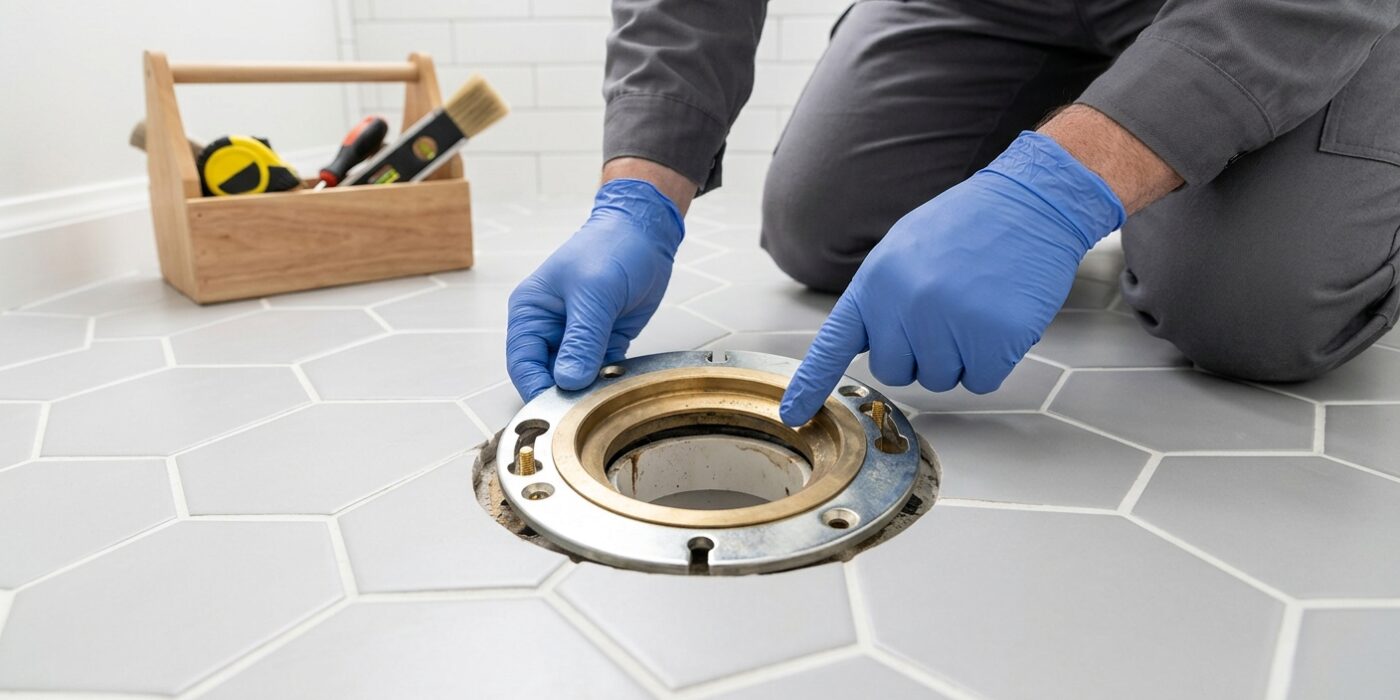
The flange is the circular plastic or metal fitting anchored to your floor that connects the toilet to the drain pipe. Before you set your new toilet, take a moment to inspect this connection point carefully. The flange should sit level with or slightly above your finished floor surface. If the flange is buried deeper than 1/4 inch below your floor, the wax ring won’t create a reliable seal, which leads to slow, hidden leaks that can rot your subfloor. Run your hand around the perimeter; if you feel any cracks, chips, or if the flange wobbles when you try to move it, it must be repaired immediately with a flange repair kit.
Beginner Tip: Avoid the common mistake of assuming the flange is secure just because it looks okay. Gently wiggle the metal or plastic ring with your hands. If it moves at all, the screws holding it to the subfloor have likely rusted or come loose. Tighten them or replace them with new, stainless steel screws before continuing to ensure the toilet base stays rock-solid.
Pro Tip: If your flange is slightly below floor level, don’t worry about complicated subfloor work. Simply purchase a “wax ring with a horn.” This ring includes a plastic funnel extension that bridges the gap between the drain and the pipe, effectively funneling waste directly into the drain and preventing it from ever touching the wax or the floor connection.
Step 3: Install Closet Bolts and Set the Wax Ring
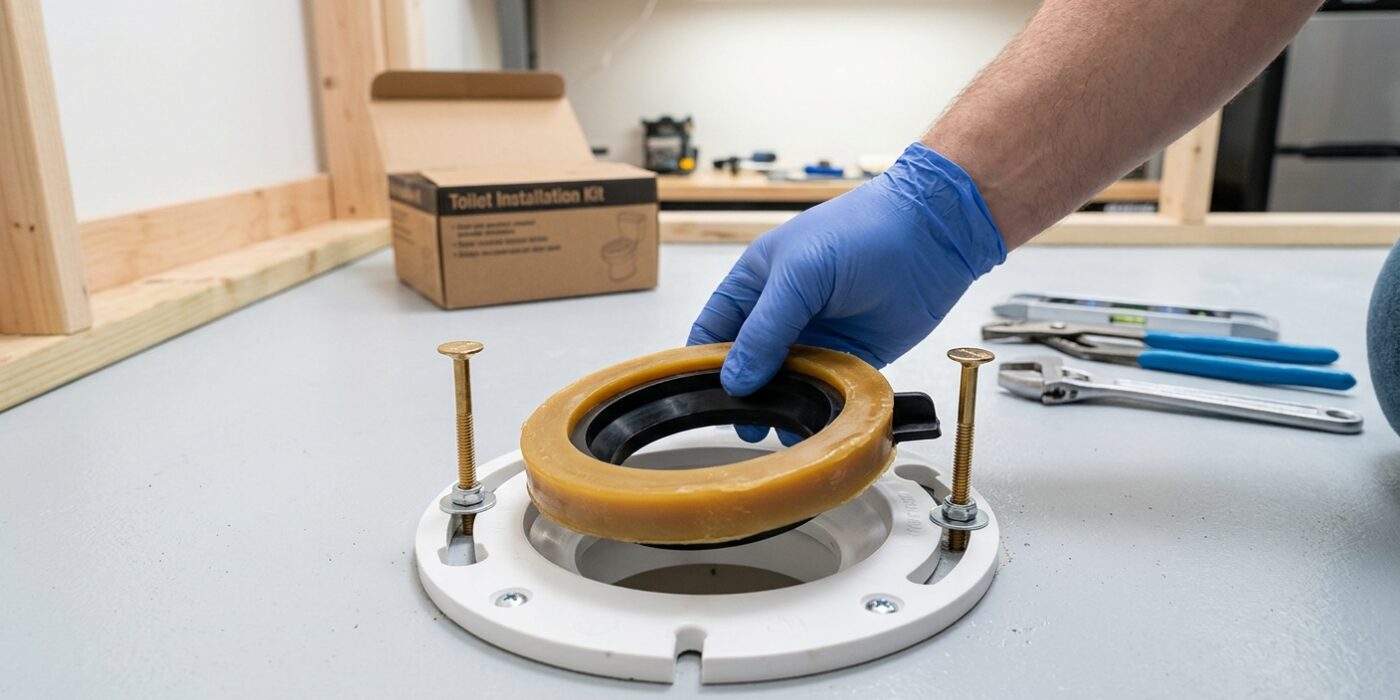
Now that your flange is secure, it is time to prepare the base for a watertight seal. First, locate the two T-shaped closet bolts. Slide them into the C-shaped slots on opposite sides of your floor flange. Ensure the threaded ends are pointing straight up; these will act as your anchors, so they must stand tall and steady.
Next, grab your wax ring. This ring acts as a permanent gasket to prevent water and sewer gases from leaking into your home. Take the wax ring and press it firmly onto the circular outlet on the bottom of the toilet, known as the “horn.” Make sure the wax side faces outward. While some pros prefer placing the ring on the floor flange, mounting it to the toilet first is excellent for beginners because it creates a clear visual guide, helping you line up the toilet over the bolts as you lower it into place.
Beginner Tip: The most common mistake is accidentally bumping the wax ring before the toilet is fully seated. If the ring gets smushed or deformed before the toilet touches the floor, it may not create a perfect seal. Keep your movements slow and deliberate to avoid any mid-air mishaps.
Pro Tip: To make the installation effortless, place a small piece of painter’s tape on the floor to mark exactly where the center of the bolt holes should land. This helps you align the toilet perfectly on the first try, saving you from having to lift and reset the heavy ceramic base.
Step 4: Set and Secure the Bowl
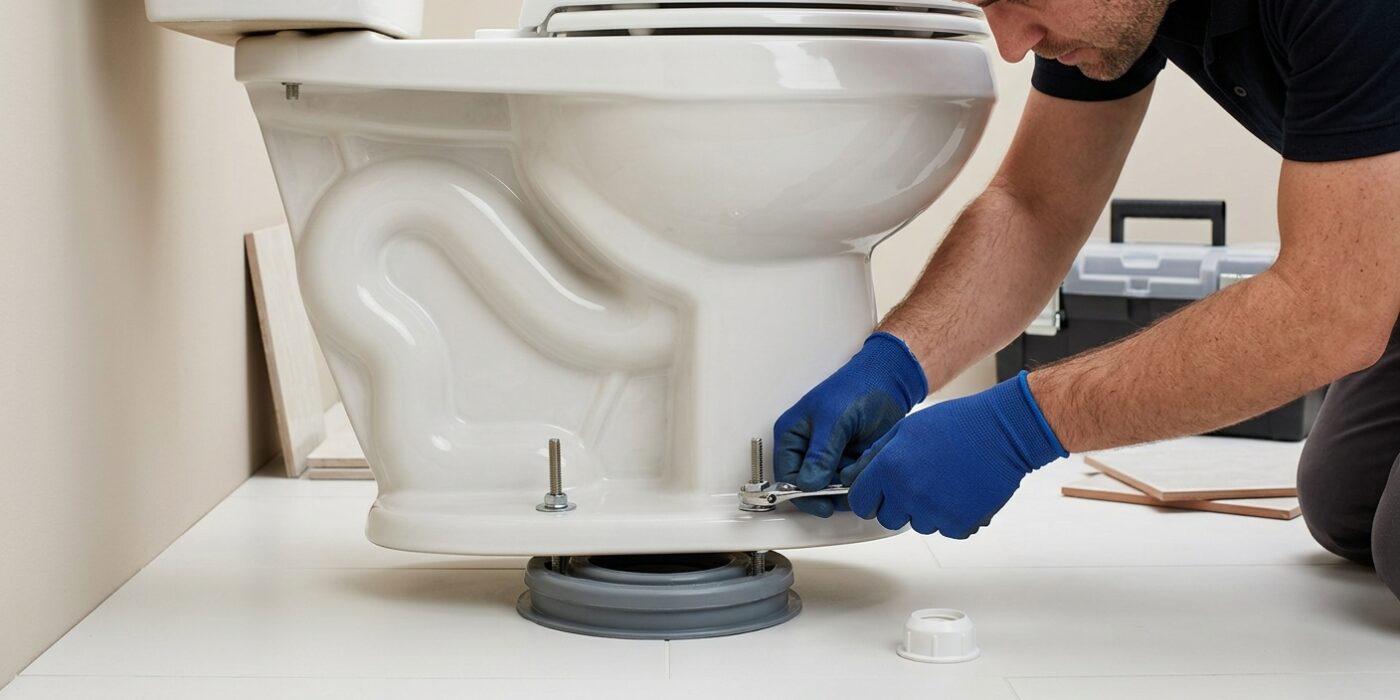
Now comes the most important part of the installation. With your new wax ring firmly attached to the bottom of the toilet horn, lift the bowl – it is heavy, so use your legs to hoist it – and carefully align the holes in the base with the two metal T-bolts sticking up from the floor. Lower the bowl straight down; do not rock it back and forth, as this can smear the wax and create a poor seal. Once it touches the floor, press down firmly with your body weight to compress the wax ring until the base feels stable.
Thread the plastic washers and nuts onto the bolts by hand. Using an adjustable wrench, tighten them carefully in small, alternating increments – a few turns on the left, then a few on the right – to ensure the bowl stays level. Place your 2-foot level across the rim; if it wobbles, slide plastic shims under the base until it is perfectly flat. Once secure, use a hacksaw to trim the excess bolt length, leaving about 1/2 inch above the nut, and snap your bolt covers into place.
Beginner Tip: The most common mistake is overtightening the nuts. Porcelain is brittle and can crack under too much pressure. Tighten the nuts until they are just “snug” – you should be able to feel the resistance of the washer, but you should never have to strain or use significant force to turn the wrench.
Pro Tip: To make alignment much easier, place a small piece of painter’s tape on the floor exactly where the center of the bolt hole is located. This gives you a clear target to aim for while the bulk of the toilet bowl obscures your view of the floor flange.
Step 5: Install the Tank
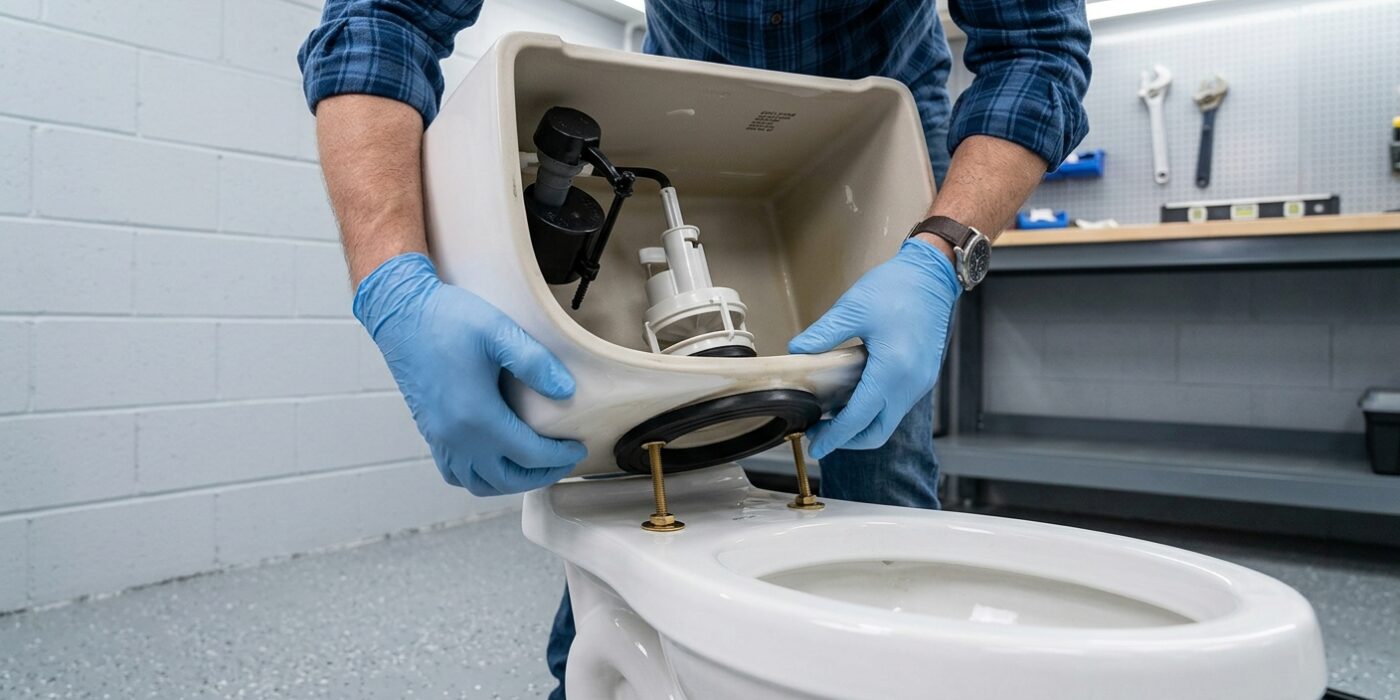
Now it is time to secure the tank to the bowl. First, locate the thick, circular rubber ring called the spud washer. Press this firmly onto the flush valve outlet on the bottom of the tank; this creates a watertight seal that prevents leaks between the tank and bowl. Carefully lift the tank and lower it onto the back of the toilet bowl, making sure the tank bolts pass cleanly through the mounting holes in the bowl. The rubber bumpers on the bottom of the tank should rest evenly against the ceramic, providing stability.
Thread your metal washers and nuts onto the bolts from underneath the bowl rim. Use your fingers to turn them until they are snug, then use a wrench to give them an extra half-turn. Do not overtighten, as ceramic is fragile and will crack under too much pressure. The tank is secure once it no longer wobbles when you give it a gentle nudge.
Beginner Tip: A common mistake is tightening one side completely before the other. Always alternate between the left and right nuts, turning each one just a little bit at a time. This keeps the tank level and ensures the pressure is applied evenly across the gasket.
Pro Tip: Before you lower the tank, double-check that your floor is level. If the tank leans away from the wall even slightly, use a small plastic toilet shim under the back corner of the bowl before tightening the bolts. This prevents the tank from putting unnecessary stress on the connection point.
Step 6: Connect the Supply Line and Restore Water
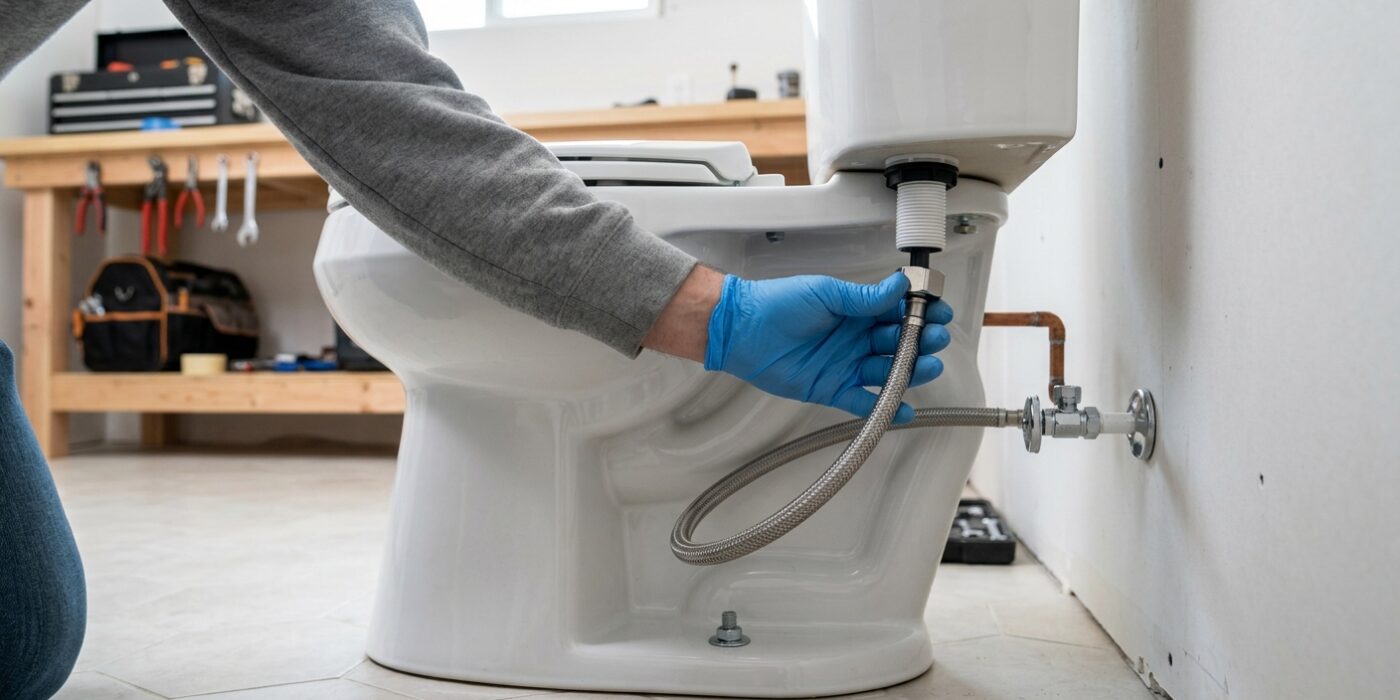
Now that your toilet is securely anchored, it is time to bring it to life. First, locate the water supply stub-out sticking out of the wall. If there isn’t a shut-off valve already there, twist an angle stop valve onto the pipe until firm. Next, take your braided stainless steel supply line; these are flexible and forgiving, which makes them perfect for beginners. Attach one end to the angle stop and the other to the fill valve shank located under the left side of the tank. Use your hands to tighten both nuts as far as they will go, then use a pair of pliers to give them one additional quarter-turn. Do not overtighten, as you could crack the plastic threads.
Slowly turn the valve handle counter-clockwise to let water enter the tank. As it fills, watch the base of the tank closely for any moisture near the bolts. Finally, flush the toilet twice and inspect the floor around the base. If you see water pooling, it is a sign that the wax ring is not creating a perfect seal.
Beginner Tip: The most common mistake is over-tightening the supply line connections. Since these lines have rubber gaskets inside, they only need to be snug. If you crank them too hard with tools, you risk stripping the plastic threads on the tank fill valve.
Pro Tip: When checking for leaks after the first few flushes, run a dry paper towel around the base of the toilet and the tank bolts. The paper will change color instantly if it touches even a tiny bead of water, making leaks much easier to spot than by sight alone.
Step 7: Adjust and Caulk
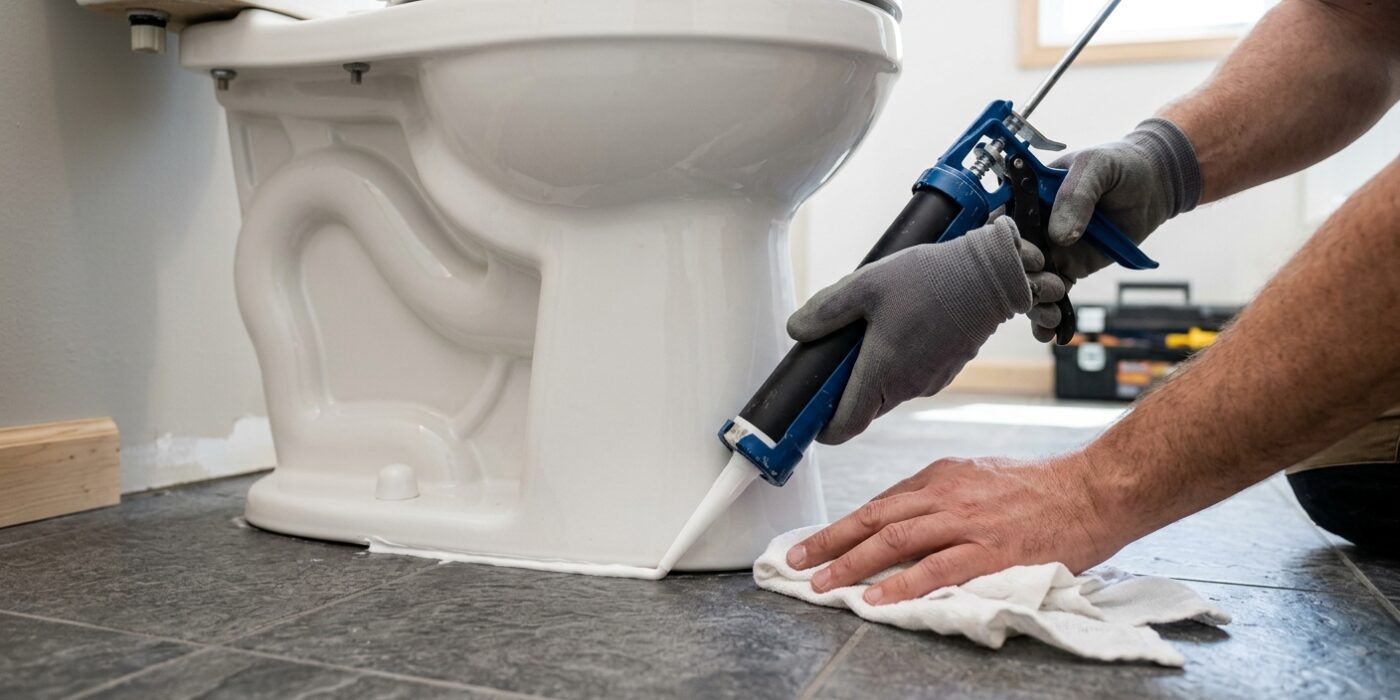
Now that your toilet is securely bolted down, it is time to fine-tune the mechanics and seal the base. First, look inside the tank to locate the fill valve. Adjust the float screw or sliding clip so the water level stops exactly one inch below the top of the open overflow tube. This prevents the tank from overflowing while ensuring a powerful, full flush. Test the toilet three or four times; listen carefully to ensure the flapper snaps shut firmly and the tank refills without water trickling into the bowl afterward.
Next, apply a thin, consistent bead of bathroom-grade silicone caulk around the base where the porcelain meets the floor. Smooth the caulk with a wet finger to create a clean finish. Leave a two-inch gap at the very back of the toilet; this allows any potential leaks to escape visibly, alerting you to a problem before moisture hides under the floorboards and causes wood rot.
Beginner Tip: Do not overtighten the closet bolts before caulking. If the toilet feels slightly wobbly, use plastic toilet shims rather than forcing the nuts, which can crack the porcelain base.
Pro Tip: To get a professional-looking caulk line every time, place a strip of painter’s tape on the floor and the toilet base, leaving a small gap where you want the bead to go. Apply the caulk, smooth it, and remove the tape while the silicone is still wet for a razor-sharp edge.