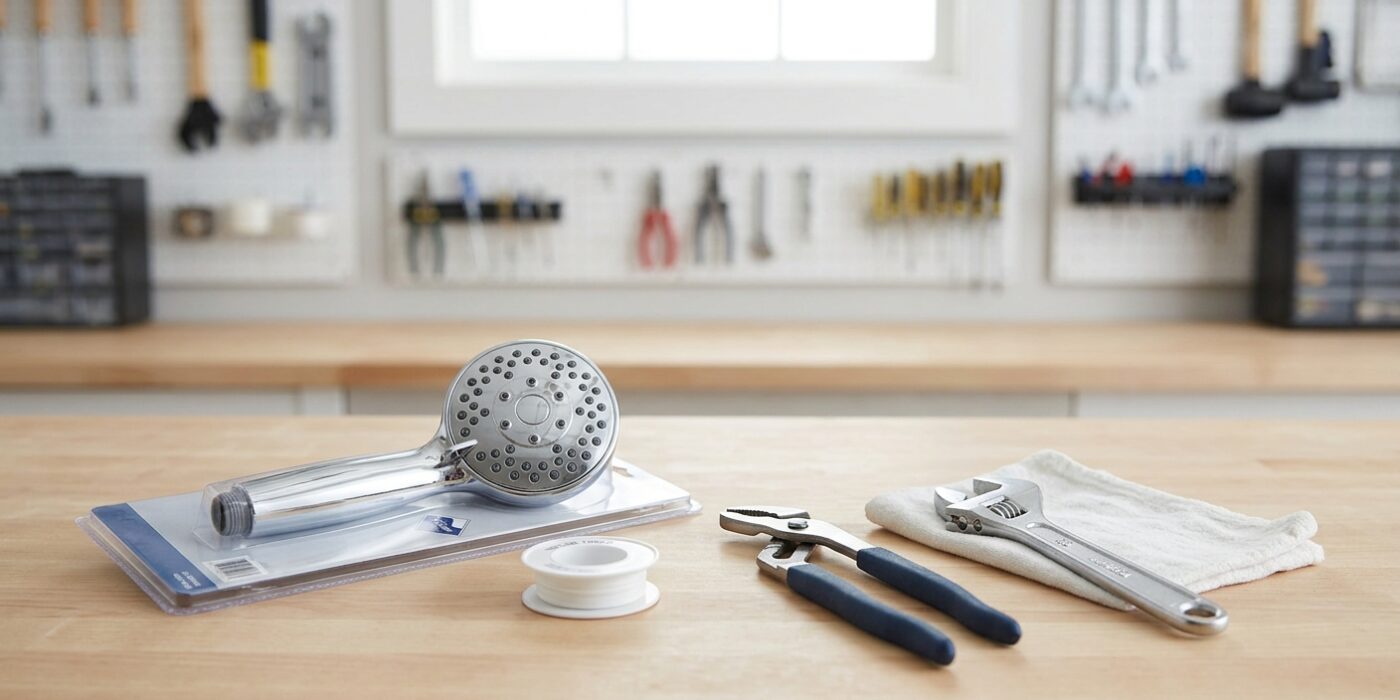
Project Shopping List
Replacing a showerhead is the easiest plumbing upgrade you can make – it takes 10–15 minutes, improves your daily shower experience, and can significantly reduce water usage. Whether you’re upgrading to a rain shower head, adding a handheld combination, or just replacing a corroded old fixture, the process is identical and requires one tool.
The only complexity is dealing with old, corroded pipe threads or a supply arm that’s corroded to the wall – this guide covers both the simple swap and the harder case of a stuck or damaged supply arm.
What You’ll Need
Tools
- Adjustable wrench or channel-lock pliers
- Old toothbrush or wire brush (for cleaning threads)
Materials
- New showerhead
- Teflon tape (PTFE thread seal tape)
- Penetrating oil (if old head is corroded)
- Plumber’s grease or silicone grease
Step 1: Remove the Old Showerhead
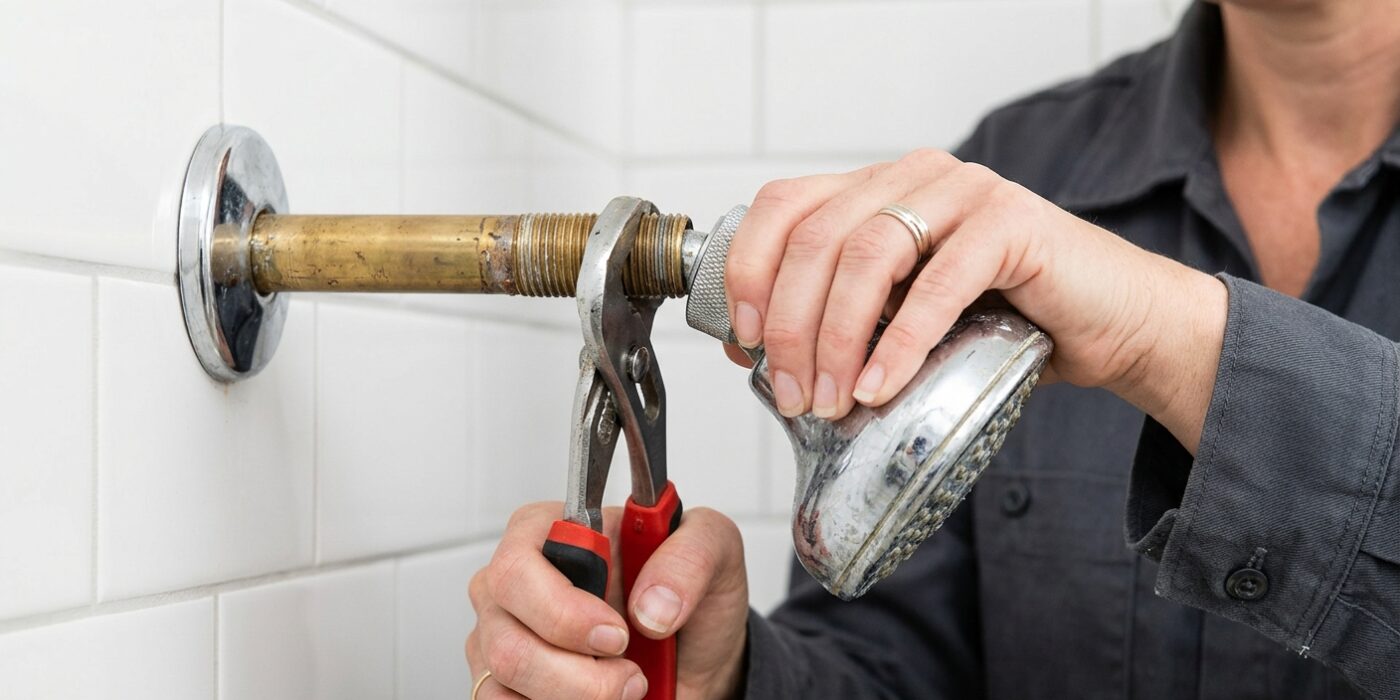
Before you begin, place a towel over your drain to catch any small parts that might fall. To remove the old showerhead, you need to loosen the connection between the showerhead and the metal shower arm (the pipe extending from your wall). First, wrap a thick rag or a piece of rubber around the shower arm. This provides a non-slip grip and prevents your tools from scratching the chrome finish.
Hold the shower arm firmly with one hand – or a pair of pliers – to keep it perfectly steady. This is crucial because if the pipe rotates inside the wall, you could damage the plumbing connections behind your tile. With your other hand, grip the base of the showerhead with adjustable pliers and turn it counterclockwise. If it feels stuck, do not force it; spray a little penetrating oil onto the threads, wait 15 minutes, and try again. Steady, firm pressure is much more effective than jerky motions.
Beginner Tip: A common mistake is trying to turn the entire shower arm instead of just the showerhead. Always ensure you are only applying force to the connection point where the head meets the pipe, not the pipe itself.
Pro Tip: If your showerhead is heavily coated in white, crusty mineral deposits, the threads may be fused. Instead of fighting it with raw muscle, wrap a plastic bag filled with white vinegar around the connection overnight. The acid will dissolve the buildup, allowing the showerhead to spin off easily by hand the next morning.
Step 2: Clean the Supply Arm Threads
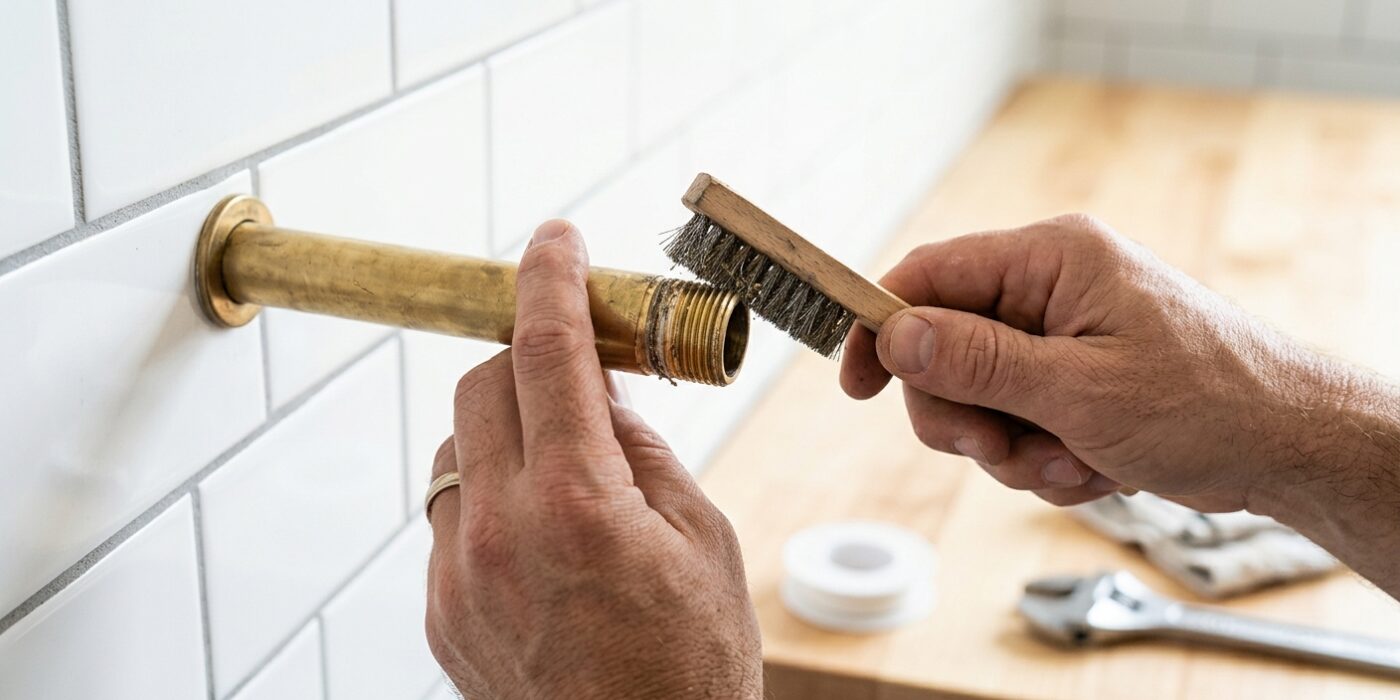
Now that your old showerhead is removed, you will see a small, pipe-like protrusion extending from the wall called the supply arm. At the end of this arm, you will notice jagged grooves known as threads. These threads are the foundation for a leak-free seal. Over time, white Teflon tape residue, hard water deposits, and mineral scale collect in these grooves. If you leave this debris behind, your new showerhead won’t sit flush against the pipe, which will almost certainly cause leaking or spraying issues later.
Take your wire brush or an old toothbrush and scrub the threads in a circular motion, following the grooves around the circumference of the pipe. You want to clear away any white, crusty, or flaky buildup until the metal underneath looks smooth and uniform. Take your time; the cleaner the surface, the better the seal.
Beginner Tip: Be careful not to scrub too aggressively with a heavy-duty metal wire brush. While you want to remove grime, scrubbing too hard can accidentally damage the soft metal threads. A steady, medium-pressure motion is all you need to get the job done safely.
Pro Tip: If the mineral deposits are stubborn and won’t budge with a brush, soak a small rag in white vinegar, wrap it tightly around the threads, and secure it with a rubber band. Let it sit for 20 minutes to dissolve the mineral crust, and the debris will wipe away effortlessly with a paper towel.
Step 3: Apply Teflon Tape
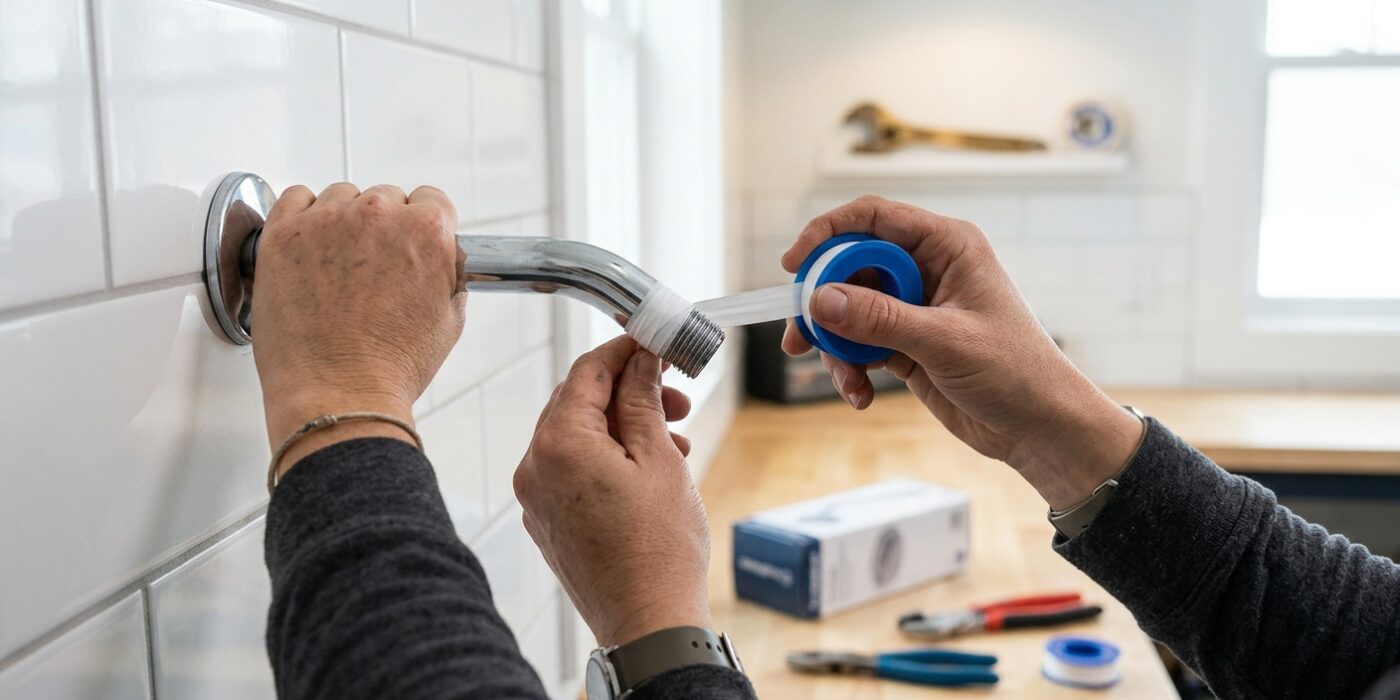
Before you screw on your new showerhead, you need to create a watertight seal. This is done using Teflon tape (also known as plumber’s tape). Take the end of the tape and place it on the very first thread of the shower arm – the metal pipe sticking out of your wall. Hold it in place with your thumb, then wrap the tape around the threads in a clockwise direction. As you wrap, pull the tape just enough so it stretches slightly and conforms to the ridges of the threads. Aim for 2–3 complete rotations, moving away from the wall toward the open end of the pipe. This tape fills the tiny gaps between the metal threads, ensuring your connection stays perfectly dry.
Beginner Tip: The most common mistake is wrapping the tape in the wrong direction. Always wrap clockwise. If you wrap counter-clockwise, the tape will unravel and bunch up when you screw the showerhead on, preventing a proper seal and potentially causing leaks.
Pro Tip: To get the cleanest finish, hold the roll of tape underneath the shower arm and pull upward as you wrap. By keeping the tape taut and consistent, you ensure it lies perfectly flat against the threads. If the tape tears or gets messy, don’t worry – just peel it off and start fresh; it is inexpensive and very forgiving to work with.
Step 4: Install the New Showerhead
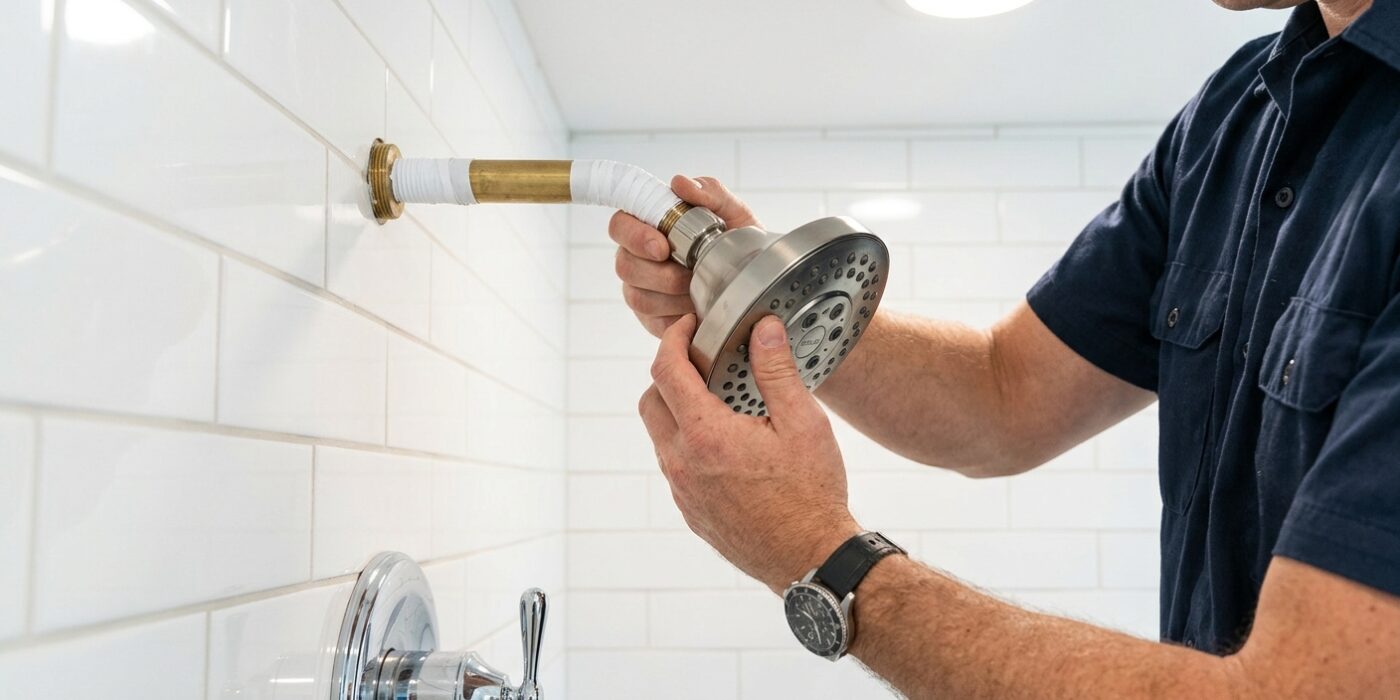
Now it is time to attach your new showerhead. Start by lining up the threads of the showerhead with the threads of the metal supply arm protruding from your wall. Rotate the showerhead clockwise by hand. As you turn, ensure the unit stays straight to avoid “cross-threading,” which happens when the threads catch incorrectly and get jammed. Keep turning until the showerhead stops moving easily; you will feel the internal rubber washer compress against the metal pipe, creating a watertight seal.
Once hand-tight, use your adjustable pliers to gently turn the collar just one-quarter to one-half turn further to secure it. Do not use excessive force here. The rubber washer does the hard work of stopping leaks, not the strength of your grip. Overtightening can easily crack the internal plastic components of modern showerheads, turning a quick upgrade into a leak-prone disaster.
Beginner Tip: If you feel significant resistance while hand-threading, stop immediately. Back the showerhead off and try again. Forcing it while it is misaligned will ruin the delicate threads on your supply arm, which is a much harder problem to fix.
Pro Tip: Before installing, wrap a small piece of a rag around the showerhead’s metal collar before using your pliers. This acts as a protective buffer, preventing the tool’s teeth from scratching the finish of your brand-new fixture so it stays looking pristine for years to come.
Step 5: Replace a Damaged Supply Arm
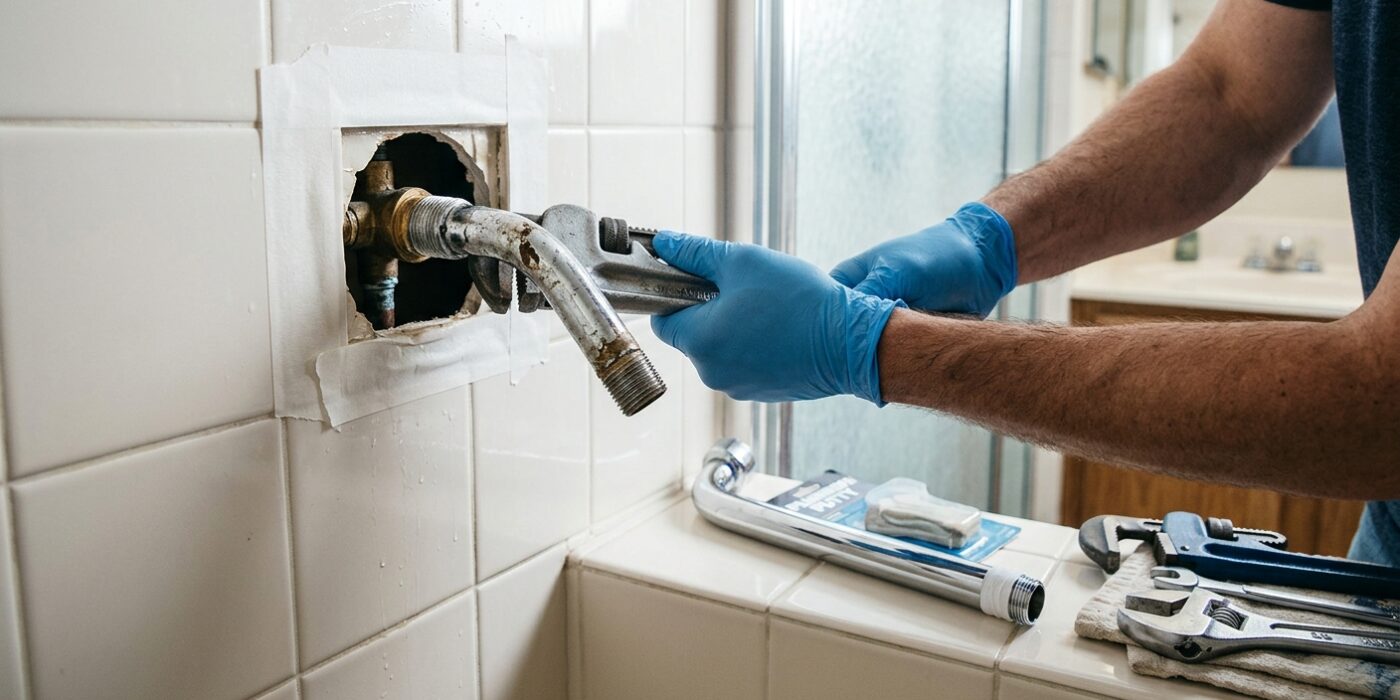
Sometimes, the pipe coming out of your wall – known as the supply arm – is damaged or simply doesn’t match your new showerhead. If it looks corroded or the threads appear worn, it is time for a replacement. First, slide the decorative metal plate (escutcheon) back to reveal the pipe. Wrap a thick rag around the arm to protect the finish, grip it firmly with your pipe wrench, and turn it counterclockwise. If it feels stuck, do not force it, as you don’t want to damage the plumbing hidden inside the wall. Instead, spray a little penetrating oil at the joint and let it sit for ten minutes.
Once removed, clean any old, crusty tape from the wall fitting. Apply fresh Teflon tape – wrapping it clockwise about three to four times – to both ends of your new arm. Screw the new arm into the wall fitting clockwise until it feels snug and is pointed straight down.
Beginner Tip: The most common mistake is over-tightening. You only need the arm to be snug and pointing downward. If you force it too far past the vertical position, you risk cracking the fitting inside the wall, which leads to expensive leaks.
Pro Tip: To keep your new shower arm looking pristine, use a rubber strap wrench rather than a metal pipe wrench. It provides excellent grip without leaving ugly teeth marks or scratches on your beautiful new finish.
Step 6: Test for Leaks
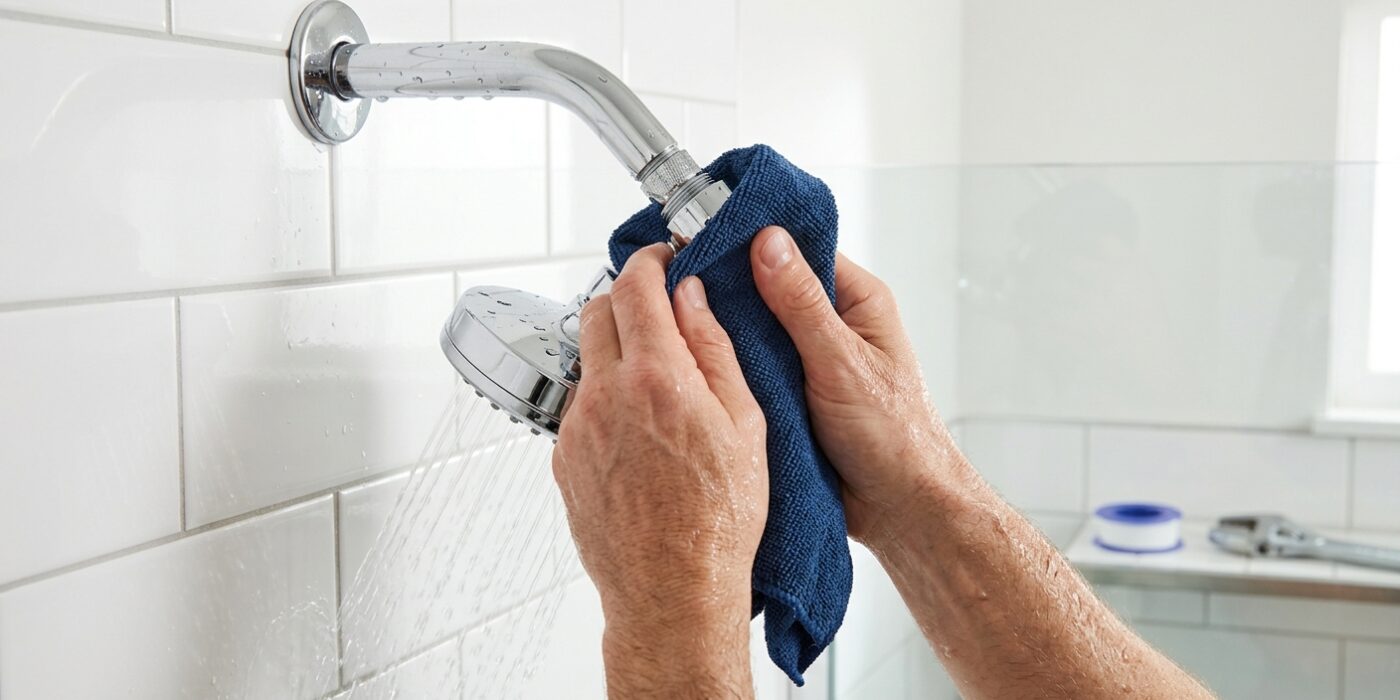
Now that your new showerhead is secured, it is time to ensure your work is watertight. Turn the shower handle to the full “on” position and let the water run for at least 30 seconds. Carefully inspect the junction where the new showerhead meets the supply arm. If you see even a tiny bead of water, don’t worry – this is completely normal and an easy fix. First, turn off the water and use a dry towel to wipe the connection area clean. Because the pipe is now dry, you can get a better grip; try hand-tightening the showerhead just a quarter-turn more in a clockwise direction. If a drip persists, remove the showerhead entirely, check that the rubber washer is seated flat inside, and add a fresh layer of Teflon tape to the supply arm threads before trying again.
Beginner Tip: Avoid the urge to use heavy-duty pliers or wrenches on your new showerhead. Metal tools can easily scratch or dent the finish of your new fixture. If you cannot get a tight enough seal by hand, wrap a thick washcloth around the showerhead’s base to act as a protective barrier before using a wrench to gently nudge it another fraction of an inch.
Pro Tip: If you are struggling to achieve a leak-free seal, check the orientation of your Teflon tape. Always wrap the tape in a clockwise direction – the same direction you will be screwing the showerhead on. This ensures the tape doesn’t unspool or bunch up when you tighten the connection, creating a smooth, professional seal every time.