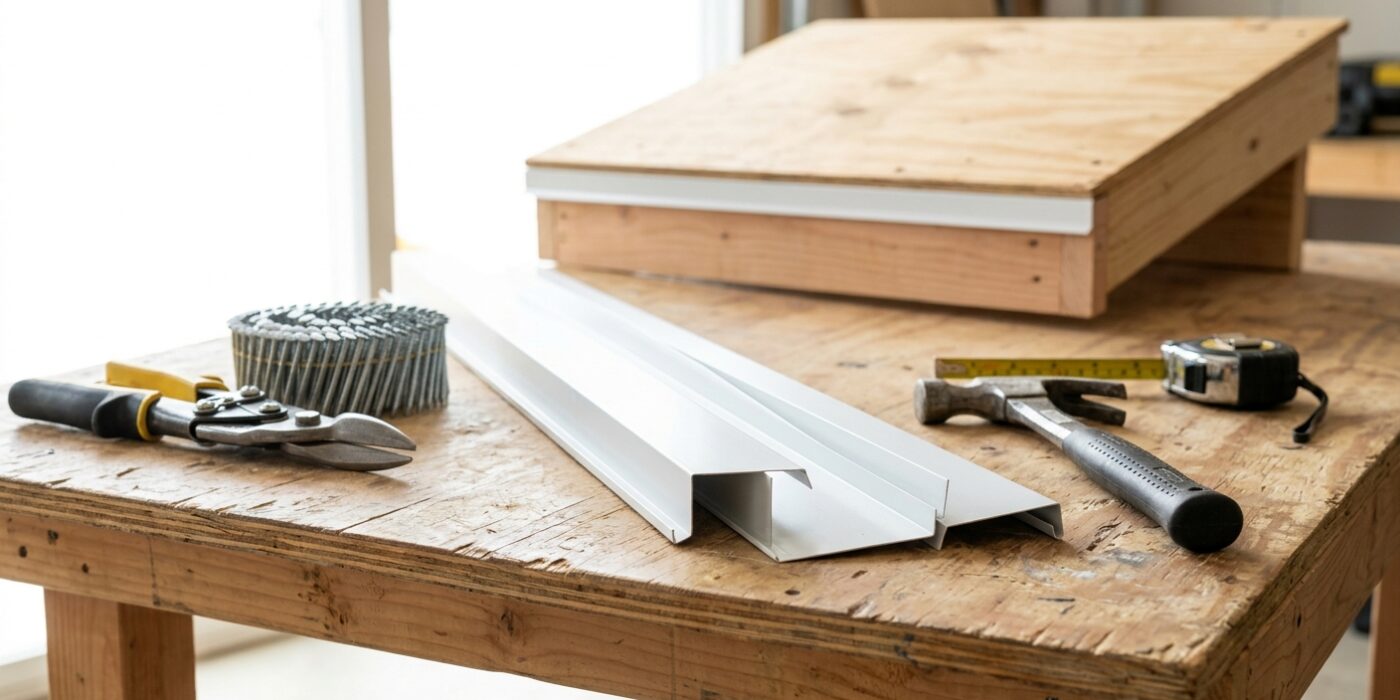
Project Shopping List
Drip edge is a thin metal flashing installed at the roof edges – eaves and rakes – that directs water off the roof and away from the fascia and soffit. Without it, water wicks under the shingles at the edge, soaks into the roof decking and fascia boards, and causes rot that is expensive to repair. Installing drip edge is a code requirement in most jurisdictions and one of the simplest roofing details to get right during a reroof or repair.
This guide covers installing drip edge on both the eave (horizontal, lower edge) and the rake (sloped side edge) of a gable roof, in the correct order relative to underlayment.
What You’ll Need
Tools
- Tin snips
- Roofing hammer or pneumatic nailer with roofing nails
- Tape measure
- Chalk line
- Safety harness and roof jacks (for steep roofs)
- Ladder
Materials
- Drip edge (aluminum or galvanized steel, sized to match your fascia – typically 2×2 or 3×3 inch leg)
- 1.25-inch galvanized roofing nails
- Roofing underlayment (for the correct layering sequence)
Step 1: Understand the Layering Order
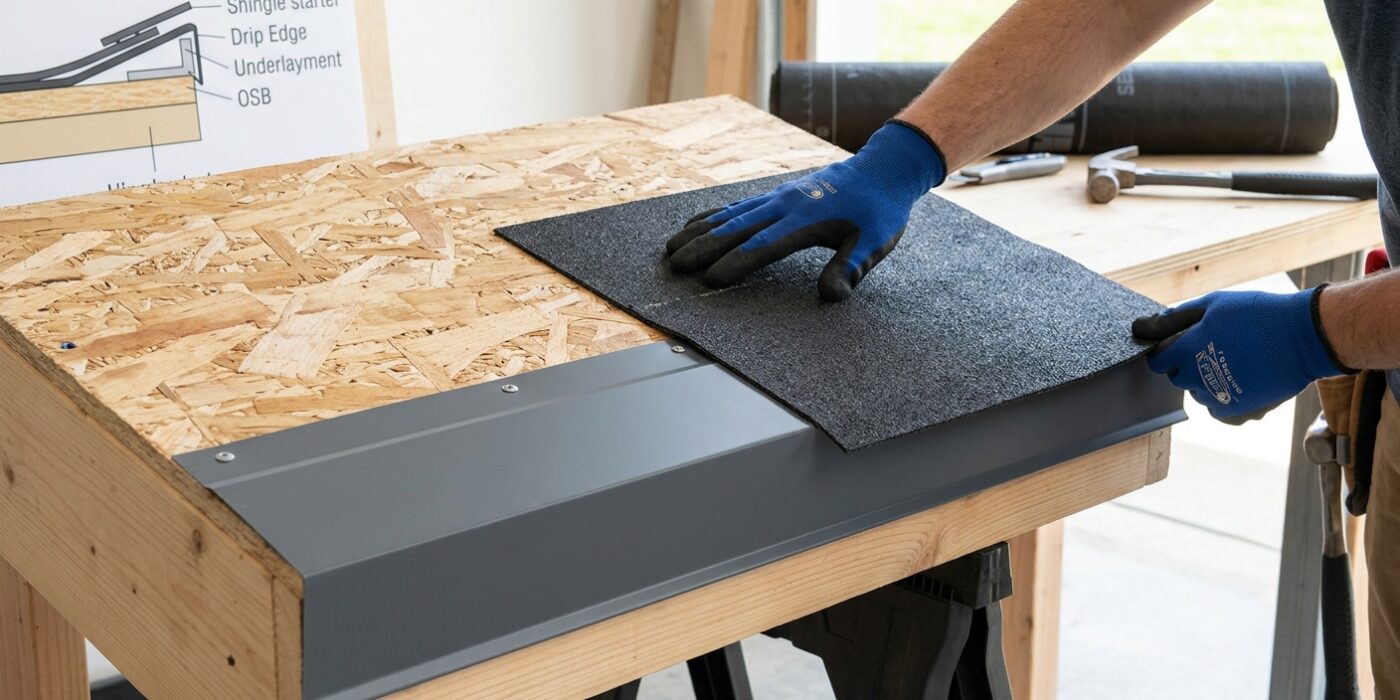
Think of your roof as a set of shingles protecting your home, and the drip edge as the final piece of the puzzle that keeps water away from your wood decking. To get this right, you must understand that your roof has two types of edges: the eaves (the bottom, horizontal edges where your gutters sit) and the rakes (the slanted edges that run up the side of your roof).
The layering order is the secret to a dry home. For the eaves, install the drip edge directly against the wood deck before you roll out your roofing underlayment. This ensures that if any water gets under your shingles, it flows down the underlayment and over the metal lip of the drip edge, safely into the gutter. On the rakes, you do the opposite: roll the underlayment down first, then install the drip edge over it. This prevents water running down the gable from seeping behind the metal and rotting your fascia board.
Beginner Tip: A common mistake is installing both the eave and rake drip edges the same way. Always double-check which side of the roof you are working on. If you install the rake drip edge under the underlayment, you are creating a path for water to get trapped against your wood, which leads to leaks.
Pro Tip: When installing the corners, overlap your drip edge pieces by at least two inches. To get a clean look, use a pair of snips to notch the flange of the overlapping piece so it sits perfectly flat against the roof deck without bunching up.
Step 2: Install Eave Drip Edge
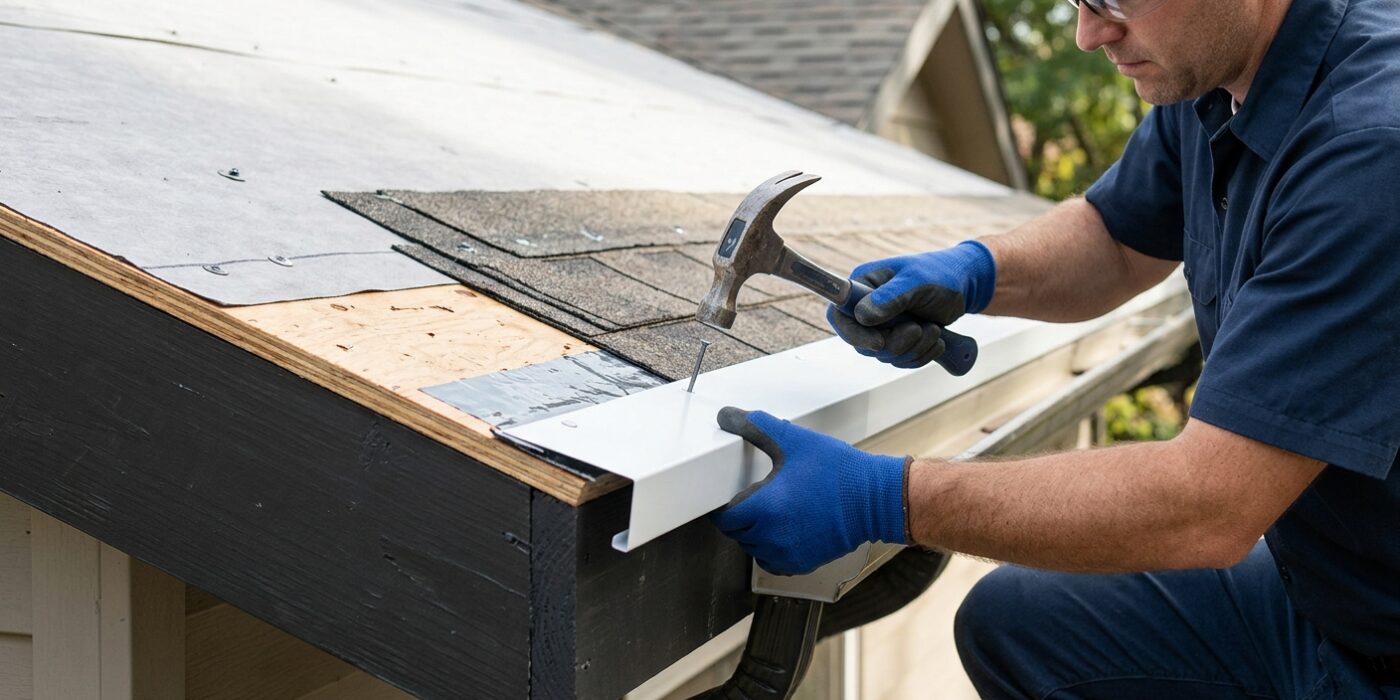
Now it is time to attach your drip edge to the bottom edge of your roof, known as the eave. Start at one corner and line up the metal piece so the vertical leg sits flat against the wooden fascia board and the horizontal flange rests perfectly flush against your roof decking. It is crucial to let the drip edge overhang the fascia by exactly 3/8 of an inch; this small gap ensures that water drips directly into your gutter rather than running down your siding or behind your fascia, which prevents wood rot.
Secure the piece by driving 1.25-inch roofing nails through the top flange into the roof deck. Space your nails about 10 to 12 inches apart to keep the metal from buckling. As you add more pieces, overlap the ends by at least 2 inches, always placing the higher piece on top of the lower one so water flows over the seam instead of catching inside it.
Beginner Tip: Avoid nailing the drip edge too tightly to the fascia. If you press the metal against the wood with too much force before nailing, you might create a ripple effect. Let the metal rest naturally against the wood surface before securing it to ensure a smooth, professional line.
Pro Tip: Use a chalk line to mark a straight guide on your roof decking before you begin. By aligning the edge of your metal with this line, you will guarantee that every piece is perfectly straight, even if your roof edge has a slight, natural curve.
Step 3: Install Underlayment Over Eave Drip Edge
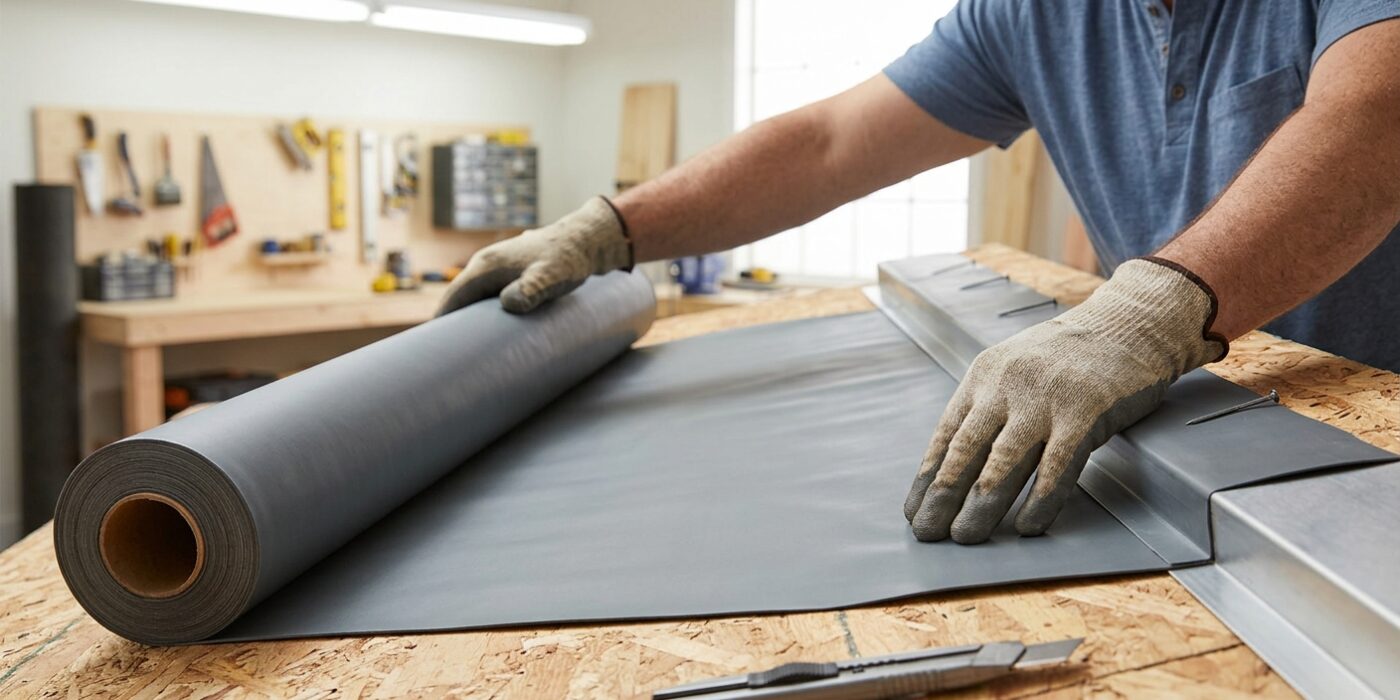
Now that your eave drip edge is securely fastened, it is time to layer your protective underlayment. Start at the bottom edge of your roof and roll your ice-and-water shield or felt paper horizontally across the eave. It is critical that the underlayment lays directly on top of the metal drip edge, rather than tucking it underneath. This ensures that any moisture dripping off your roof deck is channeled safely into your gutters, rather than seeping behind the metal and onto your fascia boards or rafters, which could cause rot over time.
Continue moving up the roof, laying down subsequent rolls. Ensure each new layer overlaps the previous one by at least 2 to 4 inches to create a watertight seal. If you are using felt paper, follow the manufacturer’s specific guidelines for your roof’s slope; steeper roofs often have different requirements for overlaps than flatter sections.
Beginner Tip: Avoid the common mistake of nailing the underlayment too close to the very bottom edge of the drip edge. If you place your fasteners too low, you risk puncturing the metal or creating gaps that allow water to bypass the drip edge entirely. Stick to the upper section of the metal flange when securing your material.
Pro Tip: On a breezy day, that roll of underlayment can act like a giant sail. To keep it under control, use a “tack-as-you-go” method. Secure the material every few feet with just one or two staples as you unroll it to keep the sheet flat and perfectly aligned before you commit to your final nailing pattern.
Step 4: Install Rake Drip Edge Over Underlayment
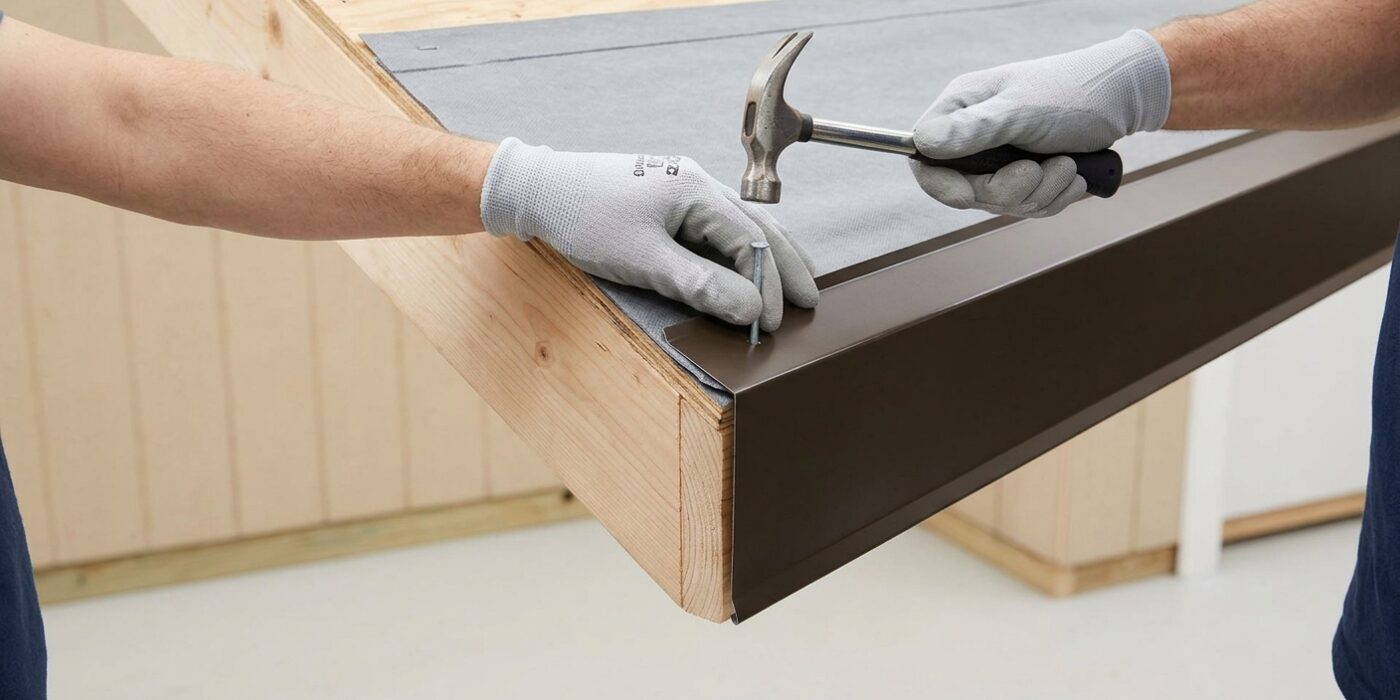
Now that your underlayment is secured, it is time to install the rake drip edge along the gable ends – the sloped sides of your roof. This metal edging is vital because it prevents wind-driven rain from sneaking underneath your shingles and rotting the wood decking.
Start at the bottom corner where the rake meets the eave. It is crucial that your eave drip edge (the piece installed along the gutter line) sits underneath the rake drip edge at this corner. This layering ensures that water flows over the metal, rather than behind it. Position the drip edge flush against the roof deck and nail through the top flange every 10 to 12 inches using roofing nails. When you reach the end of a piece, overlap the next section by at least 2 inches, ensuring the upper piece sits on top of the lower one like shingles. When you reach the very top (the ridge), carefully trim or fold the excess metal for a clean, weather-tight finish.
Beginner Tip: A common mistake is nailing the drip edge too tightly against the roof deck. Leave the nails just slightly snug; if you hammer them in too deep, the metal can dimple or warp, which prevents the shingles from laying perfectly flat later.
Pro Tip: Use a simple chalk line to mark a straight guide on the roof deck before you start. Even if your roof edge looks straight, having a visible line to align the top edge of your drip edge makes the installation look professional and ensures your run stays perfectly centered.
Step 5: Cutting and Mitering Corners
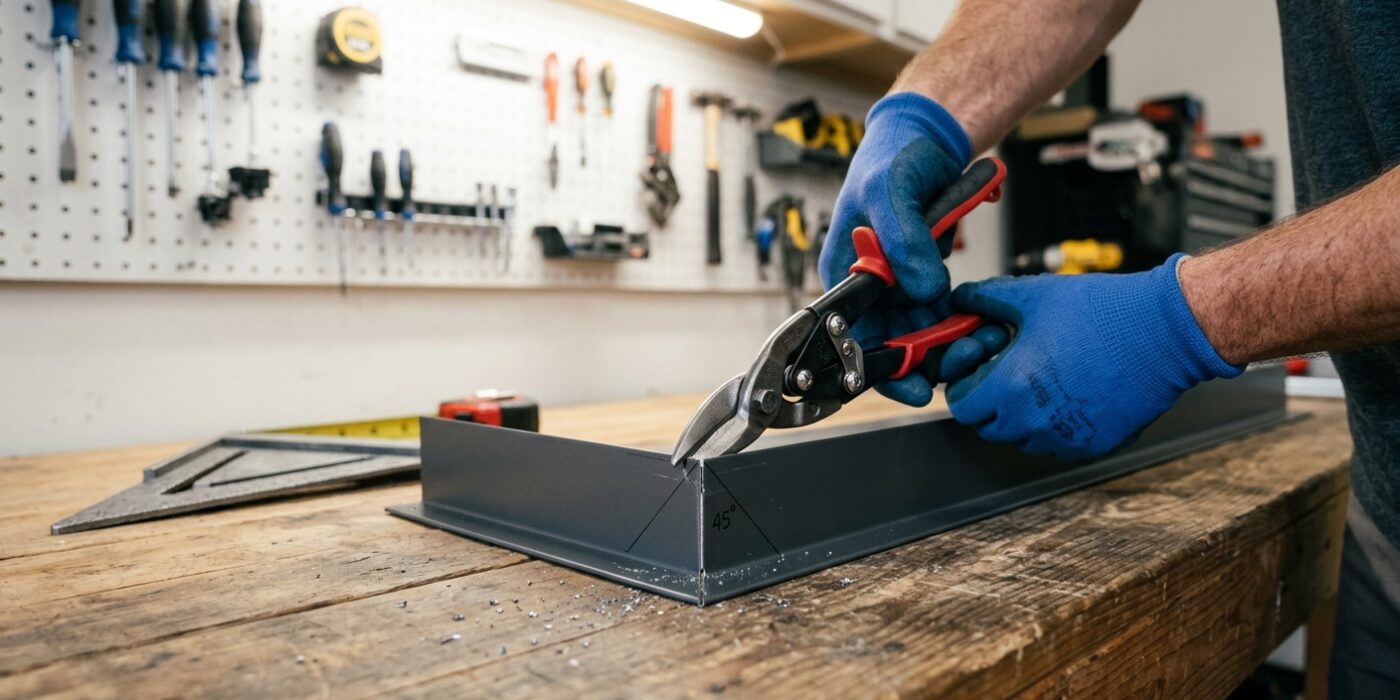
Now that your straight runs are in place, it is time to tackle the corners where your roof edges meet. This is where the eave (the bottom edge) meets the rake (the sloped side edge). To keep your roof watertight, you need to miter these pieces for a seamless fit.
Start by installing your eave piece so it extends just past the corner of the roof. Place your rake piece on top, overlapping the corner. Use a pencil to mark a 45-degree angle line across both pieces where they meet. Using your tin snips, carefully cut along these lines. The goal is for the two metal edges to kiss perfectly; if you leave a gap wider than 1/4 inch, water can seep behind your fascia. If you do end up with a small gap, simply snip a small rectangular tab of leftover metal and slide it behind the joint as a backer to seal the opening.
Beginner Tip: Avoid the urge to rush your snips. If you try to cut too much metal at once, the snips will buckle and bend the edge, leaving you with a jagged, wavy line. Make small, controlled snips, and stay about 1/16th of an inch away from your pencil line – you can always trim a little more off, but you cannot put metal back on!
Pro Tip: Before you start cutting, use a file or a piece of sandpaper to quickly smooth the cut edges. Sharp metal burrs can cut your hands while you work or scratch your siding, and a smooth edge creates a much tighter, more professional seal.
Step 6: Verify the Installation
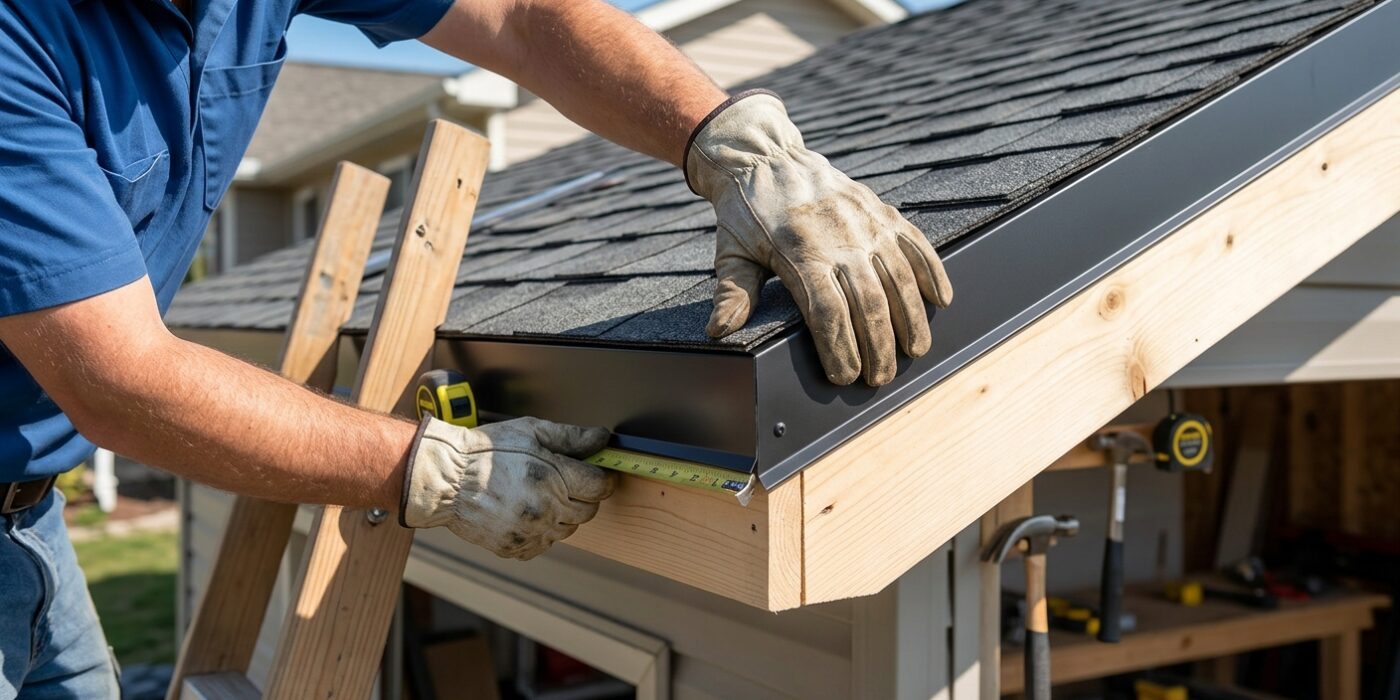
Now that your drip edge is secured, it is time to perform a final quality check. Run your hand firmly along the entire length of the drip edge. Every piece should sit perfectly flush against the fascia board, and the horizontal flange must lay completely flat against the wooden roof deck. If you feel any gaps or see the metal bowing, check for debris trapped underneath that might need clearing.
Inspect every nail head carefully. They should be driven flush with the metal surface; if a nail head is sticking up, it can tear through your future shingles, and if it is driven too deep, it may crack the flange and compromise the structural integrity. Ensure your overlaps are layered correctly so that water sheds down and off the metal, rather than catching behind an edge.
Beginner Tip: A common mistake is using a hammer with too much force at the very end of the stroke. If you find yourself consistently denting the metal or overdriving nails, try using a rubber mallet for the final taps or place a small scrap piece of wood over the metal before hammering to protect the finish.
Pro Tip: To keep your lines perfectly straight during installation, snap a thin chalk line along the roof deck exactly 1/2 inch from the edge. Align the inside bend of your drip edge with this line, and you will achieve a professional, uniform appearance that runs perfectly parallel to the roofline.