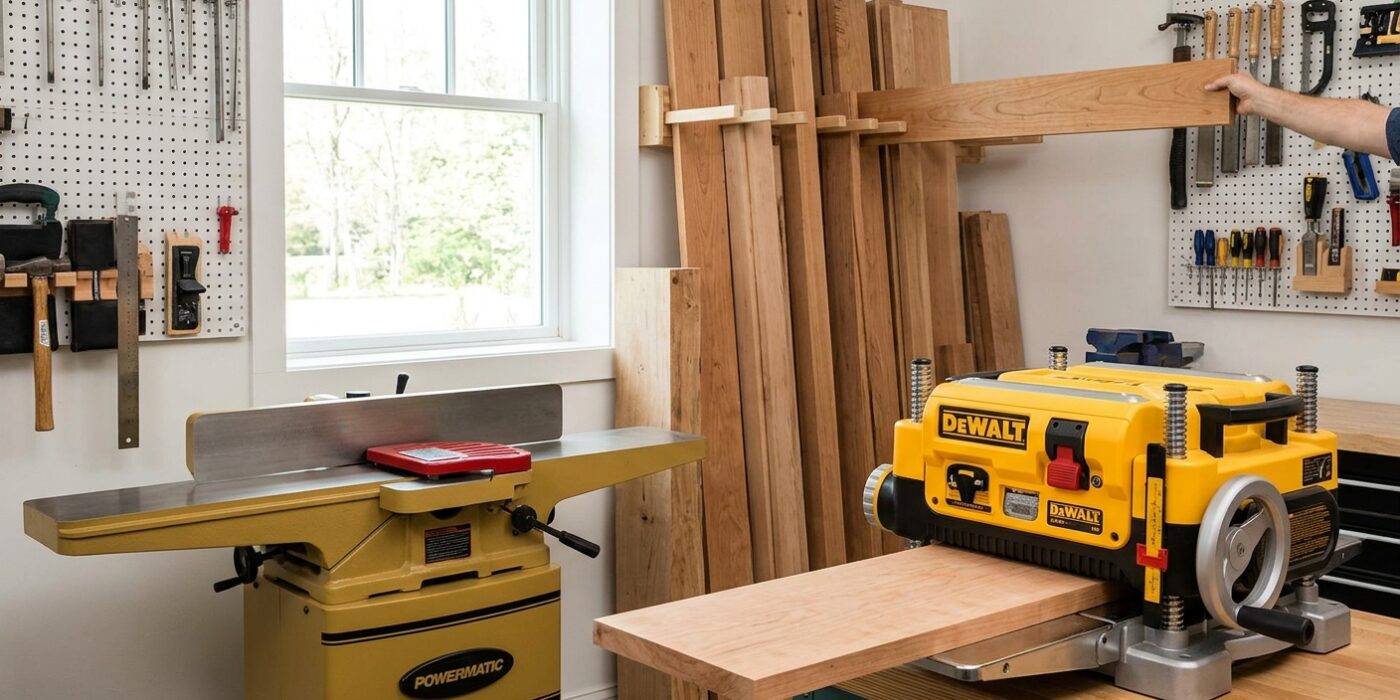
Project Shopping List
A router is what separates a woodworker who assembles furniture from one who makes it. A hardwood picture frame is the ideal first router project — the cuts are repetitive, the dimensions are small so mistakes are cheap, and the result is an heirloom-quality frame. This guide walks through the full process: milling stock, routing the rabbet and profile, cutting the miters, and gluing up a perfect 45-degree corner.
You will use two router bits for this project: a straight or rabbet bit to cut the channel that holds the glass and art, and a profile bit to shape the outer edge. The combination creates that classic shadow and depth that hand-crafted frames have and injection-molded frames never achieve.
What You’ll Need
Tools
- Router (table-mounted is strongly preferred)
- Profile bit of your choice (round-over, ogee, cove, or Roman ogee)
- Rabbet bit or straight bit
- Miter saw with a sharp 60-tooth or higher blade
- Frame clamp or band clamp (for glue-up)
- Random orbital sander
- Measuring tape and marking knife
Materials
- Hardwood molding stock: cherry, walnut, maple, or oak (3/4-inch thick, 2 to 3 inches wide)
- Wood glue
- Picture frame points or glazing points (to hold glass in rabbet)
- Sandpaper: 80, 120, 150, 220 grit
- Finish: danish oil, shellac, or satin polyurethane
- Picture hanging hardware (sawtooth hangers or D-rings and wire)
Step 1: Choose Your Wood and Mill Flat Stock
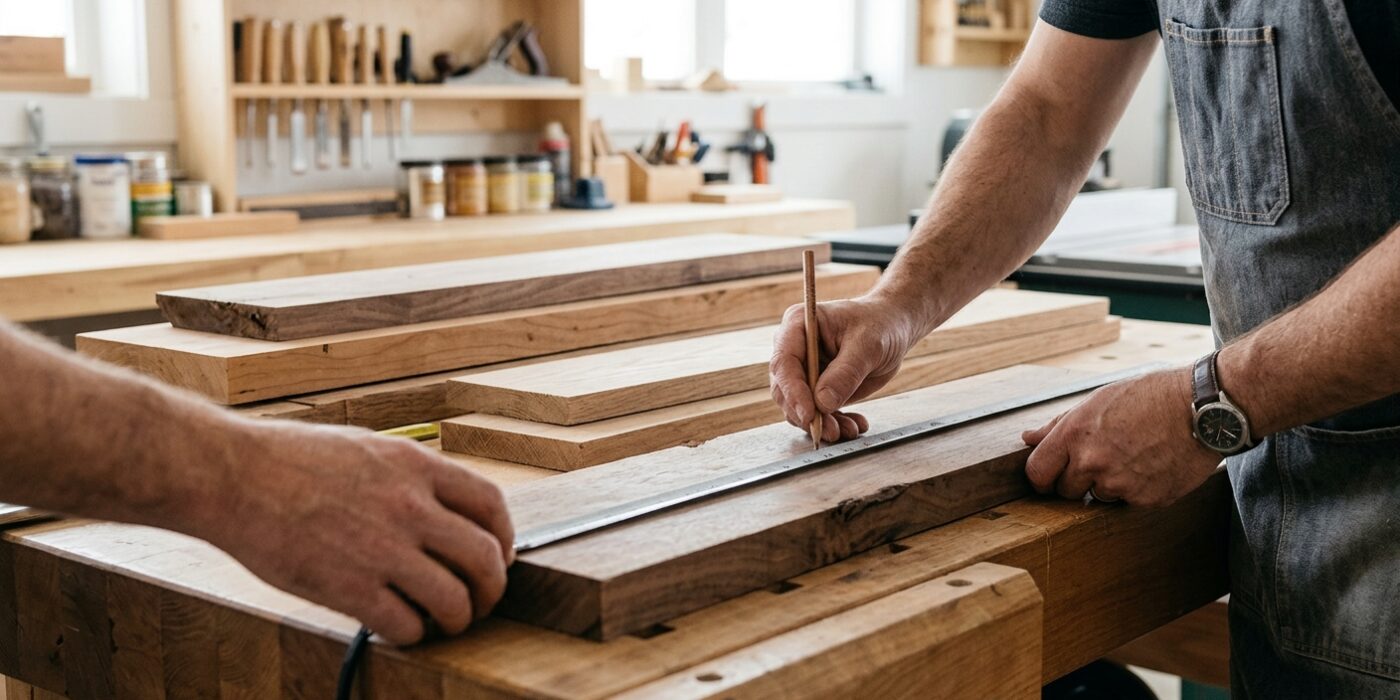
To start your frame, you need a stable, flat foundation. For beginners, we recommend starting with 3/4-inch thick by 2-inch wide boards. Cherry, oak, or poplar are excellent choices because they are dense enough to hold a clean router profile without splintering. Avoid construction lumber, like 2x4s from a big-box store, as these are often wet and will warp as they dry, causing your miter joints to gap over time.
You need enough wood to cover the perimeter of your frame, plus an extra 12 inches. If your frame is 10 inches by 10 inches, you need 40 inches for the sides, plus that 12-inch buffer for miter saw waste. When selecting your lumber, hold the board up and look down its length; it should be perfectly straight, not bowed, cupped, or twisted. If your board isn’t flat, your frame won’t sit flush against the wall.
Beginner Tip: A common mistake is buying boards that are warped and thinking you can just force them flat with clamps. If the wood starts out twisted, it will stay twisted. Always check your board for flatness on a known-flat surface – like a table saw top – before you buy it.
Alternative Method: If you don’t own a jointer or planer, simply ask the staff at your local lumber yard to “surface” the wood for you. Many professional shops will run your boards through their industrial machines for a small fee, ensuring they are perfectly square and smooth before you even head home.
Pro Tip: Buy 20% more wood than you calculate. This provides a safety net if you miscut a miter or if you find a hidden knot that ruins a section of the board.
Step 2: Route the Rabbet
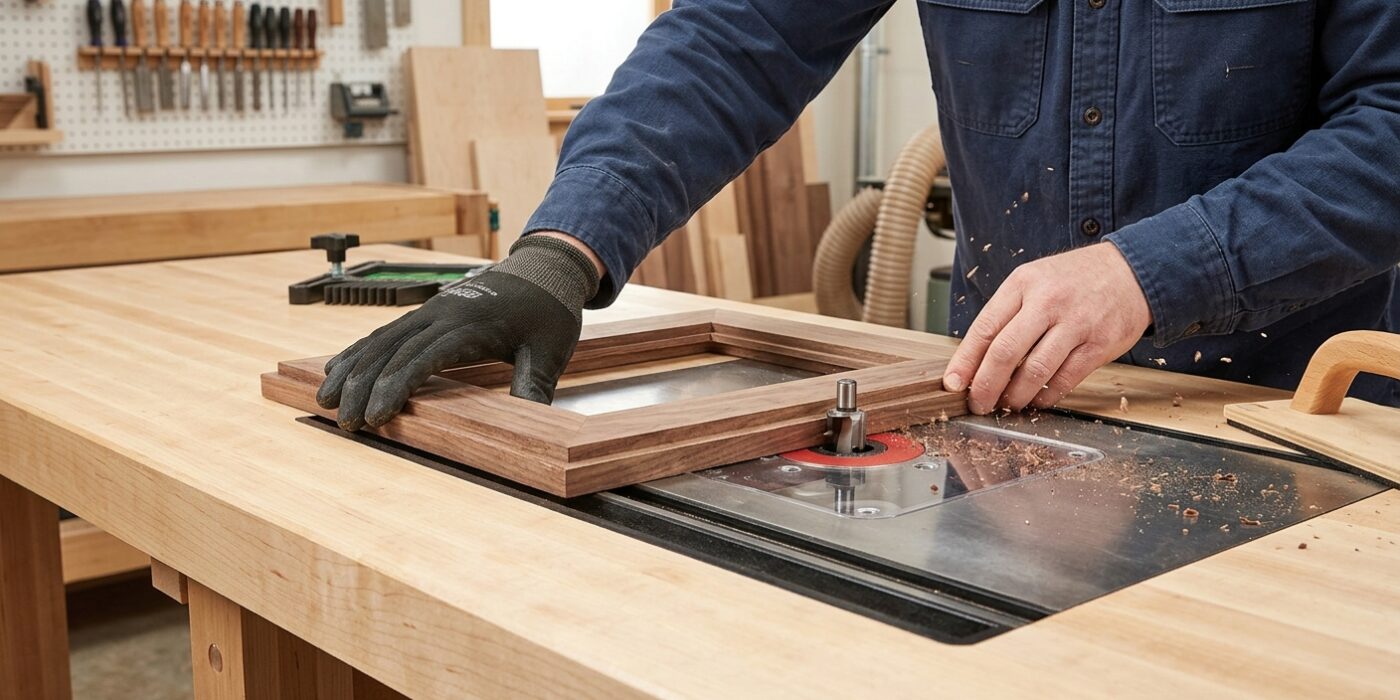
Now it is time to cut the rabbet, which is the L-shaped groove on the back inside edge of your wood. This is the shelf where your glass, matting, and art will eventually rest. To start, install a 3/8-inch rabbeting bit or a straight bit into your router table. Adjust the height of the bit so it extends exactly 3/8 inch above the table surface, and set your fence so that the bit is 3/8 inch wide. Always cut the rabbet while your board edges are still perfectly square, as this provides a stable, flat surface to press against the router fence.
With the wood face-up, push your stock slowly and steadily across the spinning bit, keeping constant, firm pressure against both the fence and the table. Maintaining a consistent speed prevents the wood from burning and ensures a clean, crisp cut.
Beginner Tip: The most common mistake is lifting the board away from the fence mid-cut. If the board wanders even slightly, your rabbet will become uneven and your glass won’t sit flat. Use featherboards if you have them, or simply focus on pushing the wood firmly toward the fence throughout the entire pass.
Pro Tip: To get a perfectly professional fit, test your depth on a scrap piece of wood first. Once you have made the cut, place a piece of your actual glass or backing board into the groove to ensure it fits snugly without rattling.
Step 3: Route the Profile
Now that your router table is set up, it is time to shape the decorative edge of your frame. First, install your chosen profile bit into the router collet and tighten it securely. Adjust the fence so it aligns with the pilot bearing of the bit, and raise the bit until the cutting edge sits at your desired height. Before touching your actual frame pieces, always make a test pass on a piece of scrap wood of the same thickness. This ensures the profile looks exactly how you want it and confirms your fence position is perfect.
When you are ready, feed your frame boards from right to left across the table, keeping them pressed firmly against the fence and the tabletop. Never try to remove more than 1/8 inch of wood in a single pass; if your profile is deep, make two or three shallow passes by gradually raising the bit, which keeps the wood from splintering and protects your router motor.
Beginner Tip: A common mistake is starting or stopping the feed too abruptly. Keep your movement smooth and consistent. If you stop moving while the spinning bit is touching the wood, you will leave a dark, burnt scorch mark that is very difficult to sand out.
Pro Tip: To get a glass-smooth finish right off the router, try using a “climb cut” for the very final pass. Simply take a tiny shaving – less than 1/32 of an inch – by feeding the wood in the same direction as the bit rotation. This eliminates tear-out and leaves your hardwood edges feeling buttery smooth.
Step 4: Calculate Your Miter Cuts
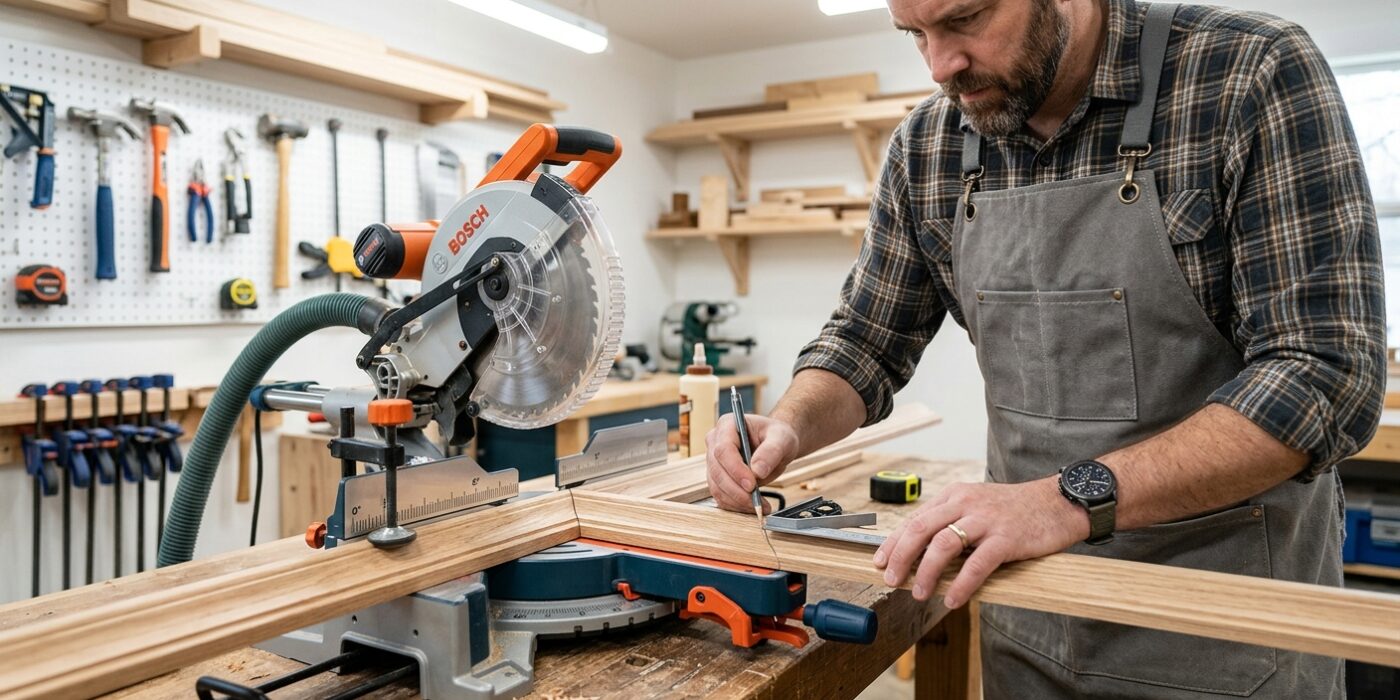
To create a perfect frame, you must understand that the “rabbet” is the recessed groove that holds your glass, mat, and photo. When measuring, you are focusing on the inside length of this groove. For a standard 8×10-inch photo, your frame components must account for the photo size plus the extra space created by that groove. Because each miter cut is 45 degrees, your measurement must extend from the inside short corner of the board to the outer edge of the miter.
For your 10-inch sides, add 3/4 of an inch to accommodate the rabbet depth (3/8 inch on each side), resulting in a measurement of 10.75 inches from the inside corner to the tip of your miter. For your 8-inch sides, aim for 8.75 inches. Always measure twice before you cut once; accuracy here is the secret to avoiding unsightly gaps at the corners.
Beginner Tip: A common mistake is forgetting to account for the width of the saw blade, known as the “kerf.” When marking your wood, always make your cut on the waste side of your pencil line so you don’t accidentally shrink your frame pieces.
Pro Tip: Use a miter gauge stop block. By clamping a small scrap piece of wood to your saw’s fence at the exact measurement, you ensure that all four sides are cut perfectly to size without having to measure and mark every single piece individually. This consistency is exactly how professionals get those seamless, professional-looking corners every time.
Step 5: Cut the Miters
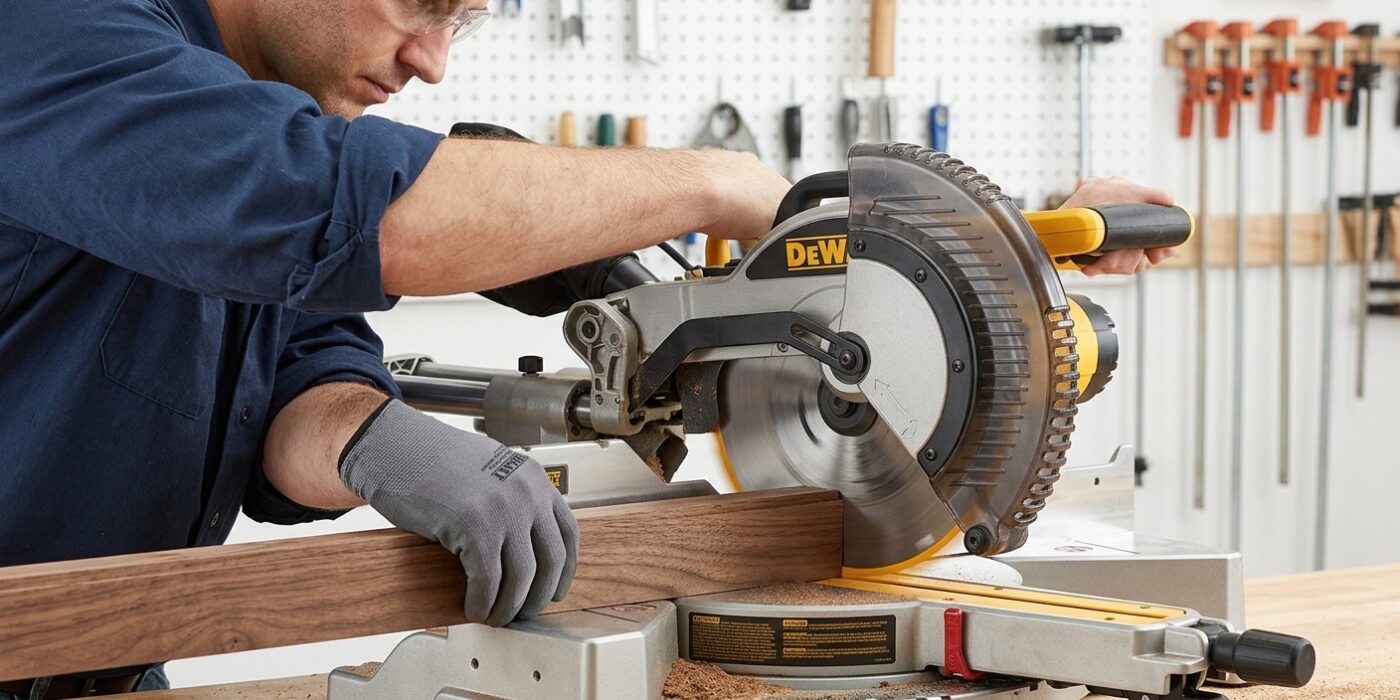
Accuracy is the soul of a beautiful frame. Because your frame corners meet at a 90-degree angle, each piece must be cut at exactly 45 degrees. If your saw is off by even half a degree, those tiny errors add up, leaving you with unsightly gaps at the corners.
Start by setting your miter saw to precisely 45 degrees. Use a precision square against the blade and the fence to verify this; don’t rely solely on the saw’s built-in scale. Once calibrated, cut one end of your frame stock. For the length, measure from the inside point of your cut to your desired mark. To ensure your frame is perfectly rectangular, use a stop block – a simple scrap of wood clamped to your saw’s fence – to ensure the two long sides are identical and the two short sides match perfectly. Always perform a “dry fit” on a flat surface before reaching for the glue to ensure everything aligns beautifully.
Beginner Tip: Never rely on the saw’s factory detents to be perfectly accurate. They are often slightly off, so always take the extra thirty seconds to calibrate your angle using a trusted square before making that first cut on your nice hardwood.
Pro Tip: To get glass-smooth corners that stay perfectly aligned during glue-up, try “shooting” your miters. After your saw cut, use a sharp block plane to take off a single, paper-thin shaving from the cut face. This removes saw blade chatter and ensures the wood fibers are perfectly flat, allowing for a near-invisible seam once the glue sets.
Step 6: Sand Before Glue-Up
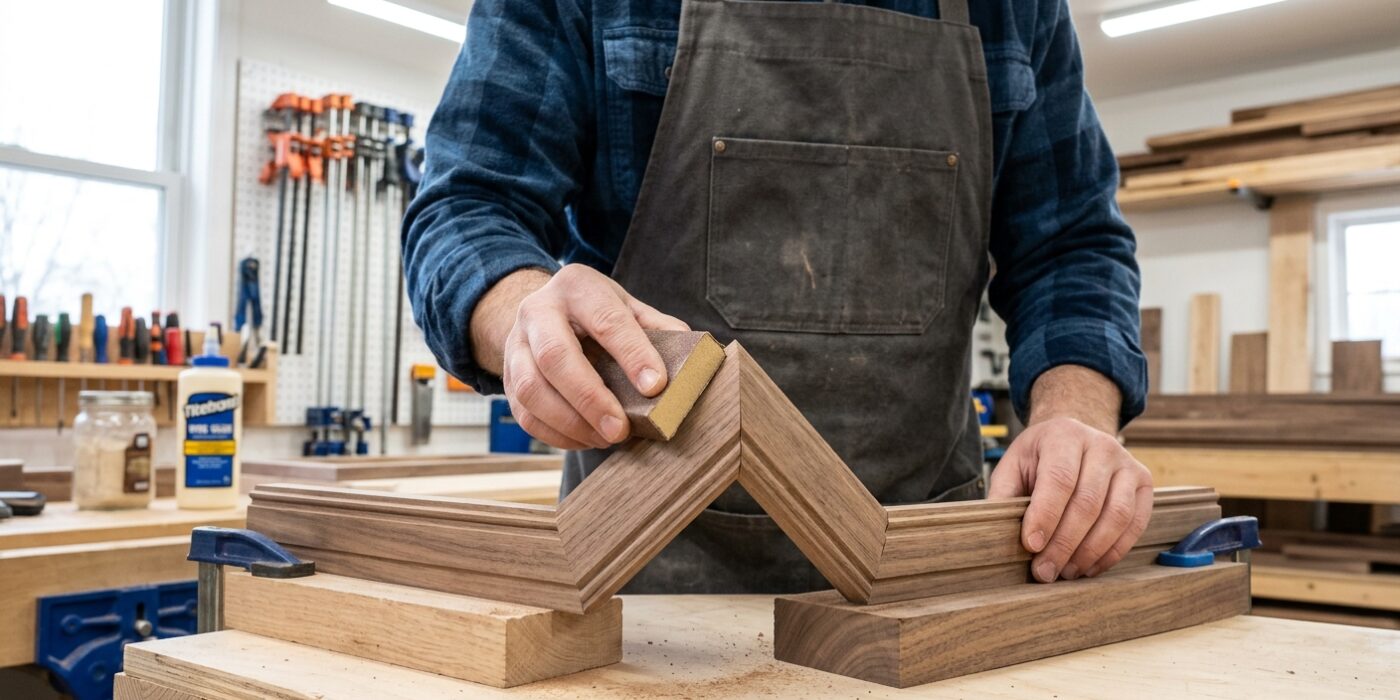
Before you join your frame pieces together, you must sand the wood. Once the frame is glued, it becomes nearly impossible to reach the intricate carved grooves of your profile, so we tackle this now while the pieces are still flat and easy to handle. Start by sanding the profile faces and flat surfaces with 120-grit sandpaper, then move up to 150-grit for a smoother finish. Be careful to avoid the angled mitered ends where the boards connect; you need those surfaces to remain perfectly flat and square to ensure a tight, invisible glue joint. After you are satisfied with the surfaces, gently run 220-grit sandpaper over any sharp outer edges to soften them. Between each grit change, use a tack cloth or a clean rag to wipe away all sawdust, as leftover grit can scratch your wood during the next stage of sanding.
Beginner Tip: Avoid the common mistake of over-sanding the profile details. If you use too much pressure or stay in one spot for too long, you will round over the crisp, sharp lines created by the router. Light, consistent passes are the key to preserving that professional look.
Pro Tip: To get into the tight nooks and crannies of your decorative profile, wrap your sandpaper around a small piece of scrap wood or a dense foam sponge. This acts as a custom sanding block that conforms to the shape of the profile, helping you maintain consistent pressure across every curve.
Step 7: Glue Up the Frame
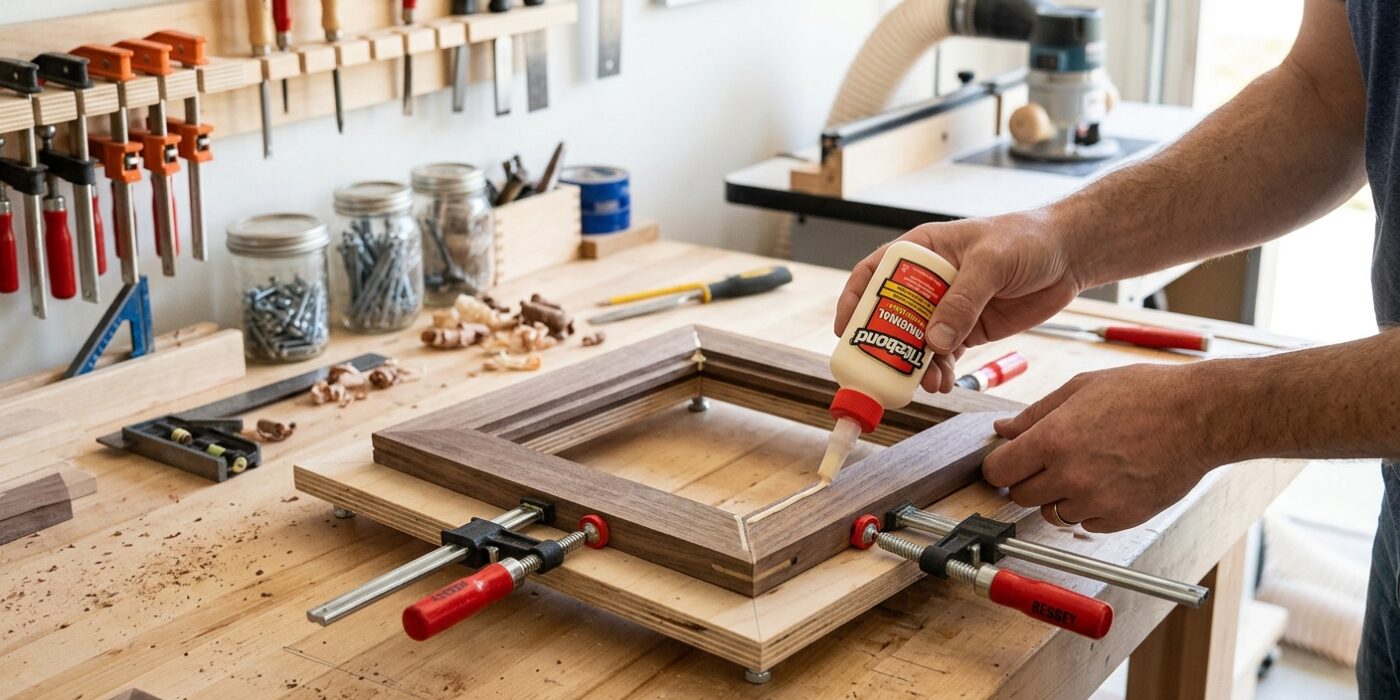
Now it is time to bring your pieces together. Lay your four frame sides flat on your workspace with the mitered (angled) ends touching. Apply a thin, even layer of wood glue to both faces of every joint. Using your finger or a small brush, ensure the glue reaches the entire surface area of the miter. Carefully bring the pieces together to form your frame. Slide your strap or band clamp around the perimeter and tighten it gradually. The goal is even pressure, which prevents gaps in the corners. Before the glue sets, use a tape measure to check the two diagonal distances across the frame; if the measurements match, your frame is perfectly square. Finally, lay the frame on a flat surface and press down gently to ensure it is not twisted or rocking, then let it sit undisturbed for at least two hours.
Beginner Tip: Do not over-apply glue. Excess glue that squeezes out of the joint can be difficult to remove once it dries. Use a damp cloth to wipe away any drips immediately, but avoid scrubbing, as this can push glue deeper into the wood grain and leave a blotchy finish when you eventually stain or seal the frame.
Alternative Method: If you do not have a strap clamp, you can use heavy-duty masking tape. Lay the four sides face-down in a row, with the points of the miters touching. Place long strips of tape across the joints, then flip the assembly over, apply your glue, and carefully “fold” the frame together. The tape acts as a hinge, holding the corners in place while you secure them with smaller pieces of tape.
Pro Tip: To keep your frame perfectly flat during glue-up, place it on a sheet of wax paper. The glue will not stick to the paper, ensuring you do not accidentally glue your beautiful new frame to your workbench.
Step 8: Finish and Fit
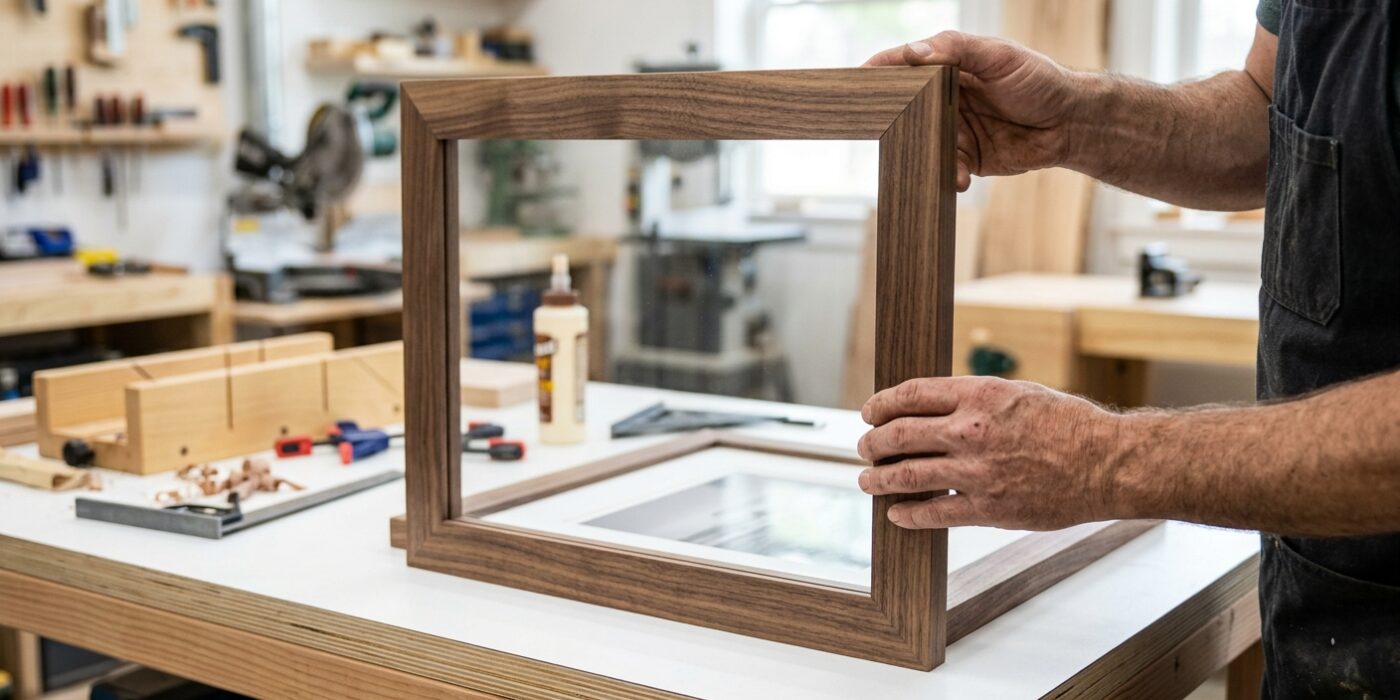
Now that your glue is fully cured, it is time to turn your raw assembly into a professional-looking frame. Start by lightly hand-sanding the face of the frame with 220-grit sandpaper. Use a sanding block to ensure even pressure; this removes any dried glue squeeze-out and levels the corner joints so they feel seamless to the touch. Once smooth, wipe away all dust with a tack cloth. Apply your finish – Danish oil is a fantastic, forgiving choice for beginners that brings out the natural richness of the wood. After the finish dries, lay your frame face-down on a clean surface. Place your glass, mat, and art into the rabbet opening. To secure them, press glazing points into the inside edge of the wood frame using a putty knife or a dedicated point-driving tool. Finally, attach your hanging hardware to the center-top of the back frame piece.
Beginner Tip: Avoid the urge to over-sand your corners. If you sand too aggressively in one spot, you will round over the crisp, sharp edges of your miter joints, which makes the frame look unintentional rather than handcrafted. Use light, even strokes and check your progress frequently.
Pro Tip: To get the most professional result, apply your finish to the frame pieces before you install the glass and art. This prevents you from accidentally getting oil or finish on your glass or damaging your delicate artwork during the final assembly process.