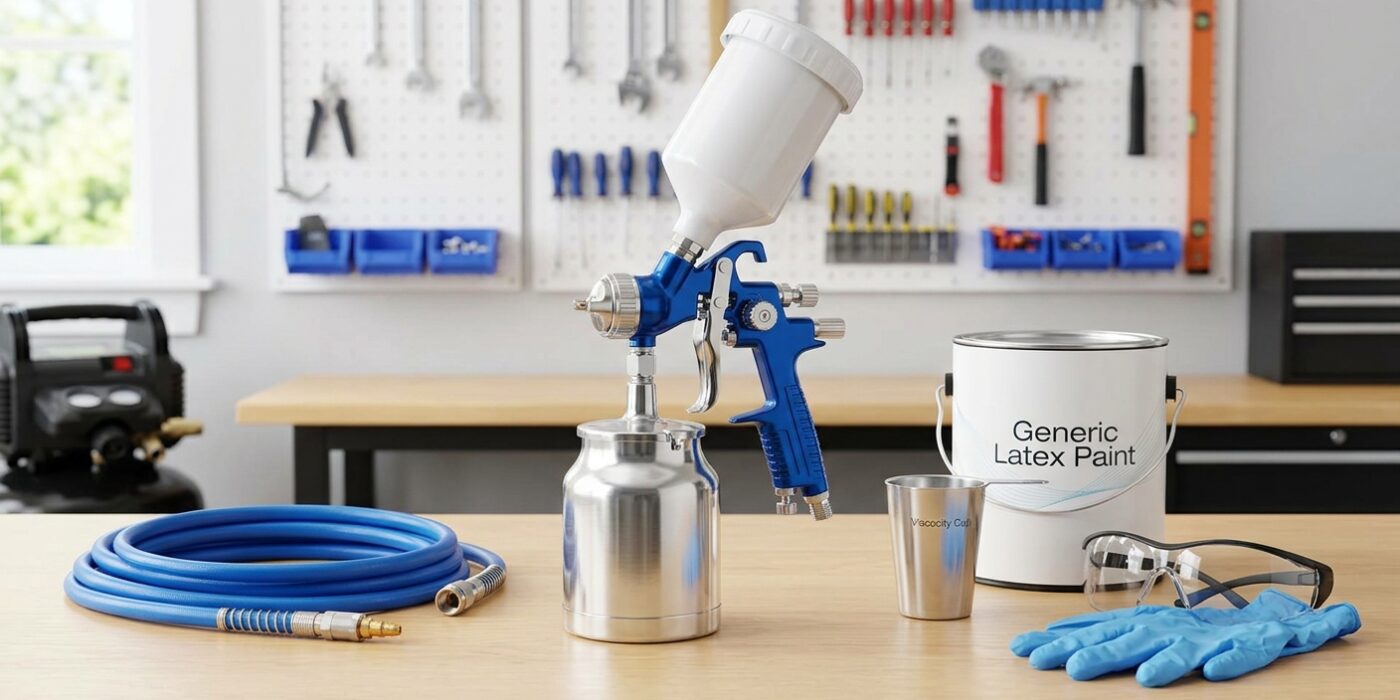
Project Shopping List
An HVLP (High Volume Low Pressure) paint sprayer produces a finer, more consistent finish than a brush or roller on flat surfaces, cabinets, furniture, and trim – but only if it’s set up and dialed in correctly. Most beginners get runs, dry spray, or orange peel texture because they skip the setup steps that professionals follow every single time. This guide covers the full process from thinning and filtering through technique and cleanup.
You’ll learn how to choose the right tip, dial in the right pressure, move at the right speed, and understand why each setting affects your results. After one practice session on scrap material, you’ll be able to spray professional-quality finishes.
What You’ll Need
Tools
- HVLP sprayer (turbine-style or compressor-fed with HVLP gun) – Wagner Flexio 3000 or Fuji 2203 for DIY use
- Viscosity cup (Zahn cup or Ford cup) – or a stir stick with paint drip timing
- Fine-mesh paint strainer bags (for filtering)
- Respirator with organic vapor cartridges (not just a dust mask)
- Spray booth or outdoor setup area
- Old cardboard for test passes
- Solvent appropriate for your paint (water for latex, mineral spirits for oil, lacquer thinner for lacquer)
Materials
- Paint or finish appropriate to your project
- Thinning additive if needed (Floetrol for latex, Penetrol for oil-based)
- Painter’s tape and masking paper
Step-by-Step Instructions
Step 1: Choose the Right Tip Size
Tip size is measured in thousandths of an inch (1.3mm, 1.5mm, 1.8mm, etc.) and determines what materials you can spray. As a general rule: 1.3mm to 1.5mm for stains, water-based polycrylic, and thin lacquers; 1.7mm to 1.9mm for latex paint and water-based enamels; 2.0mm and larger for thick latex, texture coatings, and primer. Using too small a tip with thick paint results in constant clogging and orange-peel texture; too large a tip with thin material gives you heavy wet runs.
Step 2: Thin the Paint Properly
Most latex paint straight from the can is too thick for HVLP spraying – it runs 90 to 100 seconds on a Zahn cup (or drips from a stir stick in thick, slow blobs). Target viscosity for spraying latex is 18 to 25 seconds on a Zahn cup. Add water or Floetrol in small amounts (2 tablespoons at a time), stir well, and test. For oil-based paints, use mineral spirits; for lacquers, use the appropriate lacquer thinner. A simple field test: properly thinned paint drips freely from a stir stick in a continuous stream, not in chunks or blobs.
Step 3: Strain Every Drop of Paint
Pour your thinned paint through a fine-mesh strainer bag into the spray cup. Never skip this step – even small lumps of partially dried paint will clog the tip mid-spray and cause spits that land on your wet surface. Pour slowly and let the paint fall through the mesh; don’t push it through.
Step 4: Dial In the Pressure and Fan Width
Start with medium pressure (middle of the regulator range) and a horizontal fan pattern. Hold the gun 8 to 10 inches from a piece of cardboard and pull the trigger. Ideal spray pattern: a 6 to 8 inch wide fan with even density from edge to center. If the pattern has a heavy center and thin edges (bowtie or banana shape), your pressure is too low or the paint is too thick. If you see dry, grainy texture, increase pressure slightly or thin further. This diagnostic spray on cardboard takes 2 minutes and prevents ruining your actual workpiece.
Step 5: Practice Your Trigger Technique
The most important HVLP technique: always start and stop the trigger off the edge of the workpiece, never on it. Pull the trigger just before your pass reaches the edge, and release just after you clear the other side. Moving the gun at a consistent speed of about 1 foot per second while keeping it perpendicular to the surface (not arcing your wrist) is what creates an even coat. Arcing causes thin edges and a heavy center. Practice on cardboard until the motion feels natural.
Step 6: Apply Thin, Overlapping Coats
Overlap each pass by 50% – the center of the next pass lands where the edge of the previous pass was. Thin coats are critical: you should be able to see the surface through the first coat after spraying. Trying to achieve full coverage in one pass almost always leads to runs. Three thin coats dry and level better than one heavy coat. Between coats, let the surface dry until it’s dull and no longer tacky, usually 20 to 40 minutes for latex.
Step 7: Clean the Sprayer Immediately After Use
HVLP sprayers become expensive paperweights if you let paint dry inside the air cap, needle, or tip. Immediately after spraying, pour remaining paint back into the can, then run clean solvent through the system (water for latex – fill the cup halfway and spray until clear). Disassemble the tip and needle, soak in the appropriate solvent, and wipe clean. The air cap has small orifices that clog with dried paint – clean them with a stiff nylon brush, never a metal object that can enlarge the holes.
Pro Tips
- Spray in low-humidity conditions when possible – latex paint sprayed in high humidity takes much longer to dry and is more prone to runs and sagging.
- If you see orange peel texture on a lacquer or urethane finish, increase your gun distance to 12 inches and thin the material further – orange peel means the atomized droplets are too large or drying before they level.
- On cabinets, spray the interior and backs first, then the edges, then the large face – this way any overspray from back-pass spraying lands on surfaces you’ll re-coat anyway.
- Use a turntable or lazy Susan for small furniture pieces – you can rotate them rather than repositioning yourself, which gives more consistent results.
- Test every paint batch separately – different colors from the same brand can have different viscosities and may need different thinning ratios.
Frequently Asked Questions
What’s the difference between HVLP and airless sprayers?
HVLP uses high air volume at low pressure to atomize paint gently, producing less overspray and finer detail work. It’s best for trim, cabinets, and furniture. Airless sprayers use high-pressure fluid without air and can spray unthinned thick paint fast – they’re designed for large surfaces like exterior house walls and whole-room interiors where transfer efficiency matters less than speed.
Do I need a spray booth?
You need some form of overspray control and ventilation. Outdoors on a calm day is fine for large pieces; in a garage with the door open works for most projects. A dedicated spray booth with exhaust fan and filtered intake is ideal for fine finishing work like cabinets. Never spray solvent-based materials indoors without proper explosion-proof ventilation – the fumes are flammable and the concentration can build quickly in enclosed spaces.
Why does my paint keep clogging the tip?
Three causes: paint is too thick and you need to thin further; you’re using too small a tip for your material; or you didn’t strain the paint and debris is blocking the orifice. If it clogs mid-job, use a spray tip cleaning tool (a plastic pick) or soak the tip in solvent and clear it with compressed air. Never use a metal nail or pick – you’ll permanently enlarge the orifice and ruin your spray pattern.