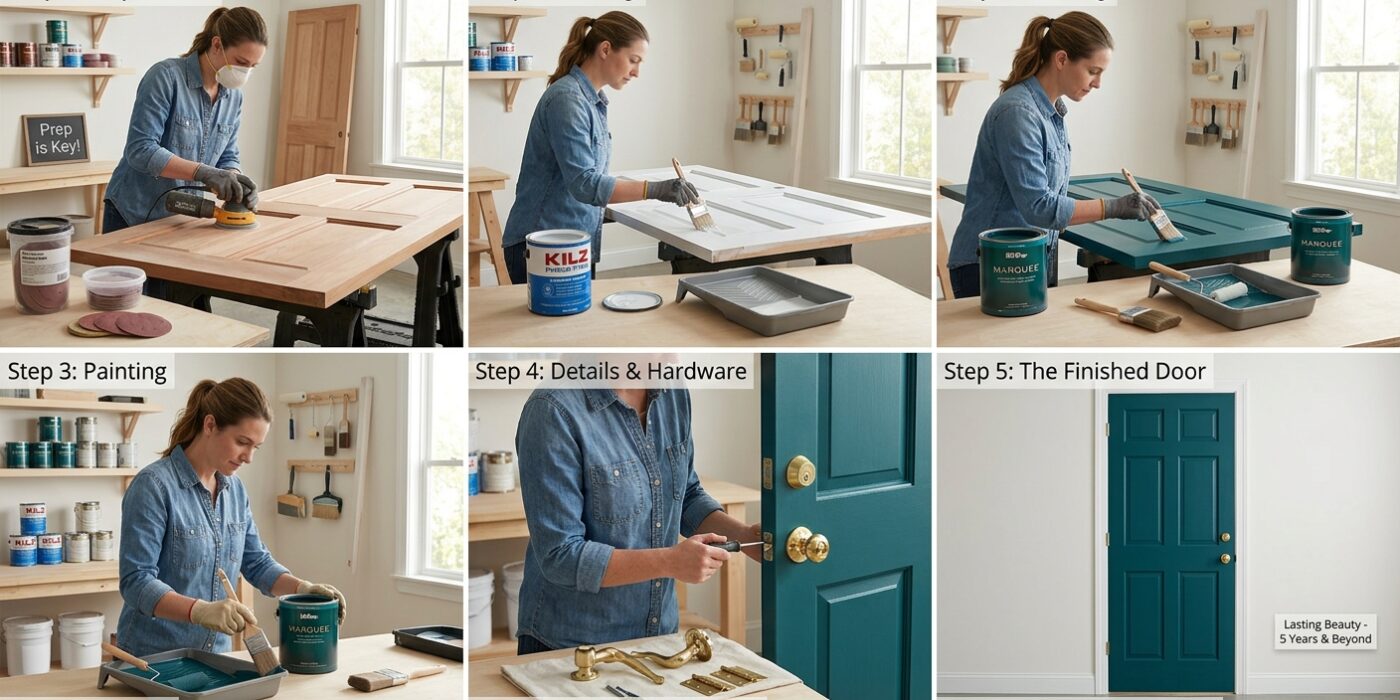
Project Shopping List
A front door that’s peeling, faded, or just the wrong color is one of the most cost-effective improvements you can make to a home’s curb appeal – a quality repaint that lasts 5 years or more takes an afternoon and costs under $50. The challenge is that front doors take serious abuse: direct sun, rain, physical impact, and frequent touching at the handle area. Most door paint failures come from wrong product choice and inadequate prep, not bad technique. This guide fixes both.
What You’ll Need
Tools
- Paint scraper and putty knife
- Random orbital sander
- 80-grit, 120-grit, and 220-grit sandpaper
- 2.5-inch angled brush (high quality)
- 4-inch foam roller (for flat panels)
- Cleaning rags
- Painter’s tape
Materials
- Exterior enamel or door-specific paint (Benjamin Moore Aura Grand Entrance, Behr Premium Plus Ultra Exterior)
- Bonding primer or exterior oil-based primer (for bare or slick surfaces)
- TSP substitute (for cleaning)
- 120-grit and 220-grit sandpaper
- Exterior caulk for any gaps
Step 1: Remove the Door – If Possible
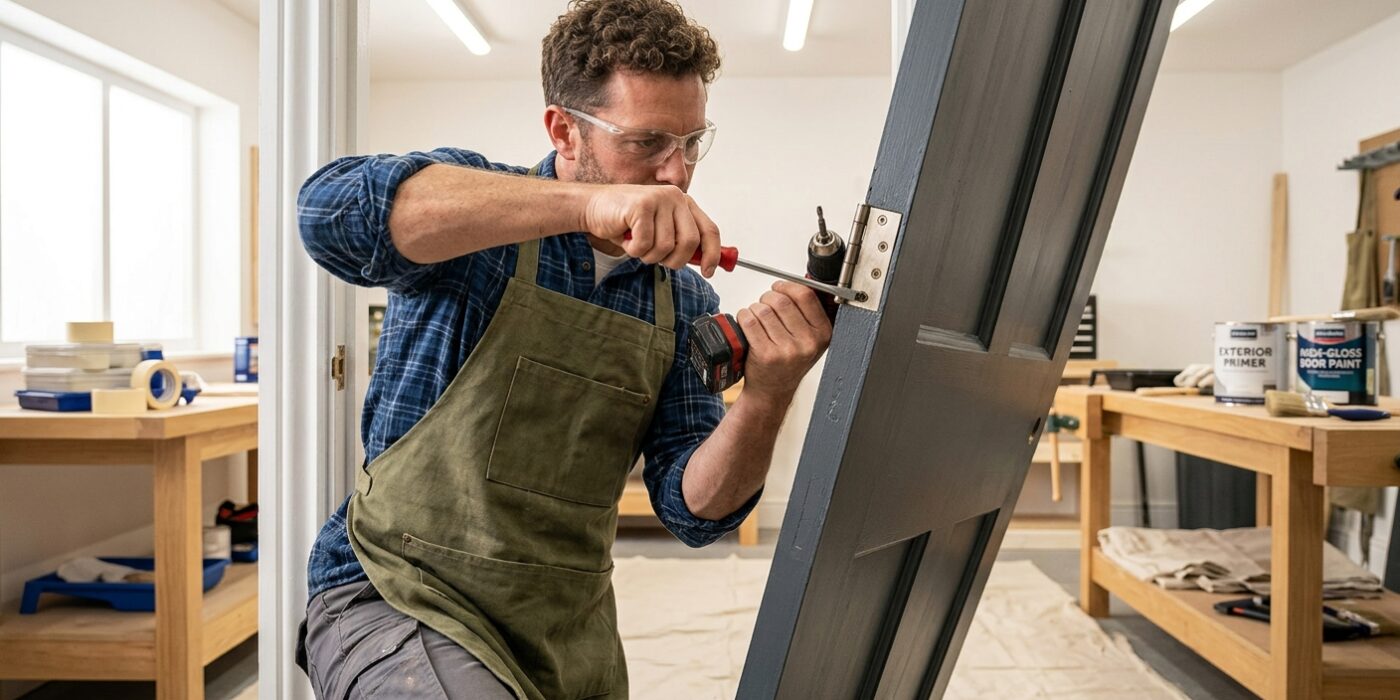
For the best results, we recommend removing your door from its frame and laying it flat across a pair of sturdy sawhorses. Painting a door while it hangs upright is tricky because gravity pulls the wet paint downward, often creating unsightly drips or “sags.” Furthermore, laying the door flat allows you to easily paint the top, bottom, and side edges. These edges are the most vulnerable parts of your door; when they aren’t properly sealed, moisture creeps into the wood, leading to swelling, rotting, and peeling paint later on. If you do remove the door, clear a space at least five feet wider than the door on all sides to give yourself plenty of room to move around.
Beginner Tip: A common mistake is forgetting to label your hinge pins. Before pulling them out, use a small piece of painter’s tape to mark which pin belongs to the top hinge and which belongs to the bottom. If you mix them up, you may struggle to get the door to hang straight when you reinstall it.
Alternative Method: If you do not have sawhorses, you can set up a stable, flat surface using two sturdy dining chairs placed back-to-back, draped with old blankets to protect the door finish. Just ensure the surface is level and won’t wobble while you work.
Pro Tip: Place a small piece of masking tape over the latch hole and the deadbolt strike plate on the door frame before you start. This prevents accidental drips from getting inside the lock mechanisms, which can be a nightmare to clean later.
Step 2: Clean Thoroughly
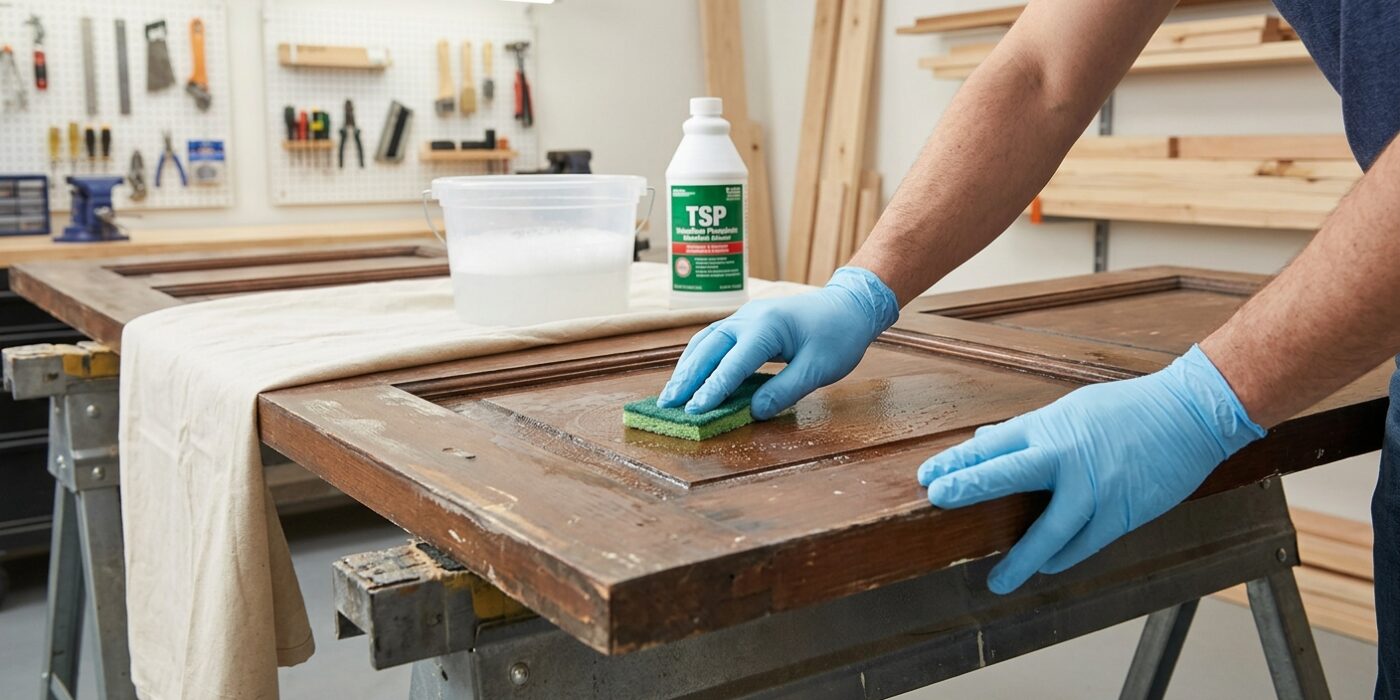
Before you even think about picking up a brush, you must deep-clean your door. Think of this like washing your face before applying moisturizer; if the surface is dirty, your new paint job will peel away within months. Combine one cup of TSP (Trisodium Phosphate) substitute with one gallon of warm water in a large bucket. Using a medium-stiff scrub brush or a heavy-duty sponge, scrub the door in a circular motion, paying extra attention to the areas around the handle and the bottom corners where dirt settles. Why go to this effort? Front doors are magnets for invisible oils from hands, sunscreen, pollen, and grime that prevent paint from gripping the surface. After scrubbing, rinse thoroughly with a clean, damp cloth and let the door air-dry completely for at least two hours.
Beginner Tip: A very common mistake is using a soap-based cleaner like dish detergent. These cleaners often leave behind a thin, invisible film that acts like a non-stick coating, causing your paint to flake off later. Stick strictly to TSP substitute to ensure a squeaky-clean surface.
Pro Tip: To check for hidden wax or silicone residue, run a clean white rag soaked in denatured alcohol across the bottom of the door. If the rag comes away looking shiny or dark, your door has buildup. Keep wiping with fresh sections of the rag until the cloth stays clean; this simple prep step is the secret difference between a one-year paint job and a five-year finish.
Step 3: Scrape and Sand Failed Paint
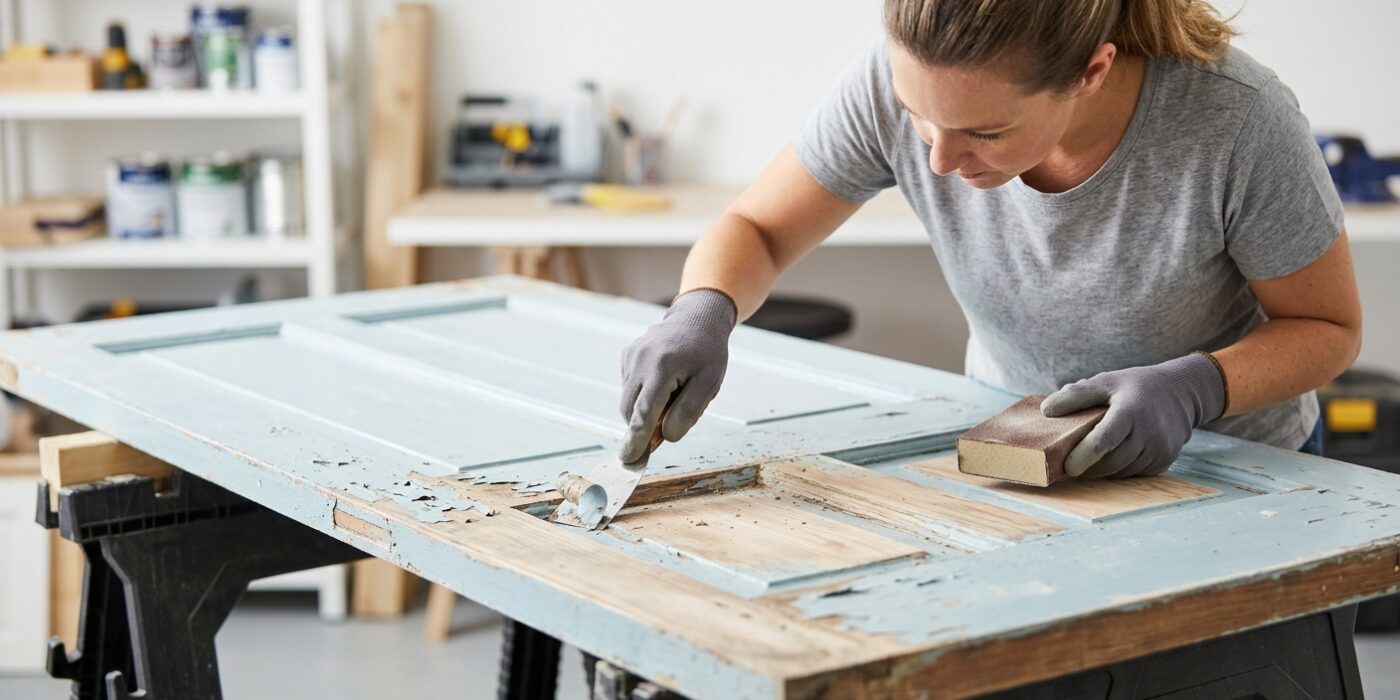
Now it is time to prep your surface. Think of this as creating a perfect canvas; if the old paint is failing, the new paint will fail too. Start by using a sharp paint scraper to gently remove any areas where the paint is peeling, bubbling, or cracking. You want to scrape until you hit solid, intact paint or bare material. Once the loose bits are gone, use 120-grit sandpaper to smooth out the jagged edges where the paint meets the bare door. Finally, lightly sand the entire surface of the door. You aren’t trying to remove all the old color – you are just “de-glossing” it to create a slightly rough texture that helps your new primer and paint grip tightly.
Beginner Tip: The most common mistake is sanding too aggressively on metal doors. If you see shiny silver metal peeking through, stop immediately! If you sand down to the raw steel, you must apply a specialized metal primer to prevent future rust. Keep your sanding light and consistent.
Pro Tip: To get a professional finish, use a vacuum with a brush attachment to remove all the sanding dust from every crevice, followed by a quick wipe-down with a tack cloth or a damp, lint-free rag. Any dust left behind will act like tiny pebbles under your new paint, creating a gritty, uneven texture once it dries.
Step 4: Prime
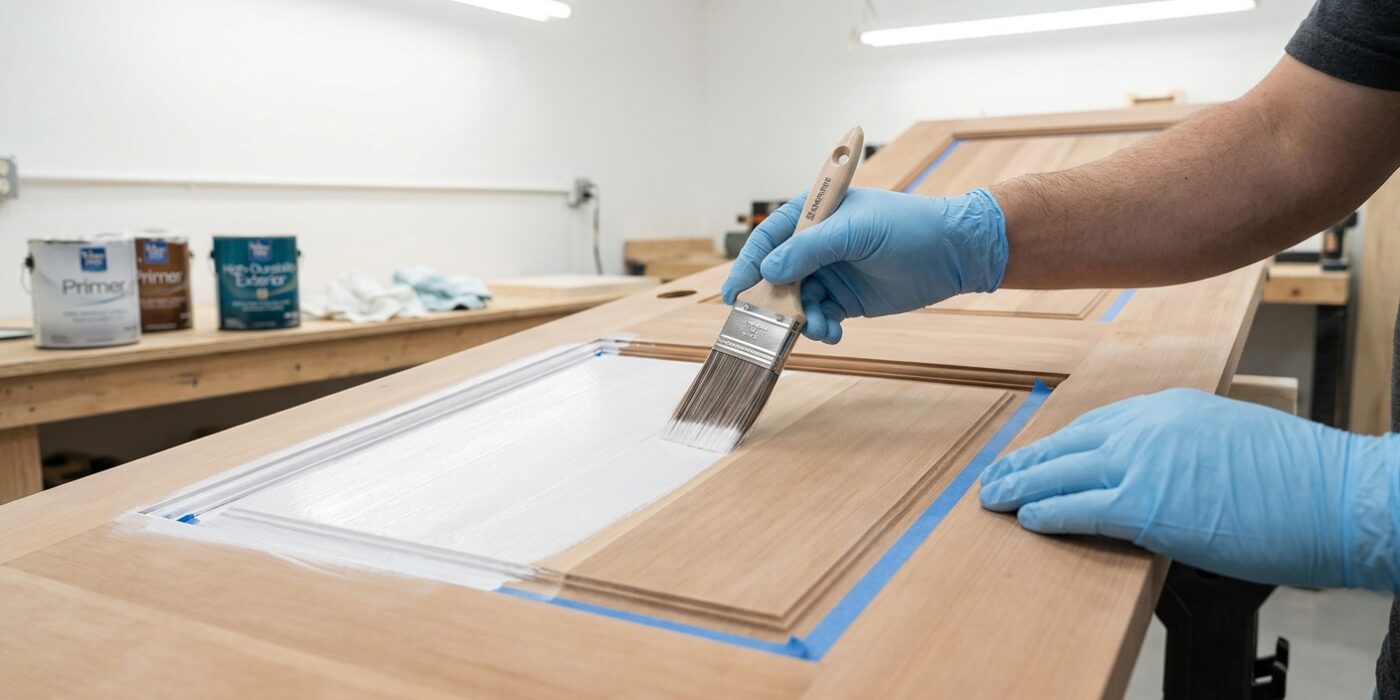
Think of primer as the bridge between your door and your final paint color. Because you want this project to last five years, primer is non-negotiable. If you have exposed raw wood, use an exterior oil-based or acrylic bonding primer to create a reliable “stick” for the paint. For steel doors, always use a rust-inhibiting primer on any scratches or bare metal to stop oxidation before it starts. If you have a fiberglass door, ensure you use a dedicated fiberglass primer. Even if you only sanded down a few spots, apply a thin, even coat of primer to the entire door face. This guarantees that the final paint absorbs at the same rate across the whole surface, preventing patchy, uneven color.
Beginner Tip: A common mistake is applying the primer too thick, which leads to unsightly drips and “curtains” in the finish. Remember, the goal is not to hide the old color completely with the primer; it is simply to create a uniform surface. Use thin, smooth strokes, and if the old color peeks through, that is perfectly fine.
Pro Tip: Before you start, check the weather forecast. Paint and primer are very sensitive to humidity. For the best long-term adhesion, try to prime your door on a day where the temperature is between 60 and 80 degrees Fahrenheit, and avoid direct, blazing sunlight, which can make the primer dry too fast and become brittle.
Step 5: Apply Finish Paint – Panels First
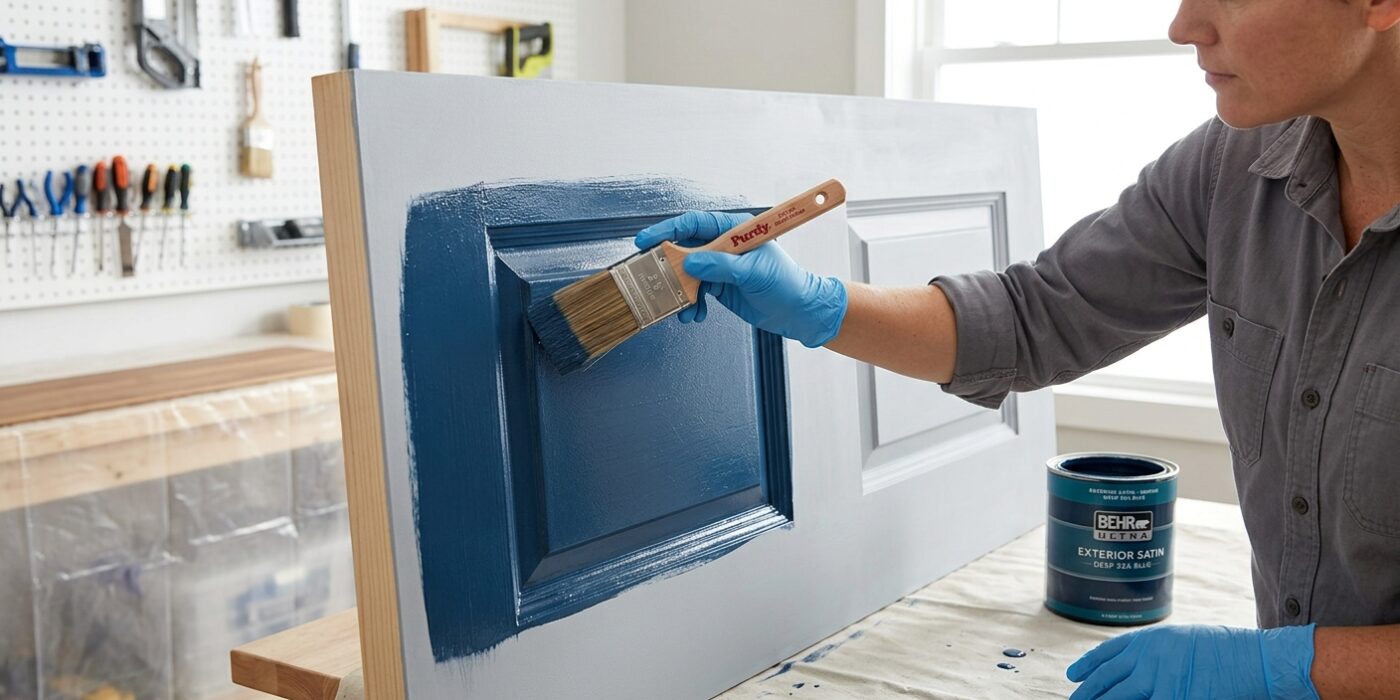
Now it is time for the transformation! For paneled doors, order is everything to keep your finish smooth. Start by using a 2-inch angled sash brush to paint the recessed panels first. Focus on getting paint into the corners where the panel meets the frame, then use a 4-inch foam roller to fill in the flat center of the panel. Next, paint the vertical center strip (the stile), followed by the horizontal cross-pieces (the rails), and finish with the long outer vertical edges of the door. This sequence ensures you are always brushing into a “wet edge,” preventing ugly lap marks where paint starts to dry.
After each section, gently “tip off” the surface by running your brush lightly over the paint in the direction of the wood grain. This smooths out any tiny bubbles or roller stipple. Apply at least two thin coats, sanding lightly with 220-grit sandpaper once the first coat is completely dry to ensure a professional, glass-like finish.
Beginner Tip: Avoid the urge to over-brush. If you see a thin spot or a drip, leave it alone until the coat is dry. If you keep poking at tacky paint, you will create textured ridges that are very difficult to sand out later.
Pro Tip: Keep a “damp-dry” microfiber cloth tucked into your back pocket. If a stray drop of paint lands on your door handle or hinges, wipe it immediately before it has a chance to set, saving you a frustrating cleanup session later.
Step 6: Paint All Edges and Rehang
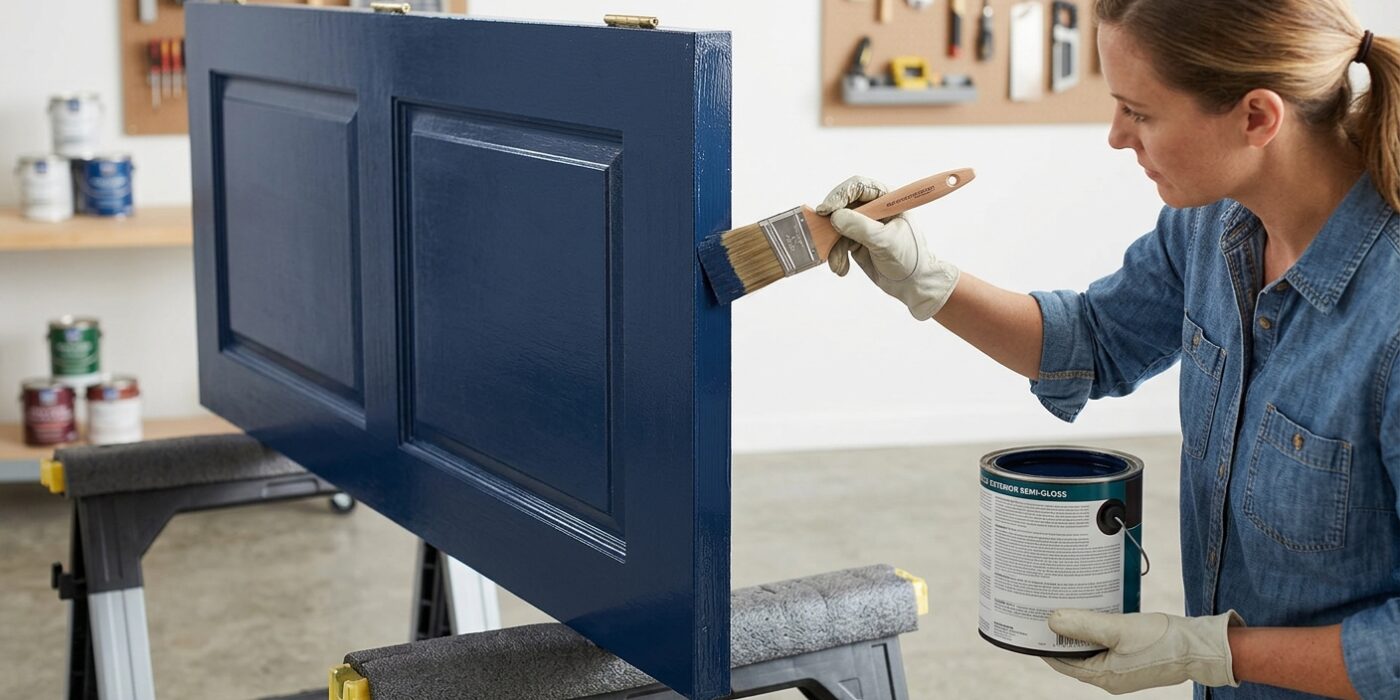
Now that your main door panels are dry, it is time to address the edges. Using your paintbrush, apply a coat of paint to the top, bottom, and both side edges of the door. The bottom edge is the most critical area; because it is often overlooked during manufacturing, it acts like a sponge, soaking up moisture that causes wood to warp and paint to peel. Ensure you coat this edge thoroughly to seal the door against the elements. After painting, wait until the paint is completely dry to the touch – typically four to six hours – before rehanging the door. If you hang it while the paint is even slightly tacky, the edges will stick to the door frame, causing the finish to rip away.
Beginner Tip: A common mistake is painting the edge that latches to the frame (the strike side) the same color as the interior side of the door. When the door is closed, you will see a mismatched line of paint. Stand in your hallway with the door closed and determine exactly how much of that edge is visible from the inside, then use painter’s tape to create a clean line so your exterior color doesn’t bleed into your interior hallway.
Pro Tip: To avoid unsightly drips on the vertical edges, use a “dry brush” technique. After loading your brush with paint and applying it to the edge, wipe the brush clean on the rim of the can, then lightly drag the bristles over the wet paint. This removes excess material and levels out any heavy spots before they can run.