Project Shopping List
High ceilings look spectacular – until you have to paint them. A 12-foot or 14-foot ceiling seems to demand scaffolding, but full scaffolding systems cost hundreds of dollars to rent, are awkward to move around furniture, and require more setup time than the painting itself. The good news is that with the right tools and technique, most DIYers can paint high ceilings safely and effectively without scaffolding.
This guide covers the tool choices, safety setup, and specific rolling and cutting techniques that make high-ceiling painting manageable – including how to maintain a wet edge across a large area you can’t easily reach.
What You’ll Need
Tools
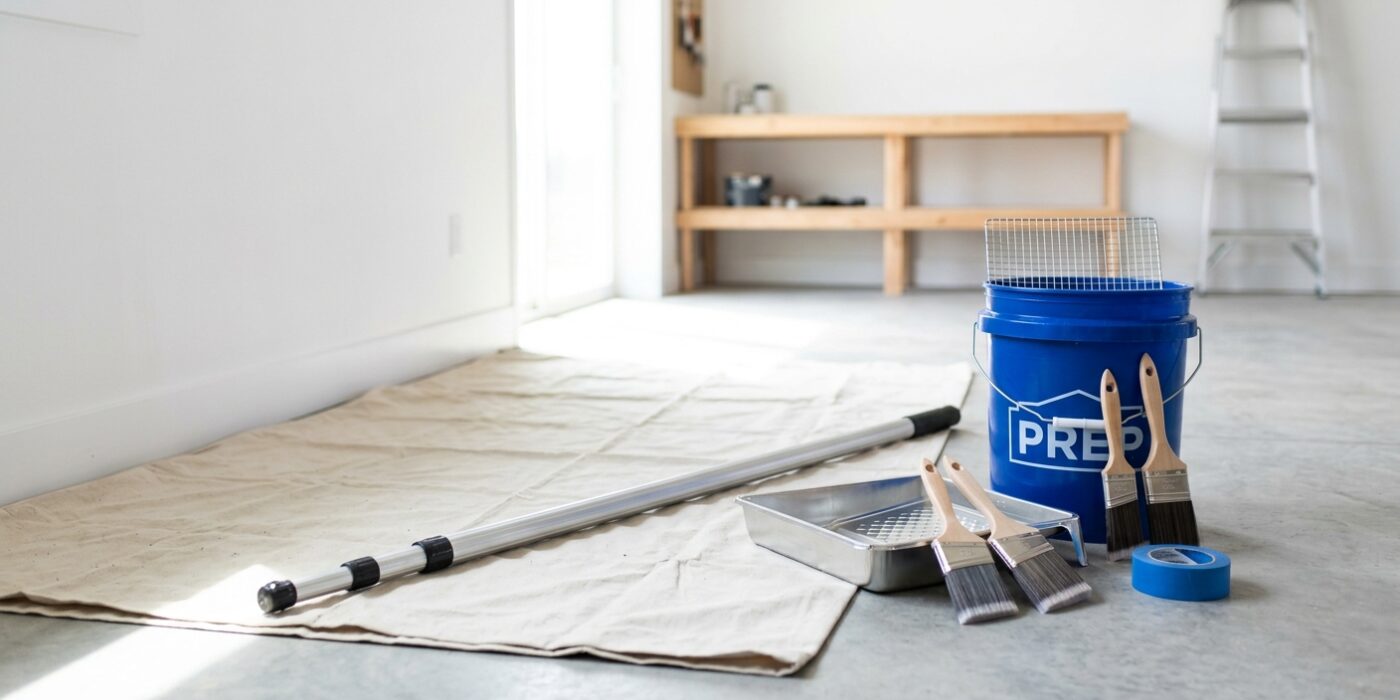
- Extension pole – 8-foot adjustable (this is the key tool; most people use poles that are too short)
- 2-foot ladder for cut-in work near perimeter
- Pump-up paint sprayer (optional but excellent for heavily textured ceilings)
- Heavy-duty roller frame rated for extension pole use
- 3/4-inch nap roller cover for textured ceilings, 3/8-inch for smooth
- 5-gallon bucket with roller grid (safer than a tray when working with extension poles)
- Angled brush for cutting in at the ceiling perimeter
Materials
- Ceiling paint (flat finish – specifically formulated to minimize roller splatter)
- Floetrol additive (extends open time to reduce lap marks on large ceiling areas)
- Drop cloths covering entire floor – splatter falls straight down and covers everything
- Plastic sheeting for furniture and fixtures
Step-by-Step Instructions
Step 1: Set Up Your Drop Protection
Ceiling painting creates far more splatter than wall painting – gravity works against you, and every roller stroke releases micro-droplets that fall straight down. Cover every inch of the floor with drop cloth or plastic sheeting – don’t leave gaps. Cover all furniture with plastic. Remove ceiling fans or tape the blades and motor housing. Turn off and tape around recessed light cans. Ten minutes of thorough drop cloth placement saves an hour of cleanup.
Step 2: Cut In the Perimeter First
Stand on a 2-foot step ladder and cut in along the ceiling perimeter – where the ceiling meets the walls – with a brush. Cut in 6 to 8 feet at a time and work your way around the room. This is the hardest part of high ceiling painting because your arms are extended above your head. Keep the sections short so your arms don’t fatigue mid-stroke. A good angled brush loaded properly can cut a straight line even above head level – work slowly and rest your arm every few feet.
Step 3: Choose the Right Extension Pole Length
For a 9-foot ceiling, a 6-foot pole is enough. For 12-foot ceilings, use an 8-foot pole. For 14-foot or higher ceilings, use a two-section pole that extends to 10 or 12 feet. The pole needs to be long enough that you can comfortably reach the ceiling while standing flat on the floor – working on your tiptoes with an under-length pole causes fatigue, loss of control, and poor coverage. Most rental shops carry extra-long poles.
Step 4: Use a 5-Gallon Bucket with Grid
Roller pans are difficult to use with long extension poles – the tray tips, spills, and forces you to reload frequently. A 5-gallon bucket with a wire roller grid lets you load the roller by dipping into the bucket and rolling up the grid, without bending over a tray. Pour an entire gallon of thinned paint into the bucket so you’re not constantly refilling, and you can roll far longer sections without stopping.
Step 5: Roll in Sections Working Across the Ceiling
Start from the corner farthest from the room entry. Roll a 3 to 4 foot wide section across the narrow dimension of the ceiling (perpendicular to the light source, if there’s a dominant window). Apply paint with a W or M pattern first to distribute the paint, then fill in with parallel strokes. The key with high ceilings is keeping your wet edge moving – you’re working a larger area than with a normal 8-foot ceiling and you have more paint volume to manage before the edge starts to dry.
Step 6: Add Floetrol to Extend Open Time
On ceilings larger than 200 square feet, mix Floetrol into the ceiling paint at the label ratio. This gives you more time before the rolled edges start to set, reducing the risk of lap marks on a surface you can’t quickly reach back to blend. On a hot day or in a room with direct sunlight, Floetrol is essentially mandatory for quality results on large ceilings.
Step 7: Final Finishing Strokes
After filling each section, do a set of light finishing strokes in one consistent direction – either the full length or full width of the ceiling, whatever is shorter. Use almost no pressure for these strokes; you’re just unifying the texture and removing roller marks. Keep the roller loaded but not dripping. These finishing strokes in a consistent direction make the final ceiling look professional even when applied with a long extension pole.
Step 8: Second Coat After Full Drying
Let the first coat dry completely – ceiling paint typically takes 2 hours. Apply the second coat perpendicular to the first (if you rolled east-west for the first coat, roll north-south for the second). The perpendicular application ensures even coverage and helps hide any slight inconsistencies from the first coat. Two coats are almost always necessary on ceilings, especially if you’re changing colors or painting over a stain.
Pro Tips
- A spray-and-backroll technique (pump garden sprayer to apply, then roller to even out) is faster and produces less splatter on heavily textured ceilings. The sprayer fills in texture valleys that rollers miss.
- Wear a hat and safety glasses – ceiling painting inevitably produces paint drips. Paint in the eye from an extension pole stroke is a real hazard.
- If you have a vaulted or cathedral ceiling with sections beyond 16 feet, pump spraying is the practical approach. Rent an airless sprayer for a day and mask everything thoroughly.
- For 12 to 14-foot ceilings with clear access, a pump-up garden sprayer loaded with thinned ceiling paint applied lightly and back-rolled immediately can coat an entire ceiling in under an hour.
- Check the extension pole connection frequently – a roller that separates from the pole at ceiling height drops straight into the wet paint below and splashes everywhere.
Frequently Asked Questions
Is it worth renting a ladder scaffold for a high ceiling?
For ceilings above 14 feet, pump spraying or a pump sprayer combined with a rental scaffolding system is the most practical approach. A pump sprayer on a 12-foot pole can reach 16-foot ceilings but not comfortably or safely. For 12 to 14-foot ceilings, a good extension pole is genuinely sufficient.
What’s the best paint for ceilings?
Flat or ultra-flat ceiling paint is the correct choice for virtually all ceilings. It hides imperfections, produces minimal splatter, and looks even in overhead lighting. Semi-gloss ceiling paint for bathrooms or kitchens is acceptable where moisture resistance is needed, but any sheen above flat makes ceiling texture and imperfections very visible.
My ceiling has water stains – will ceiling paint cover them?
Standard ceiling paint will not cover water stains permanently – the stain will bleed through within weeks. Spot-prime water stains with shellac-based primer (Zinsser BIN) or oil-based stain-blocking primer before applying ceiling paint. These primers chemically block the stain rather than just burying it under paint. One coat of shellac primer followed by two coats of ceiling paint is the permanent solution.