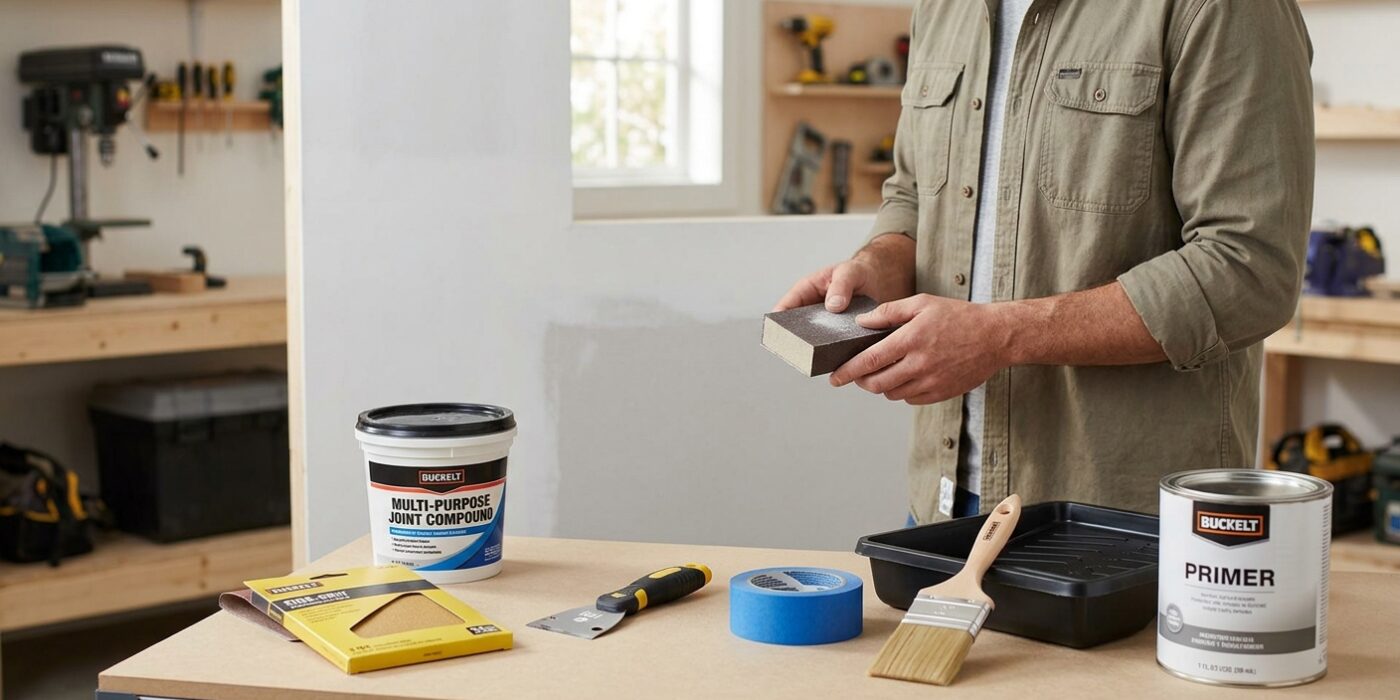
Project Shopping List
The most common reason paint jobs look bad isn’t the paint – it’s the wall surface underneath. Bumps, dents, old tape joints, nail pops, and surface contamination all show through paint and ruin the final result. Professional painters spend the majority of their time on prep, not painting. This guide covers the complete wall prep sequence that separates amateur paint jobs from professional ones.
You’ll learn how to identify every type of surface defect, how to fix each one correctly, how to sand for a truly flat surface, and why priming is the step most homeowners skip that costs them the most in the final result.
What You’ll Need
Tools
- Bright work light or raking light (a floor lamp held low to the wall)
- 6-inch flexible putty knife
- 10-inch taping knife for larger areas
- Pole sander with 100-grit and 150-grit sanding screens
- Hand sanding block with 120-grit and 220-grit
- Shop vacuum with fine-dust filter
- Roller and brush for priming
Materials
- Lightweight spackling compound for small dings and nail holes
- Setting-type joint compound (Durabond 45 or 90) for larger repairs – this stuff doesn’t shrink
- All-purpose joint compound for skim coating and skim patches
- Self-adhesive mesh drywall tape for cracks and holes
- Drywall screws for popped nails
- PVA drywall primer or bonding primer
Step-by-Step Instructions
Step 1: Inspect Under Raking Light
Set up a work light or floor lamp so it shines almost parallel to the wall surface from one side – this raking light creates shadows that reveal every bump, dent, ridge, and crack that flat overhead lighting hides completely. Walk the entire room in raking light and mark every defect with a pencil circle. You’ll almost always find more problems than you expected. This inspection is the most important step – you can’t fix what you haven’t found.
Step 2: Fix Nail Pops
Nail pops appear as small round bumps where nails have worked loose over time. Drive a drywall screw 2 inches above and 2 inches below each popped nail, sinking the screw head just below the surface (creating a slight dimple). Then drive the nail deeper with a nail set – the screw now holds the drywall, and the nail stays put. Apply two coats of spackling, feathering each coat over a 4-inch area, sanding between coats. Trying to just sink the nail without adding screws – a common shortcut – leads to the nail popping again within months.
Step 3: Fix Cracks
Hairline cracks (less than 1/8 inch wide) can be filled with spackling or flexible caulk and feathered with a putty knife. For cracks wider than 1/8 inch or cracks that have appeared multiple times, use setting-type compound (Durabond 45) and self-adhesive mesh tape – mesh tape bridges the crack and prevents it from reappearing. Apply compound over the mesh in two coats, sanding each coat when dry. Painting over unfilled cracks is the fastest way to guarantee they reappear in your new paint.
Step 4: Fill Dents and Holes
For small holes up to 3 inches in diameter, use a metal patch kit or mesh patch, apply joint compound in two or three thin coats, and feather 8 to 12 inches beyond the repair edge for a truly invisible result. The mistake most people make is applying compound in one thick coat – it shrinks as it dries and creates a visible depression even after sanding. For larger holes, cut a clean rectangle, install backing boards through the hole, and hang a new drywall patch piece before taping and mudding.
Step 5: Skim Coat Problem Walls
If you have a wall with many repairs, or a wall with texture you want to smooth, or a wall where previous tape joints show through – skim coating the entire surface is faster and gives better results than spot-patching dozens of areas. Mix all-purpose joint compound to a pancake batter consistency and apply with a 10-inch knife or a rubber squeegee, working in sections. The goal is to fill low spots and build a flat, consistent surface. Two skim coats with sanding between them can transform a rough wall into a mirror-flat surface ready for eggshell or satin paint.
Step 6: Sand Flat
Sand repairs with 100-grit on a pole sander, feathering the edges of every repair into the surrounding wall. Follow with 150-grit for the final pass. After pole sanding, go back over the repaired areas with a hand block and 120-grit to blend the repair edges – pole sanders can leave slight dish shapes around repairs that only become obvious after paint. Vacuum all dust before priming – not wiping, vacuuming. Dust that’s been wiped with a dry cloth is often redistributed rather than removed.
Step 7: Clean the Walls
Wipe walls with a slightly damp sponge to remove any remaining dust, especially around base trim, door frames, and corners where dust accumulates. For walls in kitchens or near cooking areas, clean with TSP substitute to remove grease – paint won’t bond over grease even after priming. Let walls dry completely before applying primer.
Step 8: Apply Primer
Prime all repaired areas at minimum, and the entire wall if more than 20% of the surface was repaired or if you’re making a dramatic color change. Use a PVA drywall primer for fresh drywall and repairs; use a bonding primer for existing painted surfaces where adhesion is a concern. Primer seals repairs so they absorb topcoat at the same rate as the surrounding surface – without primer, repaired spots will show as shinier or flatter patches in the finish coat, even with identical paint applied to everything.
Pro Tips
- Setting-type compound (Durabond) is your friend for deep fills – it doesn’t shrink at all and sands just as easily as regular mud once cured. Use it for first coats on deep repairs, then top with regular all-purpose compound.
- Wet the surrounding wall slightly before applying spackling to improve adhesion – dry drywall paper pulls moisture out of the compound too fast, causing it to dry before it bonds properly.
- A good primer covers in one coat and dries in 1 to 2 hours – don’t paint over wet primer. Touch the surface and if it feels cool or damp, wait longer.
- Check repaired areas under raking light after priming – primer’s even sheen reveals low spots and ridges you missed in the sanding step. Sand those areas again before topcoat.
- For walls that will receive a sheen of eggshell or higher, surface prep must be near-perfect – higher sheens amplify surface imperfections. Flat paint hides defects; satin and semi-gloss reveal them.
Frequently Asked Questions
How many coats of spackling do I need?
At least two coats for any repair. The first coat fills the void; the second coat fills the shrinkage and surface imperfections in the first coat. For nail holes in smooth drywall, a single coat of lightweight spackling often works. For anything larger than a nail hole, two coats minimum – three is better.
Can I paint over existing glossy paint without sanding?
You can apply a bonding primer over glossy paint without sanding – the bonding primer is formulated to grip non-porous surfaces. However, light sanding (220-grit scuff) before bonding primer gives even better adhesion. Painting directly over gloss without any prep (no sanding, no bonding primer) almost always results in peeling within a year.
What’s the difference between spackling and joint compound?
Spackling is formulated for small spot repairs – it dries quickly and is easy to sand, but it shrinks slightly and isn’t suitable for large fills. All-purpose joint compound (drywall mud) is for larger areas and multi-coat applications; it takes longer to dry but can be spread thin and feathered over larger areas. Setting-type compound (Durabond) hardens chemically rather than drying and doesn’t shrink at all – use it for deep fills and repairs where shrinkage would be problematic.