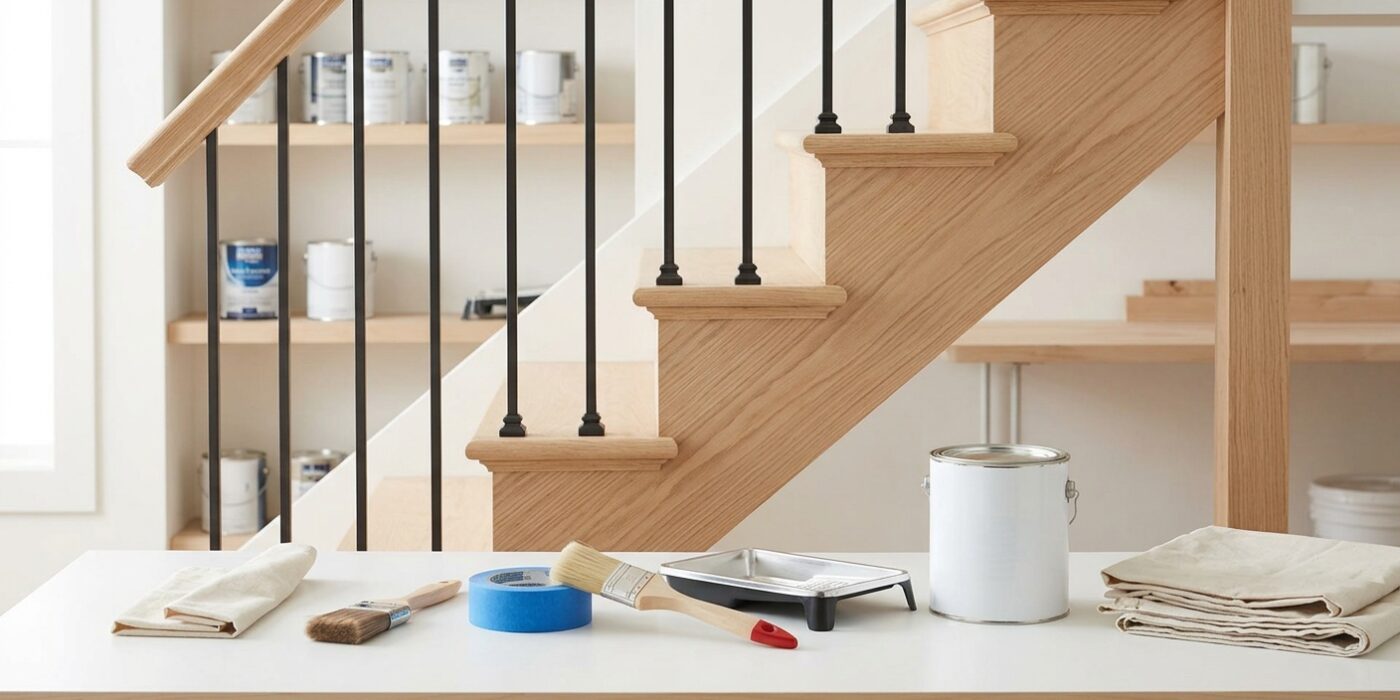
Project Shopping List
Painting a staircase railing is one of those projects that sounds simple but contains traps for the unprepared: awkward spindle shapes that catch brush marks, a high-traffic surface that gets touched constantly (requiring a durable finish), and the logistics challenge of maintaining access to the stairs during a multi-day drying process. This guide walks through the sequence and technique for a clean, durable result.
What You Will Need
Tools
- Angled brush (2-inch, good quality)
- Small foam roller (4-inch)
- Fine-grit sandpaper (220-grit)
- Tack cloth
- Drop cloths and tape
Materials
- Liquid deglosser or TSP solution (for deglossing existing paint)
- Bonding primer
- Alkyd (oil-based) paint, or water-based alkyd hybrid (Advance by Benjamin Moore, Emerald Urethane by Sherwin-Williams)
- Fine pumice stone or 400-grit wet-dry sandpaper for between coats
Step 1: Plan Your Sequence
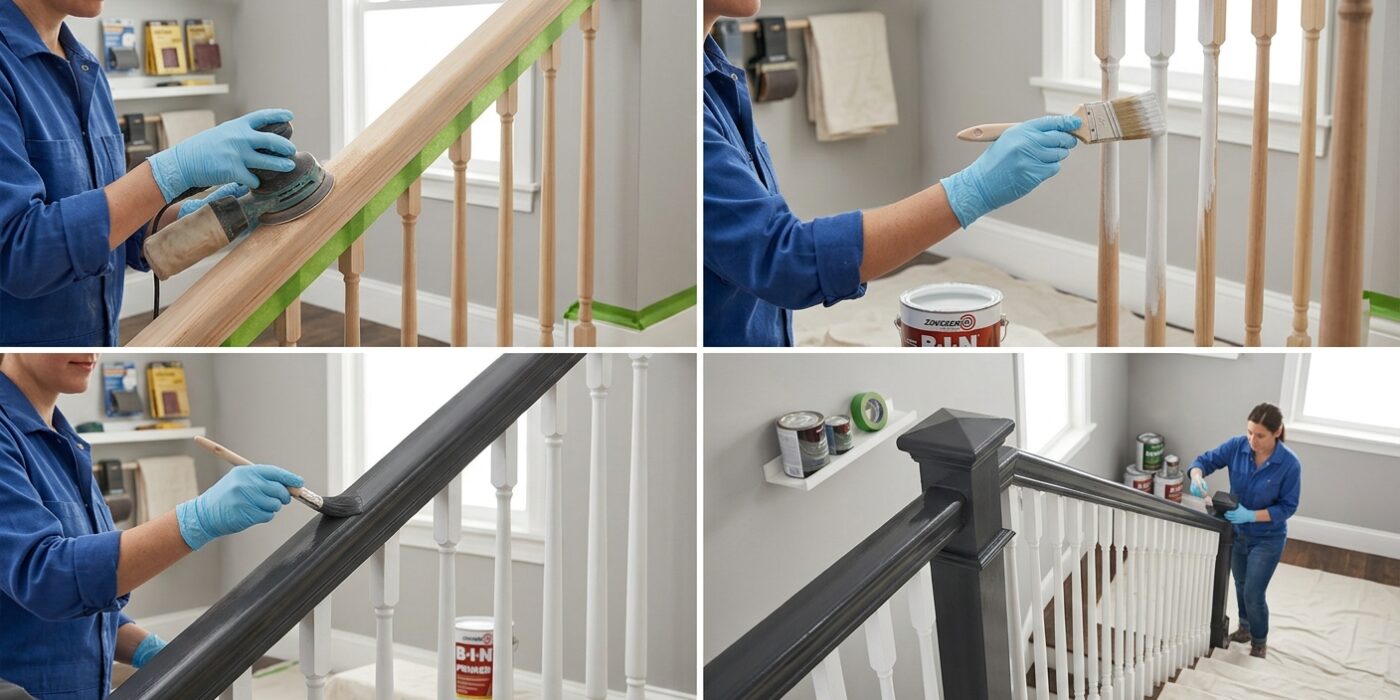
Before you open your paint can, you need a strategy to ensure you aren’t stranded on the wrong side of your project. The goal is to keep your stairs functional while ensuring you don’t accidentally brush against wet paint. If your staircase is wide enough, divide it down the middle, painting only one side of the railing at a time. This allows you to safely use the unpainted side to travel up and down.
If your staircase is narrow, you must paint in phases. Start by painting only the vertical spindles. These take time but don’t require you to hold onto them for balance. Allow the spindles to cure overnight until they are dry to the touch. Once they are set, you can safely grasp them while you paint the top handrail and the large vertical newel posts at the ends. Always map out your exit path so you finish your final brushstroke near a doorway or landing, never at the top of a flight of stairs you can no longer safely descend.
Beginner Tip: Avoid the temptation to paint the entire railing in one marathon session. Painting everything at once forces you to walk on the stairs while the finish is still tacky, which often leads to accidental handprints and smudges that are difficult to fix later.
Pro Tip: Use painter’s tape to place a small piece of masking tape on the underside of the railing or the spindles you have already finished. It acts as a visual “do not touch” reminder for family members and prevents you from forgetting which areas are still curing.
Step 2: Clean and Degloss
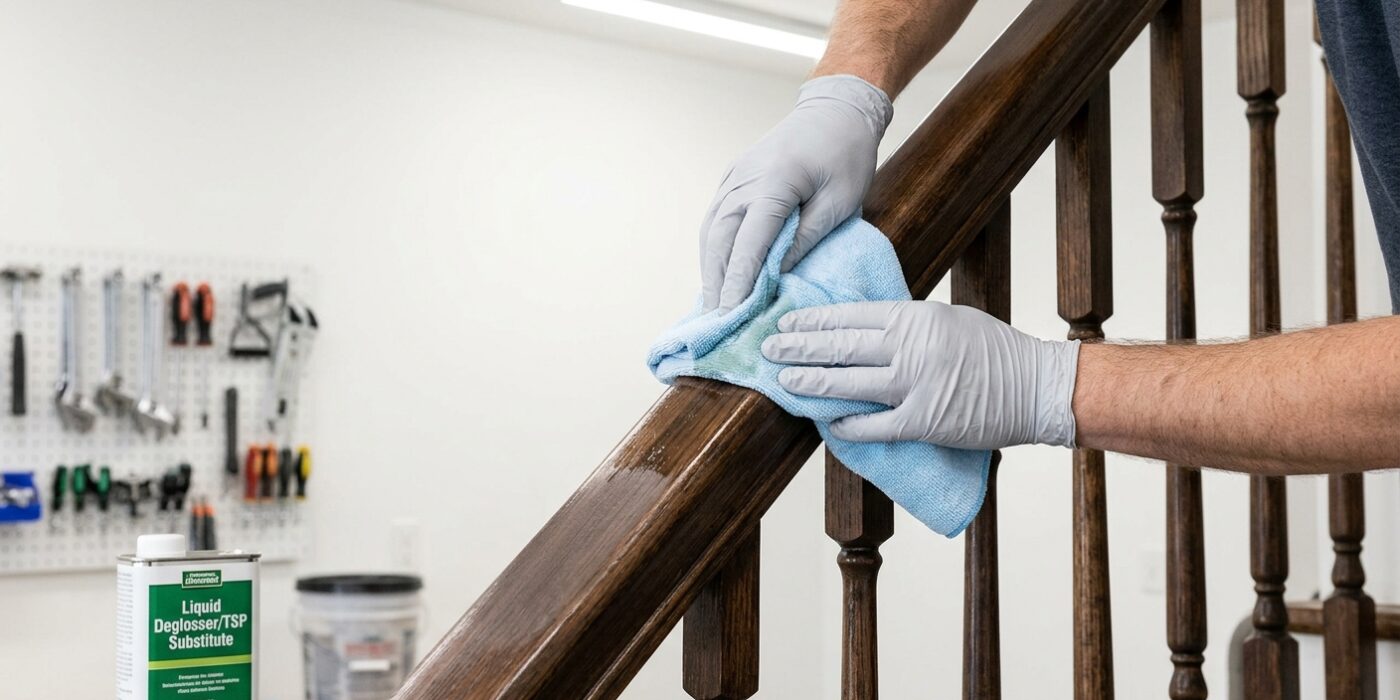
Before you even open a can of paint, your railing needs a deep clean. Because railings are touched constantly, they are coated in invisible layers of skin oils, hand lotion, and cooking grease. If you paint directly over this, your new finish will eventually peel away like a sticker. Start by wearing rubber gloves and dampening a lint-free cloth with a deglosser like Wilbond or a pre-mixed TSP substitute. Wipe every inch of the railing, paying extra attention to the spindles and the underside of the handrail where grime hides. Once dry, take a piece of 220-grit sandpaper and gently scuff the surface. You aren’t trying to remove the old paint; you are simply dulling the shine to create tiny microscopic scratches that give your new primer something to bite into. Wipe away any remaining sanding dust with a clean, damp cloth before proceeding.
Beginner Tip: Avoid the temptation to skip the scuff-sanding just because the railing looks clean. Paint cannot stick to a high-gloss surface, and that extra five minutes of sanding is the single biggest factor in preventing future chips.
Pro Tip: Wrap your sandpaper around a soft kitchen sponge instead of using your bare hand. This creates a flexible tool that easily conforms to the curved profile of the handrail and the tight corners of the spindles, ensuring an even finish without straining your fingers.
Step 3: Repair and Prime
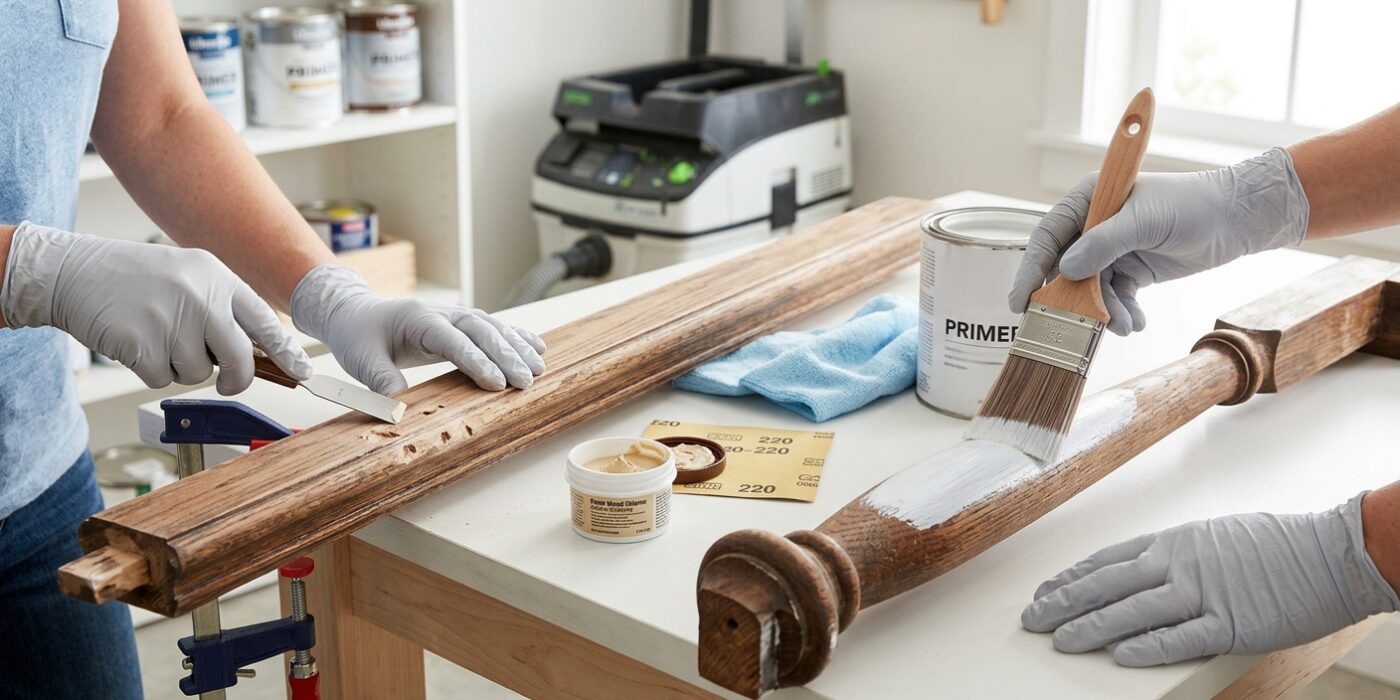
Before you add color, you need to create a smooth, durable foundation. Start by inspecting your railing for any chips, dents, or scratches. Use a small putty knife to press wood filler into these imperfections, slightly overfilling them since the material shrinks as it dries. Once it feels firm, sand the area with 150-grit sandpaper until it is perfectly flush with the surrounding surface. Dust away all debris with a tack cloth or a damp rag.
Next, apply your primer. This layer acts as the “glue” for your paint, ensuring it won’t peel away under the constant friction of hands gripping the rail. If your railing is metal, look for a rust-inhibiting bonding primer in a spray can for even coverage. If it is wood, use a shellac-based or high-adhesion water-based primer. Use a small, high-quality angled brush to reach into tight spindles and decorative corners, keeping your strokes long and consistent to avoid visible drips.
Beginner Tip: Avoid the urge to slather on a thick coat of primer. It is much better to apply two thin, even coats rather than one heavy layer. Thick primer tends to pool and sag in the ornate curves of railings, which will ruin the smooth finish you are working so hard to achieve.
Pro Tip: To keep your brushes clean and ready for the next coat, wrap them tightly in a plastic grocery bag or cling wrap between sessions. This prevents the primer from drying on the bristles, saving you the hassle of a deep scrub.
Step 4: Paint the Spindles First
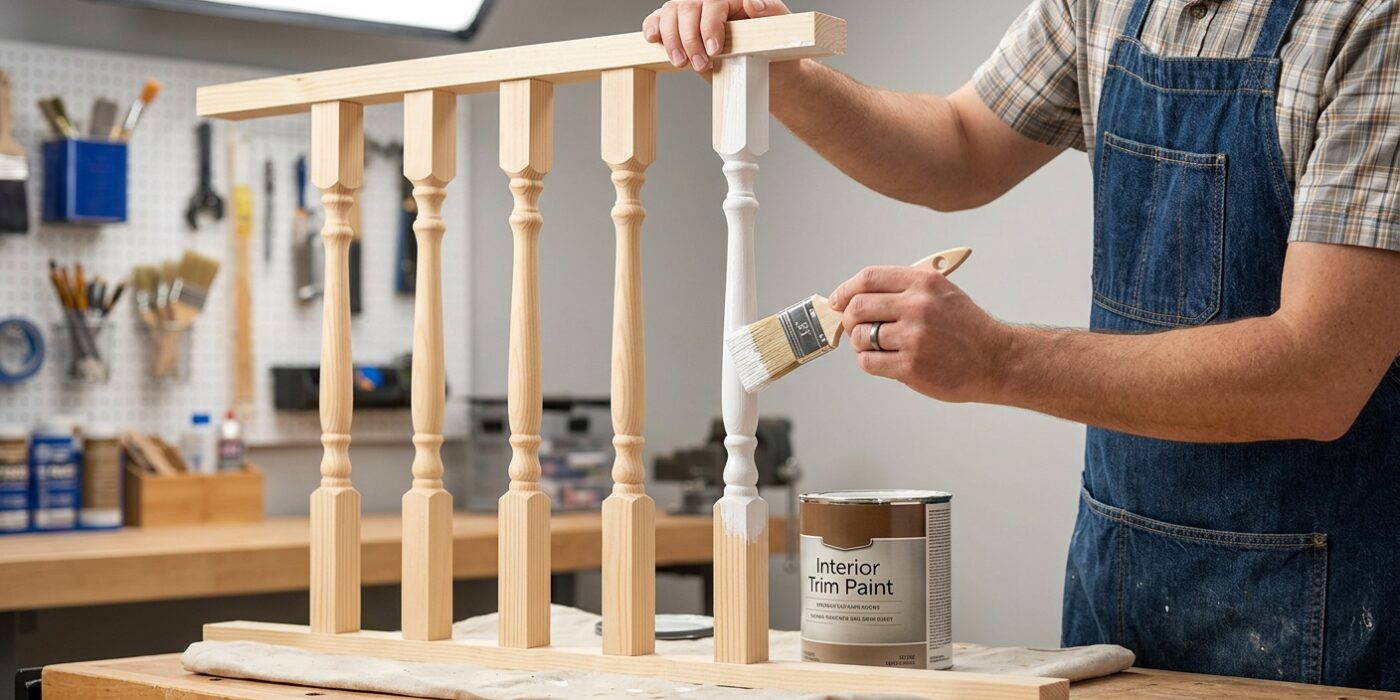
Painting spindles, or balusters, is where patience really pays off. Because spindles have many intricate corners and curves, they are the most time-consuming part of the job. Always start at the very top of each spindle and work your way down to the bottom; this ensures that any accidental drips are caught and smoothed out as you move your brush downward.
For classic turned-wood spindles, use an angled sash brush. Load it lightly with paint and press the bristles into the grooves first, then use long, smooth strokes to cover the flat sections. If your spindles are flat or square, a small 4-inch foam roller is your best friend. Roll each of the four faces, then use your brush to lightly touch up the corners where the paint might pool. By keeping a "wet edge" – meaning you overlap your new strokes with the paint that is still wet – you will prevent visible lap marks and ensure a flawless finish.
Beginner Tip: Avoid the temptation to overload your brush. If you have too much paint on the bristles, it will inevitably drip into the crevices and create thick, gloopy runs that are difficult to fix once they start drying. Less is definitely more; it is much better to apply two thin coats than one thick, messy one.
Pro Tip: Use a piece of cardboard or a scrap piece of wood as a "shield" behind the spindle you are currently painting. Holding this shield against the stairs or the base rail will protect your surrounding surfaces from stray bristles and splatters, allowing you to paint with much more confidence and speed.
Step 5: Paint the Handrail and Newel Posts
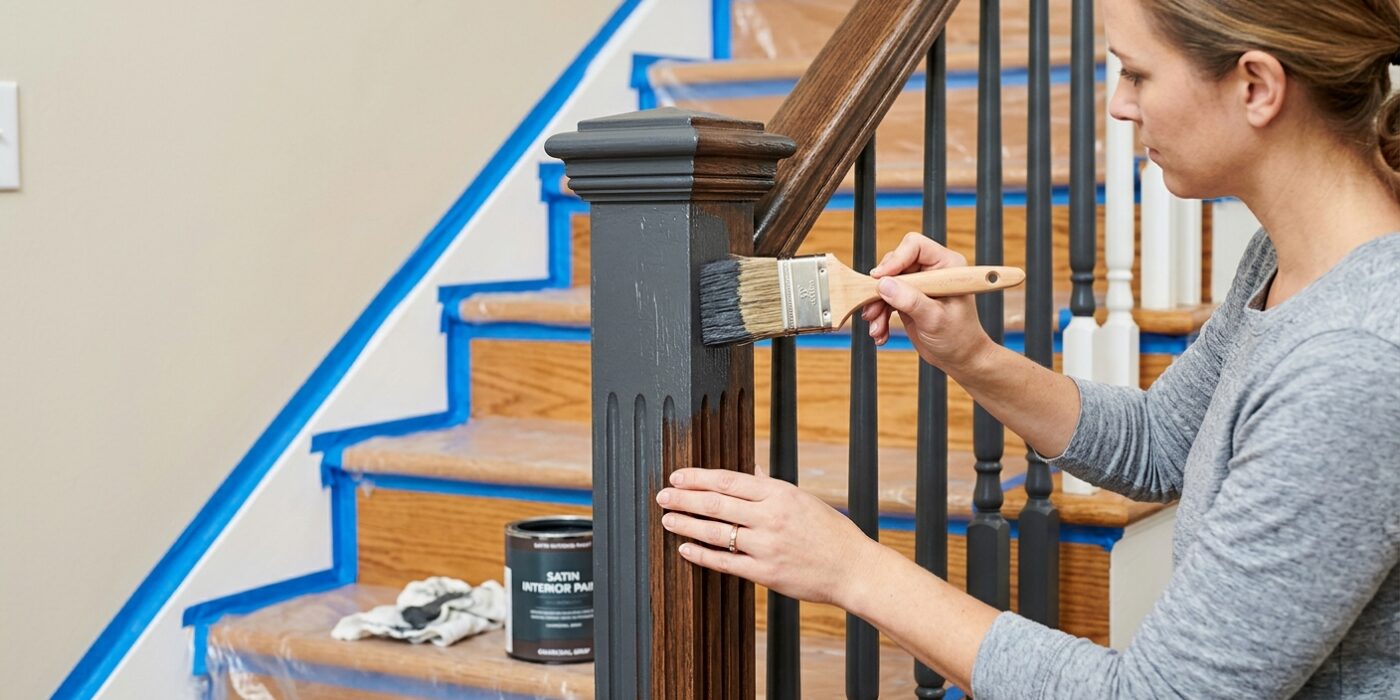
Now that your spindles are dry and protected, it is time to focus on the high-traffic areas: the handrail and newel posts. Because your handrail experiences constant daily contact, it requires extra durability. Apply three thin, even coats of paint, allowing each to dry completely according to the manufacturer’s instructions. Between each coat, lightly buff the surface with 400-grit sandpaper; this removes tiny “nibs” or dust particles, ensuring the final finish feels silky smooth rather than gritty.
For the best results, use a small 4-inch foam roller. Work in long, continuous strokes along the length of the handrail to minimize brush marks and create a professional, factory-like sheen. Use your brush only for the tight corners or intricate decorative details on the newel posts where the roller cannot reach.
Beginner Tip: A very common mistake is overloading your roller with too much paint. This leads to unsightly drips and “sagging” along the sides of the rail. Only dip the very tip of your roller into the paint, then roll it back and forth on your tray’s ribbed area to ensure an even, thin coating before touching the wood.
Pro Tip: To keep your handrail looking pristine, paint the underside last. By working from the top down to the bottom, you can easily spot and smooth out any drips that roll over the edges before they have a chance to dry permanently.
Step 6: Final Coat and Cure Time
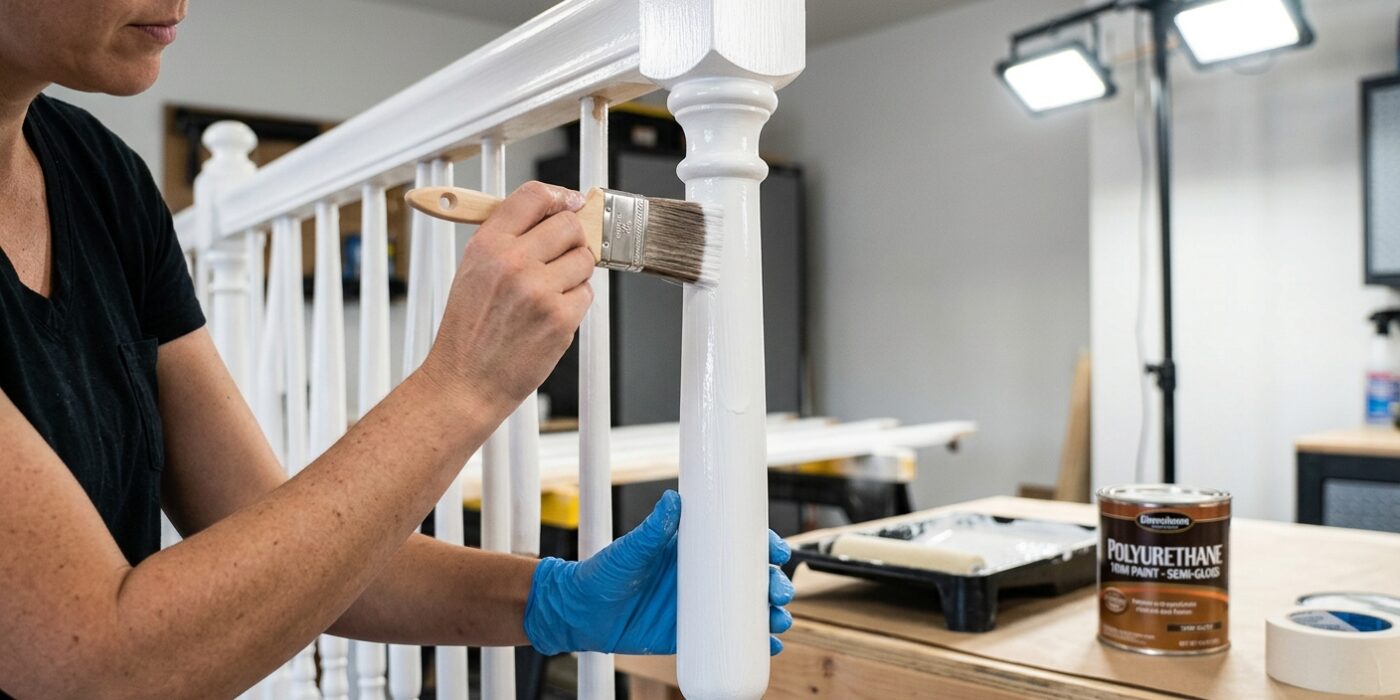
Now that your final coat is applied, it is time to practice some patience. The paint may feel dry to the touch in just a few hours, but it is not yet durable enough for daily wear. You must allow the finish to cure completely. For modern water-based alkyds, wait at least 24 to 48 hours. If you used traditional oil-based paint, wait 3 to 7 days before letting your family grip the railing normally. Curing is the chemical process where the paint hardens into a protective shell. If you grab the rail too soon, your natural skin oils or the pressure of your grip can leave permanent impressions or soft spots in the finish. Avoid cleaning the railing with any wet cloths or household cleaners until this period is fully finished, as moisture can disrupt the final hardening of the paint.
Beginner Tip: The most common mistake is testing the railing too early. Resist the urge to see how it looks by touching it while it is still curing. Even if it looks dry, your fingertips can leave tiny indentations that will be visible forever once the paint fully hardens.
Pro Tip: To keep your family from accidentally grabbing the railing, use painters tape to create a small “X” across the rail at the top and bottom of the stairs. This serves as a physical reminder that the project is still in its “do not touch” phase, saving your hard work from being ruined by a distracted family member.