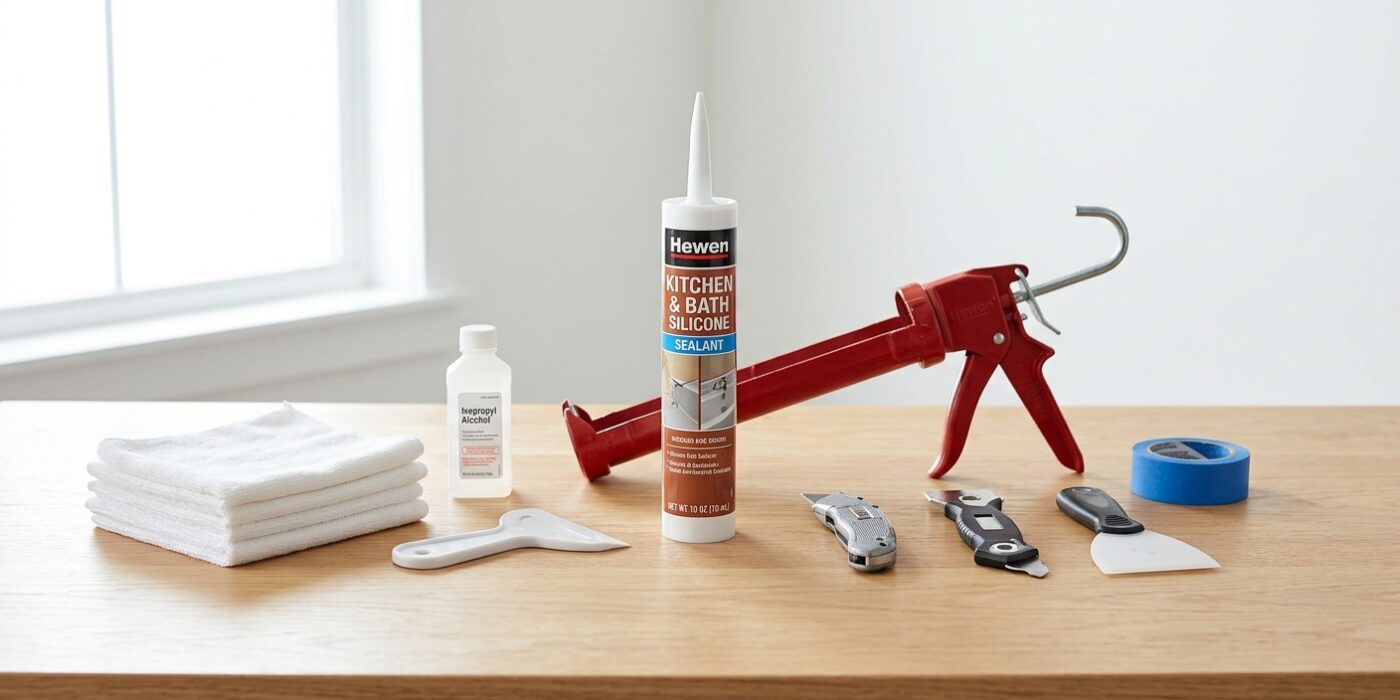
Project Shopping List
Failed caulk around a bathtub or shower is one of the top causes of water damage behind walls – and most homeowners wait too long to address it because re-caulking looks intimidating. It isn’t. Done correctly in one afternoon, fresh caulk seals out water for 5–10 years and takes the bathroom from dingy to clean in one step.
The work is 70% prep and 30% application. Rushing the removal or skipping proper cleaning is exactly why caulk fails in two years – this guide gives you the full process so you only have to do it once per decade.
What You’ll Need
Tools
- Caulk removal tool or 5-in-1 painter’s tool
- Utility knife with fresh blade
- Caulk gun
- Needle-nose pliers (for pulling stubborn caulk strips)
- Shop vacuum or vacuum with brush attachment
- Scrub brush or old toothbrush
Materials
- 100% silicone caulk or siliconized latex caulk labeled for kitchen/bath (mold-resistant)
- Caulk remover chemical (Goo Gone Caulk Remover or Dap Caulk Be Gone) – optional but helpful
- Isopropyl alcohol (91% or higher) or denatured alcohol
- Blue painter’s tape
- Paper towels or clean rags
- Rubber gloves
Step 1: Remove Every Bit of Old Caulk
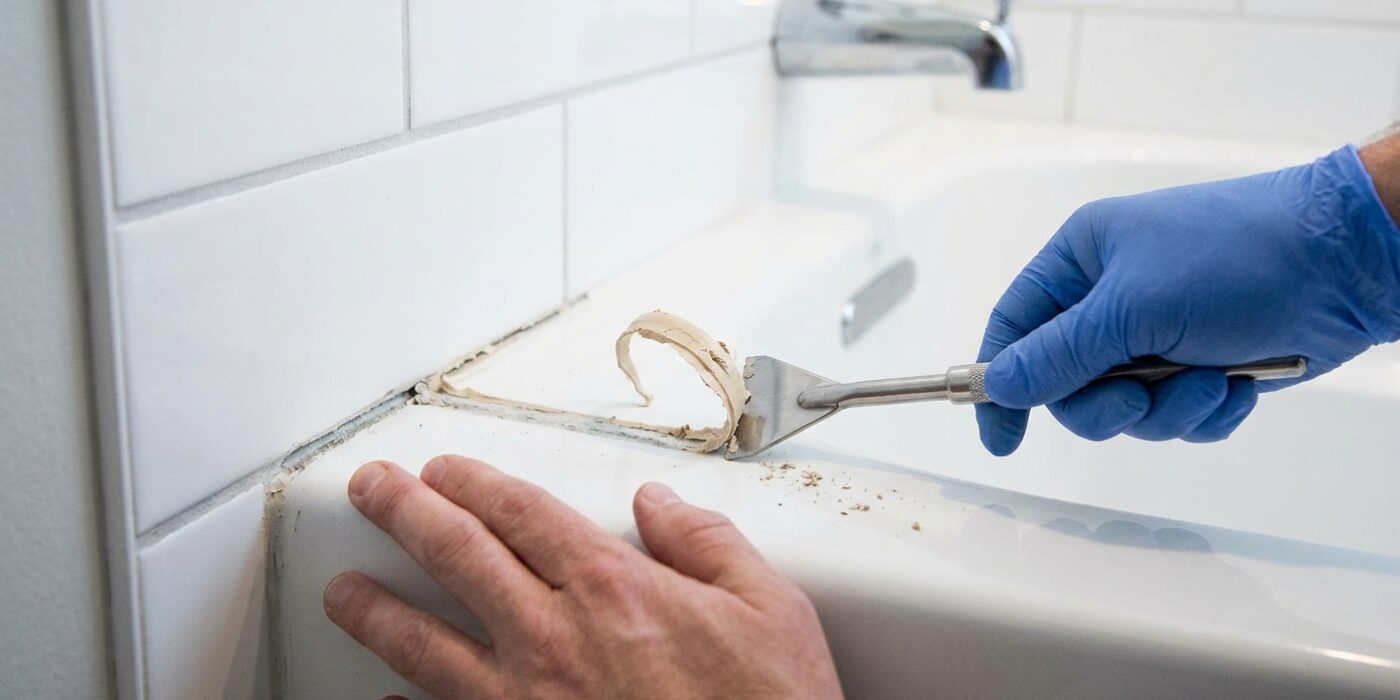
Removing every trace of old, cracked caulk is the foundation of a watertight seal. If you leave even a tiny fragment of the old material behind, the new caulk will not stick properly, leading to leaks and mold down the road. Take your time here; patience is your best tool.
Start by holding a utility knife at a 45-degree angle. Gently score along both sides of the caulk line – once where the tub meets the tile and once where it meets the wall. You are essentially cutting the “bonds” that hold the bead in place. Once scored, use a plastic caulk removal tool or a 5-in-1 painter’s tool to gently pry up the edge of the bead. If you can get a good grip, use needle-nose pliers to pull the strip away in long, satisfying sections.
Beginner Tip: Avoid pressing too hard with your utility knife. You are only trying to cut the caulk, not carve into your bathtub or wall. If you press too firmly, you risk scratching acrylic tubs or cutting into tile grout, which are much harder to repair than simply removing caulk.
Pro Tip: If the caulk is stubborn, purchase a specialized caulk remover gel. Apply a thick layer over the old bead and let it sit for two hours. It softens the silicone, turning it into a jelly-like consistency that wipes away effortlessly with a rag or the edge of a plastic scraper.
Step 2: Apply Chemical Caulk Remover (For Stubborn Residue)
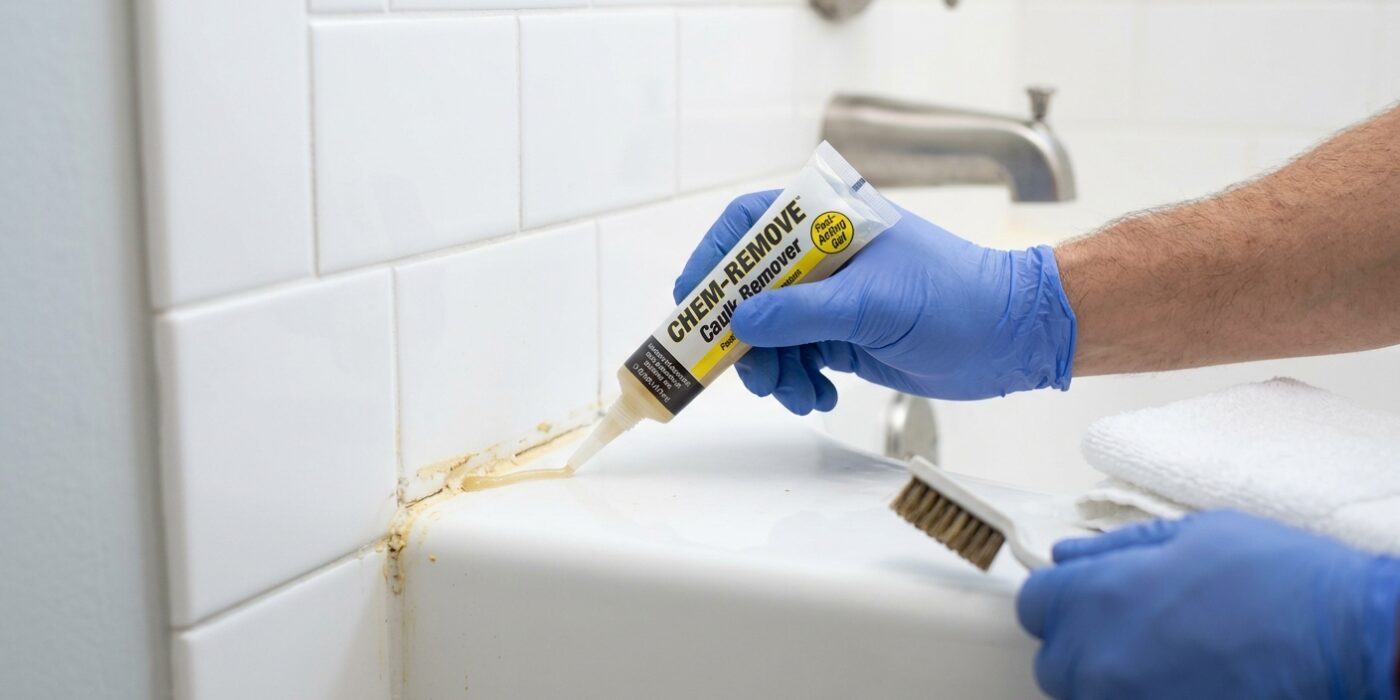
If your old caulk feels rubbery or stretchy when you pull at it, you are dealing with silicone. Silicone is notoriously stubborn and resistant to being scraped off by hand alone. Using a chemical caulk remover will save you from frustration and protect your bathtub’s finish from accidental scratches. Wearing protective gloves, apply a generous, bead-like line of the remover directly over any remaining residue. You want the layer to be thick enough that it doesn’t dry out before the two-hour mark. Once the waiting time is up, the silicone will have softened into a jelly-like consistency, allowing you to wipe it away effortlessly with a plastic putty knife or a dry rag.
Beginner Tip: Avoid the urge to use a metal scraper to speed things up. It is very easy to gouge your bathtub’s enamel or scratch the surrounding tile if you aren’t experienced. Always stick to plastic tools when working with chemical removers; they are firm enough to lift the residue but gentle enough to keep your bathroom surfaces looking brand new.
Pro Tip: After you wipe away the softened silicone, clean the area thoroughly with rubbing alcohol on a lint-free cloth. This step removes the oily film left behind by the chemical remover. Even a microscopic trace of that residue will prevent your new caulk from sticking properly, which could lead to leaks later on. Taking this extra minute ensures your hard work lasts for years.
Step 3: Clean and Dry the Joint Thoroughly
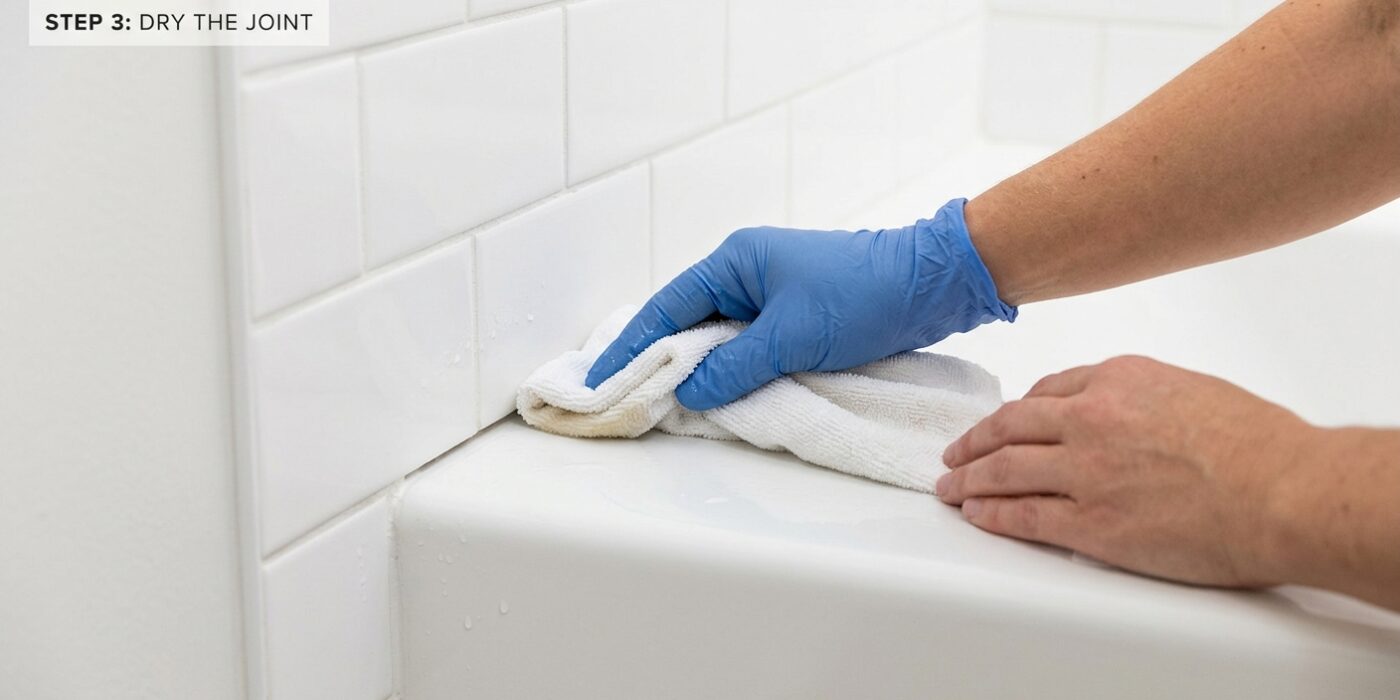
Before you lay down a fresh bead of caulk, you must ensure the area is pristine. Think of this step as prepping a canvas; if the surface is dirty or damp, the caulk will peel away within weeks. First, spray a bleach-based bathroom cleaner along the entire seam and scrub it vigorously with a stiff nylon brush. The bleach kills hidden mold spores, while the scrubbing clears out any loose debris. Let the cleaner sit for 5 to 10 minutes, then rinse thoroughly with water to remove all suds.
Once rinsed, take a clean rag dampened with 91% isopropyl alcohol and wipe the seam one more time. This critical step strips away invisible body oils, hair products, and soap scum that create a barrier between your tub and the new sealant. Finally, leave the area to dry for at least 30 to 60 minutes. Proper ventilation is key here – run your exhaust fan or keep a window open to speed up the process.
Beginner Tip: Avoid using a paper towel for the alcohol wipe. Paper towels tend to shred and leave behind tiny, annoying fibers in the joint, which will get stuck in your fresh caulk and create uneven lumps.
Pro Tip: Use a hairdryer on a low, cool setting to ensure the joint is bone-dry before you begin. Even if the surface looks dry, moisture can hide deep in the crack; the extra heat will evaporate those hidden droplets and ensure a perfect bond.
Step 4: Fill the Tub with Water Before Caulking
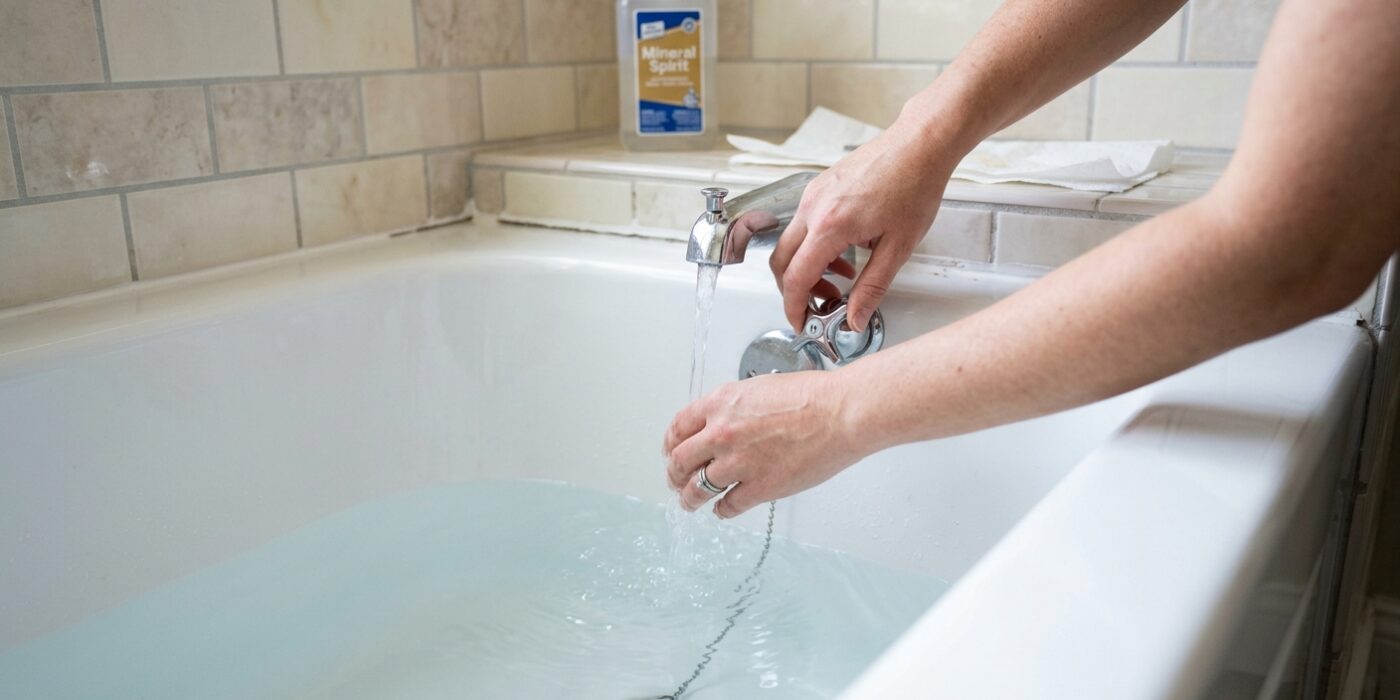
Before you pick up the caulk gun, turn on the faucet and fill your bathtub with water until it is about three-quarters full. This step is a professional secret that makes your hard work last for years instead of months. Most modern tubs made of fiberglass or acrylic are designed to flex; when you step into the tub to take a shower, the weight of your body – and the water – causes the tub to sink down slightly, opening the gap between the tub and the wall. If you seal that gap while the tub is empty, the caulk will stretch and eventually crack as soon as you use the shower. By filling the tub first, you are forcing the joint into its “extended” position. Once the caulk cures in this compressed state, it will remain flexible and intact regardless of how often you fill or empty the basin.
Beginner Tip: Do not fill the tub to the very top, as the water level may reach the edge where you are trying to work. This makes it difficult to keep the area bone-dry, which is essential for the caulk to stick properly. Stick to the three-quarter mark to keep your workspace clear and dry.
Pro Tip: If your tub is in a location where the drain plug is prone to leaking, place a piece of painter’s tape over the overflow drain holes to allow the water level to rise higher without draining prematurely. Just remember to remove it before you empty the tub later!
Step 5: Apply Painter’s Tape
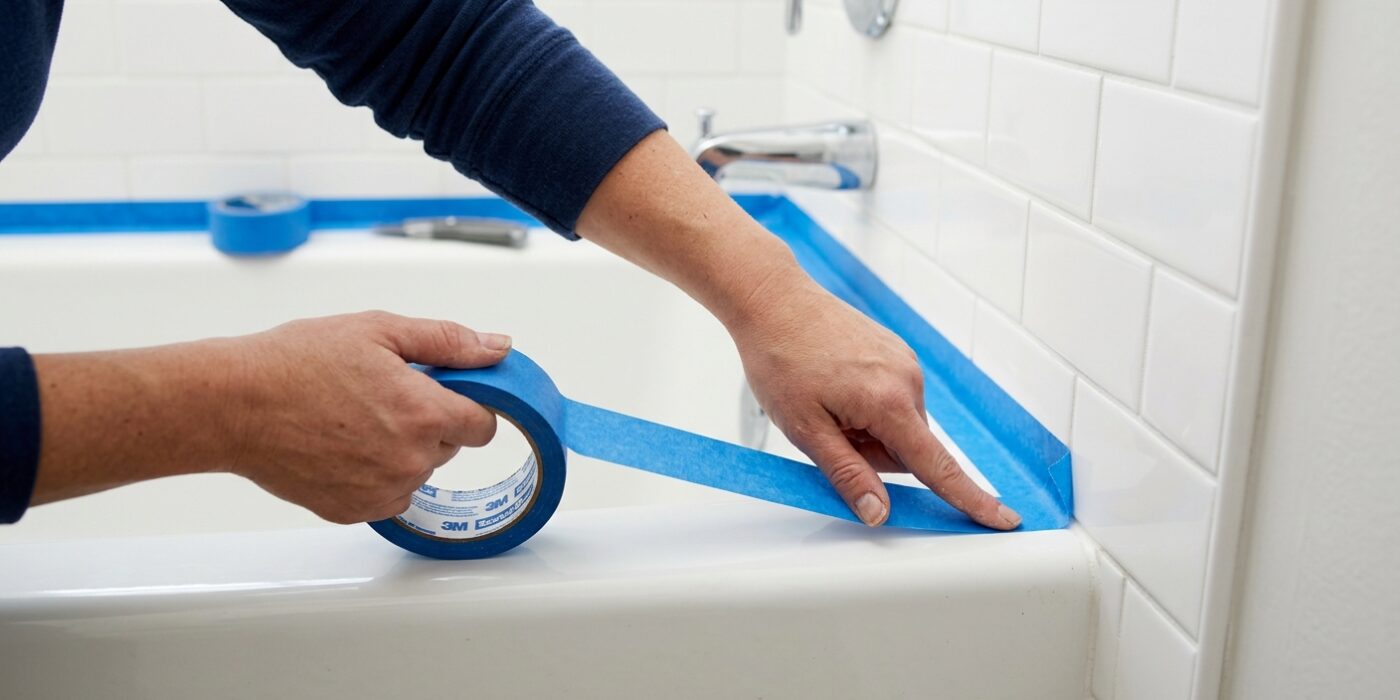
Now that your surface is clean and bone-dry, it is time to set yourself up for professional-looking results. Grab a roll of blue painter’s tape and apply two parallel strips along the joint you are about to caulk. Place the first strip on the bathtub surface about 1/4 inch away from the gap, and the second strip on the wall tile, also about 1/4 inch away. This creates a clean “channel” that keeps your caulk exactly where you want it. The goal here is precision; by framing the joint, you prevent the messy smearing that often happens when beginners try to freehand a bead of caulk.
Beginner Tip: The most common mistake is failing to press the tape down firmly. If the edges of the tape are lifting, the wet caulk will sneak underneath, resulting in jagged, uneven lines once you pull the tape away. Run your finger or a dry cloth firmly along the edge of the tape to ensure a tight seal against the surface before you begin caulking.
Pro Tip: To get that perfectly smooth finish, remove the painter’s tape while the caulk is still wet – usually within 10 to 15 minutes of application. If you wait until the caulk is completely dry, the material may bond to the tape, causing your beautiful, crisp lines to pull away or peel off along with the strip.
Step 6: Cut the Caulk Tube and Load the Gun
Now that your bathtub is clean and dry, it is time to prepare your caulk tube. First, use a utility knife to cut the plastic tip at a 45-degree angle. It is tempting to cut a large opening, but resist! Start by cutting a very small opening, about 3/16 of an inch wide. Think of it like the tip of a pencil rather than a garden hose. A smaller hole gives you much more control and prevents a messy, thick glob of caulk that is difficult to smooth out later. Once cut, look inside the tube; you will see a foil seal. Use the long, thin metal wire attached to the side of your caulk gun or a spare nail to poke through this seal. Finally, pull the metal rod on the gun all the way back, slide your tube into the cradle, and squeeze the trigger a few times until the caulk begins to emerge. Always do a quick practice bead on a scrap piece of cardboard to ensure the flow is smooth and consistent before you touch the tub.
Beginner Tip: The most common mistake is cutting the hole too large. You can always make the hole bigger with your knife if the bead is too thin, but once you cut it too wide, you cannot make it smaller. Start small and test as you go.
Pro Tip: To get a professional-looking bead, hold the caulk gun at a consistent 45-degree angle to the wall and pull the gun toward you rather than pushing it. This allows you to push the caulk into the gap, creating a solid seal that stays watertight for years.
Step 7: Apply the Caulk Bead
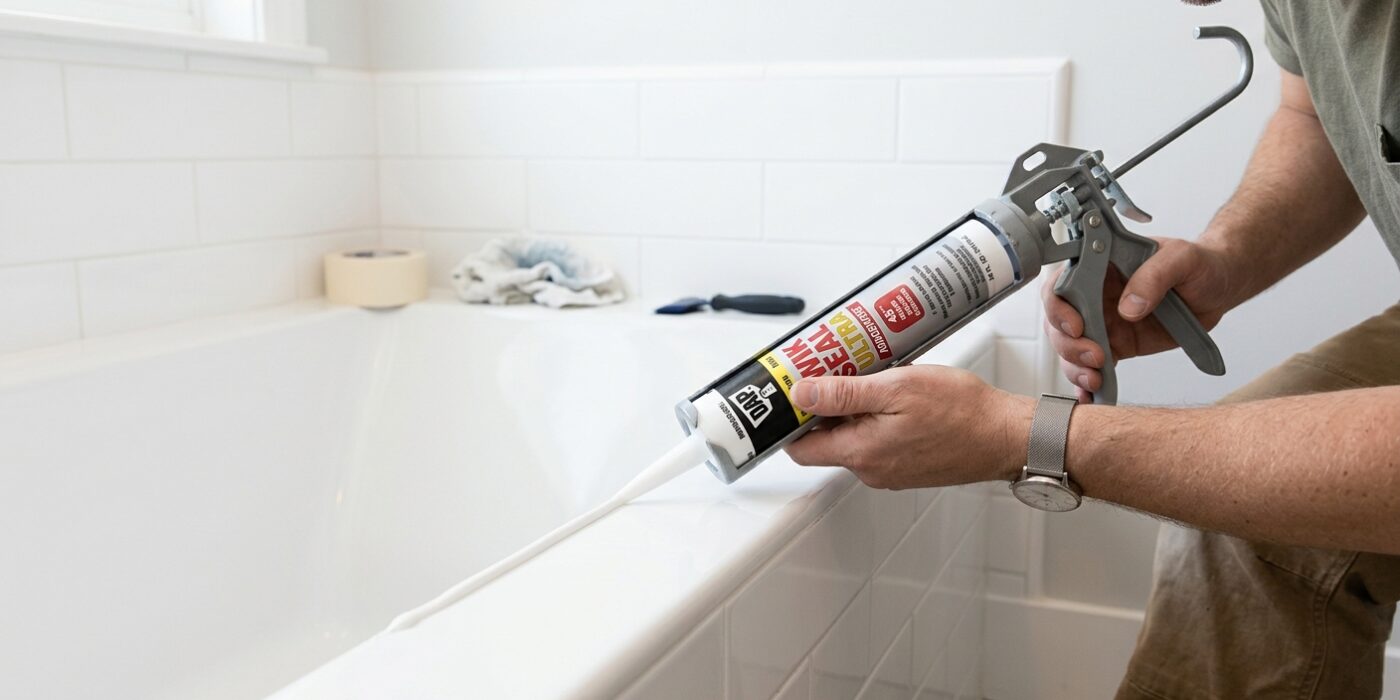
Now it is time for the main event. Pick up your caulk gun and hold it at a 45-degree angle to the joint. You want to push the caulk into the gap ahead of the nozzle, rather than dragging it behind. Apply steady, firm pressure to the trigger while moving your hand at a consistent, slow speed along the length of the tub. By keeping a uniform pace, you ensure the bead size remains the same throughout.
Start with the horizontal back wall, then move to the two side walls, and finish with the front edge. Aim to complete each full length in one continuous pass; stopping and starting often leaves unsightly bumps or gaps that are difficult to smooth out later.
Beginner Tip: A common mistake is using too much product. It is tempting to squeeze hard to fill a large gap, but applying too much caulk creates a mess that is hard to clean. Aim for a bead roughly 1/4-inch thick. You can always add a little more, but removing excess is a frustrating chore.
Pro Tip: To get a perfectly straight line, place a strip of painter’s tape on the wall and the tub, leaving about a 1/4-inch gap between them where the caulk will go. After you apply the caulk and smooth it with your finger, peel the tape away while the caulk is still wet. This leaves behind a razor-sharp, professional-looking edge every single time.
Step 8: Smooth and Remove Tape
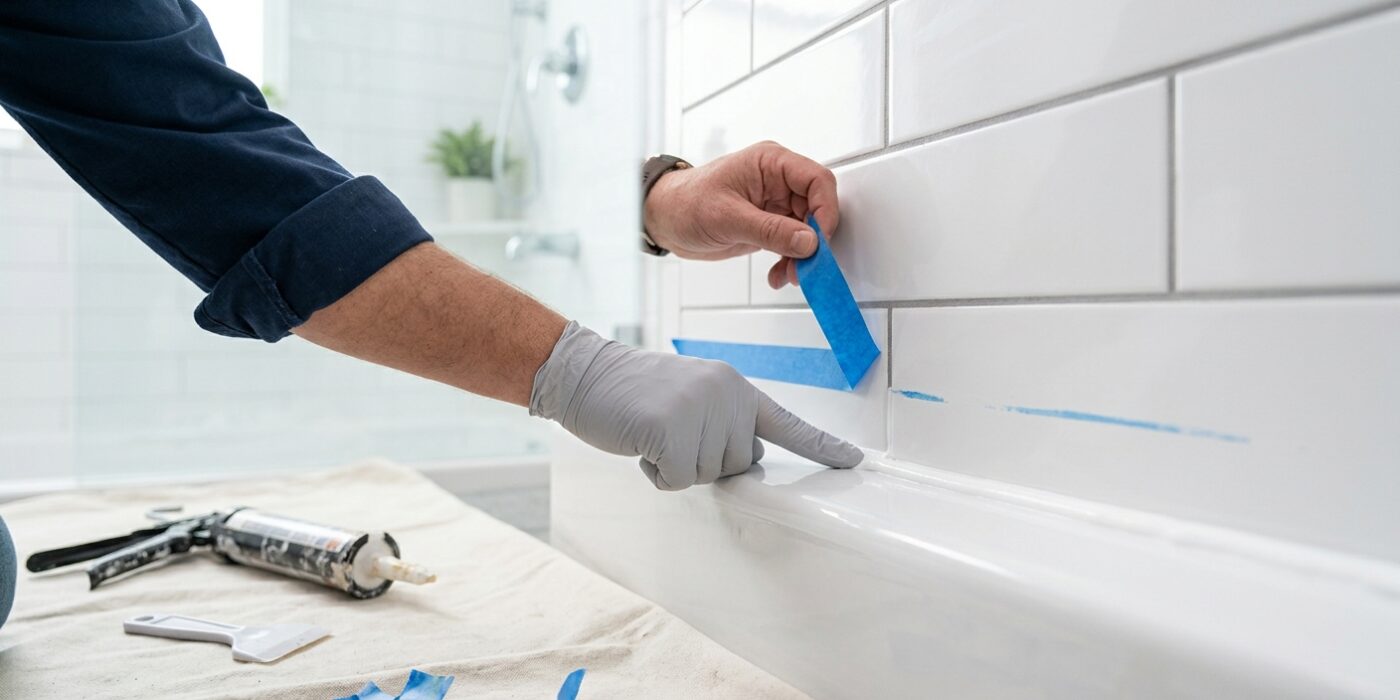
Now for the most satisfying part of the project: creating that clean, professional-looking seal. Start by lightly wetting your fingertip with water (if using latex caulk) or denatured alcohol (if using silicone). Gently place your finger at the start of the bead and drag it along the joint in one long, continuous motion. Use firm, even pressure to push the caulk deep into the gap. Aim for a smooth, concave shape – this ensures a tight seal against water while helping the caulk adhere properly to both the tub and the wall. Don’t linger in one spot, or you might create divots.
Immediately after smoothing, peel away your painter’s tape. Pull the tape back slowly at a 45-degree angle, pulling away from the bead rather than toward it. This prevents the tape from pulling the fresh caulk out of the joint with it. If you see any small smears on the surrounding tile, wipe them away immediately with a rag dampened with your chosen solvent before the caulk begins to “skin over” or harden.
Beginner Tip: Avoid the urge to keep “fixing” the bead with your finger. Every extra pass you make over the caulk increases the chances of creating ripples or gaps. Trust your first long, steady stroke!
Pro Tip: Keep a stack of dry paper towels nearby. After every few inches of smoothing, wipe the excess caulk off your finger onto a towel. Keeping your finger clean is the secret to a perfectly sharp, professional edge.
Step 9: Cure Time
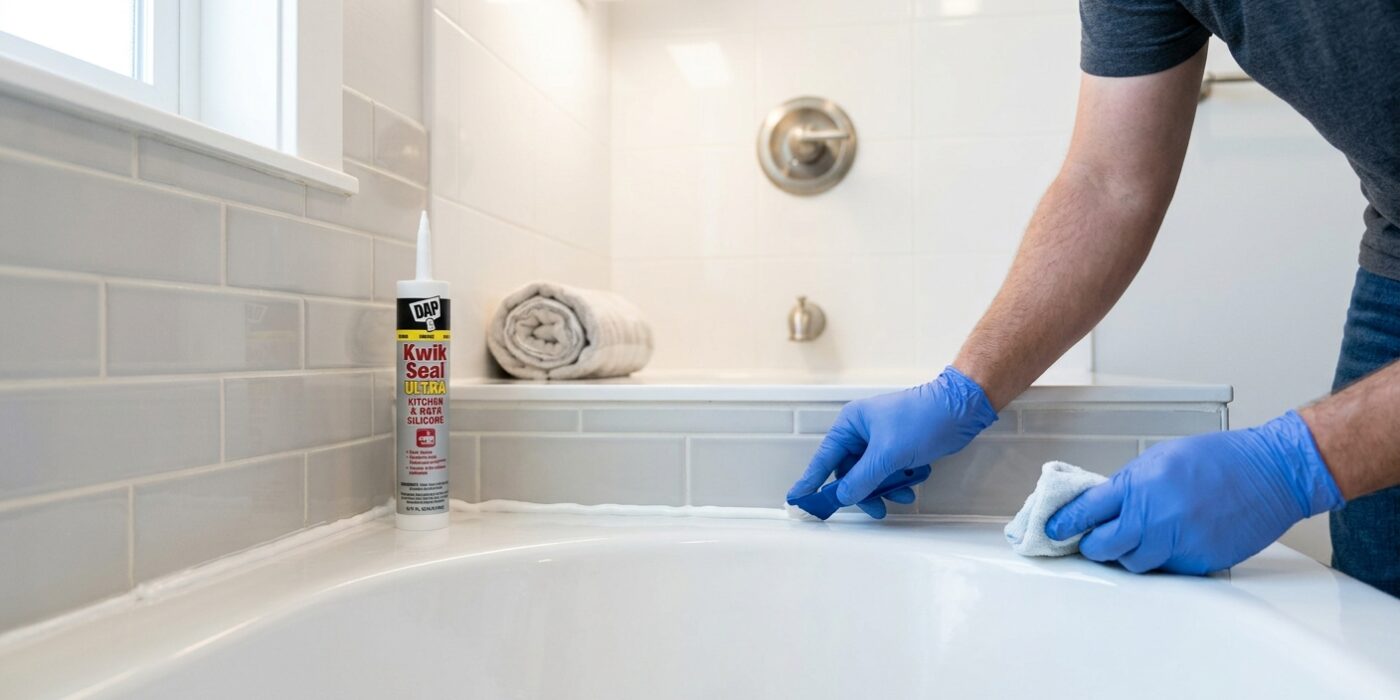
Now that your caulk is perfectly smoothed, it needs time to set. Think of this as the “don’t touch” phase. For the next 24 to 48 hours, keep your shower or bathtub strictly off-limits. Caulk doesn’t just dry like paint; it undergoes a chemical process called curing. If water hits the joint before the cure is complete, it will wash away the bond, leading to leaks and premature peeling. Even if the caulk feels firm to the touch after a few hours, deep inside the joint, it is still soft and vulnerable to moisture.
Beginner Tip: Resist the urge to poke, prod, or “test” the caulk to see if it is dry. Even a light fingerprint can ruin the smooth, watertight finish you worked so hard to create. If you have curious children or pets, consider placing a small piece of painter’s tape on the bathroom door as a gentle reminder to keep the room empty until the next day.
Pro Tip: To ensure your caulk lasts for the full 5–10 year lifespan, keep the bathroom well-ventilated during the curing period. Turn on the exhaust fan or crack a window to keep the air moving. Proper airflow helps the caulk cure at an even rate, which prevents it from developing tiny, invisible stress fractures that could invite mold growth down the road.
Quality caulk is an investment in your home’s health. By giving it this short window of time to settle, you are protecting your walls and floors from water damage for years to come.