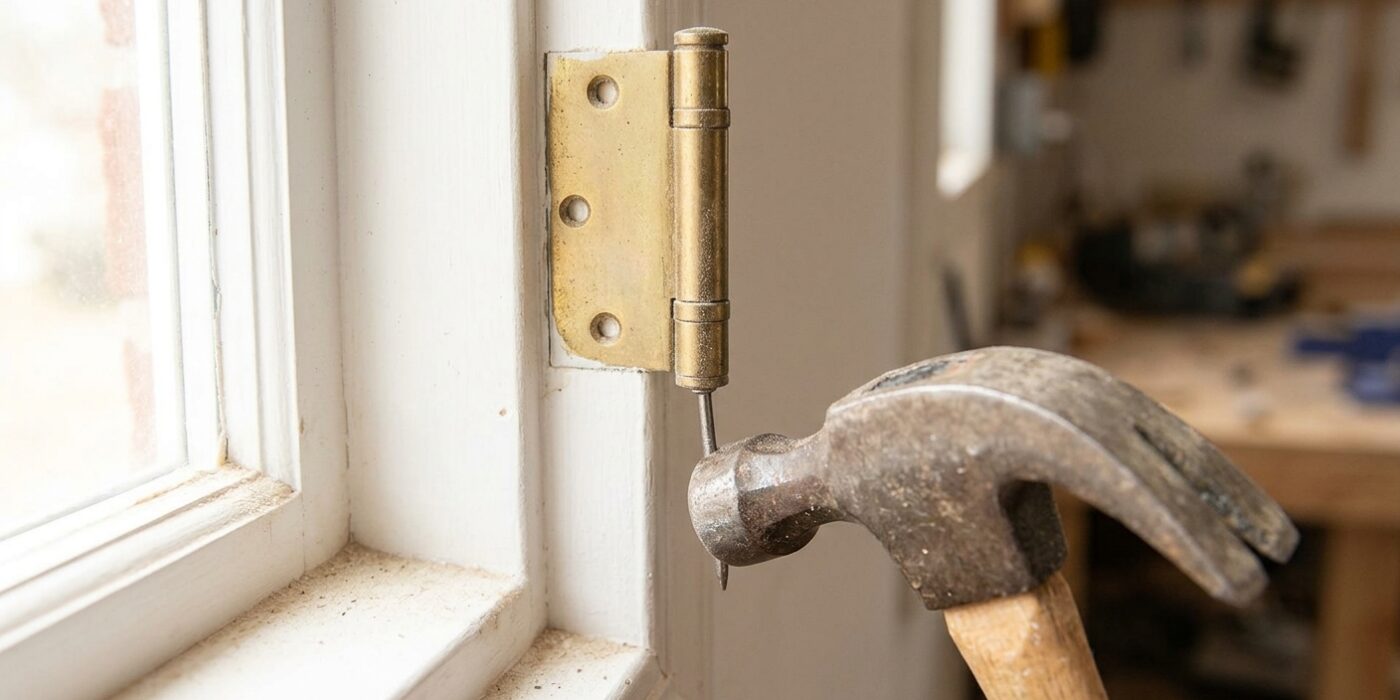
Project Shopping List
A squeaky door is more than an annoyance – it’s usually a signal that a hinge is loose, dry, or slightly misaligned. The squeak happens when metal rubs metal or wood binds against the frame, and the fix depends entirely on which of those is happening. Guessing wastes time; this guide walks you through a two-minute diagnosis before you touch anything.
Most door squeaks are fixed in under 20 minutes with items you already have. In rare cases – usually an old house with settled framing – you’ll need to reset a hinge or shim a strike plate, but we cover that too.
What You’ll Need
Tools
- Flathead and Phillips screwdrivers
- Hammer
- Nail punch or long finish nail
- Putty knife or thin pry bar
Materials
- White lithium grease (best) or petroleum jelly (good backup)
- Bar soap or wax candle (dry lube option)
- Longer replacement hinge screws (3-inch #9 wood screws)
- Wooden toothpicks and wood glue (for stripped holes)
Step 1: Diagnose the Squeak Source
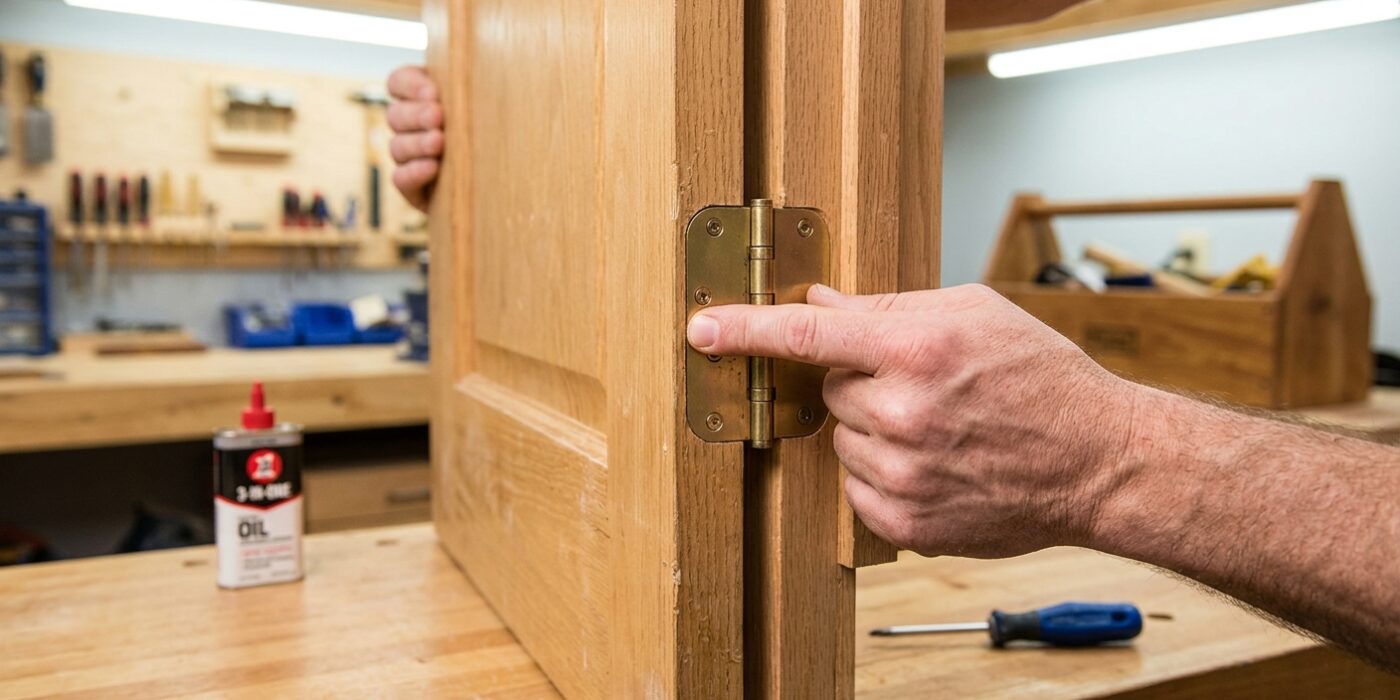
Before you reach for any tools, we need to pinpoint exactly where the friction is happening. Start by standing on the hinge side of the door. Open and close the door slowly – taking about three to five seconds for a full swing – while keeping your eyes fixed on the hinge knuckles. Listen closely for the precise moment the sound occurs. If the squeak happens at a specific angle, note which hinge is moving at that exact second; that is your culprit.
If the noise sounds like it is coming from everywhere, the metal surfaces inside the hinges are likely bone-dry and suffering from friction. If you notice the squeak only at the very top or bottom, your door might be slightly sagging, causing the hinge to bind under the weight. Identifying the specific source now saves you from applying lubricant where it isn’t needed, keeping your floor and door finish clean.
Beginner Tip: Avoid the urge to spray lubricant on all your hinges immediately. It is easy to accidentally spray the wall or floor, and excessive lubricant can actually attract dust and grime over time, which will eventually make the squeaking worse.
Pro Tip: Place a small piece of painter’s tape on the specific hinge that is squeaking. Since you will be moving around and potentially clearing away debris, having that visual marker ensures you don’t lose track of which hinge needs your attention.
Step 2: Check for Loose Hinge Screws
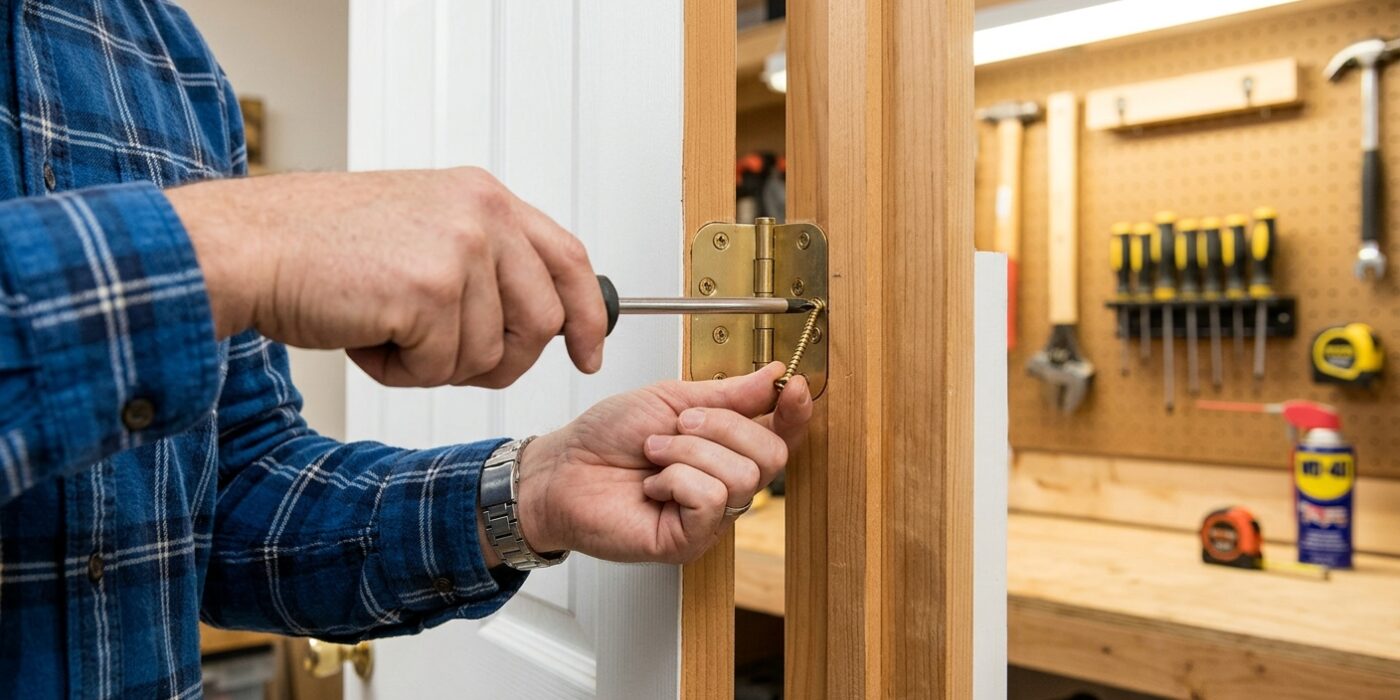
Before you reach for lubricants, check if your door hinges are loose. A door hinge is made of two plates held to the frame and the door by several small screws. Over time, the constant weight of the door can cause these screws to wiggle slightly loose, creating a tiny gap. This gap allows the hinge parts to rub together, producing that irritating squeak. Grab a Phillips-head screwdriver – the one with the cross-shaped tip – and test each screw on all hinges.
Insert the screwdriver into the screw head and turn it clockwise (to the right). You are looking for a firm, snug fit. Do not over-tighten, as you only need to ensure the hinge plate is pulled tight and flush against the wood. If a screw keeps spinning without ever becoming tight, the wood inside the hole has become “stripped” or worn away; if this happens, you can move ahead to Step 6 for a quick repair.
Beginner Tip: Ensure your screwdriver is the correct size. If the tip is too small or too large for the screw head, it will slip out and potentially damage the metal. If it slips, stop immediately and find a tip that seats deeply and securely into the cross-shaped grooves.
Pro Tip: To keep your screwdriver from slipping while you turn, press your weight firmly into the door or frame while turning. This creates extra friction, ensuring the tool stays locked in place so you can finish the job without stripping the screw heads.
Step 3: Lubricate the Hinge Pin
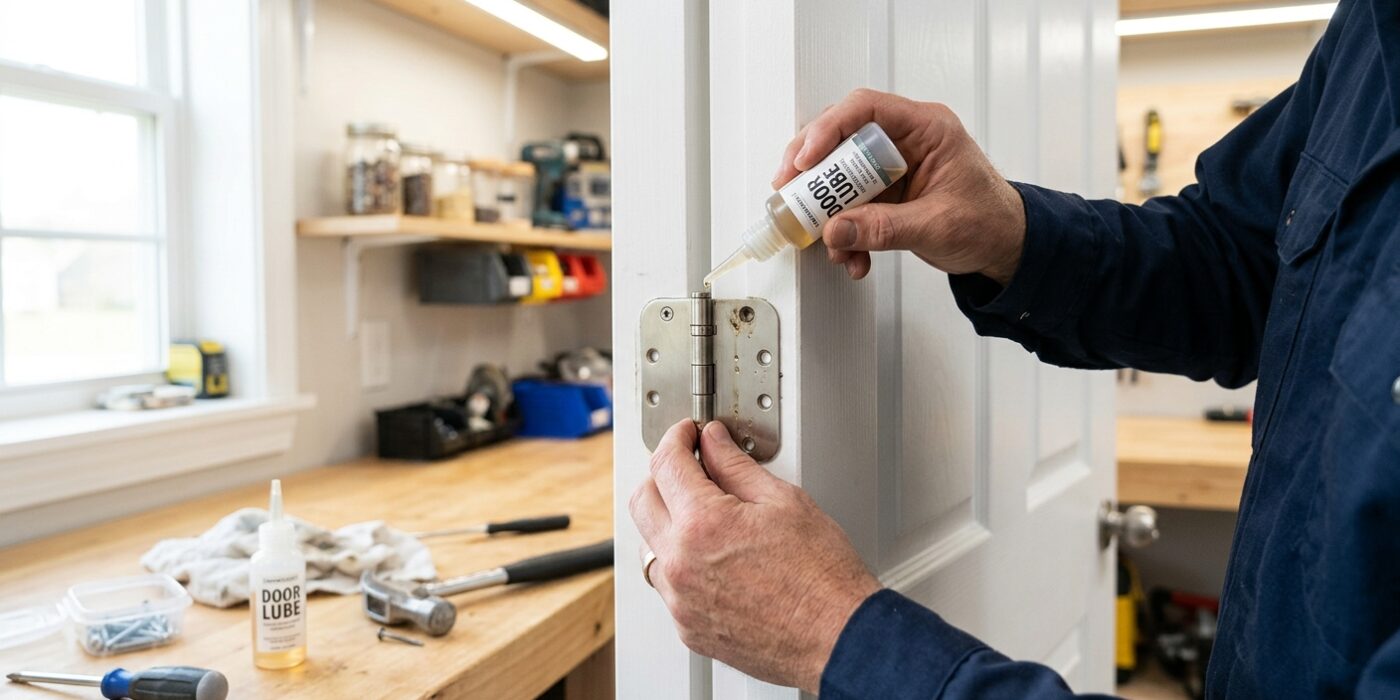
Now that your door is propped open at a 90-degree angle, it is time to address the source of the squeak. You will need a hammer and a nail punch, or a sturdy finish nail. Locate the bottom of the hinge barrel – the cylindrical part connecting the two halves of the hinge – and place your punch against the recessed bottom of the pin. Gently tap with your hammer until the pin rises, then pull it out from the top. The friction causing your squeak comes from metal-on-metal rubbing; by removing the pin, you can clean off the old, gritty gunk using a rag and apply a fresh, thin layer of white lithium grease along the entire length of the pin and inside the barrel. Reinsert the pin, tap it flush, and swing the door back and forth several times to distribute the lubricant. This simple process eliminates the friction that causes that annoying noise.
Beginner Tip: Avoid the urge to remove all three hinge pins at once. If you do this, the door will lose all its support and could tip over or fall off the frame. Always work on one hinge at a time to keep the door safely hanging in place while you work.
Pro Tip: Before you reinstall the pin, try gently scuffing it with a small piece of fine-grit sandpaper or steel wool. Removing any existing rust or oxidation creates a smooth, polished surface that helps the lubricant last much longer, keeping your door silent for years to come.
Step 4: Try Dry Lubricant if Grease Isn’t Available
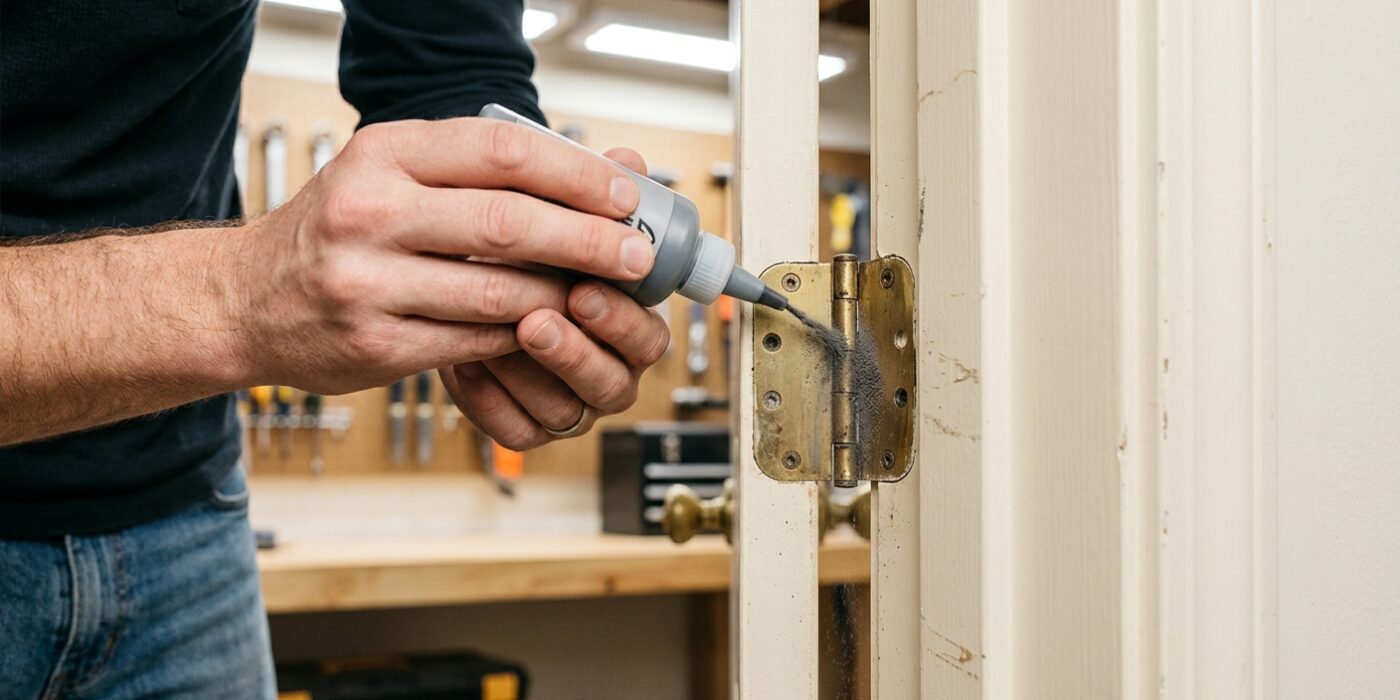
If you don’t have aerosol lubricants on hand, you can effectively silence a squeaky door using items already sitting in your bathroom or kitchen. The goal here is to coat the metal hinge pin with a slick, dry substance that reduces friction without creating a sticky mess.
Take a bar of plain soap or a standard paraffin wax candle and rub it firmly up and down the length of the metal hinge pin. Ensure you apply an even, thin layer across the entire surface, paying extra attention to the areas where the pin looks shiny or worn from friction. Once coated, slide the pin back into the hinge knuckles. This creates a protective barrier that prevents metal-on-metal contact. Unlike heavy oils, wax and soap are clean, non-greasy, and won’t attract hair or dust bunnies over time. You can expect this quick fix to keep your door quiet for roughly 6 to 12 months.
Beginner Tip: Avoid using scented, moisturizing, or “beauty” soaps. These contain oils and additives that can become gummy or attract dust, potentially making the hinge stickier in the long run. Stick to basic, unscented bar soap or pure white paraffin wax to ensure the cleanest finish.
Pro Tip: Before applying the wax or soap, use a clean rag to wipe the old, darkened gunk off the hinge pin. Starting with a clean surface ensures the lubricant bonds directly to the metal, helping your fix last significantly longer.
Step 5: Check for Binding Wood
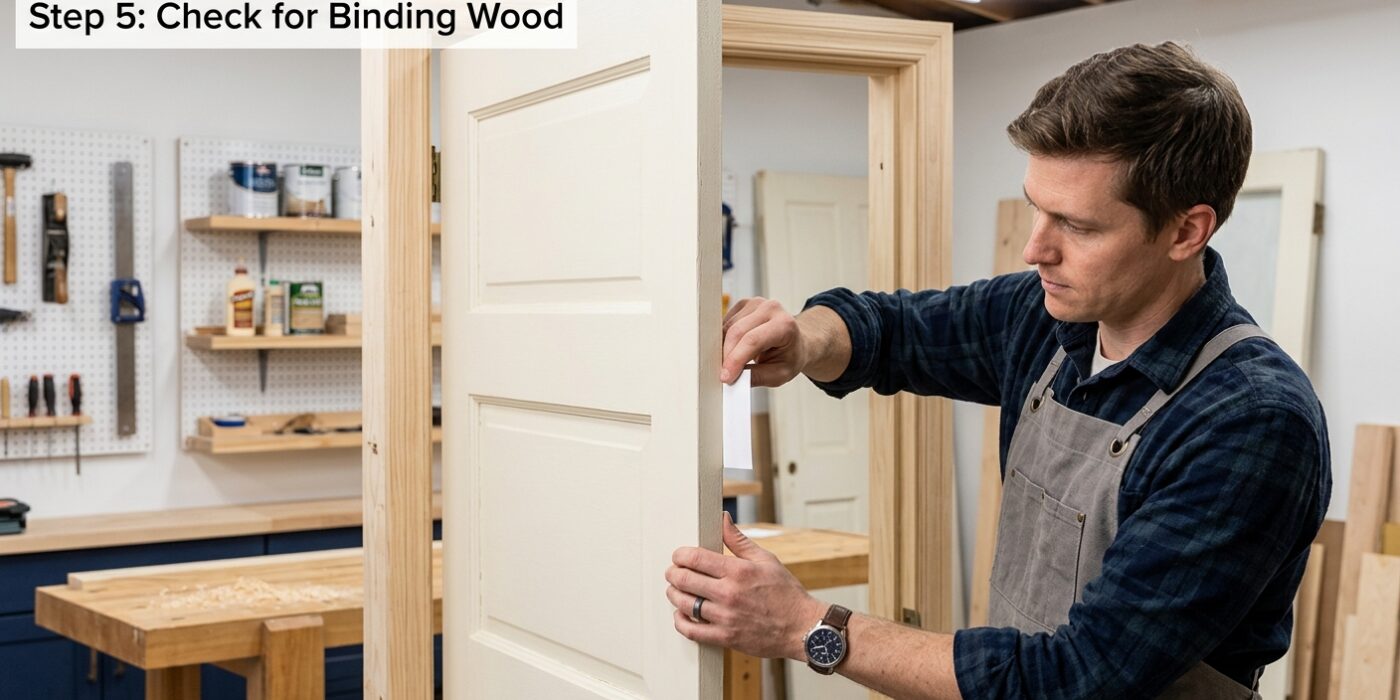
If your door makes a deep grinding or crunching noise rather than a high-pitched metal squeak, the problem isn’t the hinges – it is likely the door rubbing against the frame. To check this, close the door very slowly and look closely at the gap between the door and the frame. Watch for areas where the door edge touches the jamb, or look for visible damage like chipped paint, bare wood, or shiny “burnish” marks caused by friction.
Ideally, you want a uniform gap of about 1/8 inch around the sides and top. If the door is tight against the frame, it is binding, and lubrication will only make a mess. You will need to address the fit by sanding down the high spot or adjusting the hinges to shift the door’s position.
Beginner Tip: Don’t rush to shave off wood! Before using a plane or sander, check if your hinge screws are loose. Often, a door will sag and rub against the frame simply because the screws holding the hinge to the wall have loosened over time. Tightening those screws with a screwdriver is often the only “repair” you need.
Alternative Method: If you don’t have a power sander, use a piece of medium-grit sandpaper wrapped around a flat wooden block. This gives you better control and prevents you from accidentally removing too much material at once.
Pro Tip: To find the exact spot that is rubbing, rub a piece of white tailor’s chalk or a crayon along the edge of the door. When you close and open the door, the chalk will transfer onto the frame, perfectly marking the exact spot that needs to be sanded down.
Step 6: Fix Stripped Hinge Screw Holes
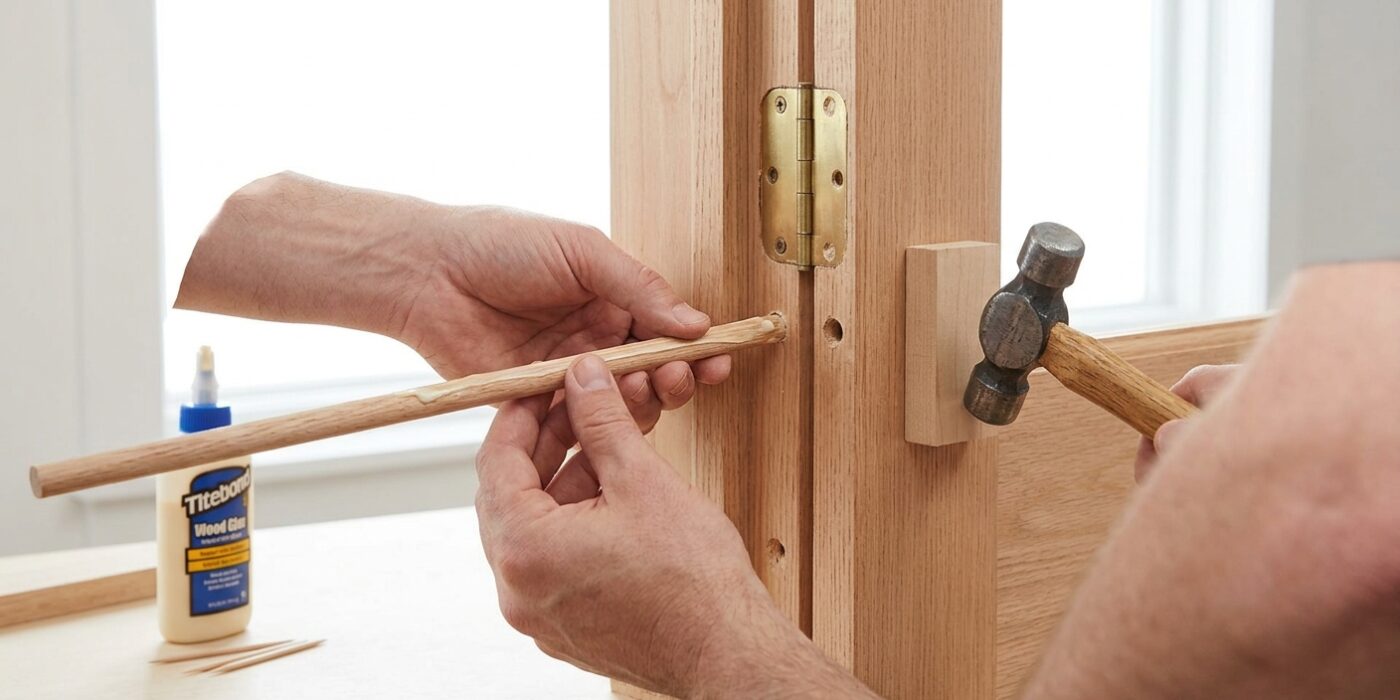
If your hinge screws spin in place without tightening, the wood inside the hole has become stripped or pulverized. When this happens, your door will sag and squeak because the hinge can’t hold firmly against the frame. To fix this, remove the hinge leaf from the door frame completely. Take 3–4 wooden toothpicks, dip them generously in wood glue, and tap them into the empty screw hole with a hammer until they are packed tightly. Let the glue set for at least one hour.
Once dry, use a sharp utility knife to carefully trim the ends of the toothpicks so they are flush with the surface of the door frame. Because the toothpicks now fill the void, your original screws will have fresh, solid wood to bite into as you drive them back in. This creates a secure, permanent grip that keeps your hinge perfectly aligned.
Beginner Tip: Avoid over-tightening your drill when reinserting the screws. If you feel the screw bite and suddenly go loose again, stop immediately; you may have pushed the toothpicks too deep or split the wood. It is always better to finish the final few turns by hand with a manual screwdriver to feel the tension.
Pro Tip: Before adding the toothpicks, dab a tiny bit of wood glue inside the hole using a cotton swab. This ensures the toothpicks bond to the surrounding frame, creating a solid plug that acts exactly like a fresh, uncut piece of lumber for your screw to hold onto.
Step 7: Re-Lubricate on a Schedule
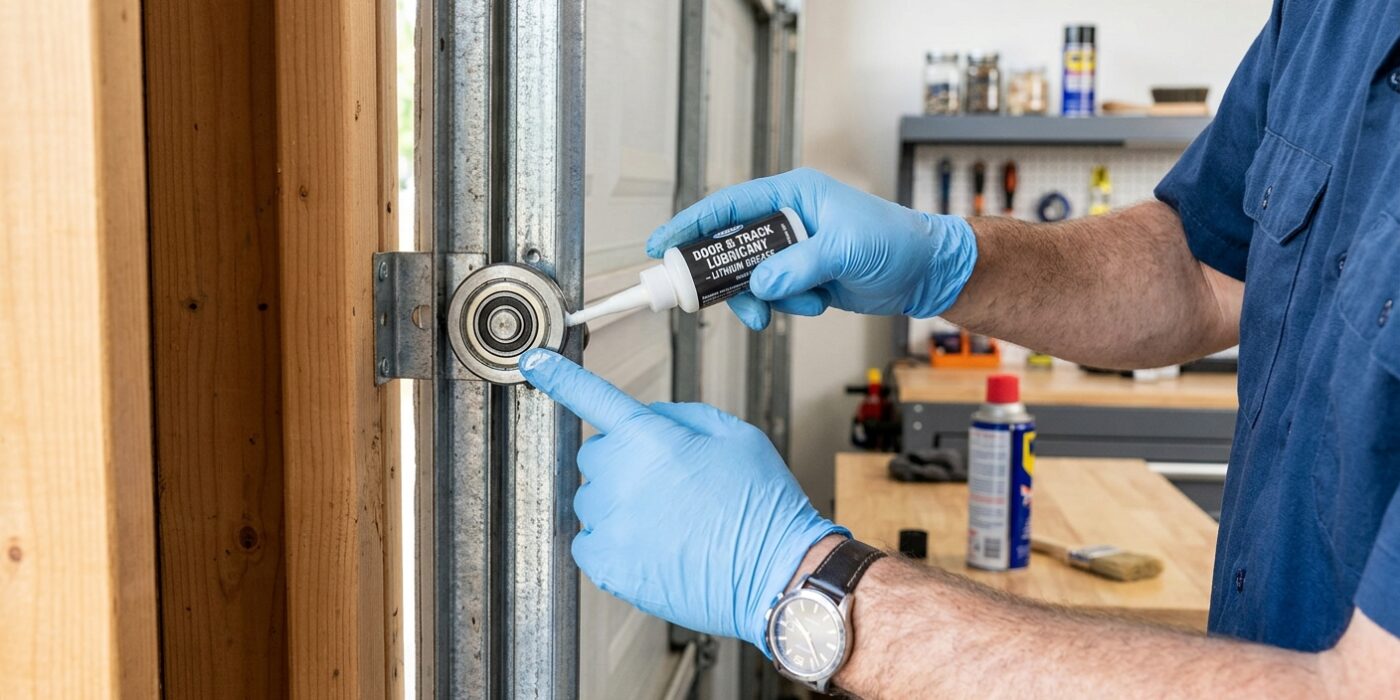
To ensure your door stays silent, aim to lubricate exterior hinges every 1–2 years and interior hinges every 3–5 years. Think of this as a simple wellness check for your home. You don’t need to disassemble everything again; simply use a clean cloth coated in a thin layer of petroleum jelly to wipe down the exposed hinge pins. By keeping a light, protective barrier on the metal, you prevent friction and rust from ever gaining a foothold. If your home experiences significant seasonal humidity or temperature swings, an annual wipe-down is a great way to stay ahead of any annoying creaks.
Beginner Tip: Avoid the temptation to use standard WD-40 as your final lubricant. While it is excellent for cleaning away gunk, it is technically a solvent that will evaporate and leave your hinges feeling dry and “sticky” shortly after application, often making the squeak return even louder than before.
Alternative Method: If you are nervous about pulling out hinge pins, you can try a “surface treatment” first. Simply apply a few drops of 3-in-One oil or a quick burst of silicone spray directly to the top of the hinge knuckles. Gently swing the door back and forth several times to help the lubricant work its way down into the seam. If the squeak persists, you will know it is time to perform the full pin removal.
Pro Tip: If your door has ball-bearing hinges – usually found on heavy exterior doors – do not attempt to remove the pin. Instead, use a straw applicator to spray white lithium grease directly into the visible gaps between the knuckles for a mess-free, long-lasting fix.