Project Shopping List
Grout that’s stained, cracked, crumbling, or mildewed can make an otherwise good bathroom look neglected – and failed grout eventually allows water to penetrate behind tile, causing much larger and more expensive damage. Re-grouting is the right fix for deteriorated grout, and it’s well within the reach of a patient DIYer. The job requires careful removal of old grout, thorough cleaning, and precise application of the new grout – done right, the result lasts 10–15 years.
This guide covers floor tile re-grouting, which is more demanding than wall tile because the joints are more exposed and traffic-bearing. The process for wall tile is the same, but floor grout must be sealed after application to resist moisture and staining.
What You’ll Need
Tools
- Oscillating multi-tool with grout removal blade (most effective) or manual grout saw
- Shop vacuum
- Grout float (rubber-faced)
- Bucket and sponges
- Margin trowel or mixing paddle (for mixing grout)
- Grout sponge (large, fine-pore)
Materials
- Unsanded grout (for joints 1/8 inch or less) or sanded grout (for joints over 1/8 inch)
- Grout sealer (for floor tile)
- Grout cleaner or dilute bleach solution (for pre-cleaning)
- Grout color-matching chart (hardware stores have these; take a tile chip or photo)
Step 1: Select Matching Grout
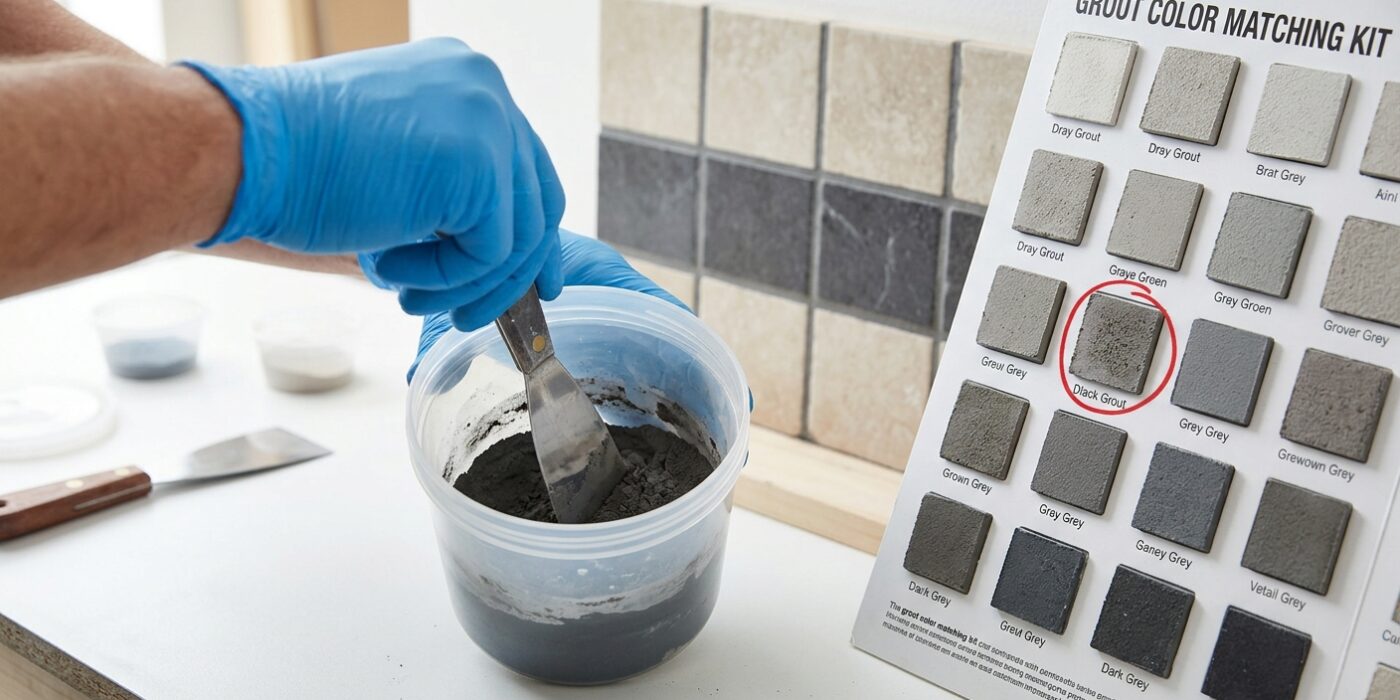
To start your project, you need to identify the exact type and color of your existing grout. Begin by taking a clear, well-lit photo of your wall or floor, or carefully use a flathead screwdriver to chip out a small, pea-sized sample of the old material. You must take this sample to a home improvement store to hold it against physical color swatches; photos on your phone or computer screen will be misleading due to lighting differences. You also need to determine if your grout is sanded or unsanded. Sanded grout feels gritty to the touch and is used for wider gaps (typically larger than 1/8 inch), while unsanded grout is smooth and meant for very tight joints. Choosing the correct texture is vital for the structural integrity of your tile.
Beginner Tip: Never rely on the name of the grout color listed on an old box or receipt. Grout manufacturers change their pigment formulas over time, and your existing grout has likely faded or discolored significantly since it was first installed. Always trust your eyes when matching in person rather than guessing based on a label.
Pro Tip: If you are struggling to tell if your grout is sanded or unsanded, take a close-up photo of the grout line and zoom in on your screen. If you see tiny, grainy particles, it is sanded; if it looks perfectly smooth like dried clay, it is unsanded.
Step 2: Remove the Old Grout
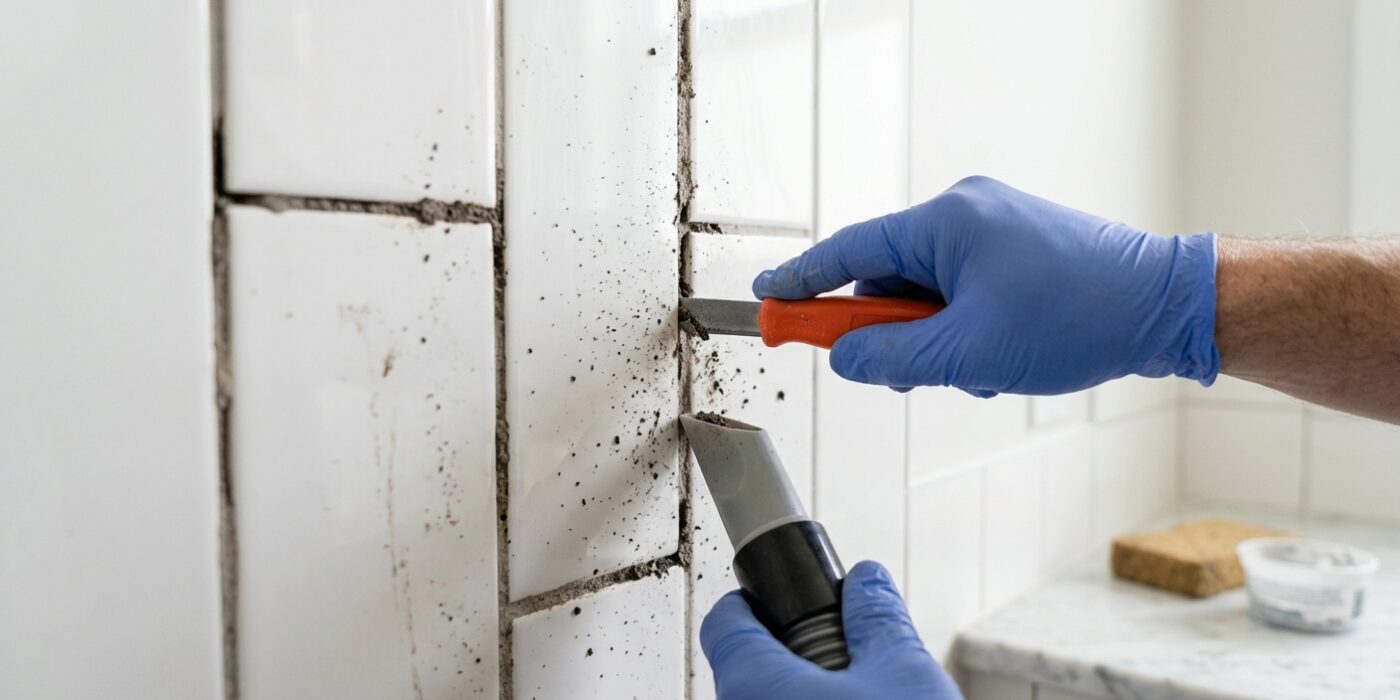
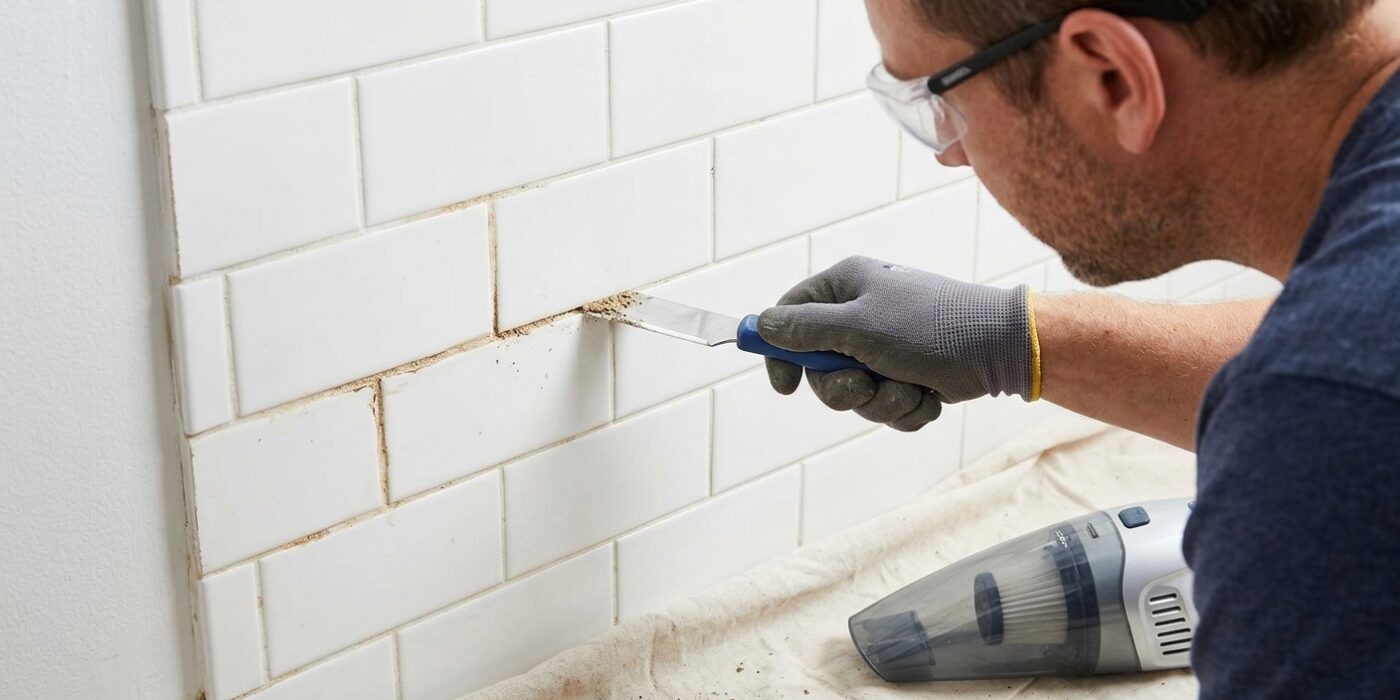
Now it is time to clear away the old, crumbling grout to make room for a fresh, strong bond. The most efficient way to do this is with an oscillating multi-tool fitted with a carbide grout removal blade. Before you begin, set your tool to a low speed to maintain better control and prevent the blade from skidding across your tiles. Carefully guide the blade along the center of each grout line, keeping it perpendicular to the wall. Your goal is to remove the old material to a depth of at least two-thirds of the tile’s thickness. If you do not go deep enough, the new grout will not have enough space to anchor itself, leading to cracking later on. Once you have finished clearing the lines, use a shop vacuum with a narrow nozzle attachment to suck up all the dust and loose debris.
Beginner Tip: The most common mistake is pressing too hard or holding the tool at an angle, which can easily chip or crack the edges of your tiles. Let the tool do the work; if you feel like you have to force it, slow down and check your blade alignment. Taking your time here will save you from an expensive repair later.
Alternative Method: If you do not have a power tool, you can use a manual carbide-grit grout saw. Hold the saw firmly and pull it toward you along the grout line using steady, even pressure. It takes more elbow grease and patience, but it offers excellent control for smaller touch-up jobs.
Pro Tip: Apply a piece of painter’s tape along the edge of each tile before you start. This creates a small protective buffer that prevents your tool from scuffing the surface of the tile if your hand slips.
Step 3: Inspect the Tile After Removal
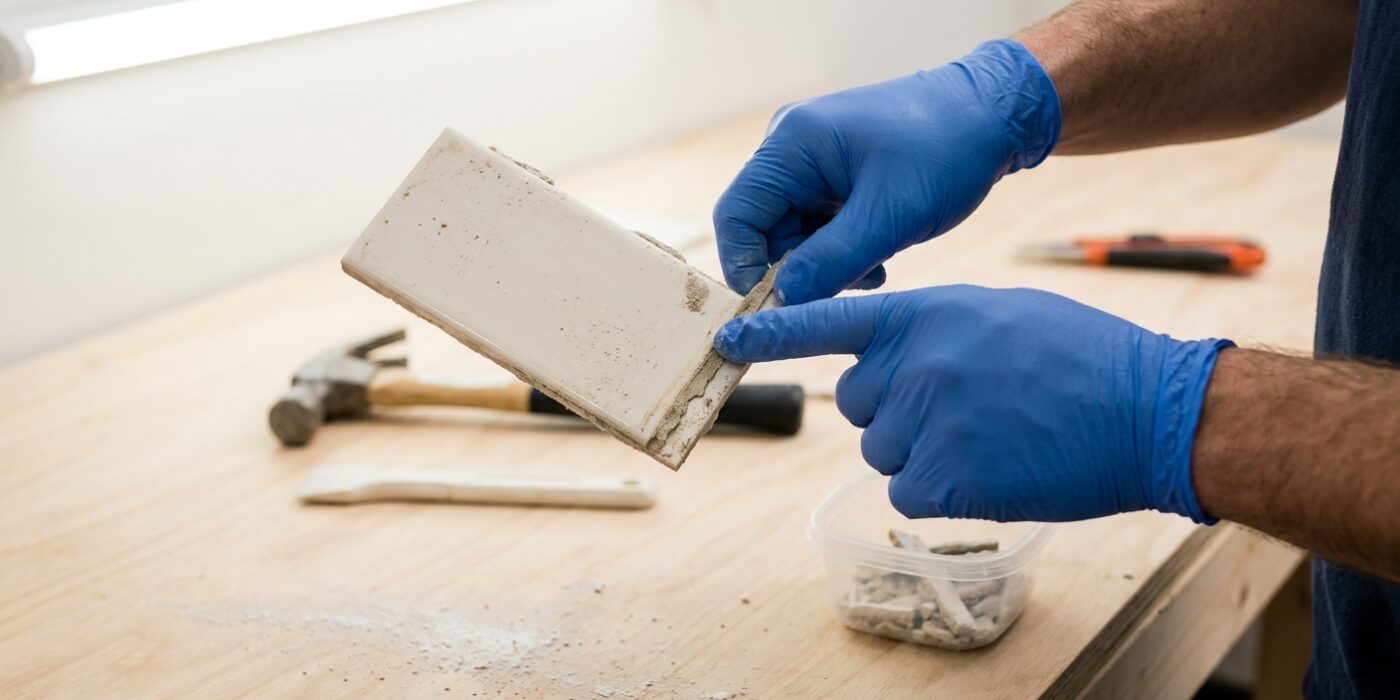
Now that you have cleared out the old grout, take a moment to closely inspect your tiles before moving forward. This step is crucial because grout acts as a decorative seal, not a structural adhesive. Gently press down on each tile, especially those near the edges or corners, to check for any “play.” If a tile wobbles, shifts, or makes a clicking sound, it has lost its bond with the wall. If you ignore this, the movement will eventually cause your new grout to crack and crumble within weeks.
To fix loose tiles, carefully pry them away from the wall, scrape off the old mortar from both the tile and the wall surface, and apply a small dab of fresh thin-set or construction adhesive specifically made for tiles. Press the tile back into place, ensuring it is flush with its neighbors. If you notice any tiles that are already cracked, it is best to replace them entirely now. Grout will not bridge a crack; the movement of the tile behind the surface will mirror itself in the new grout line immediately.
Beginner Tip: Avoid the mistake of using too much adhesive. If the tile doesn’t sit flush with the others, you likely have a dollop of glue that is too thick. Use a notched trowel or a small putty knife to spread the adhesive thinly and evenly across the back of the tile.
Pro Tip: Use a piece of painter’s tape to hold loose tiles in place while the adhesive cures overnight. This prevents them from sagging while you sleep, ensuring they stay perfectly level with the surrounding tiles.
Step 4: Clean the Joints
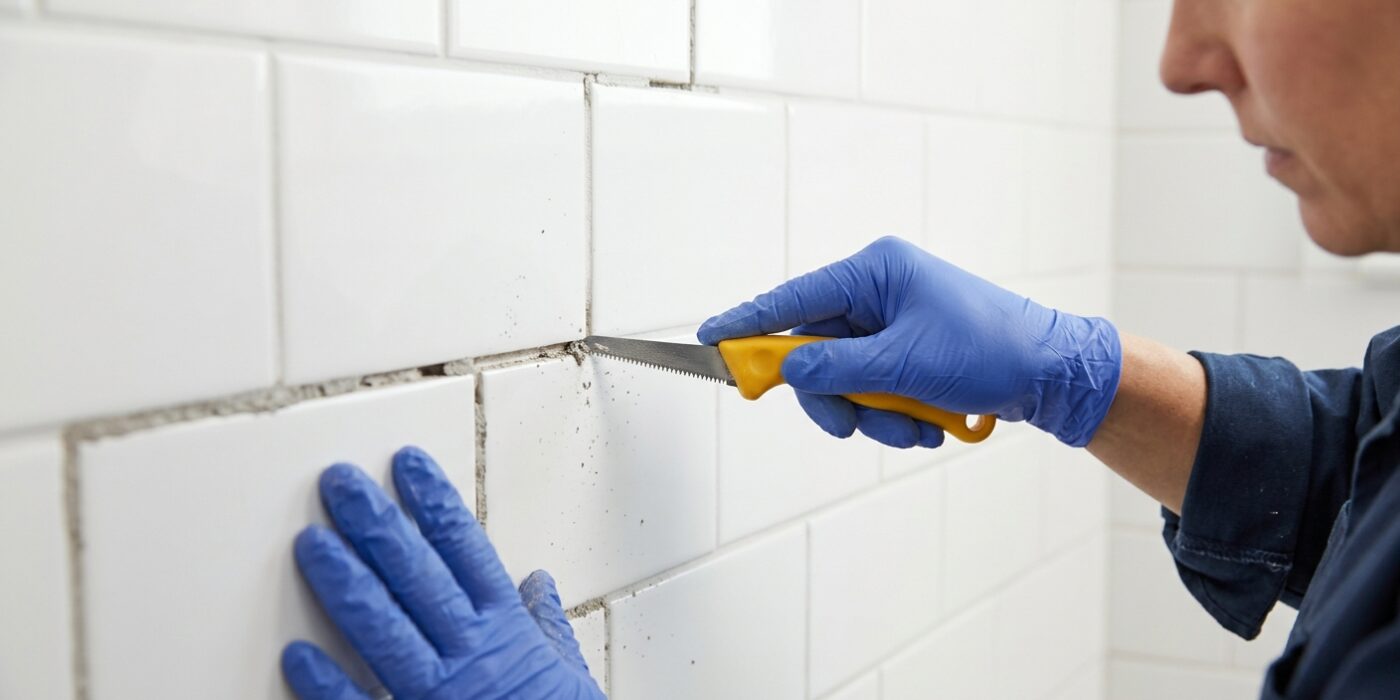
Now that you have cleared the old grout, your tile lines need to be spotless to ensure the new material sticks properly. Start by using a vacuum with a hose attachment to suck out any loose dust or debris hiding deep in the joints. Once the area is clear, wipe the entire surface firmly with a clean, damp cloth or sponge. If you spot any stubborn dark patches or mold on the edges of the tiles, mix a cleaning solution using one part bleach to ten parts water. Gently scrub these spots, then wipe them away with plain water.
Most importantly, wait until the joints are bone-dry before moving on. This is critical because if the joints are damp, the new grout will soak up that extra moisture, which prevents it from curing correctly. This results in weak, crumbly, or discolored lines that won’t hold up over time. Aim for at least one hour of drying time – patience here is the secret to a long-lasting finish.
Beginner Tip: Do not soak your sponge. You want it just barely damp – like a wrung-out towel. If you leave puddles in the joints, you are accidentally sabotaging your hard work.
Pro Tip: Use a hairdryer on a low-heat setting to blast any remaining moisture out of the joints. This ensures the surface is perfectly dry, giving your new grout the strongest possible foundation to bond to the tile edges.
Step 5: Mix the Grout
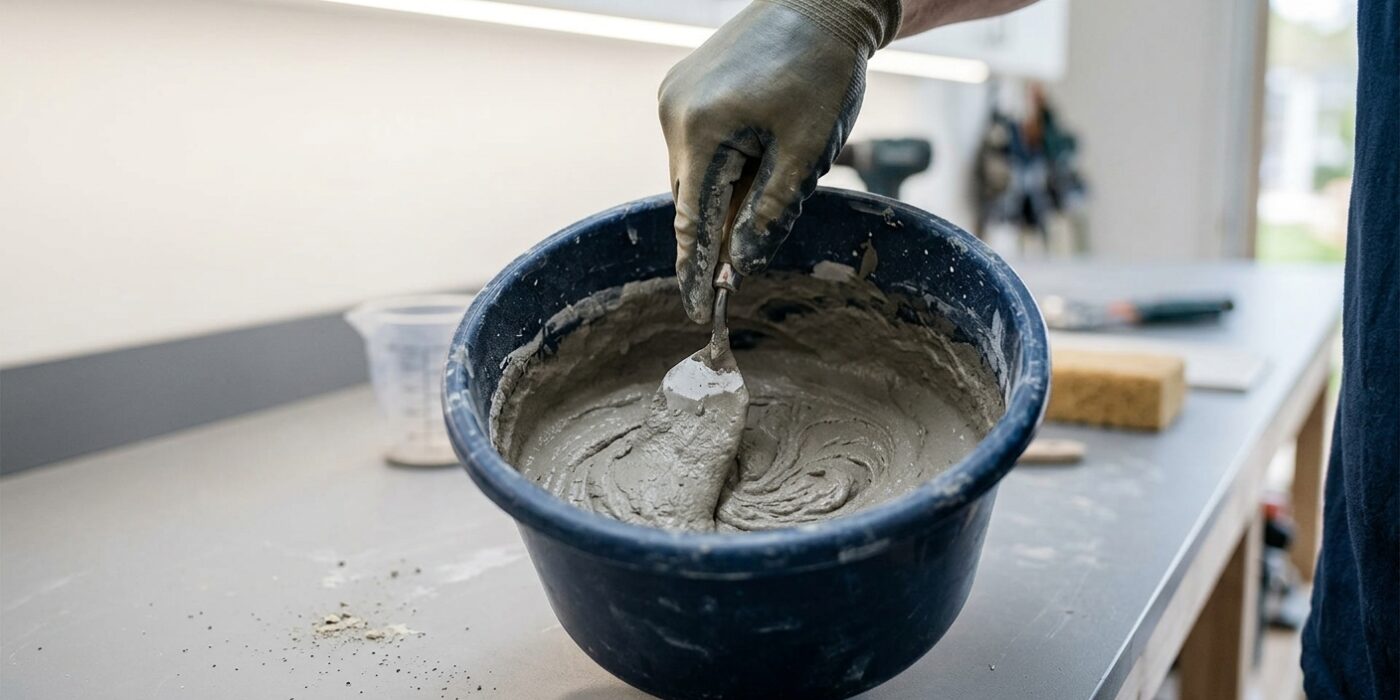
Mixing grout is the most critical step for a durable finish. Start by pouring the recommended amount of water into a clean plastic bucket, then gradually add your grout powder. Always add powder to water – never the other way around – to prevent dry clumps from settling at the bottom. Use a margin trowel or a drill-mounted mixing paddle on a very low speed to blend the mixture. You are aiming for a smooth, consistent texture that looks and feels like creamy peanut butter. If the mixture is too runny, it won’t set properly; if it is too dry, it will crumble during application.
Once you reach the right consistency, stop and let the mixture “slake” (sit undisturbed) for five to ten minutes. This allows the water to fully activate the chemical additives in the grout powder. After this rest period, stir it one last time briefly. Do not add any extra water at this stage, as it will weaken the final bond.
Beginner Tip: Never mix more grout than you can comfortably apply in 30 minutes. Grout begins to harden, or “set up,” quite quickly, and once it starts to stiffen in the bucket, it is no longer usable. If you are new to the process, work in small batches until you get a feel for your speed.
Pro Tip: Use a clean bucket and fresh water for every batch. Even a tiny amount of leftover, hardened grout from a previous batch acts like a pebble in your fresh mix, creating streaks or lumps that make it difficult to achieve a smooth, professional-looking line between your tiles.
Step 6: Apply the Grout
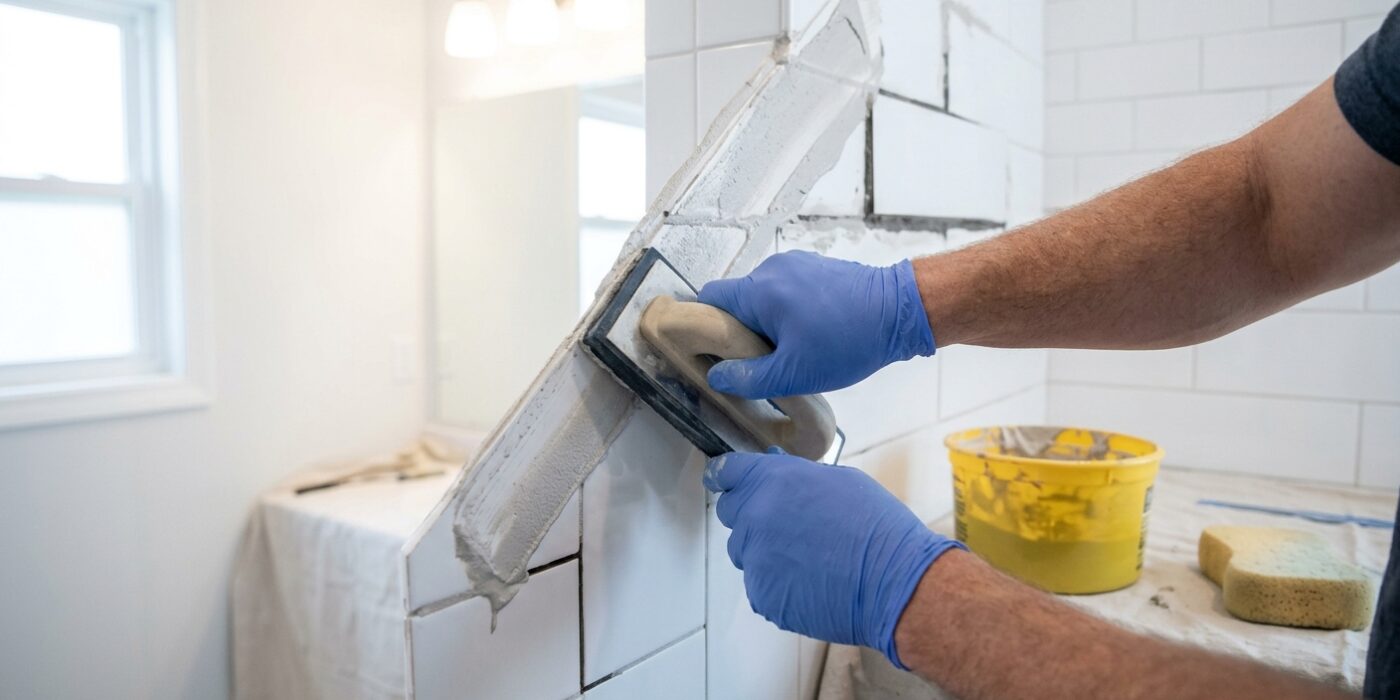
Now it is time to fill those gaps. Scoop a generous amount of grout onto your rubber float. Hold the float at a 45-degree angle to the wall and spread the grout diagonally across the tiles. Working diagonally is crucial; if you move parallel to the grout lines, the edge of the float will scoop the fresh material right back out of the joints. Use firm pressure to push the grout deep into the spaces until they look completely packed. Work in small sections, about 10 to 15 square feet at a time, so the grout does not dry out before you can clean it.
Once the joints are packed, hold your float nearly perpendicular – almost straight up – to the tile surface. Use this edge to squeegee off the excess grout, moving diagonally again to keep the face of your tiles clean. You want the grout to be flush with the surface of the tiles, not piled on top.
Beginner Tip: Do not use too much water when mixing your grout. If the consistency is too runny, the grout will shrink as it dries, leaving you with cracks or uneven lines. Aim for the texture of smooth peanut butter.
Pro Tip: If you find the grout is getting tacky and difficult to spread, keep a damp (not dripping wet) sponge nearby. Lightly wiping the area before you begin can help the grout glide into the joints more smoothly and makes the final cleanup much faster.
Step 7: Clean the Tile Surface
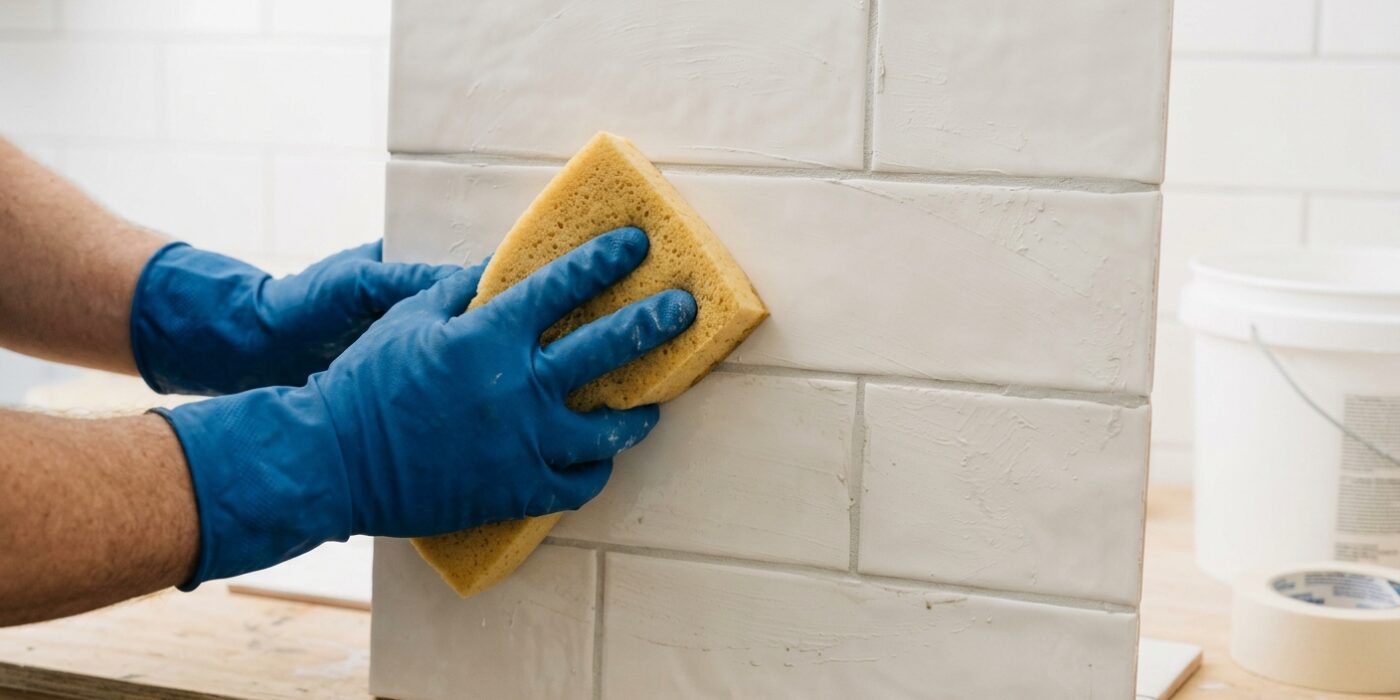
Now that your grout is in place, it is time for the final cleanup. Wait 15 to 30 minutes for the grout to set; you will know it is ready when the surface of the grout looks dull rather than wet. Using a large grout sponge, wring it out until it is barely damp. If the sponge is too wet, you will wash the grout right back out of the gaps.
Wipe the tiles using smooth, diagonal arcs across the joints. Working diagonally is crucial because moving parallel to the grout lines can accidentally scoop the fresh grout out. Rinse your sponge frequently in a bucket of clean water to keep it from becoming clogged with residue. If a thin, powdery haze remains after two or three passes, gently wipe the surface with a clean, dry microfiber cloth to buff it away. Take your time – this step is all about patience, not pressure.
Beginner Tip: Resist the urge to scrub the tiles aggressively. Many beginners try to clear the haze by rubbing hard, but this will only pull the grout out of the joints and leave you with uneven lines. Use a light touch, letting the damp sponge do the work for you.
Pro Tip: Keep two separate buckets of water nearby. Use the first bucket to rinse the bulk of the grout off the sponge, and the second bucket for a final rinse. This ensures you are always wiping your tiles with genuinely clean water, which prevents streaking and leaves a professional, polished finish.
Step 8: Cure and Seal
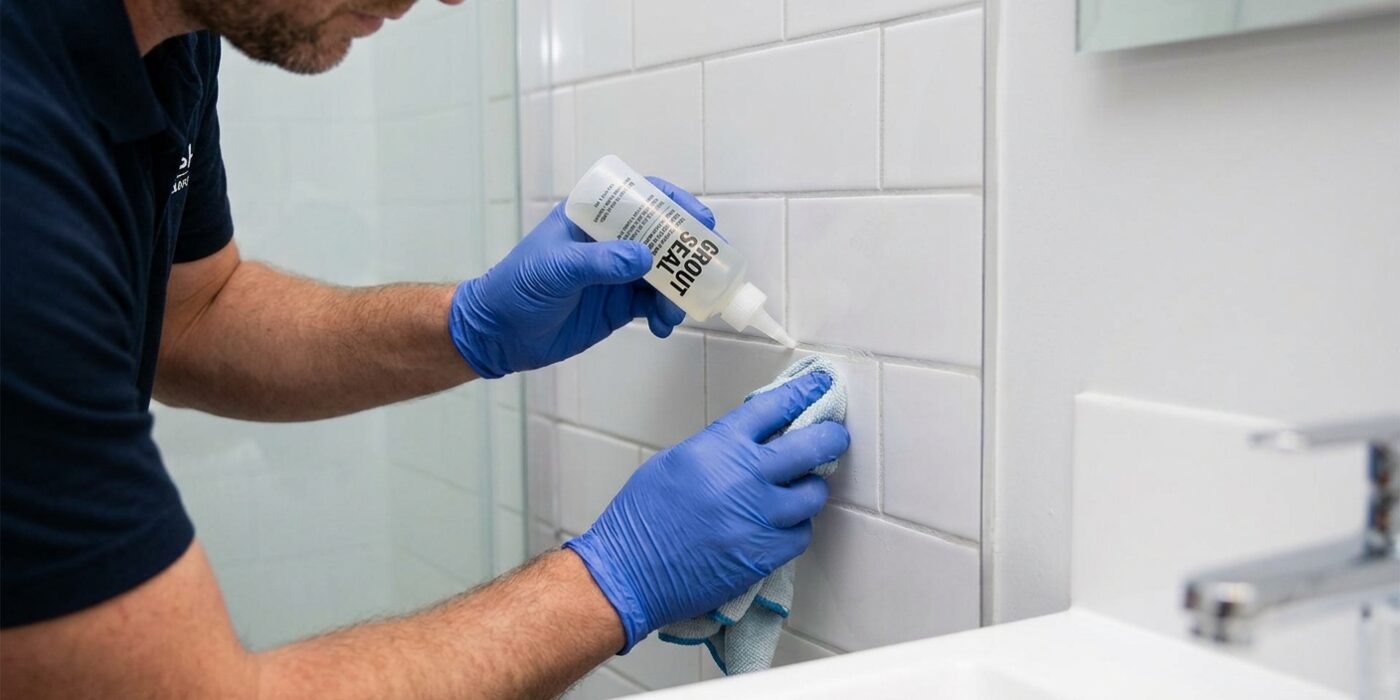
Now that your grout is in place, patience is your best tool. You must keep all foot traffic off your newly finished floor for 24 to 72 hours, depending on the specific instructions on your grout packaging. Rushing this curing process can cause the grout to crack or discolor. Once it has fully cured – ideally waiting at least 48 hours – it is time to protect your hard work with a grout sealer. This clear barrier prevents water, soap scum, and grime from soaking into the porous material, which significantly extends the life of your installation.
To seal, use a small applicator brush or the tip of your sealer bottle to carefully trace each grout line. Work in small sections, and be sure to wipe away any excess sealer that touches the surface of the tiles immediately with a clean, dry microfiber cloth. If left to dry on the tile, the sealer can become tacky or create an unsightly haze.
Beginner Tip: Avoid the temptation to “flood” the entire floor with sealer. Applying it too heavily leads to uneven buildup on the tile edges that will attract dirt, making your floor look messy rather than clean.
Pro Tip: To test if your sealer is applied evenly, wait for it to dry completely, then place a single drop of water on a grout line. If the water beads up, your seal is perfect. If it soaks in, you need one more light coat in that spot.