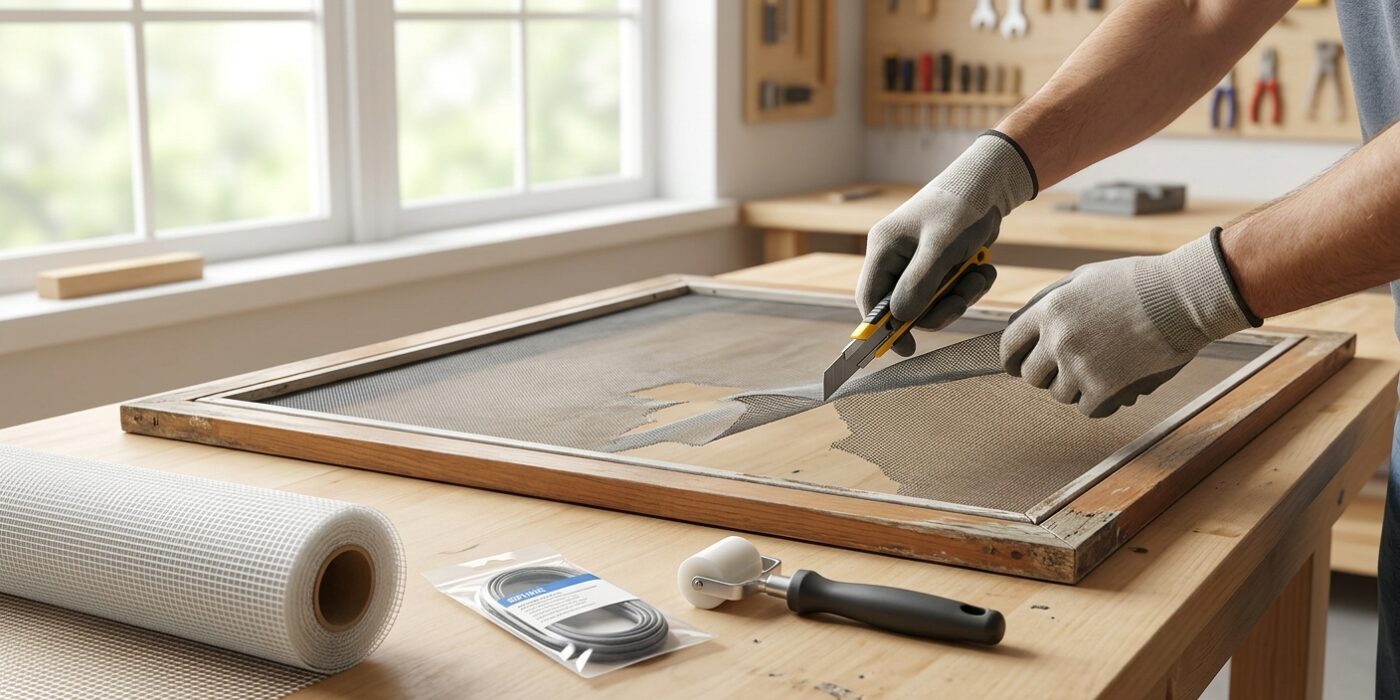
Project Shopping List
A torn or sagging window screen looks terrible, lets insects in, and doesn’t improve on its own – but replacing the screening material is one of the easiest home repair jobs there is. The only trick is getting the spline (the rubber cord that holds the screen in the frame) seated correctly, which requires the right tool and even tension. Get those two things right and the job takes about 20 minutes per screen.
This guide covers removing the old screen, selecting the right replacement material, cutting it to size, and rolling the spline in so the screen is tight and smooth – not wavy or loose.
What You’ll Need
Tools
- Screen rolling tool (spline roller) – double-ended with a convex wheel and a concave wheel
- Utility knife with fresh blade
- Flathead screwdriver
- Work surface (flat table or workbench)
Materials
- Replacement screen mesh – fiberglass (easiest) or aluminum (more durable). Match to visible mesh size.
- Replacement spline – measure the groove width in your frame. Common sizes: 0.140, 0.160, 0.175 inch. Buy a size that fills the groove snugly without forcing.
Step 1: Remove the Screen Frame
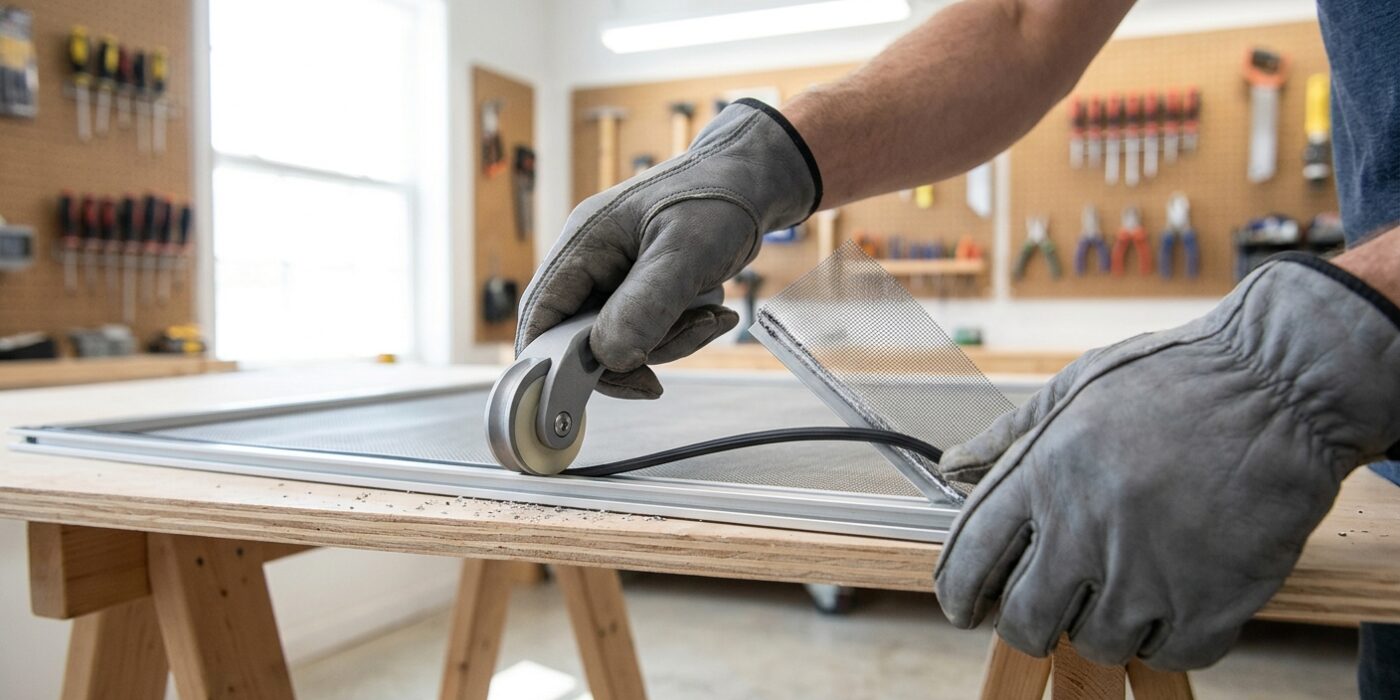
To begin your project, you first need to safely remove the screen from the window track. Most interior-mounted screens are held in place by spring-loaded pins or tension clips. Start by locating the small metal or plastic pull tabs along the sides or bottom of the frame. Gently push these tabs toward the center of the screen to compress the springs, then tilt the bottom of the frame slightly toward you. Once it clears the track, lift the entire frame upward and out.
If your screen is exterior-mounted, you will need to head outside. Use a flat-head screwdriver to gently pry the frame out of its track if it feels stuck, but work slowly to avoid bending the aluminum edges. Once free, lay the frame flat on a clean, sturdy table or workbench. A flat surface is vital because it prevents the frame from warping while you work, ensuring the new screen fits perfectly when you reinstall it.
Beginner Tip: Avoid pulling the screen frame toward you too aggressively before it is fully clear of the track. If the frame is still caught in the guide, forcing it can bend the delicate aluminum corners, which makes the screen difficult to slide back in later. If it feels stuck, take a breath and ensure all tabs are fully depressed before trying again.
Pro Tip: Before removing the screen, take a quick photo of how it sits in the track. This acts as your visual blueprint, ensuring you know exactly which side faces out and how the springs align when you put everything back together.
Step 2: Remove the Old Spline and Mesh
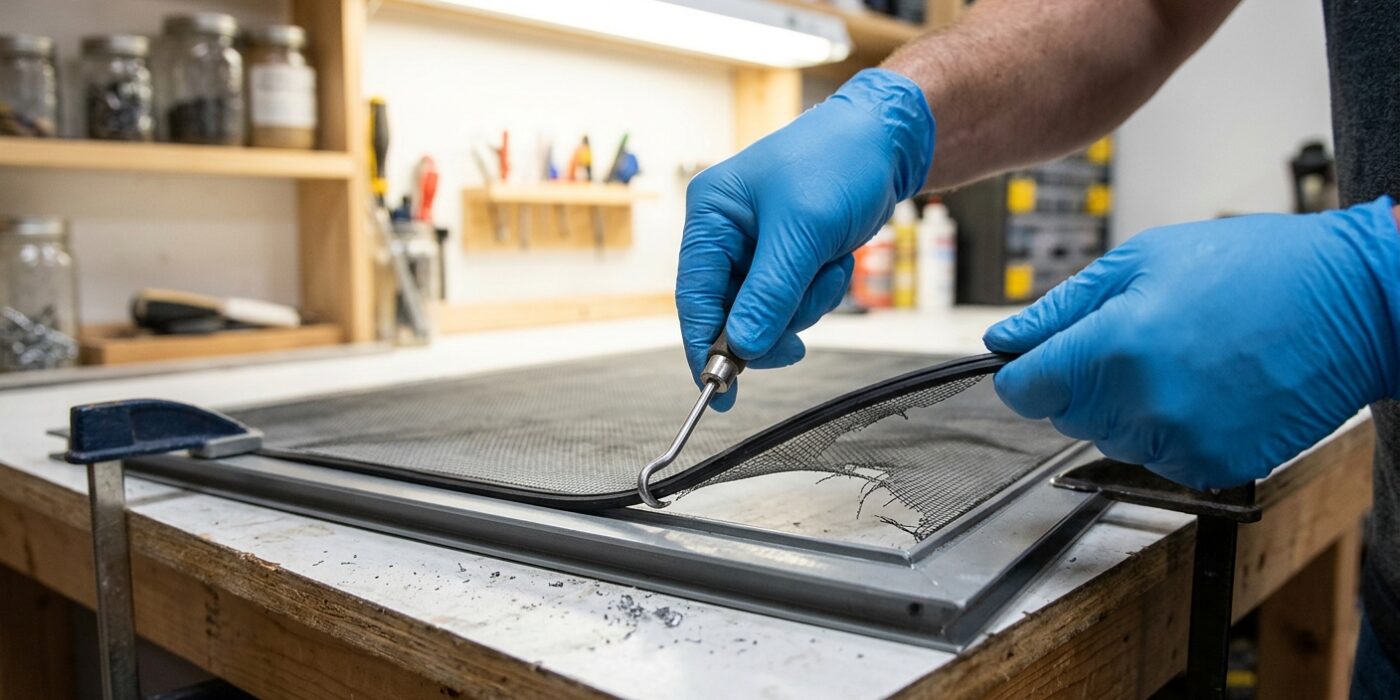
Now that your frame is secure on a flat surface, it is time to remove the old materials. Locate one of the corners where the spline – the thin, rubbery cord holding the mesh in place – begins. Take your flathead screwdriver and gently slide the tip under the edge of the spline, angling it at about 45 degrees to pry it upward. Once you have lifted an inch or two, you should be able to grip it with your fingers. Slowly pull the spline along the entire perimeter of the frame; as it lifts, the old mesh will come free automatically.
Once everything is removed, inspect that rubber spline. If it snaps or feels like hard plastic, it has lost its flexibility and needs to be replaced with a new roll from the hardware store. If it is still soft and stretchy, you are welcome to reuse it to save a few dollars.
Beginner Tip: Avoid dragging your screwdriver forcefully along the metal groove. The frame is often made of soft aluminum; if you apply too much pressure, you risk scratching or bending the edges, which makes installing the new screen much more difficult later on.
Pro Tip: If the spline is stubborn and won’t lift, try using a hairdryer on a low-heat setting for 30 seconds. Warming the rubber helps it regain its elasticity, making it much easier to pull out of the track without snapping.
Step 3: Cut the New Screen to Size
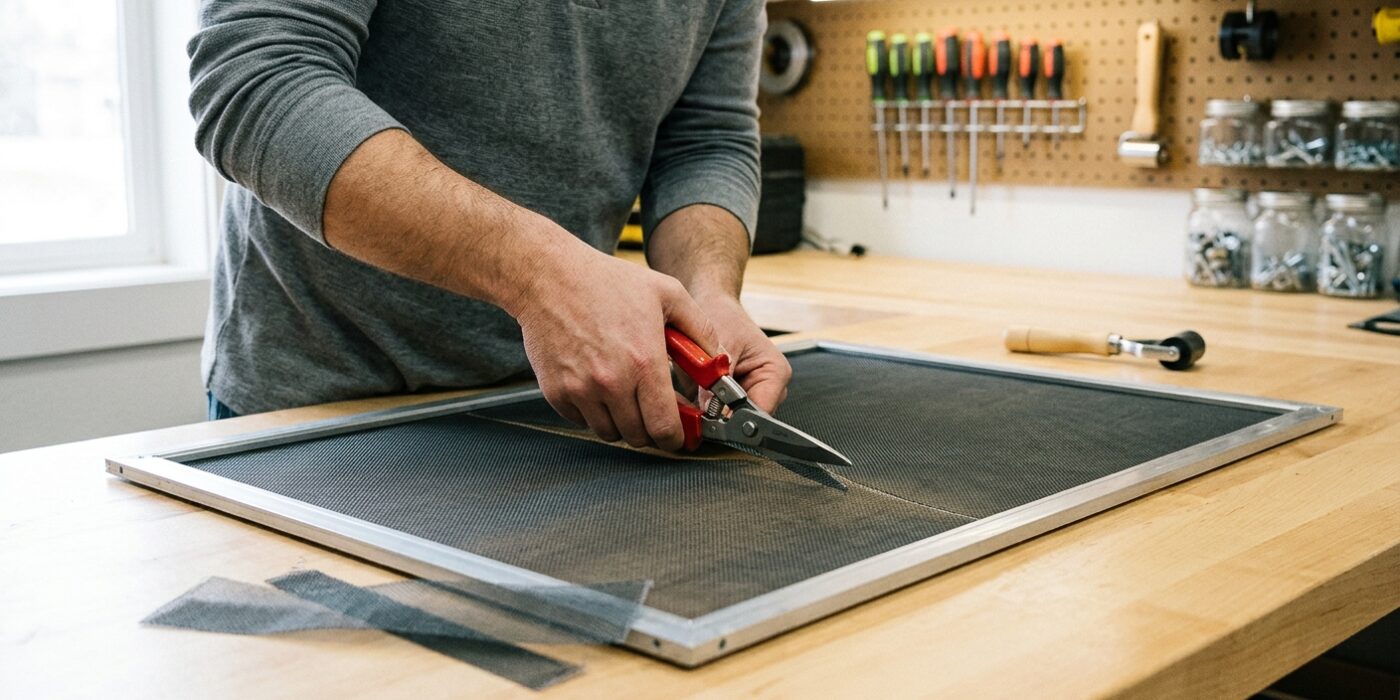
Now that your frame is prepped, it is time to lay down your new screening material. Carefully unroll your mesh across the frame, ensuring it is centered. You want at least 1 inch of extra material extending past the edges of the frame on all four sides. This “buffer zone” is crucial because you will be pushing the screen deep into the frame’s groove; if you cut it too short, the mesh will pull out of the track and leave you with a gap. Use a sharp pair of household scissors to trim the mesh to this rough size. Do not worry about getting perfect, straight lines yet – you want extra material to hold onto while you work, and you will trim the final excess once the screen is locked securely in place.
Beginner Tip: Avoid the urge to cut the mesh to the exact dimensions of your frame. If you cut it flush, you will have no slack to push into the spline channel, and the screen will likely snap out of the frame as soon as you try to secure it. When in doubt, leave a little extra – it is always better to have too much material than not enough.
Pro Tip: To keep the screen from shifting while you cut, use a few spring-loaded clamps or even heavy books to hold the corners of the mesh down against your workspace. This prevents the mesh from sliding around, allowing you to achieve a clean, consistent 1-inch overlap all the way around without the frustration of it bunching up.
Step 4: Roll in the Spline – Corners First
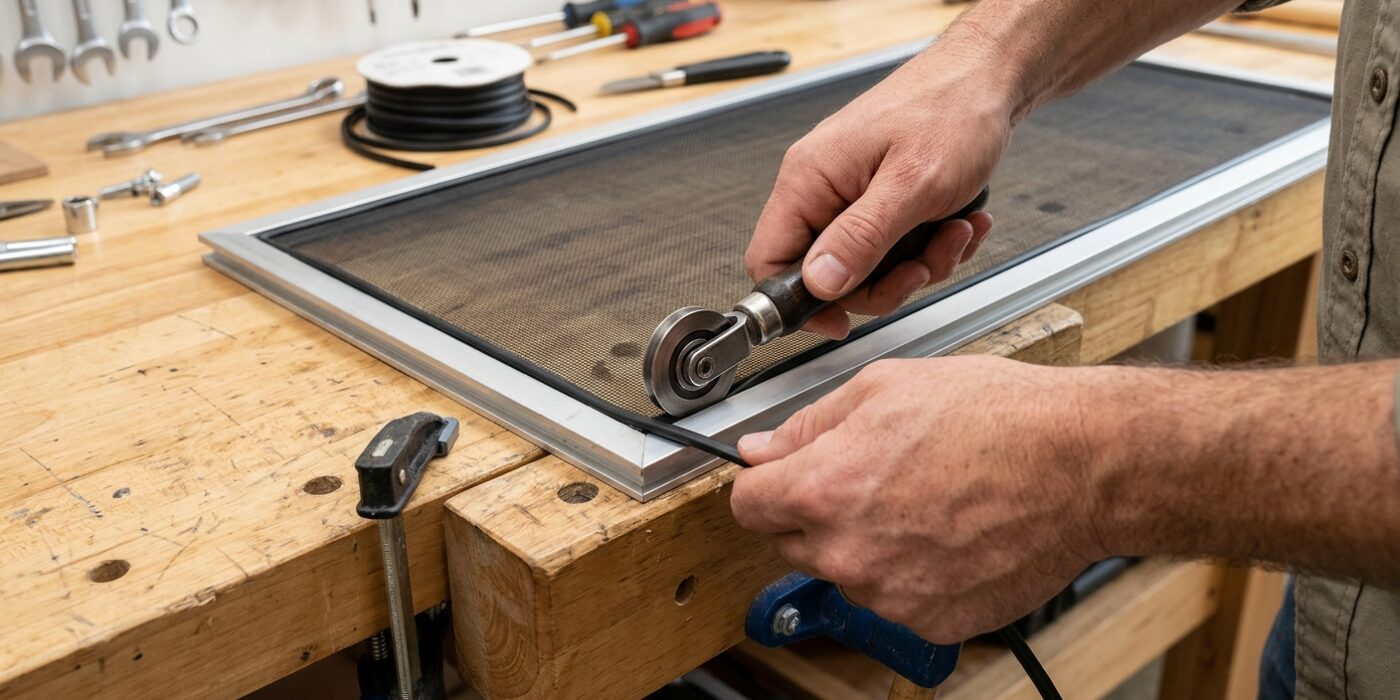
Now it is time to secure the screen mesh to the frame. First, take the convex (rounded) wheel of your spline roller and gently press the mesh into the frame’s groove. Start at one corner and work your way around, using light pressure to seat the mesh evenly. This creates a “nest” for your spline cord. Once the mesh is positioned, lay your new spline cord along the groove. Switch to the concave (grooved) wheel – the side with the indentation – and roll it firmly over the spline. The groove in the wheel keeps the tool centered on the cord, pushing it deep into the frame to lock everything in place. Keep your free hand tugging gently on the screen as you move to ensure the mesh stays taut and ripple-free.
Beginner Tip: The most common mistake is pulling the screen too tightly while pushing the spline in. If you pull too hard, the frame might bow inward or the screen will tear. Aim for “firm but relaxed” tension – just enough to keep the fabric flat without distorting the metal frame.
Pro Tip: If the spline keeps popping out of the groove while you move to the next side, use small strips of masking tape to temporarily hold the mesh and spline in place at the corners. This acts as a third hand, allowing you to focus on getting steady, even pressure with your roller without the screen shifting on you.
Step 5: Maintain Tension Across All Four Sides
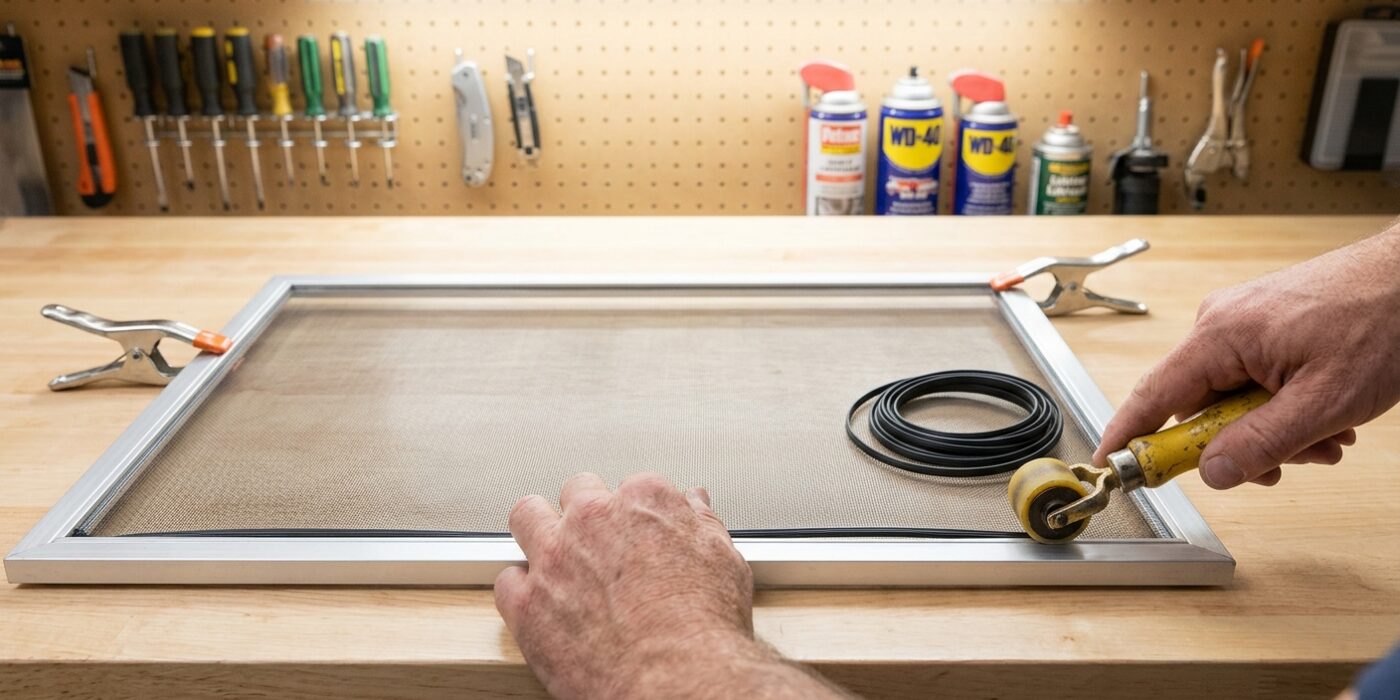
The secret to a professional-looking screen is managing tension as you press the spline into the frame. If you secure one side completely before starting the next, the mesh will inevitably buckle and pull into unsightly waves. Instead, use a “cross-tensioning” technique: roll the spline about halfway down the first side, then move to the exact opposite side and roll that halfway, ensuring the mesh is pulled taut across the frame. Once both sides have partial tension, go back and finish the first side, then the second. Finally, move to the remaining two sides, repeating this back-and-forth pattern until the screen is perfectly flat. This ensures the mesh stays evenly distributed across the frame rather than stretching diagonally.
Beginner Tip: A common mistake is pulling the screen too hard before it is secured. You want the mesh to be firm, but avoid yanking it to the point of distorting the grid pattern. If the little square holes in your screen look stretched or diamond-shaped, you are pulling too tight – ease up just a bit to keep the weave uniform.
Pro Tip: To keep your screen from slipping while you work, use small binder clips to temporarily hold the mesh to the outer edges of the frame. This keeps the screen perfectly centered and prevents it from shifting as you navigate around the corners, making the tensioning process feel much more controlled.
Step 6: Trim the Excess Mesh
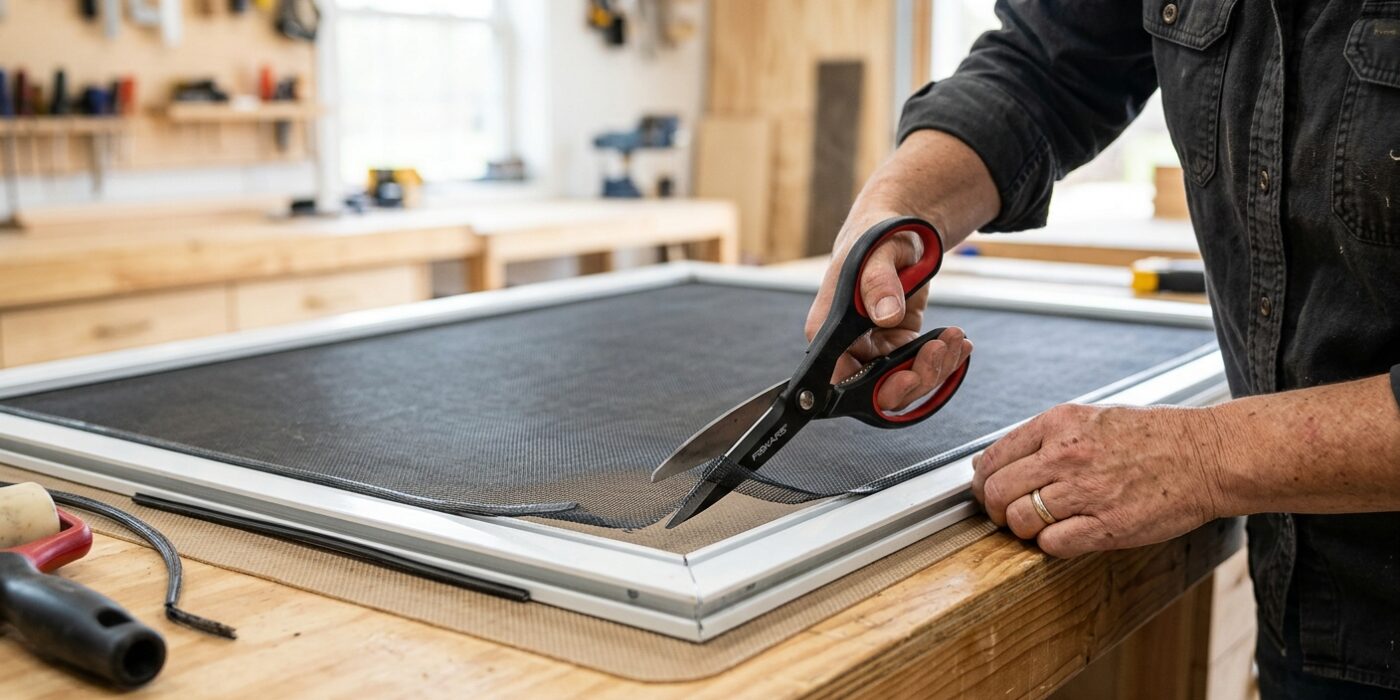
Now that your screen is securely locked into the frame, it is time to give it a professional finish. You need to trim the extra mesh hanging off the edges so the screen fits smoothly into your window. Lay your frame on a flat, stable surface like a table or workbench. Take your utility knife and press the blade gently against the outside edge of the spline – that rubber cord holding the screen in place. Angle your knife at about 45 degrees, keeping the blade resting right against the frame’s edge. Using a steady hand, pull the knife toward you in one long, smooth motion. Do not try to “saw” the mesh; instead, let the sharp blade glide through the material. Take extra care at the corners, where the fabric can bunch up.
Beginner Tip: The most common mistake is holding the knife at too steep an angle, which can cause the blade to slip off the spline and cut the screen material you just worked so hard to install. Keep the blade tilted outward toward the metal frame, not inward toward your new screen.
Pro Tip: Before you start cutting, make sure your utility knife has a brand-new blade. Fiberglass and aluminum mesh can dull a blade edge faster than you might think. A sharp blade allows you to use less pressure, which gives you much more control and prevents the fabric from bunching or tearing while you work.