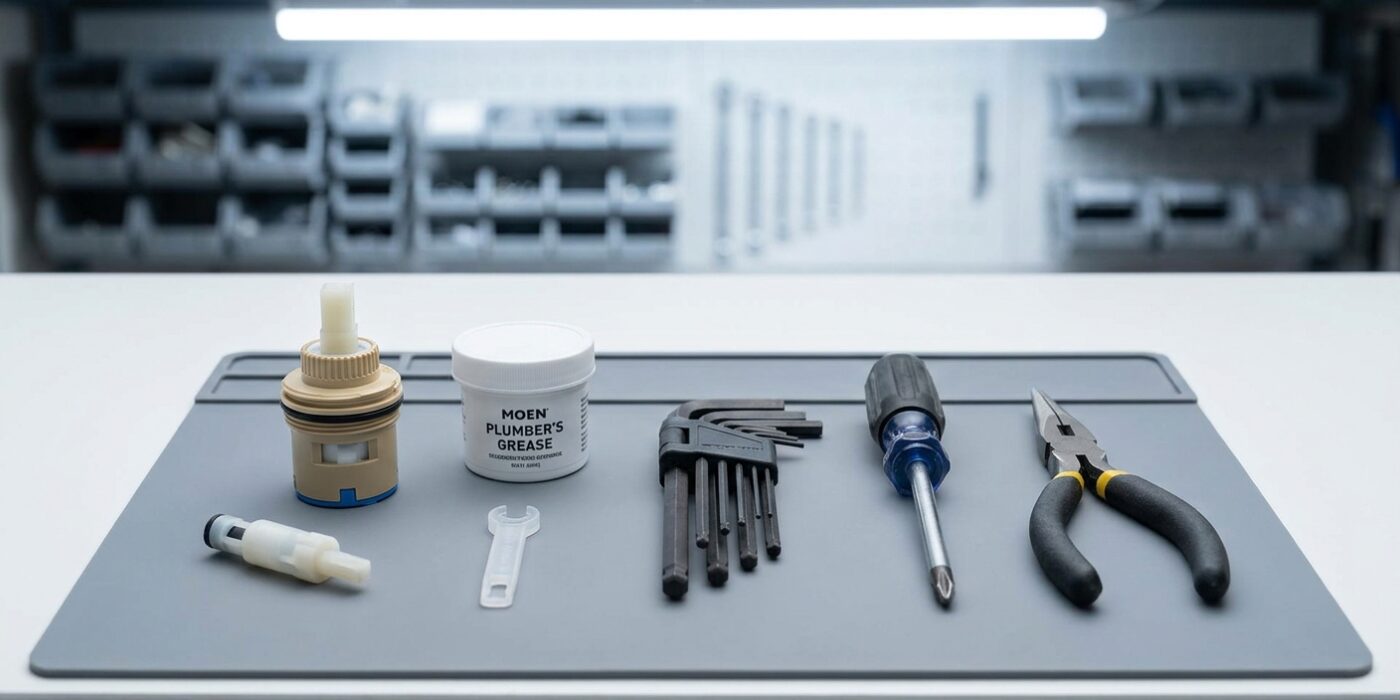
Project Shopping List
A dripping shower or tub faucet isn’t just annoying – a slow drip wastes thousands of gallons per year and keeps the water heater cycling unnecessarily. In most cases, the cartridge (the internal valve mechanism) is the failing part, and replacing it restores a like-new feel to the valve. Shower cartridge replacement is an intermediate project: the water must be shut off at the main, and the old cartridge must be identified correctly before ordering a replacement.
This guide covers the most common cartridge types – single-handle Moen, Kohler, and Delta designs – and walks through the diagnostic and replacement process that applies to all of them. Each brand has a specific cartridge; guessing costs time and money.
What You’ll Need
Tools
- Phillips and flathead screwdrivers
- Allen wrench set (3/32 and 1/8 inch most common)
- Cartridge puller or needle-nose pliers
- Adjustable pliers
- Utility knife
Materials
- Replacement cartridge – brand and model specific (see Step 1)
- Plumber’s grease (silicone grease)
- New O-rings (often included with cartridge kit)
Step 1: Identify Your Faucet Brand and Model
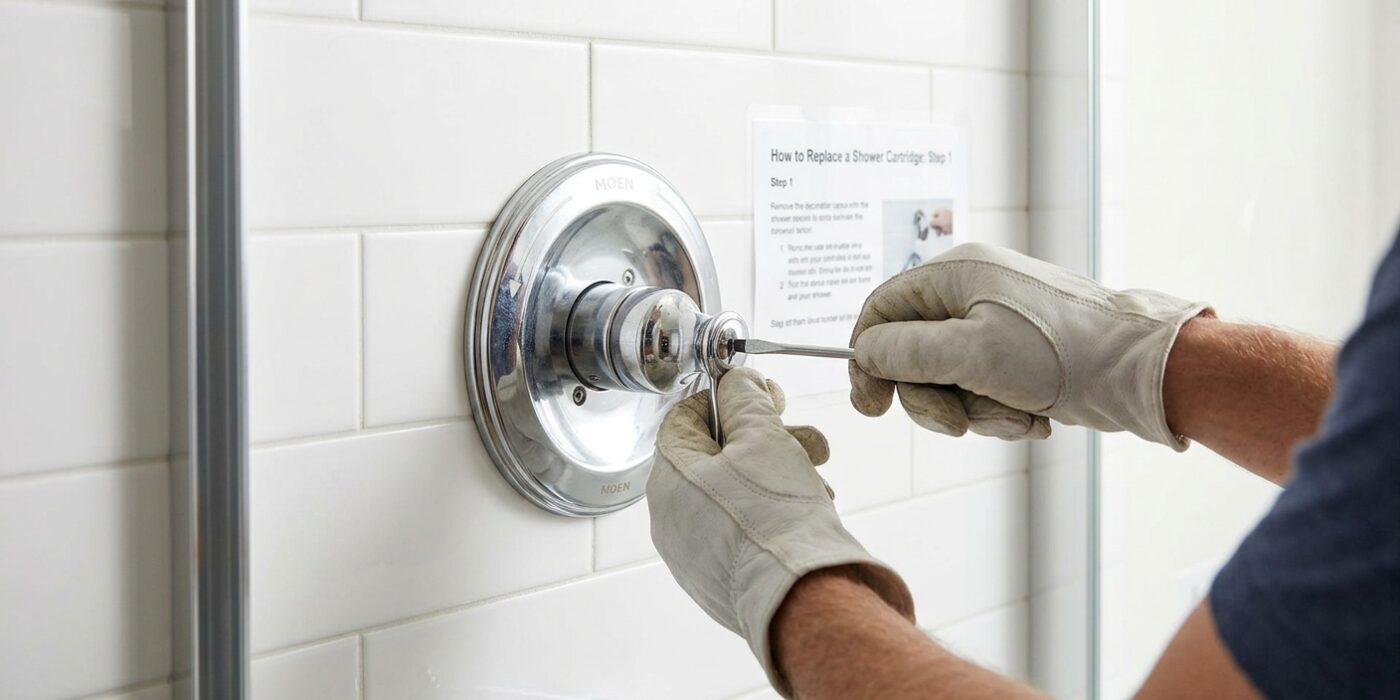
Before you turn a single wrench, you need to know exactly which internal parts your shower requires. Replacing a shower cartridge is not a one-size-fits-all task; if you attempt to install an incorrect model, your shower will continue to leak or might not even be able to be put back together. Start by closely inspecting the face of your faucet handle and the circular metal trim plate (the escutcheon) on the wall. Look for stamped logos or small text that identify the manufacturer, such as Moen, Delta, Kohler, or Pfister. If you find nothing, take several clear, well-lit photos of the handle, the spout, and the showerhead from a straight-on angle. These details are the keys to success.
Beginner Tip: Never rely on guesswork at the hardware store. The biggest mistake is buying a part based on appearance alone without verifying the model number. If you are uncertain, leave the old cartridge in place until you have the exact replacement in your hand. This ensures your shower remains functional while you shop.
Pro Tip: If your faucet is older and the branding has worn away, search for the manufacturer’s name hidden on the underside of the handle or behind the decorative cap. Sometimes, a flat-head screwdriver can be used to gently pry off a small plastic cover on the handle to reveal a hidden screw or a model stamp underneath. This “detective work” saves you from multiple trips to the store and ensures you get the right part on your first try.
Step 2: Shut Off Water at the Main
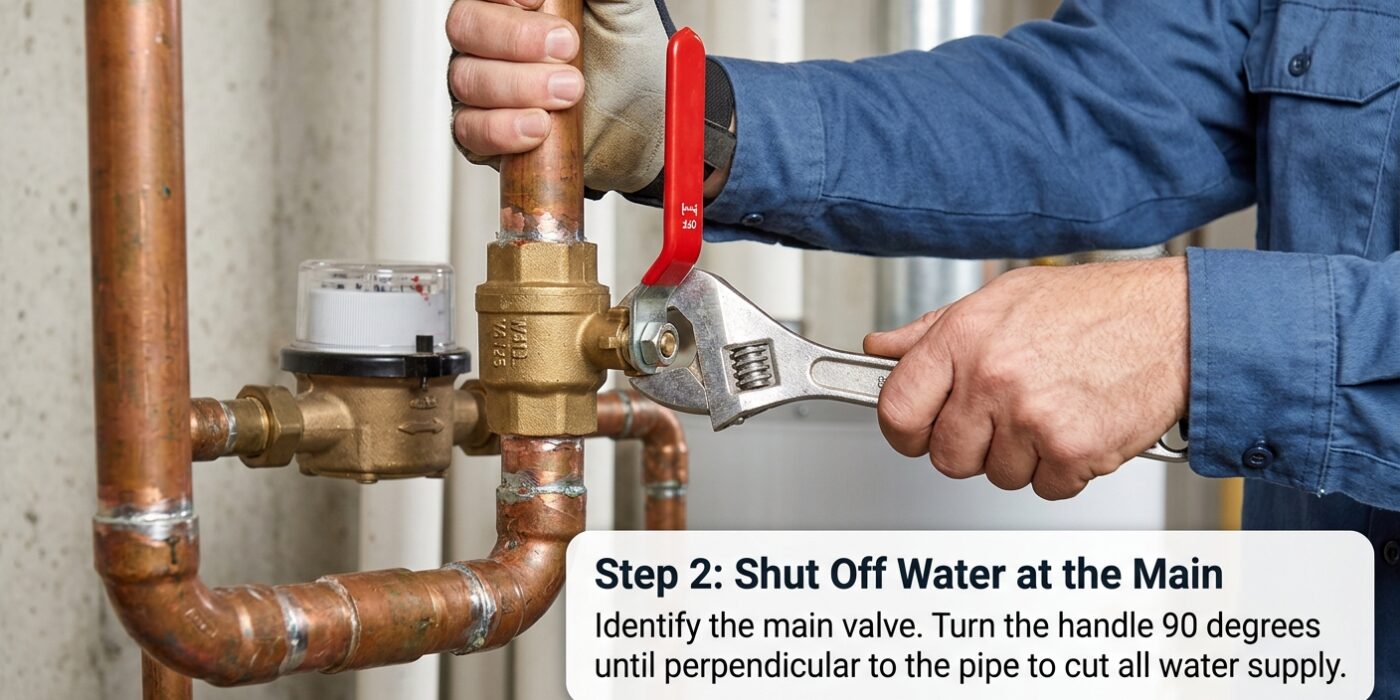
Because your shower doesn’t have individual shutoff valves behind the handle, you must turn off the water for your entire home. Locate your main water shutoff valve, which is usually found in a basement, garage, or a utility closet near the perimeter of your house. It is typically a round wheel-style valve or a lever-style ball valve. If it is a lever, turn it 90 degrees until it is perpendicular to the pipe. If it is a wheel, turn it clockwise until it stops.
Once the main water is off, head to the lowest point in your home – such as a basement laundry tub or an outdoor spigot – and open the faucet completely. This allows gravity to pull any remaining water out of the pipes, preventing a messy spray when you remove the cartridge. Finally, go back to your shower and turn the handle to the open position; if no water comes out, you are safe to start your repair.
Beginner Tip: Do not use excessive force if a valve feels stuck. Older gate valves can be brittle; if the handle does not turn easily, do not force it, as you could snap the stem. Apply a little penetrating oil and try again, or call a professional if it remains stubborn.
Pro Tip: After opening the lowest faucet in your house, head back to your shower and open that handle as well. This creates a “vent” in the plumbing system, allowing the remaining water in your pipes to drain out significantly faster.
Step 3: Remove the Handle
Now that your water supply is securely off, it is time to reveal the cartridge by removing the handle. Look closely at the center of your faucet handle; you will likely see a small, round plastic cap. This cap hides the screw holding the handle in place. Gently slide the tip of a flathead screwdriver under the edge of this cap and carefully pry it off. Once removed, peek inside to identify the screw type: it will either be a Phillips (cross-shaped) head or an Allen (hexagonal) bolt.
Use the appropriate screwdriver or Allen wrench to loosen the screw by turning it counter-clockwise. You do not need to remove the screw entirely; just loosen it enough so the handle becomes detached from the internal stem. Once loosened, grip the handle firmly and pull it straight toward you. If it feels stuck, use a slow, gentle rocking motion – side-to-side and up-and-down – to break the seal without damaging the internal components.
Beginner Tip: Be careful not to drop the tiny screw down the drain. Place a rag or a piece of painter’s tape over the shower drain opening before you start. It is incredibly easy for small hardware to slip from your fingers and vanish into the pipes, which would turn a simple repair into a plumbing headache.
Pro Tip: If the handle is stubborn and won’t budge, apply a small amount of penetrating oil, like WD-40, around the center stem and let it sit for ten minutes. This lubricates the connection and helps release years of mineral buildup, allowing the handle to slide off with ease.
Step 4: Remove the Trim Plate and Sleeve
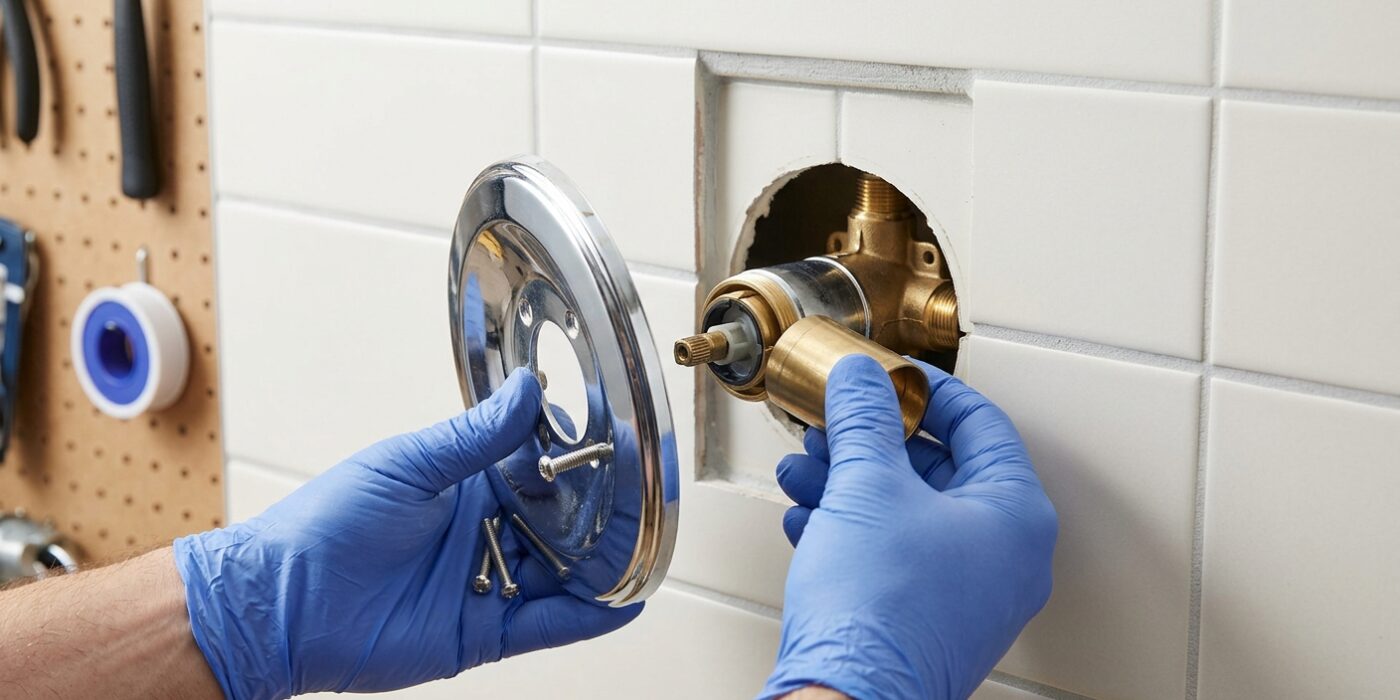
Now that the handle is out of the way, you will see a flat, circular plate against your shower wall, known as the escutcheon, and often a cylindrical sleeve covering the inner valve. These components protect your wall and keep the plumbing hidden, but they must be removed to reach the cartridge.
First, inspect the trim plate for two small screws located at the top and bottom or sides. Use your screwdriver to remove these; keep them in a small bowl so they do not roll down the drain. If your plate has no screws, it is likely held in place by a bead of caulk or friction. Use a thin putty knife or a flathead screwdriver to gently pry the edge away from the wall. Once the plate is off, look for the metal sleeve. If it is threaded, grip it with a rag for better traction and twist it counterclockwise to unscrew it. You are now looking directly at the valve housing.
Beginner Tip: Never force the trim plate if it feels stuck. If it does not budge, you likely missed a hidden set screw or it is sealed with old caulk. Carefully slice through the caulk with a utility knife before pulling; otherwise, you might pull off a chunk of drywall or tile with the plate.
Pro Tip: After removing the sleeve, take a quick photo of the internal assembly with your phone. This creates a helpful visual reference for how the components fit together when you are ready to reassemble everything later.
Step 5: Remove the Cartridge Retaining Clip or Nut
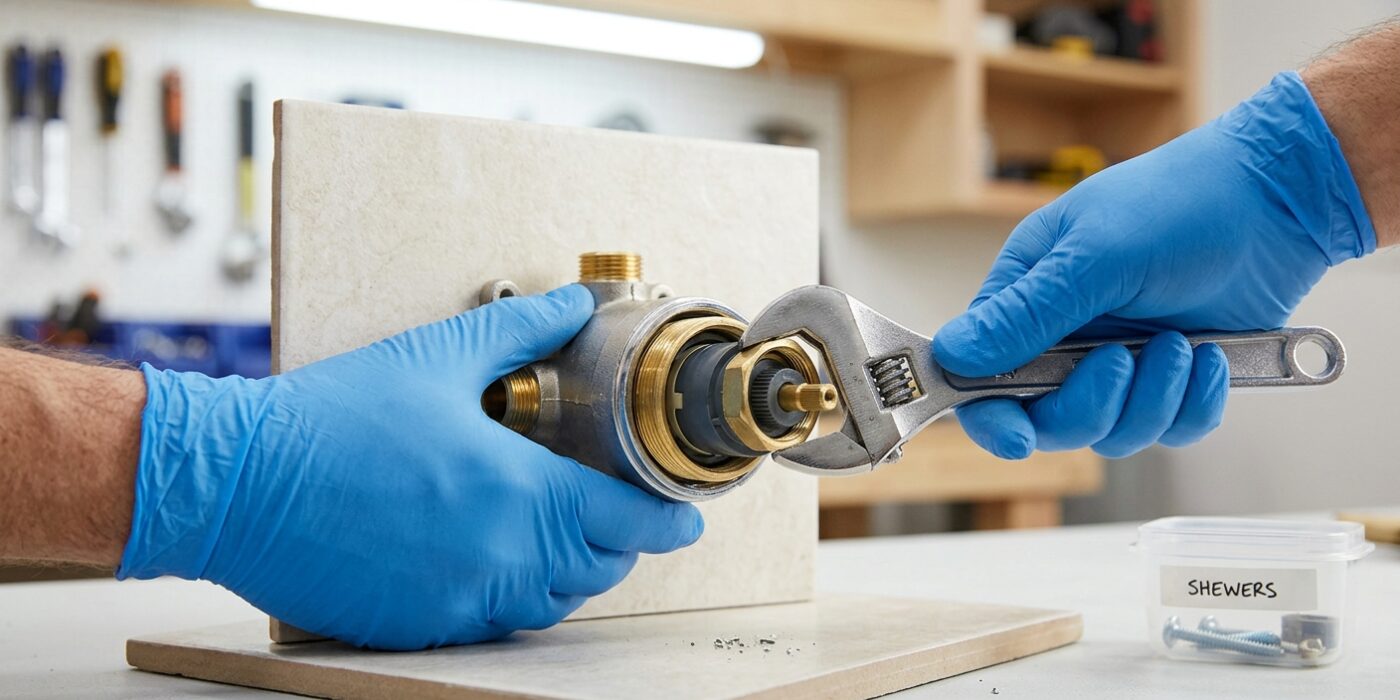
Now that your valve is exposed, you need to release the cartridge from the wall. The method depends on your specific brand, but think of this as the final lock keeping the faucet together.
If you have a Moen valve, look for a U-shaped stainless steel clip sliding down through the top of the valve body. Grip the top of this clip firmly with your needle-nose pliers and pull it straight up toward the ceiling until it pops free. If you have a Delta or Kohler valve, you will see a large brass or plastic nut (the bonnet nut) holding the cartridge in place. Use your adjustable pliers to grip the nut, turning it counterclockwise – or left – to unscrew it. Once this clip or nut is out of the way, the internal cartridge is no longer secured and is ready to be removed.
Beginner Tip: Be very careful not to let the clip or nut fall into the wall cavity. If it drops behind the drywall, retrieving it can be incredibly difficult, so consider stuffing a clean rag into the opening around the valve before you begin to catch anything that might slip.
Pro Tip: If the cartridge feels stuck or seized inside the valve after removing the retainer, don’t force it with a hammer. Instead, use a cartridge puller tool, which grips the stem securely and allows you to apply even, outward pressure to slide the stubborn part out safely without damaging the plumbing behind your wall.
Step 6: Pull the Cartridge
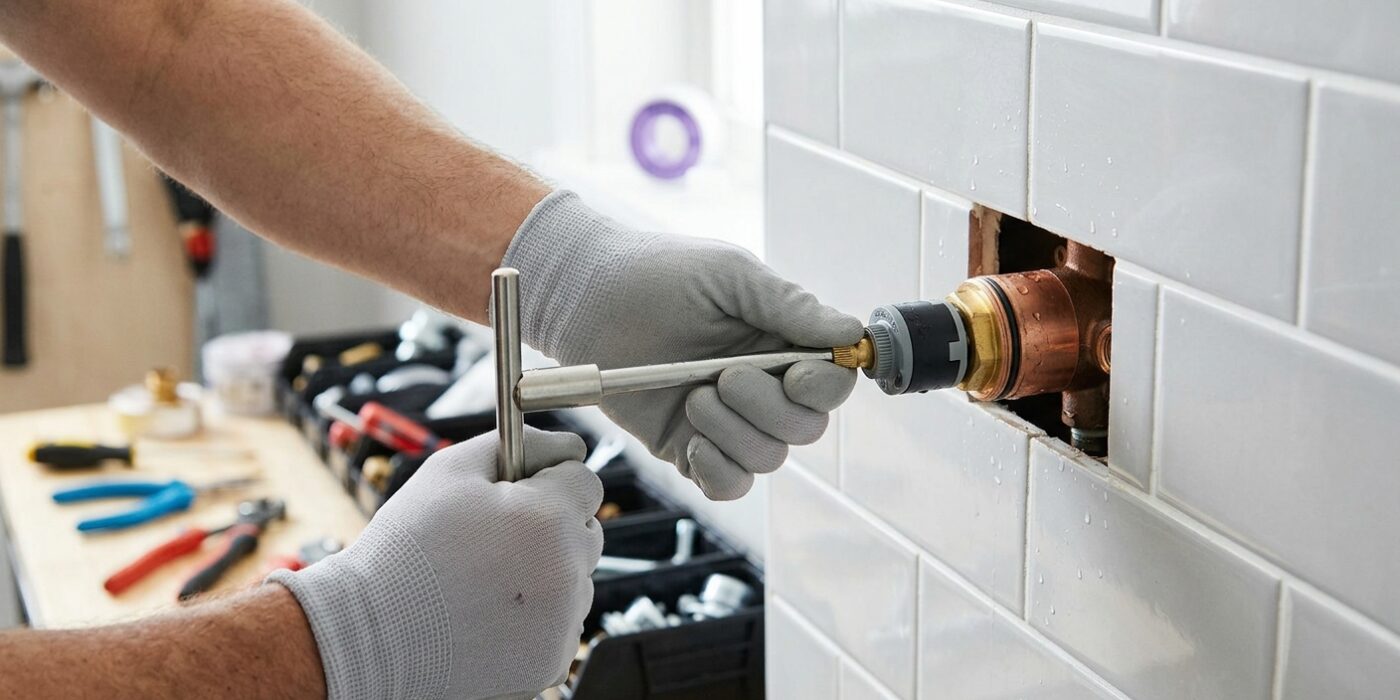
Now comes the most important part: removing the old cartridge. Take a firm grip on the center stem using your pliers. If you are using a cartridge puller, follow the tool’s instructions to lock it onto the stem. Pull the cartridge straight toward you using a steady, controlled force. It is vital that you do not twist the cartridge side-to-side, as the internal components are keyed to fit into slots; twisting can damage the delicate plastic housing or the valve body inside your wall.
Before you remove it completely, take a photo of the cartridge’s current position. You will notice small “ears” or tabs on the sides of the casing. These must face the exact same direction when you install the new one. If you accidentally rotate it during reinstallation, your shower handle will deliver hot water when you turn it to cold, and vice-versa.
Beginner Tip: If the cartridge feels stuck, do not lose your cool and start yanking. Mineral deposits from hard water act like glue inside the valve. If it refuses to budge, stop and use a lubricant spray like WD-40 or a specialized plumbing grease. Let it soak for ten minutes to loosen the scale before trying again.
Pro Tip: To make the removal much smoother, grab a flat-head screwdriver and gently wiggle the edges of the cartridge casing once it has moved forward just a fraction of an inch. This breaks the stubborn seal created by the rubber O-rings, allowing the unit to slide out with significantly less effort.
Step 7: Prepare and Install the New Cartridge
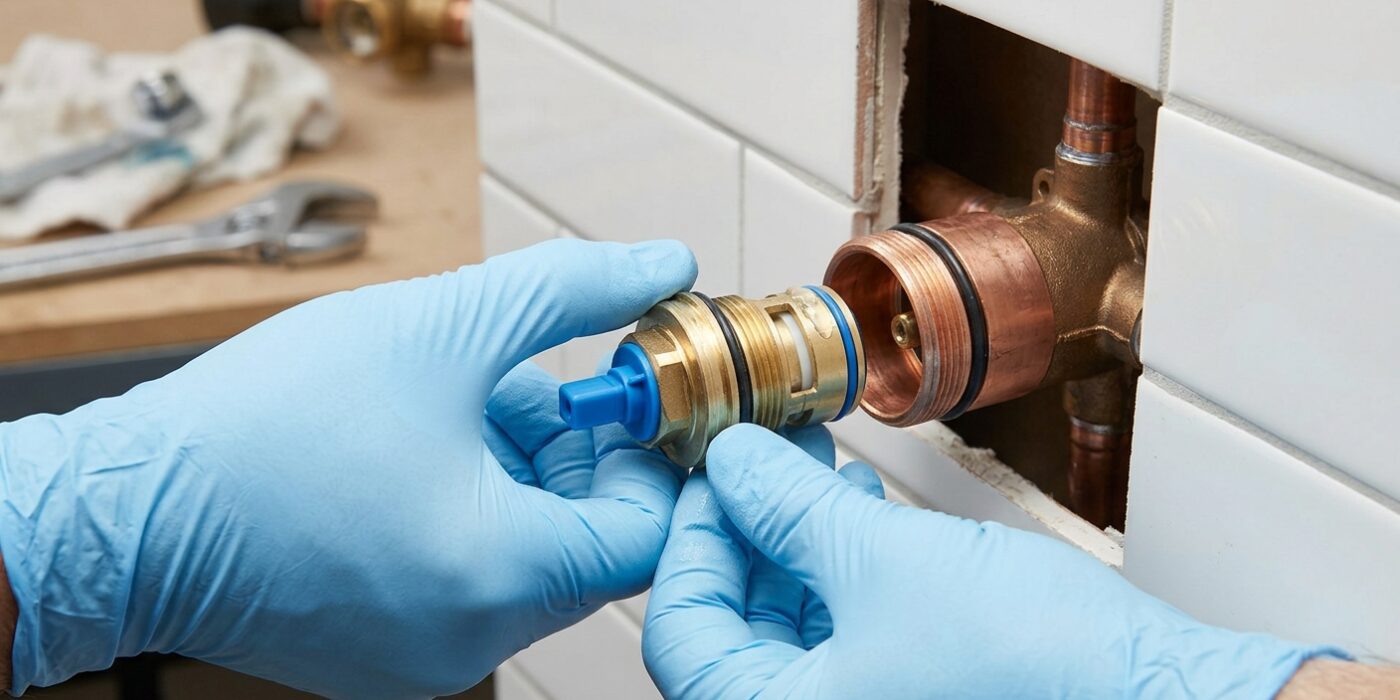
Now that your valve is clean, it is time to install your replacement cartridge. First, hold your old cartridge side-by-side with the new one to ensure they are identical in length and shape. Even a slight variation can cause leaks or prevent the handle from fitting. Before inserting the new unit, use your finger to apply a thin, even layer of plumber’s grease to all rubber O-rings. This lubricant acts as a seal and makes the final seat much easier to achieve.
Carefully align the cartridge with the valve housing. If you are working with a Moen system, ensure the small plastic “ears” are facing directly upward. Gently slide the cartridge into the valve until it feels like it has bottomed out – it should sit flush against the back of the valve body. Once seated, slide the metal retaining clip back into its slot until you hear a soft click or feel it lock firmly into place. Finally, slide the decorative sleeve and trim plate back over the assembly and screw your handle back on. You did it!
Beginner Tip: The most common mistake is forcing the cartridge. If it doesn’t slide in with gentle pressure, do not hammer it. Stop, pull it out, and double-check your alignment. It is likely just slightly rotated; once the internal notches line up, it will glide in effortlessly.
Pro Tip: Before putting the trim plate back on, turn your water supply back on briefly to check for leaks at the cartridge connection. It is much easier to wipe away a small drip now than to take the whole handle apart again once everything is finished.
Step 8: Restore Water and Test Temperature
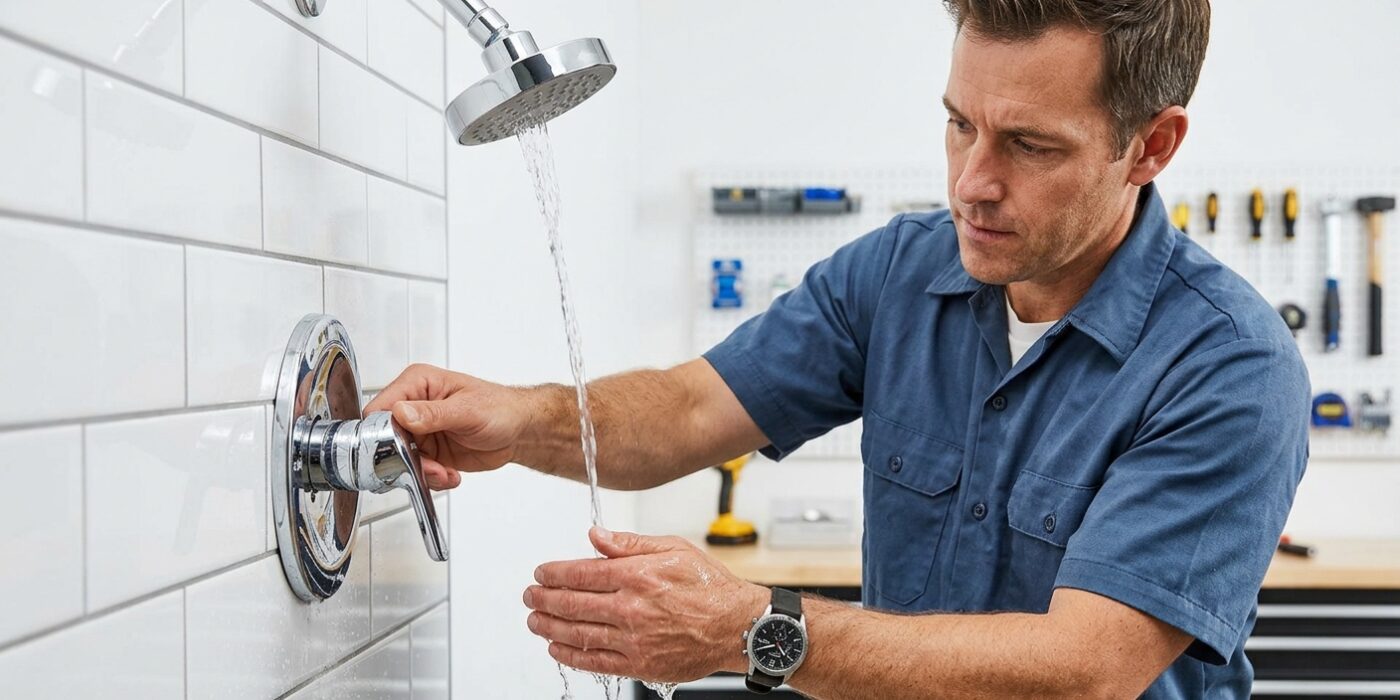
Now that your new cartridge is securely in place, it is time to bring your shower back to life. First, head to your main water shut-off valve and turn it on very slowly – just a quarter turn at a time. By opening it gradually, you prevent a sudden, high-pressure “water hammer” that could stress your plumbing connections. Once the water is on, return to the shower, turn the handle to the midway position, and let it run for 30 seconds to flush out any trapped air or debris. Finally, test the temperature. Move the handle to the full-hot position, then the full-cold position. If the temperature feels reversed, don’t worry! Simply turn off the water, pull the cartridge back out, rotate it 180 degrees, and slide it back in. This happens to the best of us.
Beginner Tip: Avoid turning the main water supply on at full speed immediately. Opening the valve abruptly can cause a loud banging sound in your pipes or force a loose piece of sediment into your clean new cartridge, potentially causing a brand-new leak before you’ve even started.
Pro Tip: If your shower handle feels stiff or drags after you put everything back together, the trim plate might be slightly misaligned. Before tightening the screws completely, wiggle the handle back and forth while centering the plate. This ensures the internal stem has enough clearance to move freely without rubbing against the wall, giving your shower a smooth, professional feel.