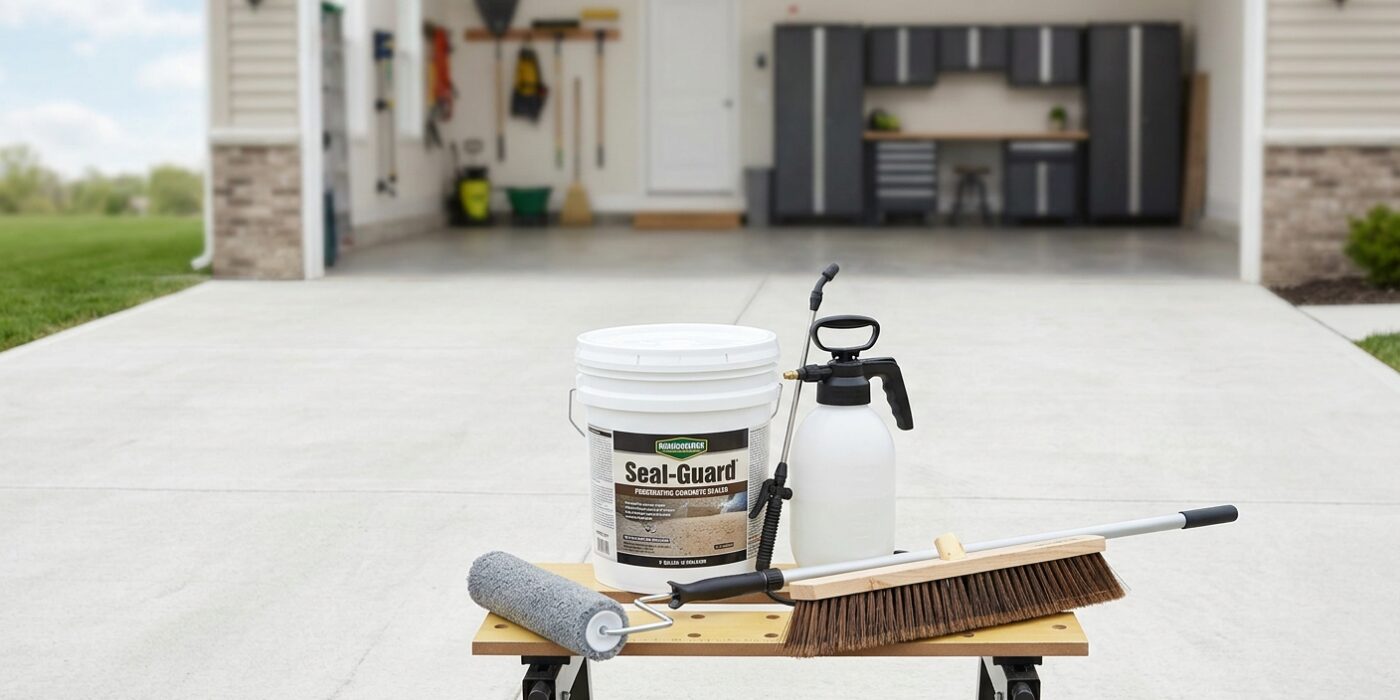
Project Shopping List
Sealing a concrete driveway protects it from the three things that destroy concrete fastest: motor oil and fuel spills, water infiltration that freezes and expands, and UV degradation that breaks down the cement paste at the surface. A fresh sealer also makes the driveway look like new and makes cleanup of spills much easier. A 2-car driveway (approximately 600 square feet) can be sealed in a single morning with no special equipment beyond a pump sprayer or squeegee applicator.
This guide covers the full refinishing process: cleaning, etching if needed, crack repair, and applying a penetrating or film-forming concrete sealer. The right sealer choice depends on your climate, your performance goals, and whether the driveway will be painted or left natural gray.
What You’ll Need
Tools
- Pressure washer (at least 2,000 PSI) or stiff push broom and garden hose
- Pump garden sprayer (1 to 2 gallon) or concrete squeegee
- Paintbrush for cut-in at edges
- Concrete crack filler applicator (squeeze bottle or caulk gun)
- Safety glasses and chemical-resistant gloves
Materials
- Concrete cleaner or degreaser (for oil stains)
- Concrete crack filler (polyurethane or epoxy for cracks under 1/4 inch)
- Muriatic acid or concrete etching solution (for smooth or contaminated surfaces)
- Penetrating concrete sealer or acrylic-based film-forming sealer
Step 1: Remove Everything and Inspect
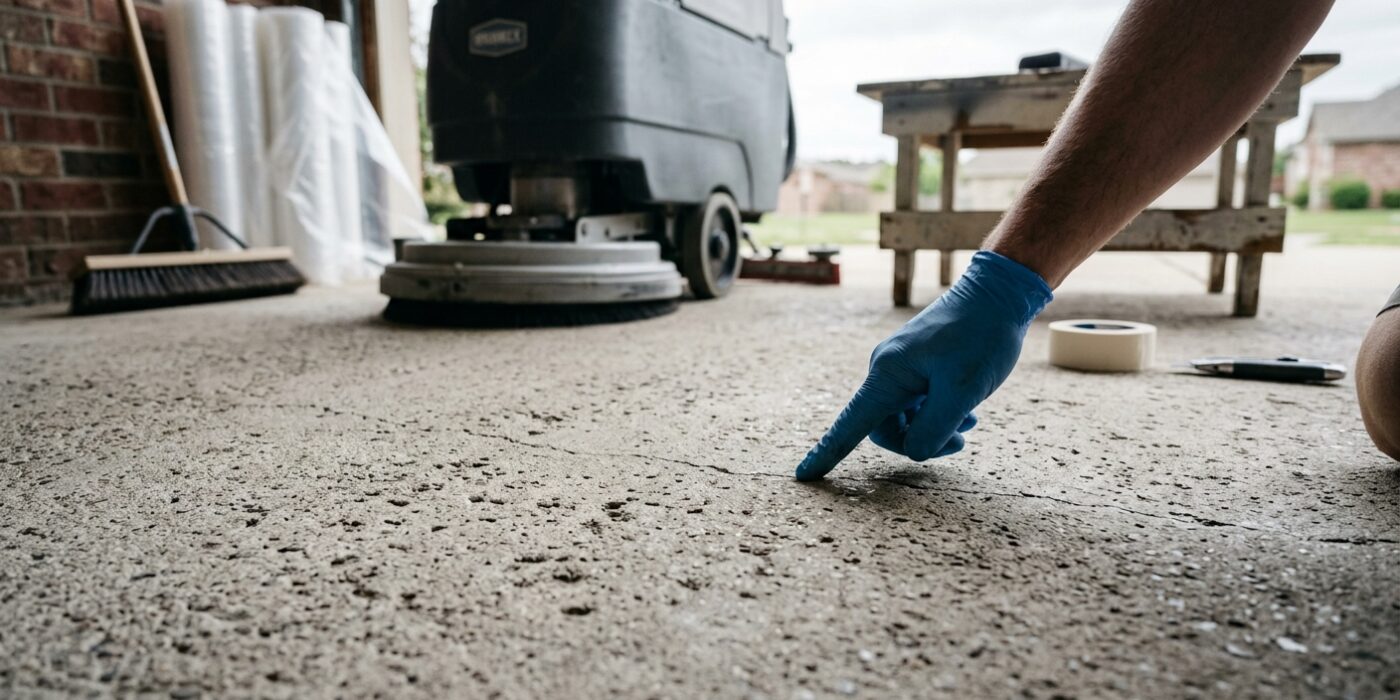
Before you can protect your driveway, you need a perfectly clean, empty canvas. Start by clearing away every vehicle, basketball hoop, and decorative planter. Once the surface is completely bare, walk the entire length of the driveway to perform a thorough inspection. You are looking for four main issues: cracks, spalling (flaking or pitting), oil stains, and efflorescence, which looks like a white, chalky powder.
Why does this matter? If you seal over oil, the sealer will peel away within weeks because it cannot bond to a greasy surface. If you seal over cracks wider than 1/4 inch, water will continue to seep beneath the concrete, causing further damage. Use a tape measure to check any cracks you find; if it is wider than the width of a standard pencil, it needs to be filled with concrete crack filler before you proceed. Keep a notebook handy to map out these spots, as you will need to treat them before moving on to the power washing stage.
Beginner Tip: Avoid the common mistake of skipping the inspection because the driveway “looks clean enough.” Even if the concrete looks gray, invisible layers of dust and oil can ruin your finish. Take your time to mark every stained area with a piece of chalk so you don’t miss them once you start scrubbing.
Pro Tip: To spot oil stains you might otherwise miss, look at the driveway while the sun is low in the sky, such as early morning or late afternoon. The light will hit the surface at an angle, making dark, oily patches shimmer and stand out much more clearly than they do under the high noon sun.
Step 2: Clean and Degrease Oil Stains
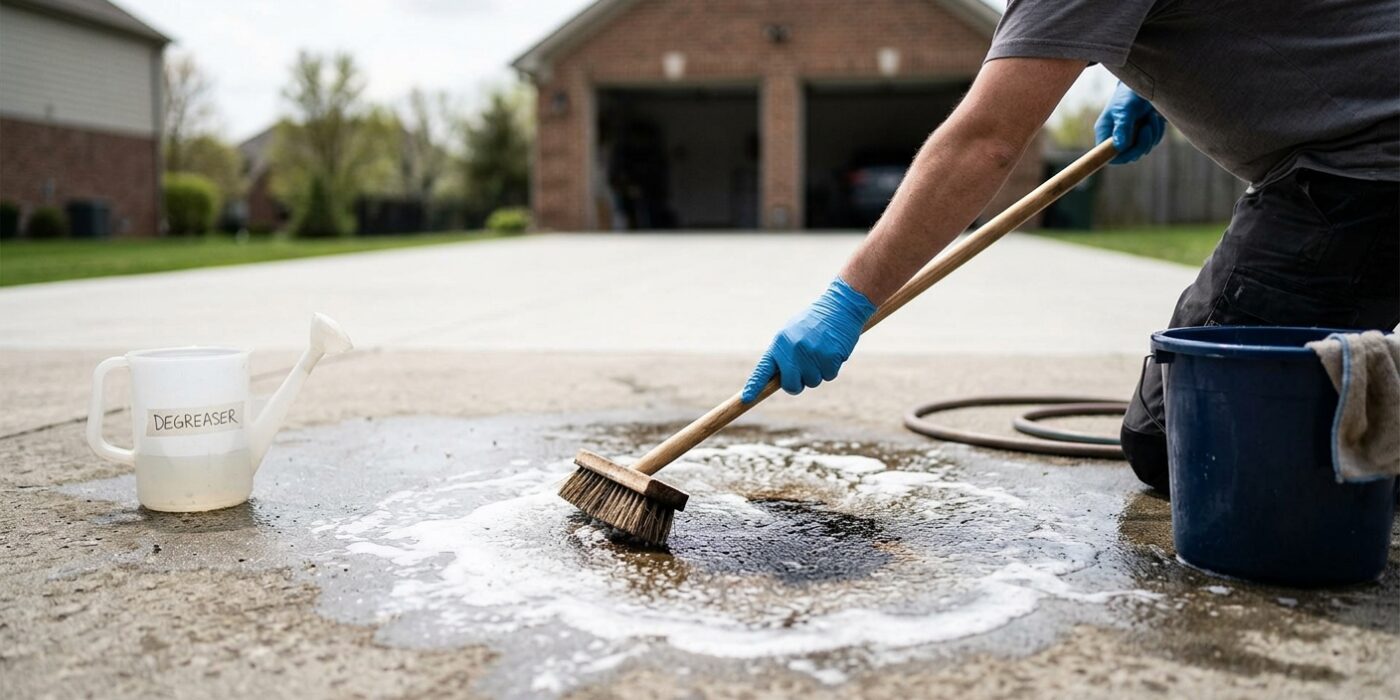
Before you seal your driveway, you must ensure the surface is pristine. If you seal over oil or dirt, the product won’t stick, leading to peeling later. Start by applying a dedicated concrete degreaser directly to any dark oil spots. Let it sit for 10 to 30 minutes, keeping it moist so it doesn’t dry out. Using a stiff-bristled scrub brush, work the product into the concrete using firm, circular motions to break down the grime. Rinse thoroughly with a garden hose until the water runs clear. If a stain remains, repeat the process. Don’t worry if a faint shadow lingers; removing the surface-level grease is the goal for proper bonding.
Once the spots are treated, clean the entire driveway using a pressure washer set to at least 2,000 PSI. Hold the wand roughly 6 to 12 inches from the surface, moving in steady, overlapping strokes to avoid streaks. Finally, let the concrete dry completely for at least 24 hours.
Beginner Tip: Avoid the temptation to rush the drying process. Even if the concrete looks dry, moisture can remain trapped deep in the pores. If you apply sealer to damp concrete, it will turn cloudy or white once it cures, ruining the finish.
Pro Tip: For stubborn, deep-set oil stains, use a little bit of cat litter before you start. Pour it over the wet oil, grind it in with your boot, and let it sit for an hour to absorb the excess liquid before you apply your degreaser.
Step 3: Repair Cracks
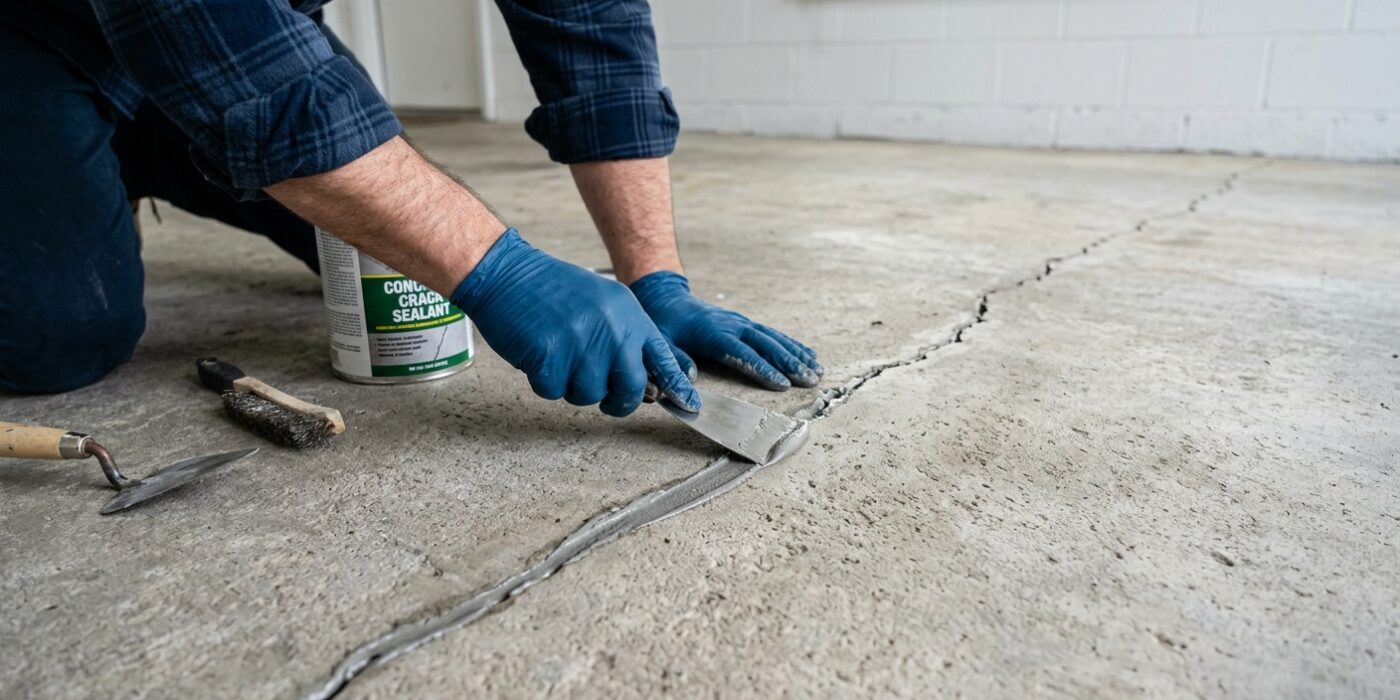
Before sealing your driveway, you must address any cracks to prevent water from seeping underneath and causing further damage during freeze-thaw cycles. First, use a wire brush to scrub out any loose debris, dirt, or moss from inside the cracks, then vacuum them clean. For narrow cracks under 1/8 inch, grab a tube of self-leveling polyurethane sealant; simply load it into a standard caulk gun and squeeze steadily as you move along the crack. For wider gaps, use a concrete patching mortar or a two-part epoxy filler. Apply the material slightly higher than the surface level, as it will naturally shrink while drying. Wait at least 4 to 8 hours for the product to harden completely before using a handheld sander or a brick to grind down any excess material so it sits perfectly flush with the concrete.
Beginner Tip: Avoid the temptation to apply the filler when rain is in the forecast. If the filler gets wet before it has fully cured, it will fail to bond to the concrete, and you will find yourself redoing the work within a few weeks.
Pro Tip: If you are using self-leveling sealant, keep a damp rag nearby. If you accidentally drip some on the surrounding driveway surface, wipe it away immediately. Once it dries, it is incredibly difficult to remove without leaving a visible blemish.
Step 4: Etch the Surface If Needed
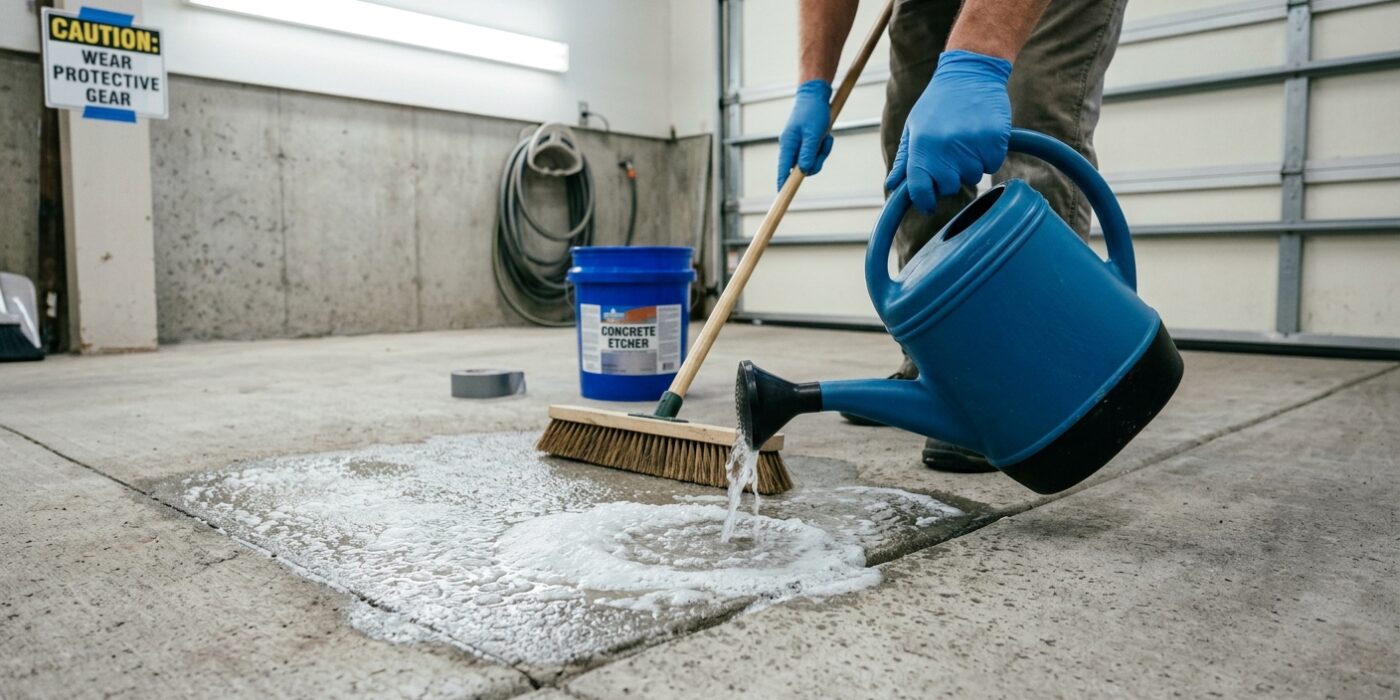
If your driveway feels as smooth as glass or still has an old, peeling sealer on it, the new product won’t be able to “grab” onto the surface. Think of etching as giving your concrete a gentle texture so the sealer can lock into place. To do this, mix a solution of one part muriatic acid to ten parts water in a plastic bucket. Always pour the acid into the water, never the other way around, to prevent splashing.
Using a plastic watering can, gently sprinkle the solution over the driveway. Use a stiff-bristle push broom to scrub the surface, working in small sections. You are aiming for a texture that feels like fine sandpaper once dry. After scrubbing, rinse the area thoroughly with a garden hose. To be safe, use a simple pH test strip from a hardware store to ensure the surface is neutral; if the paper stays yellow or orange, keep rinsing until it turns green or blue.
Beginner Tip: Never let the acid solution dry on the concrete. If it sits too long, it can damage the surface or create uneven white streaks. Keep your hose nearby and work in manageable five-foot sections to ensure you can rinse them quickly before moving on.
Alternative Method: If the thought of using acid makes you nervous, skip it and use a mechanical concrete sander or a heavy-duty floor buffer with a sanding screen. This creates the same “profile” without the need for harsh chemicals.
Pro Tip: Before you begin, dampen the driveway slightly with water first. This prevents the concrete from soaking up the acid too quickly, allowing the solution to stay on the surface where it needs to work.
Step 5: Choose Your Sealer
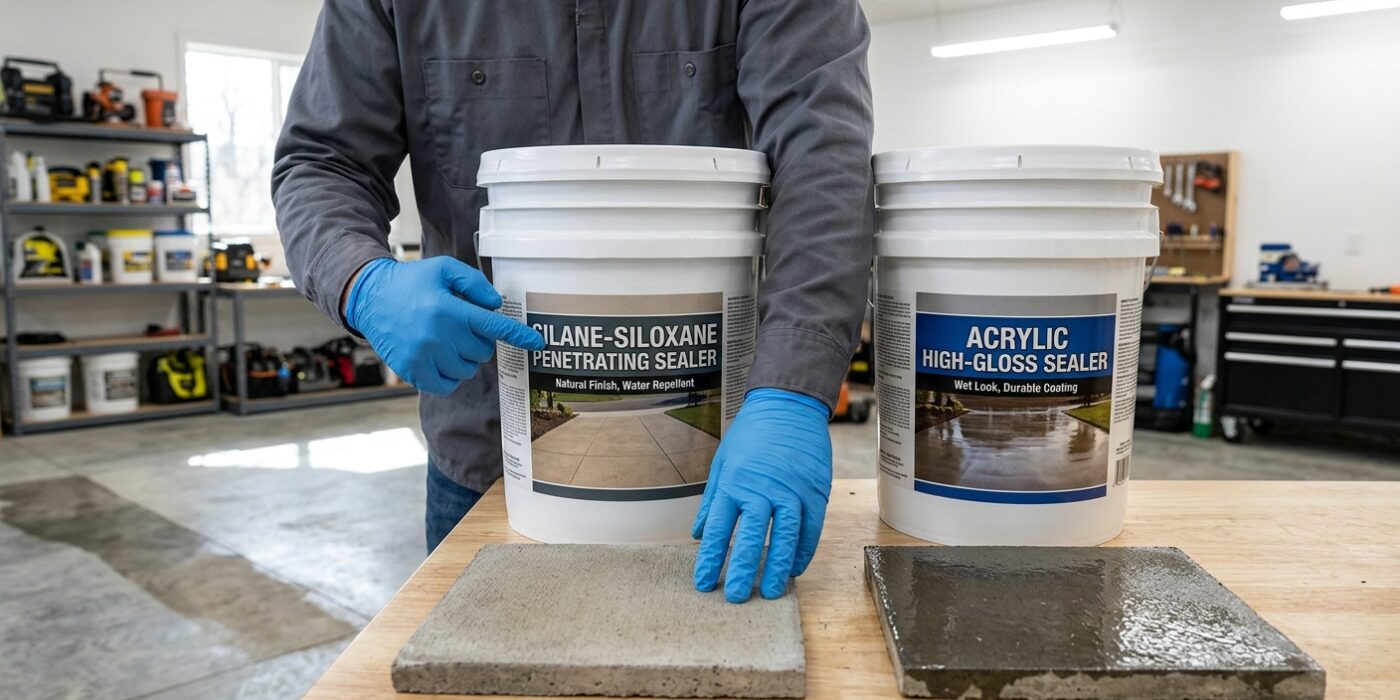
Choosing the right sealer is the most important decision you will make for your driveway. Your choice depends on your climate and the look you want to achieve.
If you live in a region that experiences freezing temperatures, select a penetrating sealer (silane or siloxane). These soak deep into the pores of the concrete, offering invisible protection that prevents water from freezing and cracking the surface. If you prefer a glossy, “wet” look or need maximum protection against oil stains, choose an acrylic film-forming sealer. Keep in mind that acrylics sit on top of the concrete and will need to be reapplied every 2 to 3 years. Avoid epoxy or polyurethane coatings for your first project; these are highly durable but require professional-grade preparation like acid etching, which is best left to experienced contractors.
Beginner Tip: The most common mistake is buying a sealer meant for indoor garage floors. Always check the label to ensure the product is specifically rated for “exterior concrete.” Using an interior product outdoors will cause it to peel and flake within a few months due to UV exposure.
Pro Tip: Before buying a large container, purchase a small sample size or a quart to test in an inconspicuous area, such as a back corner of the driveway. Apply a small amount and let it dry for 24 hours; this lets you see the final finish and ensures you are happy with how it changes – or preserves – the look of your concrete before you commit to the whole project.
Step 6: Apply the First Coat
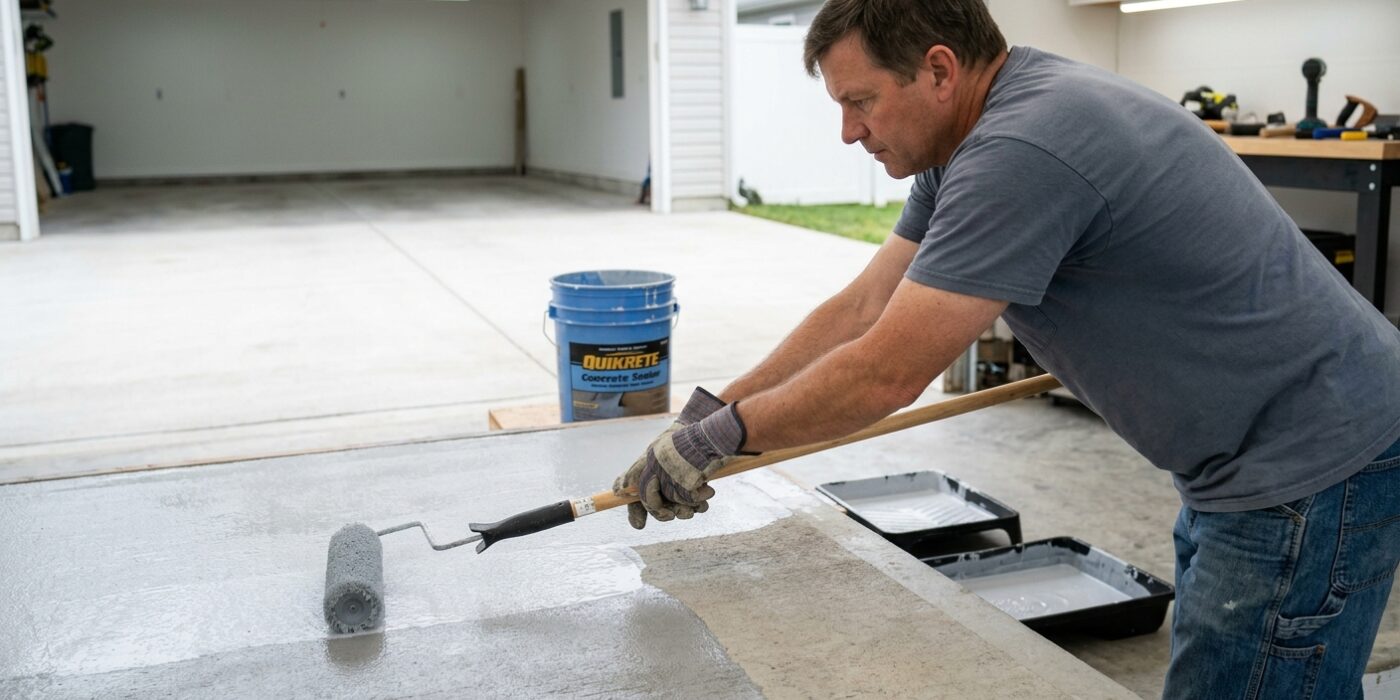
Now it is time to transform your driveway. Start by pouring your sealer into a pump sprayer, filling it no more than three-quarters full to leave room for air pressure. Begin at your garage door and work your way toward the street in manageable 10-to-15-foot sections. Use a steady, sweeping motion to spray an even layer, overlapping each pass by about two inches to ensure full coverage without gaps.
Beginner Tip: The most common mistake is applying the sealer too thickly. Remember, more is not better! If the sealer pools in low spots, it will eventually turn into sticky, white, or peeling patches. Use a squeegee or a soft-bristled broom to immediately spread any excess liquid into a thin, consistent film across the concrete.
Alternative Method: If you do not have a pump sprayer, you can use a high-quality 3/8-inch nap roller attached to a long extension pole. Pour the sealer into a paint tray, dip your roller, and apply it just like you are painting a wall. This method provides excellent control and is often less messy for first-timers.
Pro Tip: To avoid unsightly lap marks or streaks, always maintain a "wet edge." This means as you move to your next 15-foot section, ensure you slightly overlap the previous area while it is still damp. Working quickly and consistently prevents the sealer from drying prematurely, resulting in a professional, uniform finish across the entire surface.
Step 7: Apply a Second Coat
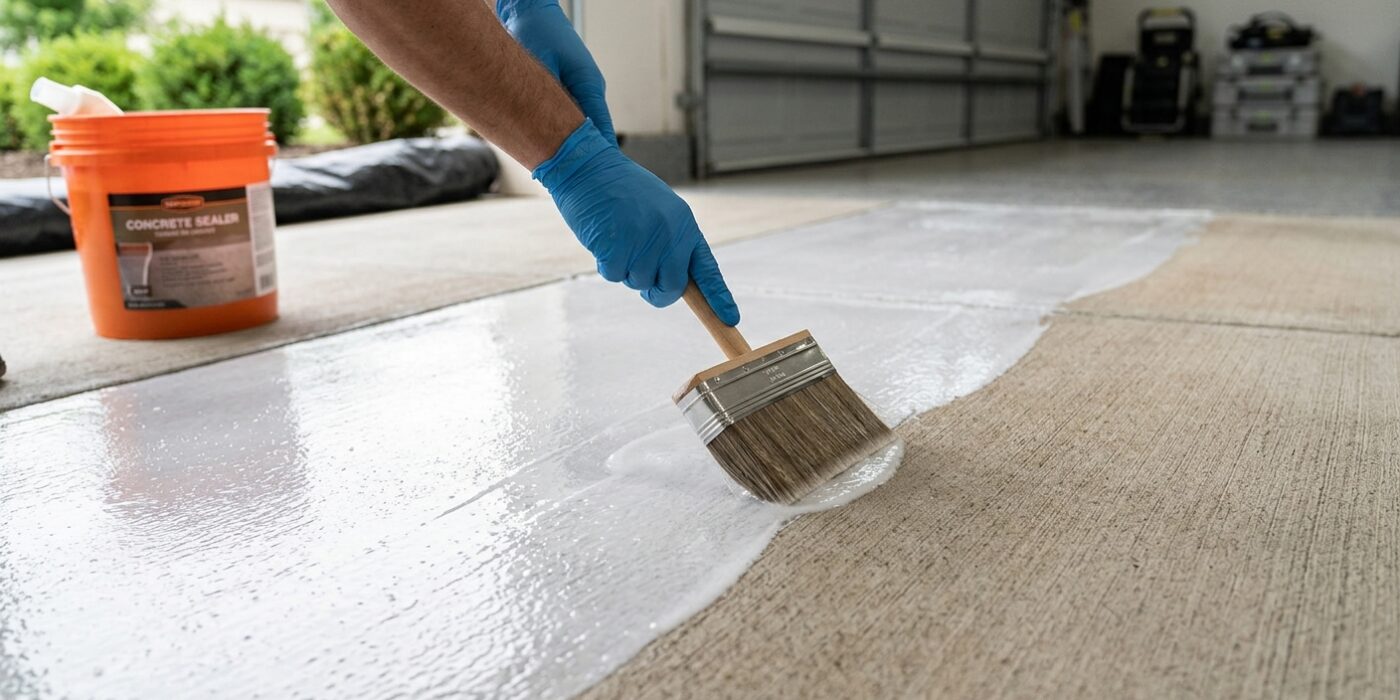
For the best protection, your driveway needs two coats of sealer. Wait until the first coat is completely dry to the touch – usually between 1 to 2 hours – before starting the second. When you apply this final layer, move your roller or sprayer in a direction perpendicular to your first coat (for example, if you walked north-to-south the first time, go east-to-west now). This cross-hatching method ensures you catch every tiny surface pore and avoid missed spots, creating a uniform, professional-looking finish.
Beginner Tip: A very common mistake is applying the sealer too heavily in an attempt to get “extra” protection. Resist the urge to create thick puddles. Excess sealer will not soak in; instead, it will stay tacky, look blotchy, and may eventually peel or turn white. Aim for a thin, even coat that covers the surface without pooling.
Alternative Method: If you do not have a specialized pump sprayer, you can use a high-quality, 3/8-inch nap roller attached to an extension pole. Simply pour a small amount of sealer into a paint tray, lightly coat your roller, and apply it in thin, even strokes. This manual method offers excellent control and is often easier for beginners to manage on smaller driveway sections.
Pro Tip: Keep a “wet edge” at all times. As you work across the driveway, always overlap your current pass with the edge of the section you just finished while it is still wet. This prevents unsightly lap marks where two different sections meet, resulting in a smooth, seamless appearance once the sealer cures.