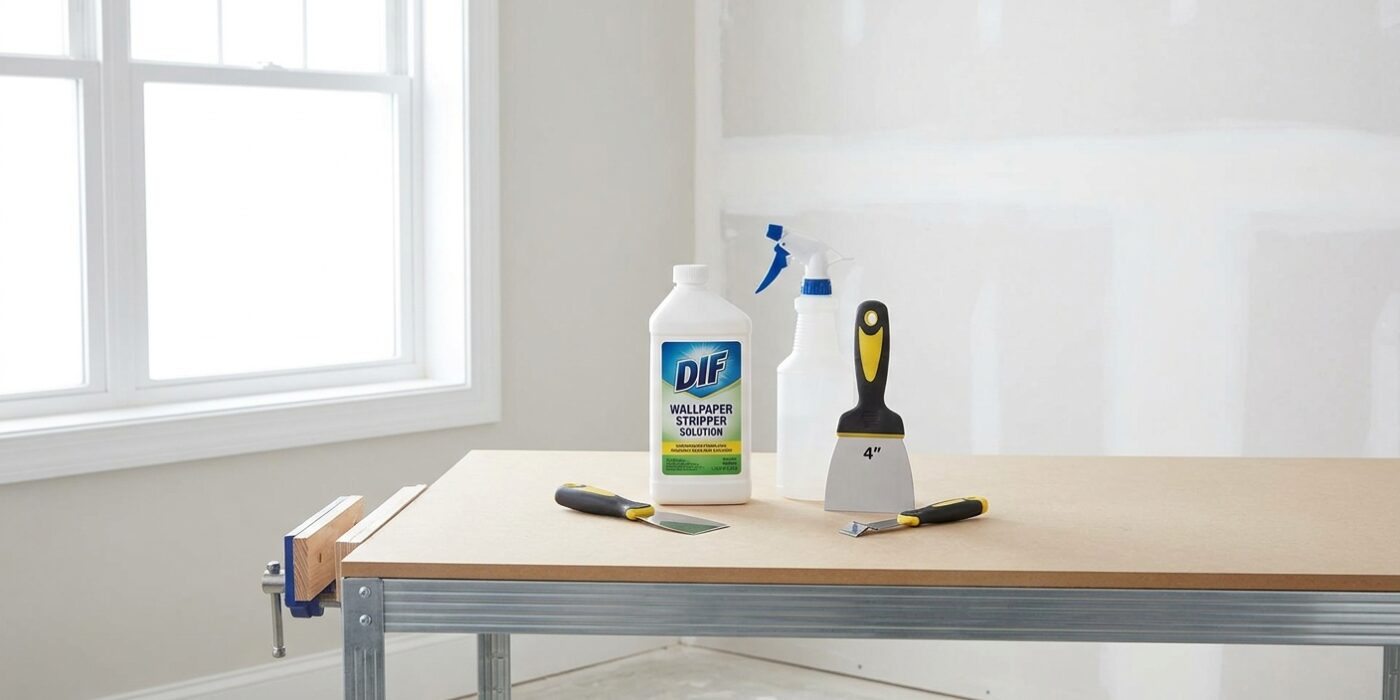
Project Shopping List
Removing wallpaper is one of those projects that looks like a few hours of peeling but turns into a weekend of frustration if the wallpaper is old, multi-layered, or glued directly to unprimed drywall. Done right, the wall beneath emerges smooth and ready to paint. Done wrong, you pull drywall paper off with the wallpaper and spend days skim coating. This guide gives you the correct technique for each scenario.
What You’ll Need
Tools
- Scoring tool (Paper Tiger or similar) – optional but recommended for vinyl paper
- Plastic drop cloths and painter’s tape
- Pump garden sprayer or sponge for wetting
- Wide plastic scraper (6-inch) and metal putty knife
- Sponge and bucket
Materials
- Wallpaper removal solution (DIF concentrate or fabric softener mixed with warm water)
- Drywall joint compound (for repairs after removal)
- PVA sizing coat or drywall primer for repainted walls
Step 1: Identify the Wallpaper Type
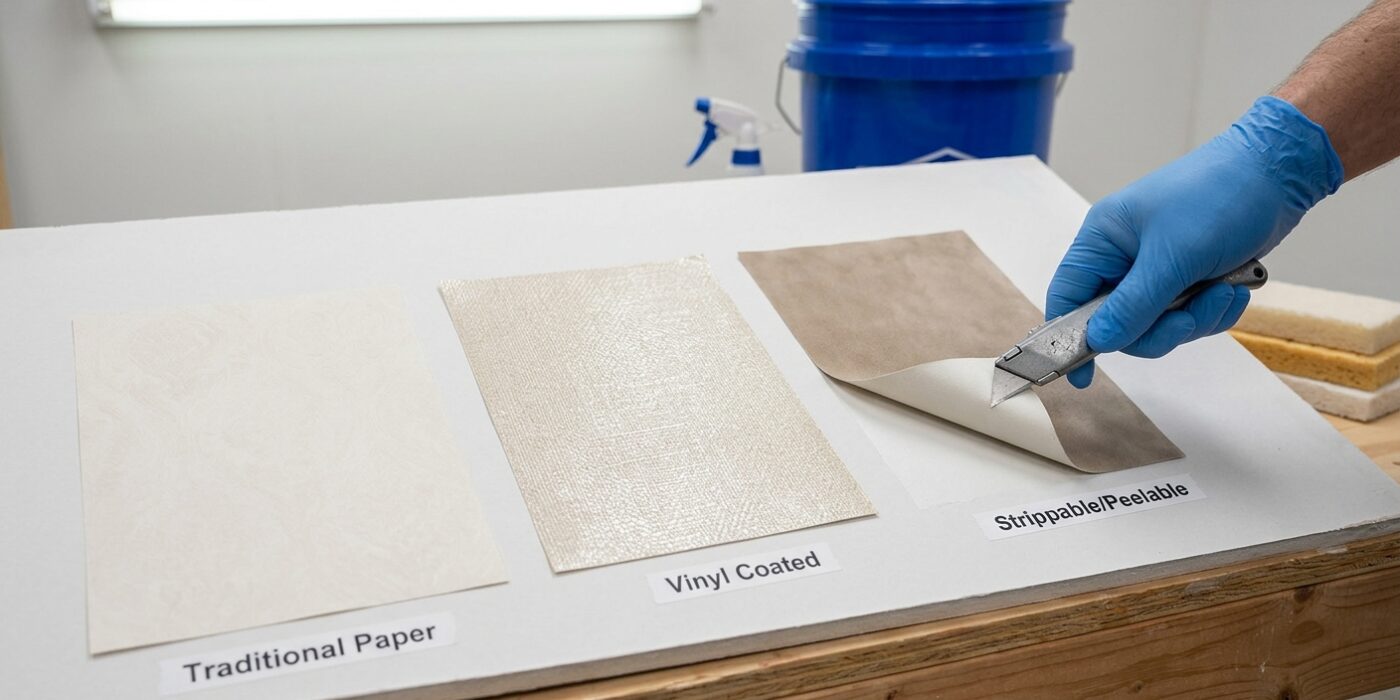
Before you dive into the project, it is essential to figure out exactly what kind of wallpaper you are dealing with. Start by finding a discreet area, such as behind a door or near a baseboard. Using your fingernail or a dull plastic scraper – avoid metal tools to prevent gouging the drywall – gently lift a corner of the wallpaper. Pull upward slowly at a 45-degree angle. The way it reacts tells you your game plan:
- Strippable: If the paper pulls away in one large, continuous sheet, you are in luck! This is designed to come off easily.
- Two-layer: If only the decorative top layer peels away, leaving a fuzzy paper backing behind, you will need to plan for a two-step removal process.
- Stubborn: If the paper tears into tiny, confetti-like pieces or refuses to budge, it was likely applied directly to unprimed drywall. This requires extra care and moisture to remove without tearing the paper surface of the wall itself.
Beginner Tip: Resist the urge to yank the wallpaper forcefully. Even if it seems like it wants to come off, pulling too quickly can peel off the top layer of the drywall’s paper, creating a rough, uneven surface that is difficult to paint or repair later.
Pro Tip: If you aren’t sure how it will react, try testing a small one-inch square area first. This helps you gauge the adhesive’s strength without creating a large, unsightly mess that you have to fix immediately.
Step 2: Protect the Room
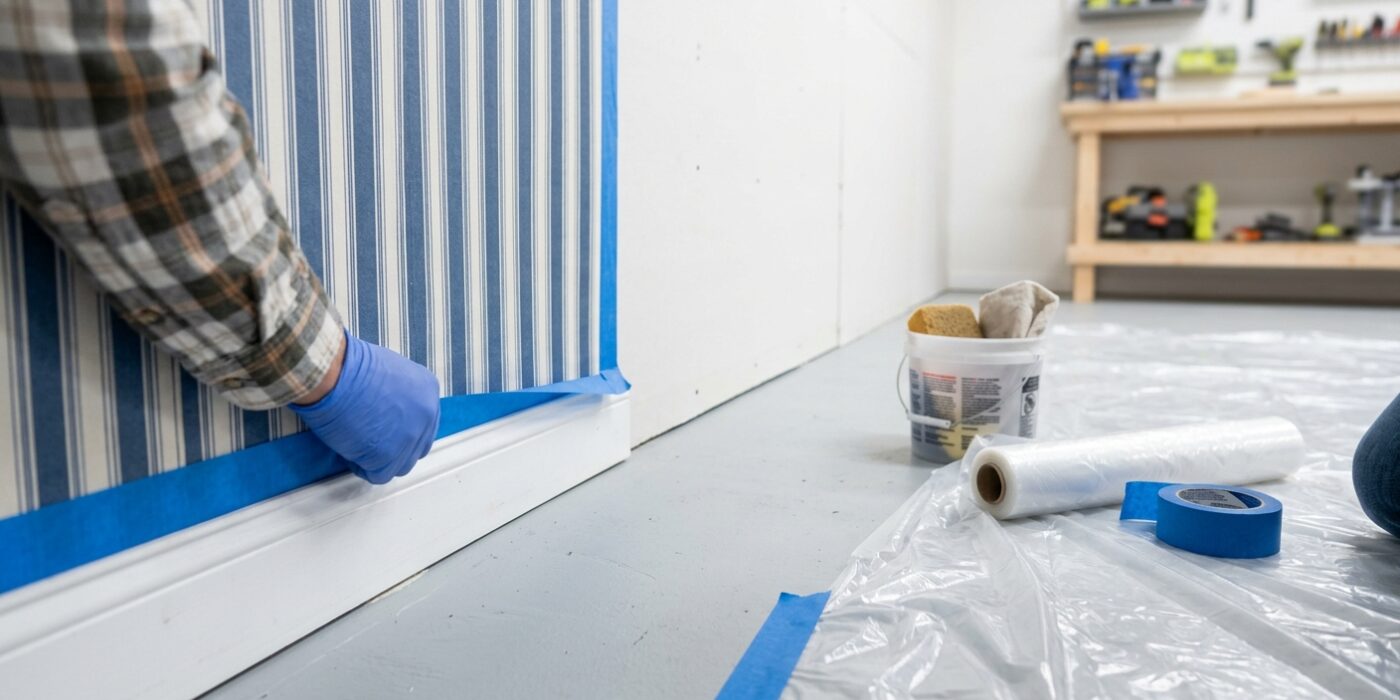
Before you begin the messy work of soaking your walls, you must protect your home. Start by clearing all furniture out of the room or pushing it to the center and covering it with a plastic sheet. Use painter’s tape to attach heavy-duty plastic drop cloths to your baseboards, letting the plastic extend at least three feet across the floor. This creates a catch-all for the soupy wallpaper paste and water that will inevitably drip.
Next, focus on safety: turn off the power to the room at your home’s main circuit breaker panel. Even with the power off, cover every outlet and light switch faceplate with painter’s tape and plastic wrap to keep moisture from seeping into the electrical boxes. This extra layer of defense is crucial because liquid and electricity are a dangerous combination.
Beginner Tip: Avoid using standard masking tape. It often leaves behind a sticky, paper-based residue that is difficult to remove from trim. Always use blue or green painter’s tape, which is designed to peel away cleanly without pulling paint off your baseboards or leaving a gummy mess behind.
Pro Tip: To keep your drop cloths from shifting while you work, place a few heavy books or small weights along the edges of the plastic on the floor. This prevents the edges from curling up and ensures that all the wet debris stays contained within the plastic rather than leaking onto your carpet or hardwood floors.
Step 3: Score the Wallpaper (Vinyl-Coated Paper Only)
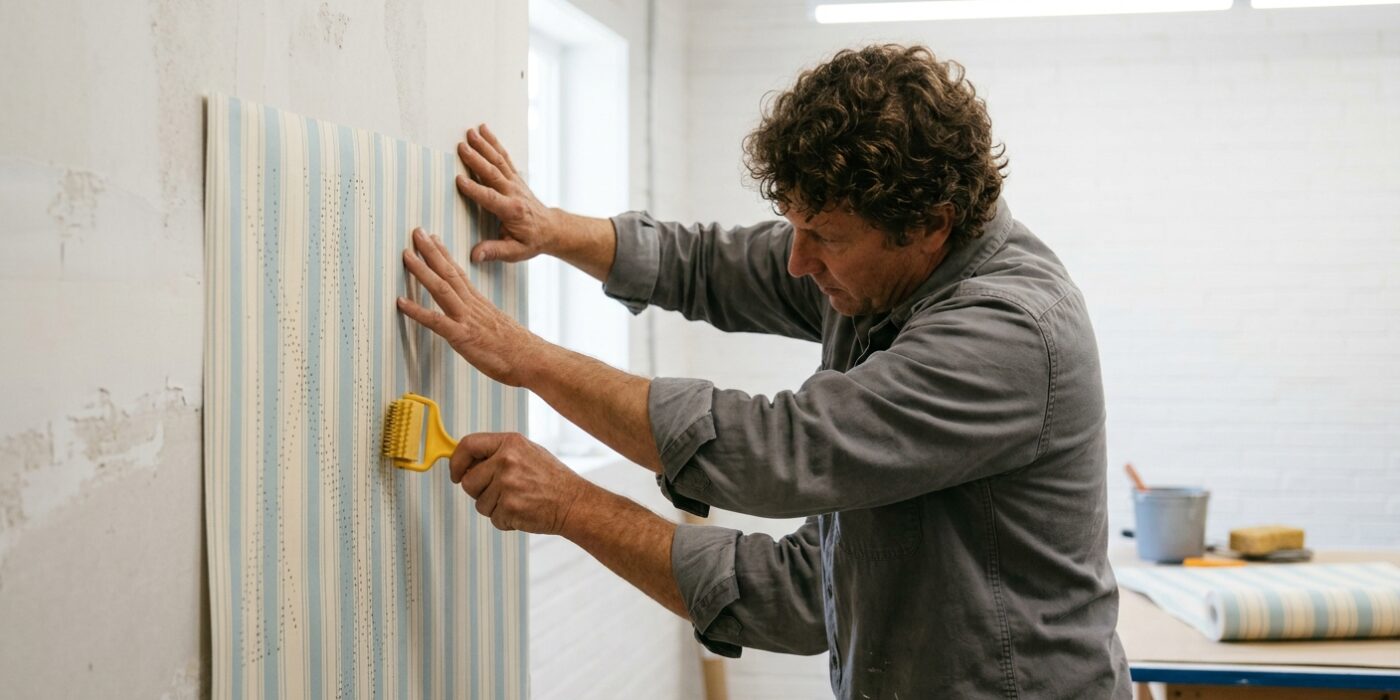
If your wallpaper has a smooth, plastic-like feel, it is likely vinyl-coated. This layer acts as a raincoat, blocking your removal solution from reaching the adhesive. To solve this, you need to “score” the paper, which simply means creating tiny, pin-sized perforations across the surface.
Use a wallpaper scoring tool, holding it comfortably in your palm. Gently roll the tool over the wallpaper in a circular or overlapping motion, applying only light to medium pressure – imagine you are trying to write on a piece of paper without tearing it. You are not trying to cut the wall; you are only trying to break the surface of the vinyl. If you press too hard, you risk creating deep gouges in the drywall paper, which will require messy sanding and patching later. If you are working with standard, non-vinyl paper, you can skip this step entirely, as the liquid will soak through easily on its own.
Beginner Tip: Avoid the temptation to press harder to “get it over with.” Scoring is about finesse, not strength. If you find yourself pushing until your hand hurts, ease up; if the tool leaves deep white scratches or tears in the wall, you are using far too much pressure.
Alternative Method: If you do not have a specialized scoring tool, a standard kitchen fork or a clean, fine-toothed metal wire brush can work in a pinch. Use very light strokes to avoid dragging the metal into the drywall.
Pro Tip: Work in manageable sections, scoring an area of about three feet by three feet, then immediately apply your solution. This prevents the moisture from evaporating before it has a chance to penetrate those tiny holes you just created.
Step 4: Wet and Wait
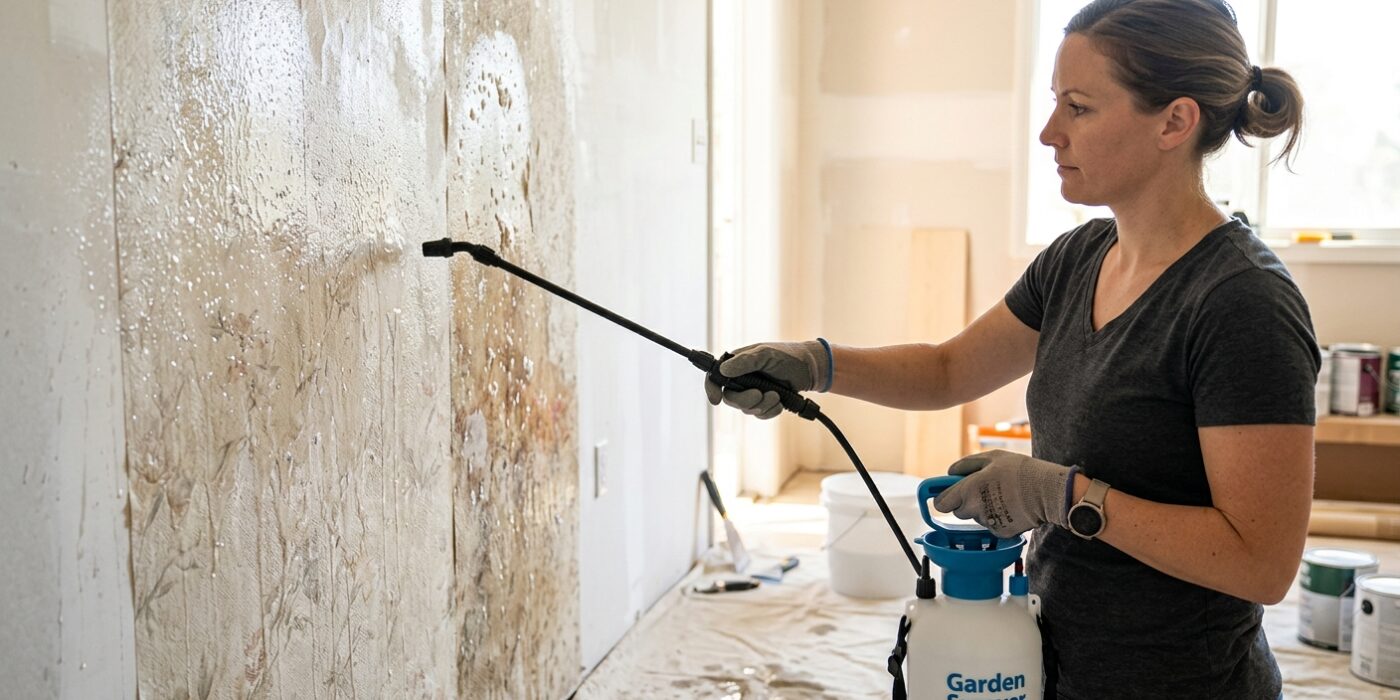
Now that your wall is scored, it is time to soften that stubborn adhesive. Fill your pump sprayer with a mixture of hot water and wallpaper removal solution (check the bottle for the manufacturer’s recommended ratio). Working in small, manageable 4-foot sections, hold the sprayer nozzle about 6 to 8 inches from the wall and apply an even, generous mist. You want the paper to look damp and darkened, not dripping with puddles on your floor.
The goal is to let the solution penetrate through the paper to reach the glue behind it. Patience is your best friend here; let it sit for at least 5 to 10 minutes. If you try to pull the paper off too soon, it will tear or leave sticky residue behind. If the paper still feels tight, apply a second coat immediately. It is always much easier to wait a few extra minutes than to spend hours scrubbing off stuck-on backing.
Beginner Tip: Avoid the urge to over-saturate the wall. If water starts running down the baseboards or pooling on your floors, you have used too much. Keep a dry towel or a roll of paper towels nearby to quickly wipe up any stray drips before they can seep into your flooring or trim.
Pro Tip: If the wallpaper is exceptionally stubborn, try covering your wet section with thin plastic drop cloth or garbage bags. This traps the moisture against the wall, preventing the solution from evaporating and helping it soak into the adhesive much faster.
Step 5: Scrape Carefully
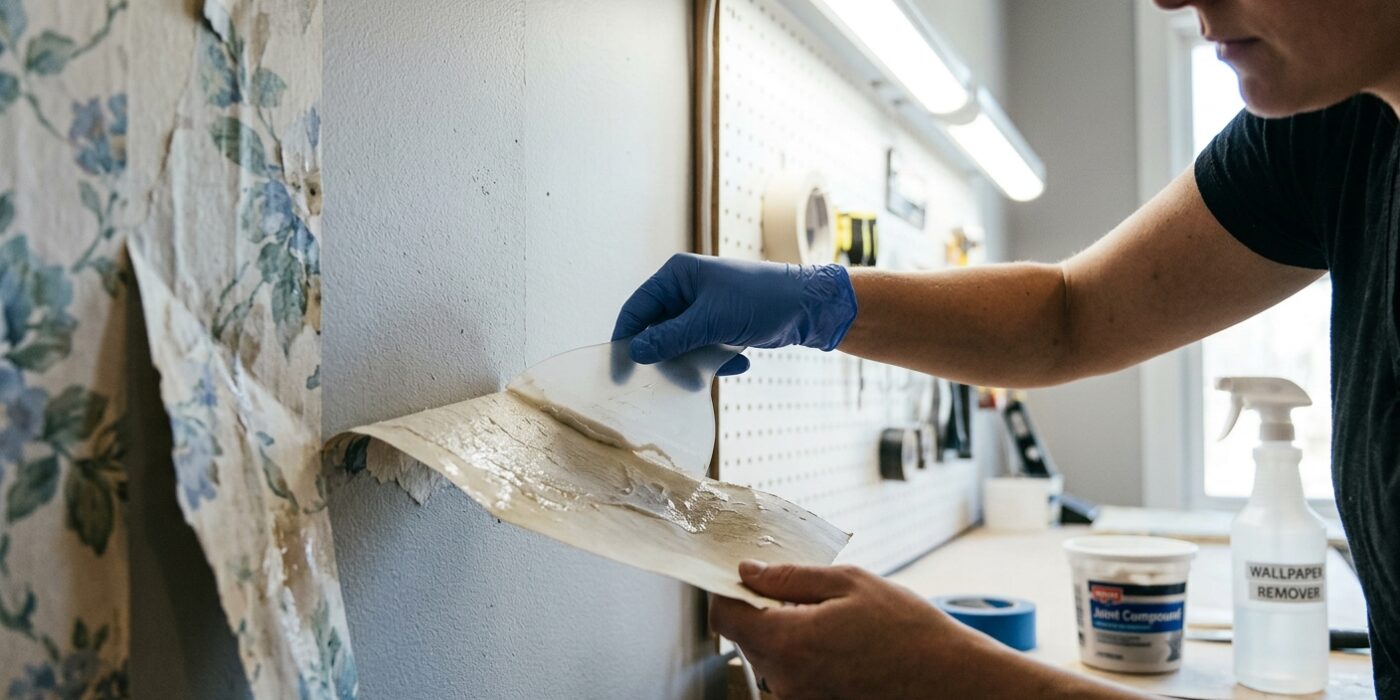
Now that the wall is saturated, it is time to gently coax the wallpaper away. Take your wide plastic scraper and hold it at a very shallow angle – think of it as nearly parallel to the wall, almost like you are gliding a spatula under a pancake. If you hold the tool too upright, the sharp edge will dig into the drywall instead of sliding behind the paper.
Begin at a seam or a corner where you can easily slide the edge of the tool underneath. Use long, smooth, sweeping strokes to lift large sheets. If you encounter resistance, stop and apply more of your solution; forcing the paper will almost certainly tear the delicate outer layer of your drywall. Once the large sections are gone, use your fingers or a smaller plastic putty knife to pick away the stubborn, smaller bits. Remember, your best friend here is moisture; if a section feels dry or sticky, spray it again before continuing.
Beginner Tip: Never be tempted to use a metal scraper or a razor blade to “speed things up.” Even a tiny slip can leave deep gouges in your wall that will require messy sanding and spackle repair later. Stick strictly to plastic tools.
Pro Tip: If you find a stubborn patch that refuses to budge, place a damp towel over it for five minutes. This creates a “compress” effect, forcing the water deep into the paper fibers and softening the adhesive far more effectively than a quick misting ever could.
Step 6: Clean Off Adhesive Residue
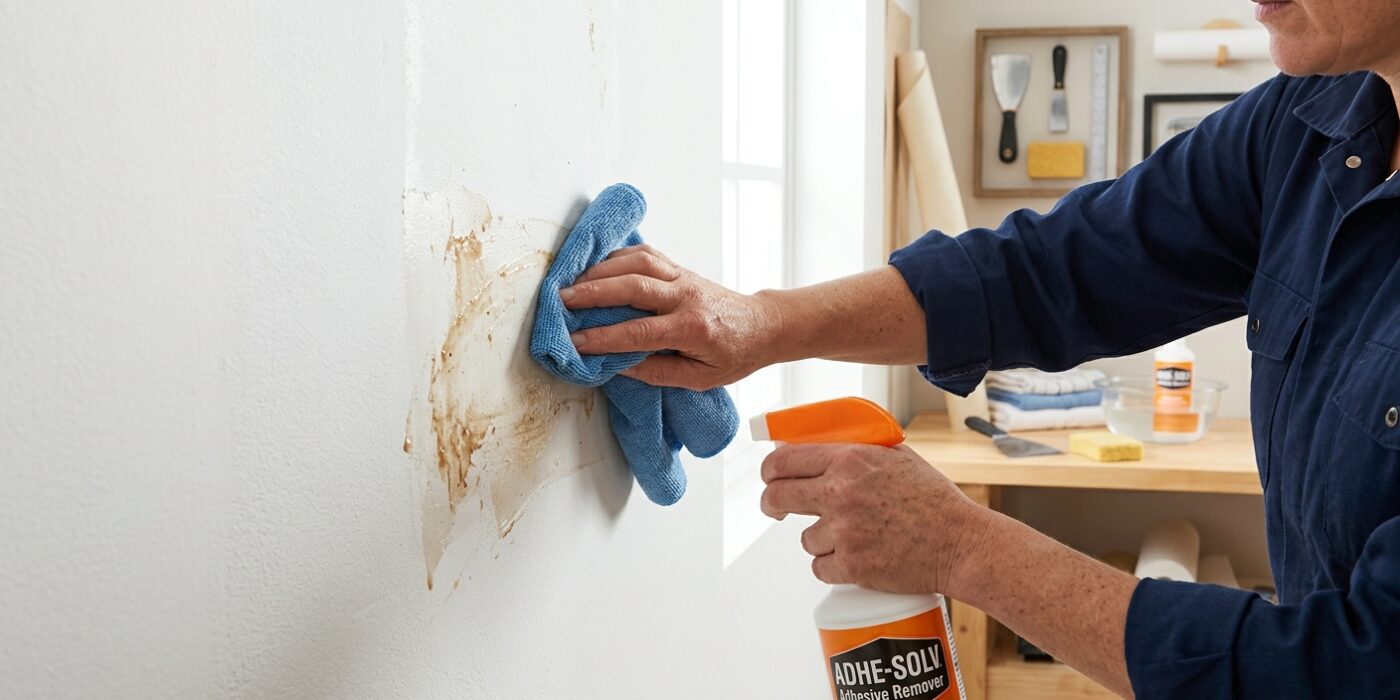
Once the wallpaper is gone, your walls will likely feel tacky or gummy to the touch. This is leftover adhesive, and it must be removed completely. If you paint over this residue, the new paint will eventually bubble or peel off, ruining your hard work. Start by spraying your removal solution over a small, three-foot-square section of the wall. Let it sit for about five minutes to soften the glue. Using a clean, damp sponge, wipe the wall in firm, overlapping vertical strokes. Rinse your sponge frequently in a bucket of fresh, warm water. As you work, you will see the water turn cloudy; this is the glue coming off. Keep changing your water as soon as it looks murky, or you will simply be pushing sticky residue back onto the surface.
Beginner Tip: Do not over-soak the drywall. While you need the solution to soften the glue, drenching the wall can cause the paper surface of the drywall to swell or crumble. Use a light mist rather than a heavy spray, and never let water puddle at the baseboards.
Pro Tip: To check if your wall is truly clean, let it dry for a few minutes and then run your hand firmly across the surface. If your hand glides smoothly, you are done. If you feel any “drag” or stickiness, the adhesive is still there and needs another wipe-down with fresh water.
Patience is key here – let the walls air dry for at least 24 to 48 hours before you even consider patching or priming. A bone-dry wall ensures a professional, long-lasting finish.
Step 7: Repair and Prime
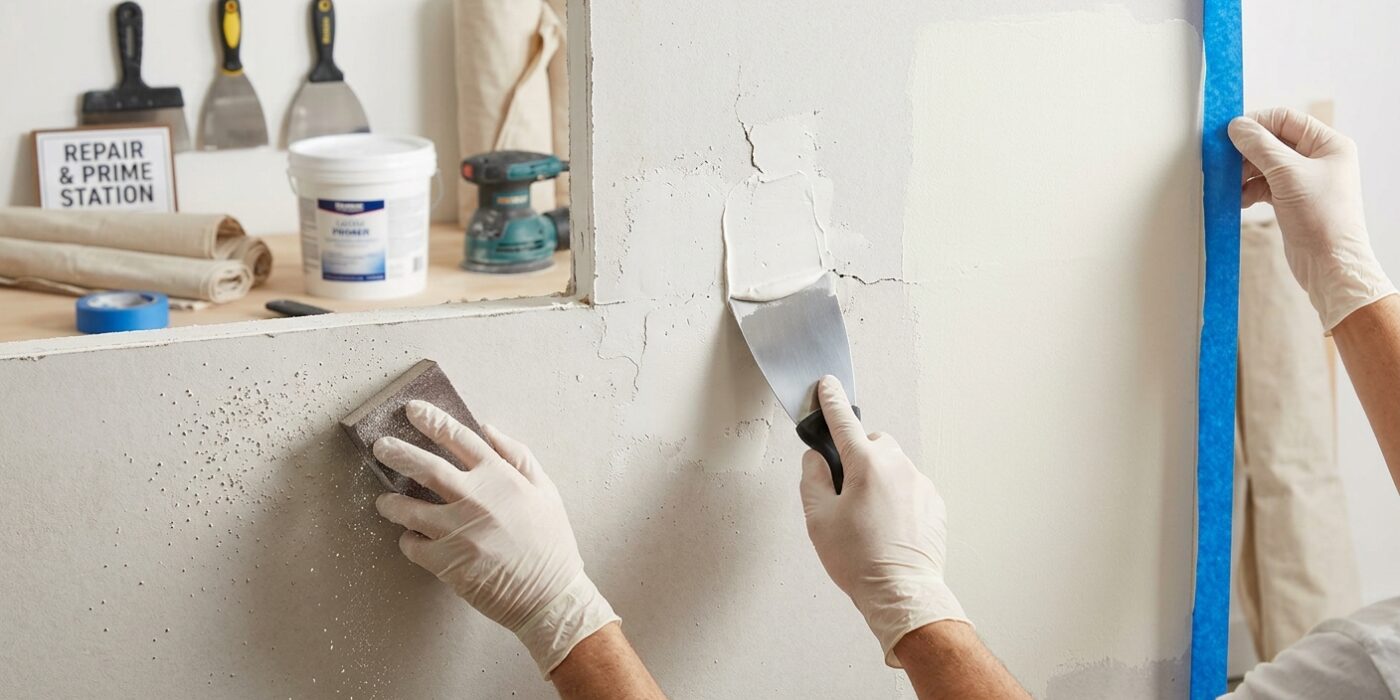
Now that the wallpaper is gone, take a close look at your wall. You might notice areas where the paper surface looks fuzzy or has small gouges – this is normal, especially if the drywall wasn’t primed properly before the wallpaper was originally hung. To fix these, use a plastic putty knife to apply a thin, even layer of joint compound over any damaged spots. The goal is to fill the low areas so they sit flush with the surrounding wall. Once dry, lightly sand the surface with a fine-grit sanding sponge until it feels smooth to the touch. Before you grab your paint, you must apply a coat of PVA primer (often called drywall sizing). This is a crucial step because raw drywall and joint compound are like sponges; they will soak up paint unevenly. The primer seals the surface, ensuring your final paint job looks consistent and professional.
Beginner Tip: Avoid the urge to over-sand. If you press too hard with your sanding sponge, you risk creating new gouges in the soft drywall or removing the compound you just applied. Use light, circular motions and check your work frequently by running your hand over the area.
Pro Tip: To get a perfectly smooth finish, use a bright flashlight held at a sharp angle against the wall. This “raking light” will cast shadows on any bumps or depressions you might have missed, allowing you to catch imperfections before you commit to painting.