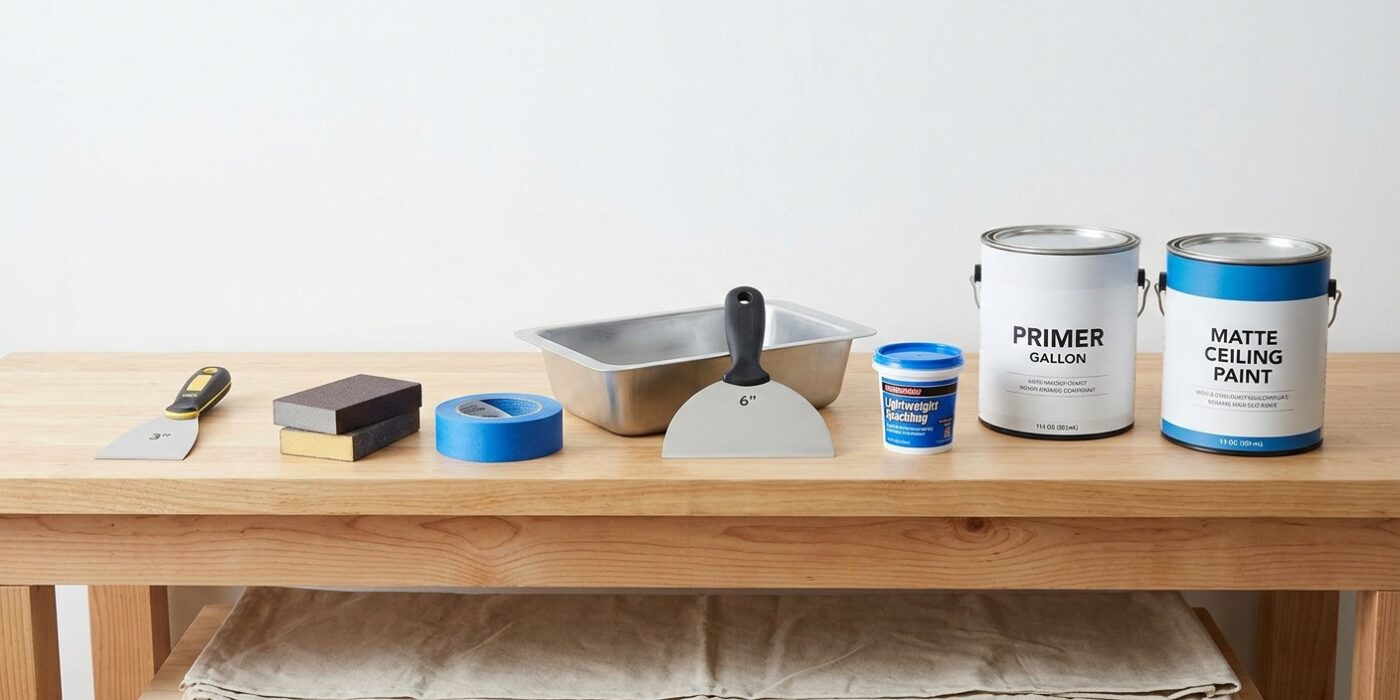
Project Shopping List
Peeling paint is one of the most common wall and ceiling problems homeowners face. It looks terrible, it worsens over time, and painting over it without fixing the underlying cause just delays the inevitable. The good news is that with proper prep, you can fix peeling paint permanently and end up with a smooth, professional-looking surface.
In this guide you’ll learn how to identify why paint is peeling, how to remove all the loose material, how to repair the surface underneath, and how to repaint so it stays stuck for years – not months.
What You’ll Need
Tools
- 6-inch flexible putty knife
- 3-inch stiff-blade scraper
- Pole sander with 80-grit and 120-grit sanding screens
- Paint roller with 3/8-inch nap cover
- 2.5-inch angled brush
- Drop cloth
- Shop vacuum
Materials
- Primer-sealer (oil-based or shellac for moisture problems; water-based bonding primer for standard repairs)
- Lightweight spackling compound (not ready-mix drywall mud)
- Mesh self-adhesive drywall tape for large cracks
- 150-grit sandpaper for feathering edges
- Paint matching your existing wall color and sheen
Step-by-Step Instructions
Step 1: Identify the Root Cause
Before touching a scraper, figure out why the paint is peeling. Peeling in a bathroom or near a window almost always means moisture intrusion – water vapor condensing behind the paint film breaks adhesion. Peeling on ceilings near exterior walls can mean a roof leak or ice dam. Peeling in patches on interior walls usually means the surface wasn’t primed properly or there was grease or dust contamination. Fixing the moisture or contamination source first is essential; skip this step and the paint will peel again within a year.
Step 2: Remove All Loose Paint
Use the stiff 3-inch scraper and work outward from the center of each peeling patch. The goal is to remove every piece that isn’t firmly bonded – if you leave even slightly loose edges, they’ll lift under the new coat. Work at a shallow angle to avoid gouging the drywall paper or plaster. Keep going until you can’t peel any more material by hand.
Step 3: Feather the Edges
Where old paint transitions to the bare surface, you’ll have a sharp ledge that will telegraph through your new paint as a visible ridge. Sand those edges with 80-grit until the transition from bare wall to painted surface is smooth and gradual – run your hand across it and you should feel almost nothing. This feathering step is what separates a professional repair from a patch that’s obvious under raking light.
Step 4: Address the Bare Surface
If scraping exposed bare drywall paper, lightly dampen the area – bare paper absorbs primer unevenly and can bubble. Apply a thin coat of water-based bonding primer to any bare spots before spackling; this seals the paper and gives the spackling compound something to grip. If you hit plaster, dust it off with a vacuum and wipe with a damp cloth, then let it dry completely.
Step 5: Fill Divots and Shallow Gouges
Apply lightweight spackling compound with the flexible 6-inch putty knife, pressing it firmly into any low spots, nail holes, or paper tears. Feather the edges as you go – use the full width of the blade to spread the compound thin. Lightweight spackling shrinks very little compared to standard ready-mix drywall compound, so for most repairs you can get away with one coat after drying. For deeper holes, do two thin coats rather than one thick one; thick applications crack as they dry.
Step 6: Sand Smooth
Once the spackling is dry (white throughout, not translucent), sand with 120-grit on a pole sander. Check your work under a raking light source – a work light held low to the wall will show any humps or depressions you’d miss under normal overhead lighting. Vacuum dust thoroughly; primer won’t bond to a dusty surface.
Step 7: Prime Before You Paint
This step is skipped more often than any other, and it’s why patches remain visible after painting. Primer seals the repaired areas so they absorb topcoat at the same rate as the surrounding painted wall – without primer, the repaired spots dry to a different sheen. For moisture-related peeling, use a shellac-based primer (like Zinsser BIN) because it bonds to problem surfaces and truly blocks stains and moisture penetration. For standard repairs, a water-based bonding primer works fine. Let primer dry fully before painting.
Step 8: Apply Paint in Two Coats
Roll the first coat on and let it dry completely – don’t rush the second coat. On repaired spots, the first coat will likely look slightly different in sheen or color; that’s normal and the second coat will even it out. Roll from the repair outward into the undamaged area to blend the edges. Two full coats are almost always necessary for a seamless result.
Pro Tips
- In bathrooms, run the exhaust fan during and after every shower for at least 15 minutes – most bathroom paint peeling is solved by ventilation alone, not by painting over the problem.
- If you find multiple layers of old paint peeling at once, consider using a chemical paint stripper rather than scraping – it’s faster and causes less surface damage on plaster walls.
- On ceilings, gravity works against you: hold your scraper at a steeper angle and work in small sections so you’re not standing under a rain of paint chips.
- Match your sheen carefully – a flat patch on an eggshell wall will be visible in certain light no matter how well you blend it.
- If the drywall paper tears badly during scraping, skim coat the entire panel rather than spot-patching; multiple skim-coated spots look more uneven than one smooth panel.
Frequently Asked Questions
Can I just paint over peeling paint?
No – paint won’t bond to a surface that’s already failing. The new coat will peel along with the old within weeks. You must remove all loose material and prime the bare surface before repainting.
How do I know if the peeling is caused by moisture?
Moisture-related peeling almost always happens at exterior walls, near windows, in bathrooms, or on ceilings. The peeling often shows in large sheets rather than small chips, and you may see staining or mildew under the loosened paint. Check the other side of the wall (exterior surface or inside of an exterior wall cavity) for signs of water entry.
Do I need to prime the entire wall or just the repair spots?
For small repairs, spot-priming the bare areas is usually sufficient. For walls where more than 30% of the surface was peeling or has been repaired, prime the entire wall – you’ll get more consistent sheen and color in the finish coat, and the job will look far more professional.