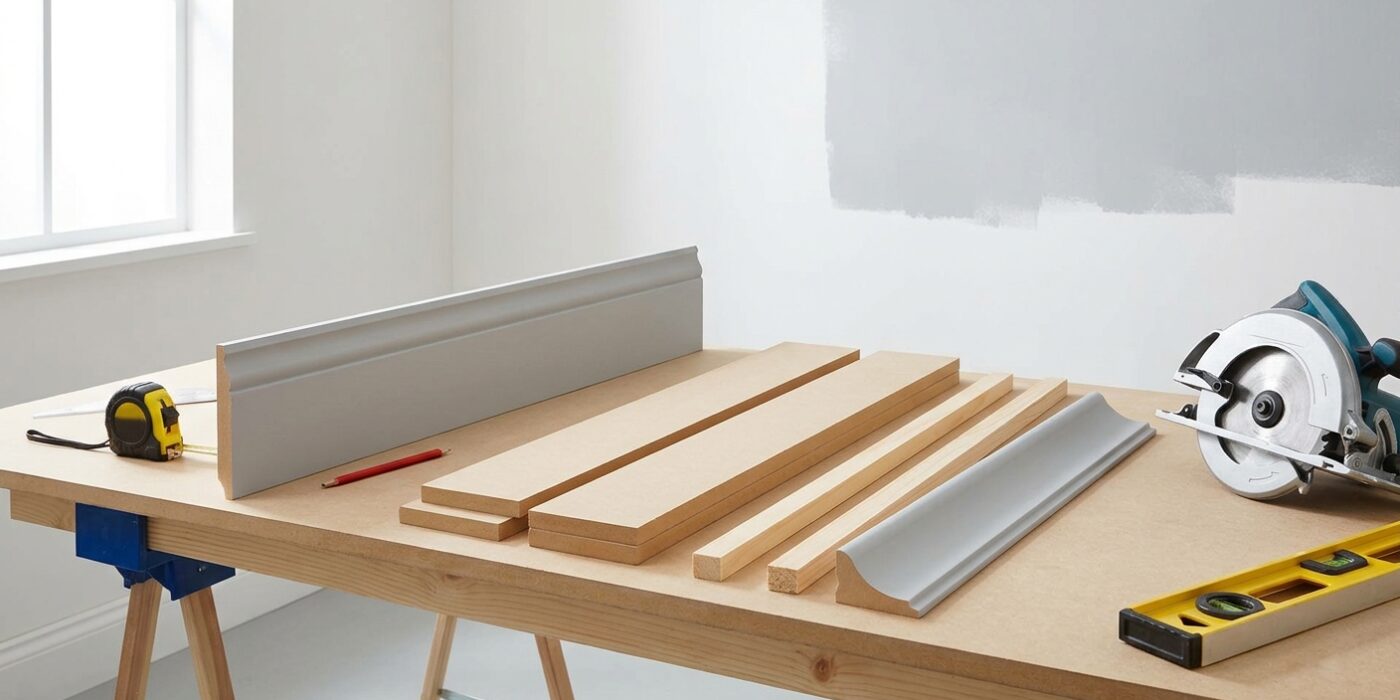
Project Shopping List
Board-and-batten wainscoting is one of the most impactful DIY upgrades you can make to a room. The combination of vertical boards and flat panels transforms plain drywall into architectural detail that looks expensive and traditional. When you paint it all one color – typically a crisp white or soft neutral – the light and shadow created by the three-dimensional boards adds serious visual depth.
This guide covers the full process: measuring and planning the layout, cutting and installing the MDF boards, caulking the gaps, and painting for a smooth, professional finish. No previous carpentry experience required – the joinery is simple butt joints, and the paint is what makes it look polished.
What You’ll Need
Tools
- Miter saw or circular saw with speed square for straight cuts
- Brad nailer (18-gauge) and compressor – or finish nails and hammer
- Stud finder
- Level (4-foot level essential)
- Tape measure and pencil
- Caulk gun
- 2.5-inch angled brush and 4-inch roller
- Nail set (if hand-nailing)
Materials
- 1×4 or 1×6 MDF boards for rails and battens (primed MDF is ideal – it paints beautifully)
- MDF or pine sheet goods for the panel backing (if doing inset panel style)
- Paintable latex caulk
- Wood filler or spackling for nail holes
- High-adhesion primer (if using raw MDF)
- Semi-gloss or satin trim paint
- Construction adhesive for bonding to drywall between nails
Step-by-Step Instructions
Step 1: Plan Your Layout
Standard wainscoting height is 32 to 48 inches from the floor – 36 inches is the classic proportion for 8-foot ceilings, and 42 to 48 inches for 9-foot ceilings. Mark a level line around the entire room at your chosen height using a 4-foot level and chalk line. For batten spacing, divide your wall length into equal sections between 12 and 16 inches wide – battens look best when they’re evenly spaced rather than squeezed at corners. Sketch the layout on graph paper before cutting anything.
Step 2: Install the Bottom Rail
The bottom rail sits on top of the baseboard or replaces it. If you’re leaving existing baseboard in place, the board-and-batten bottom rail goes on top of it, flush against the wall. Use a brad nailer to secure it to the wall, hitting studs when possible and using construction adhesive between studs. Check level as you go – floors are rarely perfectly level, so slight shimming may be needed at low spots.
Step 3: Install the Top Rail
The top rail defines the top edge of the wainscoting. Nail it at your marked height, hitting studs. The top rail needs to be perfectly level – use your 4-foot level continuously along its length, not just at the ends. A top rail that dips or rises even 1/4 inch across a wall will be visible once painted because light catches it.
Step 4: Cut and Install the Vertical Battens
Battens are the vertical boards that divide the wall into panels. Cut them to fit between the top and bottom rails – measure each space individually because walls are rarely perfectly consistent. Nail through the batten face into the studs where possible; between studs, apply a bead of construction adhesive on the back before nailing. Space nails every 12 to 16 inches vertically. Keep each batten plumb with your level – a tilted batten will be extremely noticeable on a finished wall.
Step 5: Add Outside Corner Trim if Needed
At outside corners (convex corners where walls meet), install a 1×2 or 1×3 corner piece that overlaps both walls and creates a clean, crisp edge. This is much easier than trying to miter MDF at corners, and MDF miters are prone to opening up over time. Inside corners (concave) can be coped or simply butted – the caulk fills the gap and the paint hides it.
Step 6: Fill, Caulk, and Sand
Fill all nail holes with spackling compound or wood filler, let dry, and sand smooth. Then caulk every joint: where boards meet the wall, where boards meet each other, where the top rail meets the wall above. Use a paintable latex caulk and tool the bead with a wet finger for a smooth concave joint. This caulking step is what makes the installation look like built-in millwork rather than boards nailed to a wall. Let caulk dry completely before priming.
Step 7: Prime the MDF
Raw MDF is extremely thirsty – it absorbs primer and paint on the cut edges at a much higher rate than the face. Seal the cut ends with a dedicated MDF primer or two coats of your regular primer before applying topcoat. If you use primed MDF boards, spot-prime any cuts and all the new caulk joints. Skipping primer on MDF results in visible raised grain, uneven sheen, and paint that wears off cut edges quickly.
Step 8: Paint With a Brush and Roller
Use a 2.5-inch angled brush to cut in around every batten and into every corner, then use a 4-inch foam roller on the flat board faces for a smooth finish. Roll the wall panels between battens separately from the battens themselves – this controls roller splatter on adjacent surfaces. Two coats are standard for a crisp white finish. Semi-gloss paint is the traditional choice for wainscoting – it highlights the architectural detail and wipes clean easily.
Pro Tips
- Prime MDF cut ends twice before the first topcoat – the end grain is so porous that one coat of primer still shows as a different sheen in the finish.
- If your baseboard has a curved or profiled top edge, trace it onto your batten bottom and use a coping saw to make the batten sit flush – don’t try to gap it and fill with caulk, which cracks over time.
- Use a speed square and a sharp utility knife to score paint lines before caulking – the knife creates a crisp edge that prevents paint bleed under tape.
- On long walls, snap a vertical chalk line for every batten position before installing so you can see the full layout and adjust spacing before committing.
- Semi-gloss on wainscoting against a flat-sheen wall above creates beautiful contrast and is the traditional way it’s done – don’t paint the whole wall the same sheen.
Frequently Asked Questions
Can I install board-and-batten over tile?
Not easily. The battens need to be nailed into studs or bonded with strong adhesive, and tile is a poor substrate for construction adhesive long-term. Board-and-batten is best suited to drywall walls.
What’s the difference between board-and-batten and raised panel wainscoting?
Board-and-batten is flat boards applied over the wall surface – the battens are raised above the wall plane and create shadow lines. Raised panel wainscoting uses a frame-and-panel system where a beveled or flat panel sits inside a frame, like traditional furniture joinery. Raised panel is more complex to build from scratch; board-and-batten is much more approachable for DIY.
How do I handle electrical outlets inside the wainscoting area?
Outlets require an extension ring (a plastic or metal box extender) to bring the outlet flush with the new board surface. These cost under $5 and are available at any hardware store. Install them before painting so you can cut in around the new outlet depth cleanly.