Project Shopping List
Painting a staircase railing is a frustrating job if you dive in without a plan. The combination of spindles (balusters), handrail, newel posts, and the painted stringer below means you have surfaces at four different angles that all need to be done in the right order – or you’ll paint yourself into a corner and have to touch wet surfaces to finish. Worse, a badly planned stair paint job can leave you with a sticky railing you can’t use for hours.
This guide gives you the sequence, the tools, and the technique to paint a complete stair railing system without getting stuck, without runs on the spindles, and without leaving visible brush marks on the handrail.
What You’ll Need
Tools
- 2.5-inch angled brush for spindles and handrail
- 1-inch angled detail brush for tight spots between spindles and treads
- Small 4-inch foam roller for flat surfaces (stringers, newel post faces)
- Shop vacuum and tack cloth
- Painter’s tape and plastic sheeting
- 80-grit and 120-grit sandpaper
- Liquid sander/deglosser (for previously painted or varnished surfaces)
Materials
- Oil-based or waterborne alkyd primer – alkyd primers bond to old varnish and painted surfaces far better than water-based latex primers
- Semi-gloss or gloss trim paint (waterborne alkyd or oil-based – these level better and are harder-wearing than latex on railings)
- Mineral spirits for cleanup (if using oil-based products)
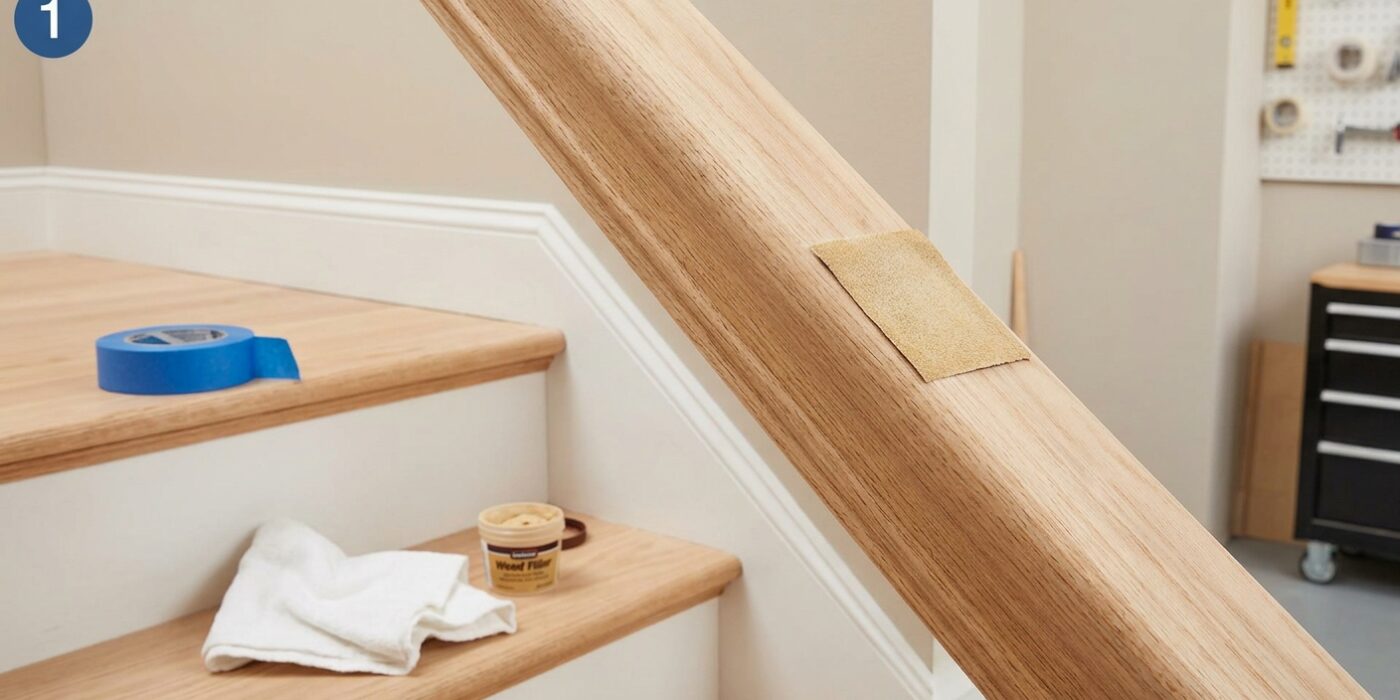
- Sandable wood filler for dings and gouges in the wood
Step-by-Step Instructions
Step 1: Clean and Prep All Surfaces
Railings accumulate years of hand oils, wax, and silicone from furniture polish – all of which prevent paint adhesion. Wipe down every surface with a rag dampened with mineral spirits, then follow with a TSP substitute solution and rinse. For a previously varnished railing that you want to paint, apply liquid sander/deglosser and wipe off – it chemically abrades the surface for better bonding without heavy sanding. Let everything dry for an hour before proceeding.
Step 2: Sand All Surfaces
Hand-sand every spindle, the handrail, and the newel posts with 120-grit sandpaper. You’re scuffing the surface for adhesion, not stripping it – a thorough scuff sanding is enough. On round spindles, fold the sandpaper into a strip and pull it back and forth around the diameter. Hit any existing paint drips or runs with 80-grit first. After sanding, vacuum thoroughly and wipe with a tack cloth – fine dust on a railing shows as dimples in the final finish.
Step 3: Fill and Patch
Fill any dings, nail holes, or gouges with sandable wood filler. Let it dry completely (minimum 30 minutes, longer in humid weather), then sand flush with 120-grit. Run your hand over every repaired area – you should feel nothing. Lumps under paint are permanent and visible. Re-vacuum and tack cloth after sanding repairs.
Step 4: Mask Off the Treads and Walls
Protect the stair treads with painter’s tape at the stringer/tread junction and lay drop cloth or heavy paper along the tread surfaces. On spindles that come through the treads, tape off the tread right at the base of each spindle. Mask the walls where the handrail bracket meets the wall. Stair paint drips fall down, so cover the floors below with drop cloth as well.
Step 5: Prime in the Right Order
Always work from the top down and from the inside out. Prime the spindles first – start at the top of each spindle and work down to the base, rotating the brush to hit all four sides as you go. Then prime the handrail. Then prime the newel posts. Finally, prime the stringers (the angled boards running along the sides of the stairs). This order means any drips from upper surfaces fall onto unprimed lower surfaces, not onto wet work you’ve already done.
Step 6: Let Primer Dry, Then Sand Lightly
Let primer dry per manufacturer specs – typically 4 hours for oil-based, 1 to 2 hours for water-based. Then lightly hand-sand every primed surface with 220-grit to knock off any raised grain or nibs. This is the step that separates a silky topcoat from a scratchy one. Wipe with a tack cloth again before paint.
Step 7: Paint the Spindles First – Section by Section
Work in sections of 6 to 8 spindles. Load the brush and paint each spindle top to bottom, rotating to cover all sides. Immediately after each section, check for runs on the lower portions and smooth them out before moving on. Spindles are the most tedious part – a standard staircase has 30 to 50 spindles, and each needs to be fully coated. Use a 1-inch detail brush at the tight joint between the spindle base and the tread.
Step 8: Paint Handrail, Then Newel Posts, Then Stringers
After the spindles have a coat on them (even if not fully dry), move to the handrail – brush with your angled 2.5-inch brush along the grain, catching the underside profile of the rail. Then paint the newel posts with a brush, using a small foam roller on their flat faces for a smoother finish. Finally, brush the stringers. This sequence means you’re always working above or beside wet surfaces, not reaching over them.
Step 9: Apply Second Coat After Full Dry
Let the first coat dry completely before the second – for waterborne alkyd, this is about 4 hours; for oil-based, overnight is safer. The second coat is where the finish really comes together. Two coats of quality trim paint on properly primed surfaces produce a durable, smooth finish that will look good for years.
Pro Tips
- Waterborne alkyd (Sherwin-Williams Emerald Urethane Trim or Benjamin Moore Advance) is the best of both worlds – it cleans up with water but levels like oil paint and dries hard enough for high-contact surfaces like railings.
- Painting on alternating spindles (every other one first, let dry, then the remaining ones) lets you keep using the stairs with one hand on the railing without touching wet paint.
- Don’t paint the stair treads at the same time as the railing – paint the railing first, let it cure for 48 to 72 hours, then do the treads. This way you’re not forced to walk on fresh tread paint while painting the upper railings.
- A door-and-window paint foam roller on a short handle gets a nearly brush-mark-free finish on the newel post flat faces in seconds.
- For wrought iron railings, use a rust-inhibiting oil-based primer and spray if possible – getting a brush into the crevices of ornamental iron is extremely difficult.
Frequently Asked Questions
Should I use oil-based or water-based paint on a railing?
Waterborne alkyd is the best choice for DIY railing painting – it’s much more durable and harder than standard latex, levels to a smooth finish without significant brush marks, and cleans up with water. Pure oil-based paint is harder-wearing but takes much longer to dry and requires solvent cleanup. Standard latex paint is the worst choice for railings – it stays slightly soft and shows fingerprints and wear quickly.
How do I avoid brush marks on the handrail?
Brush along the grain direction only, using a high-quality brush. Apply enough paint that the bristles glide without dragging. Finish each section with very light strokes from end to end – this “tipping off” technique levels the paint before it sets. Waterborne alkyd or oil-based paint has a longer open time than latex, giving you more time to tip off without the paint grabbing.
Can I paint over a stained wood railing?
Yes, with proper prep. Lightly sand all surfaces to scuff the clear coat, clean thoroughly, then apply an alkyd or shellac-based primer. Shellac primer (Zinsser BIN) is particularly good for coating stained wood because it blocks tannins that can bleed through and discolor white topcoat. Follow with two coats of trim paint.