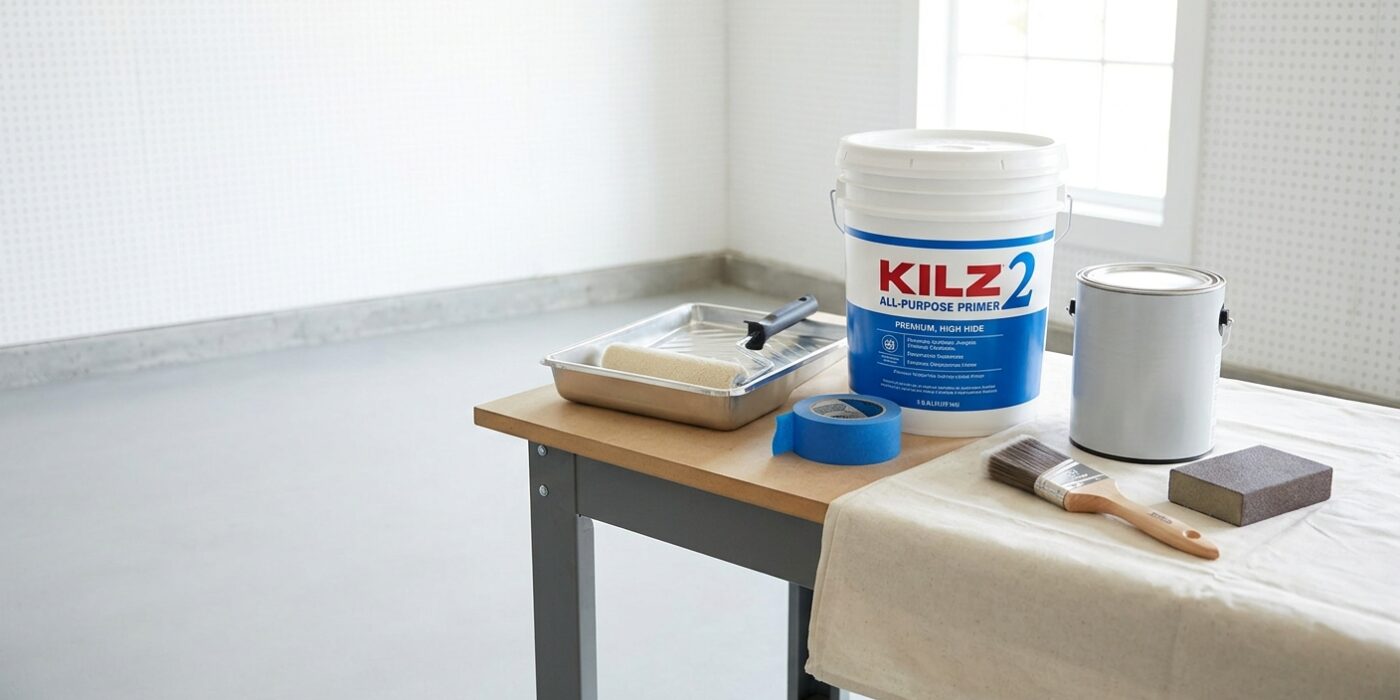
Project Shopping List
Painting over a dark wall color with a light color is one of the most frustrating painting experiences. You roll on white paint over charcoal gray and the gray bleeds through like a stain. You apply a second coat and it’s still visible. By the third coat you’ve burned through a gallon and the result still looks uneven. The problem isn’t the paint quality – it’s the strategy. There’s a specific approach that achieves full coverage in two finish coats without buying a gallon of primer per room.
This guide explains why dark colors bleed through, when to use primer vs. when to skip it, what tint level to use in your primer, and how to get a bright, even light color over almost any dark wall in exactly two coats.
What You’ll Need
Tools
- 9-inch roller with 3/8-inch nap sleeve
- Extension pole
- 2.5-inch angled brush for cut-in work
- Paint tray or 5-gallon bucket with grid
Materials
- High-hide primer (not standard drywall primer): Zinsser Bulls Eye 1-2-3 or Sherwin-Williams Extreme Block
- Your desired light-color topcoat paint
- Gray or mid-tone tint for the primer (the key technique – explained below)
Step-by-Step Instructions
Step 1: Understand Why Dark Colors Bleed Through
Paint doesn’t cover by blocking light the way a piece of paper does – it works by reflecting light. Light-colored pigments have high reflectivity (high LRV – Light Reflectance Value) and dark pigments have low reflectivity. When you apply a high-LRV white paint over a low-LRV dark paint, the dark layer absorbs much of the light that would otherwise make the white appear opaque, and the dark color effectively reads through the thin white film. The solution is to change the underlying reflectivity – which is what priming is for.
Step 2: Assess Whether You Need Primer
For a color change from medium tones (gray, sage green, tan) to a light tone (off-white, pale blue, light yellow), a high-hide primer coat plus two topcoats is usually sufficient. For changes from very dark colors (deep charcoal, navy, black, deep red), a high-hide primer is mandatory – skipping it means you’re fighting physics. For a color change between two similar-depth colors (one blue to another blue), good coverage paint without primer often works in two coats. The bigger the LRV difference between the existing color and your new color, the more important primer is.
Step 3: Choose the Right Primer and Tint It
Standard drywall primer is not designed for coverage – it’s designed for sealing and adhesion. High-hide primers (Zinsser Bulls Eye 1-2-3, Sherwin-Williams Extreme Block, KILZ 2) are specifically formulated with higher pigment loads for better coverage. Here’s the key technique most guides skip: have the paint store tint your primer to a gray that’s about halfway between the dark existing color and your target light color. A tinted primer that’s closer to your topcoat color means your first topcoat coat achieves near-full coverage. Untinted white primer over dark charcoal gives you a mottled gray primer – it’s better than painting white over charcoal directly, but it’s not as efficient as a properly tinted primer.
Step 4: Apply the Primer Coat
Apply tinted primer using the same technique as regular paint – roll the field with a 3/8-inch nap roller after cutting in with a brush. Work at normal rolling speed – primer doesn’t need to be rolled more carefully than paint. Let dry per the label (typically 1 to 2 hours for water-based primer). The result should look patchy and uneven in places – that’s normal. The primer coat doesn’t need to be perfect; it just needs to dramatically reduce the LRV gap before the topcoat goes on.
Step 5: Apply Your First Topcoat
After primer dries, apply your first topcoat with the same roll-and-cut technique. At this stage, with a properly tinted primer underneath, you should be able to achieve 80 to 90% apparent coverage with this first topcoat. Some spots where the original dark color was deepest may still show a shadow – this is fine and expected. Resist the urge to go over these spots repeatedly while the paint is wet; you’ll create texture and sheen inconsistencies. Let this coat dry completely.
Step 6: Apply the Second Topcoat
The second full topcoat should bring you to complete, uniform coverage. The result should look like you painted a room that was already the right color – no shadows, no bleed-through, consistent sheen across the entire wall. If a small area still shows breakthrough, apply a spot coat to just that area after everything else has dried, then do a final light coat over the spot and 6 inches around it to blend the sheen.
Step 7: Evaluate Under Different Lighting
Check your walls under both daylight and evening artificial light. Dark bleed-through is most visible under soft incandescent light because the warm tones of the bulb make dark undertones appear more strongly than under cool daylight. If the walls look good under your room’s evening lighting, you’re done.
Pro Tips
- If primer isn’t available in your area tinted to a mid-tone gray, ask for a “deep base” primer tinted – this primer has less white pigment and takes tint more effectively than regular “white base” primer.
- One gallon of high-hide primer covers 300 to 350 square feet – the same as regular primer. Budget one gallon per average room (400 to 500 square feet of wall area) plus two gallons of topcoat.
- Premium paint with “high-hide” on the label (Sherwin-Williams Emerald, Benjamin Moore Aura) contains significantly more titanium dioxide pigment than budget paint – this genuinely reduces the number of coats needed going from dark to light.
- For very deep colors (black, dark navy, dark red/burgundy), consider a shellac-based primer (Zinsser BIN) – shellac is the most aggressive sealer available and one coat over black often does what two coats of latex primer can’t.
- Don’t rush between coats – latex paint that’s dried to the touch but not fully dry can be re-activated by the subsequent coat and create lifting or drag marks, especially over fresh primer.
Frequently Asked Questions
How many coats of paint do I need to go from black walls to white?
One coat of shellac-based primer (tinted gray) followed by two coats of premium high-hide white paint. That’s three total coats – not five. Shellac primer over black provides so much opacity that most premium whites achieve full coverage in just two topcoats over it. Budget paints may need three topcoats even over shellac primer.
Is there any paint that covers dark colors in one coat?
One-coat coverage claims on paint cans are measured under controlled conditions (white over white, or over specific standard colors). No paint reliably covers significantly darker colors in a single coat under real-world conditions. Marketing language around “one coat” coverage is aspirational, not realistic for dramatic color changes.
Do I need to sand between coats when painting over dark colors?
Not between primer and topcoat coats for a standard color change. Sanding is necessary when: a coat dried to a rough or bumpy surface due to debris; there are runs or drips that need to be leveled; or the primer raised the grain significantly on wood surfaces. For typical drywall walls going from dark to light, sanding between coats adds time without meaningfully improving the result.