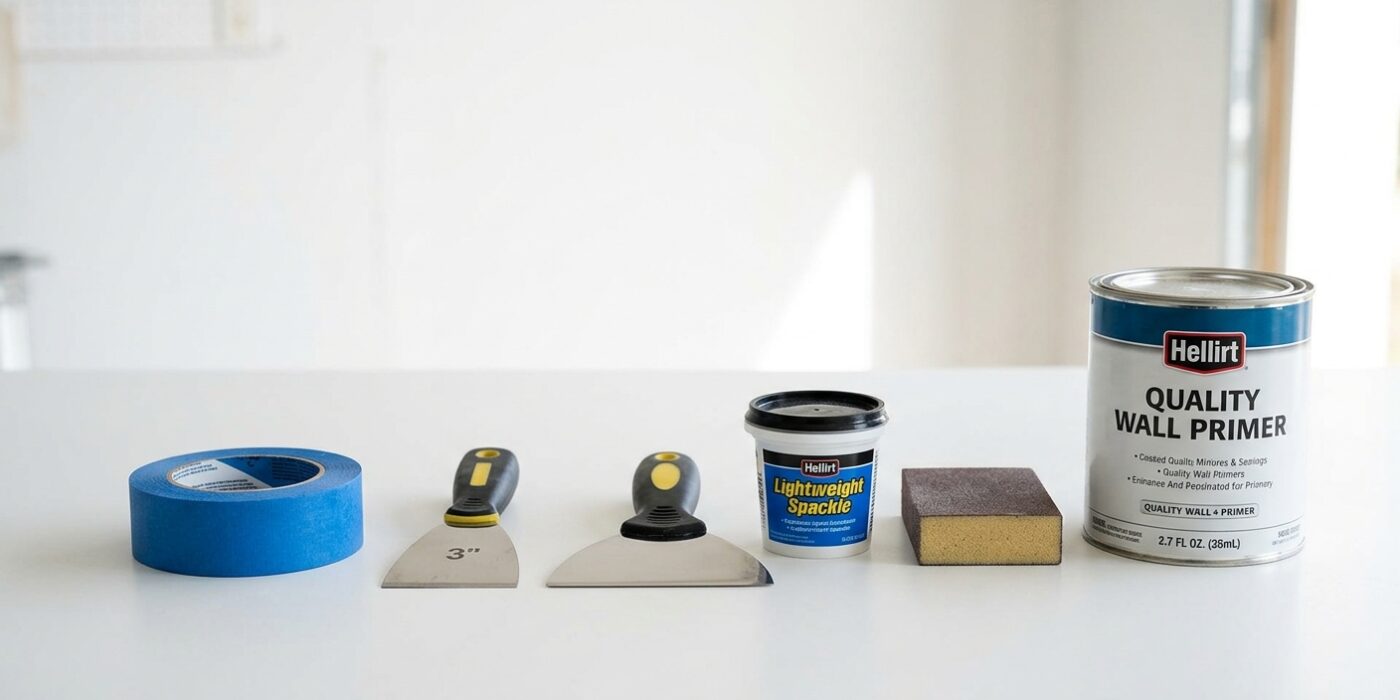
Project Shopping List
Peeling paint on walls and ceilings is a symptom, not just a surface problem. Paint peels because something caused adhesion failure — moisture infiltration, incompatible paint layers, painting over a contaminated surface, or painting in wrong conditions. Simply scraping and repainting without addressing the underlying cause produces a repeat failure within months.
What You Will Need
Tools
- Putty knife and paint scraper
- Random orbital sander
- 80-grit and 120-grit sandpaper
- Paintbrush and roller
- Flashlight for inspecting for moisture
Materials
- Stain-blocking primer (Zinsser BIN or oil-based)
- Joint compound or spackling
- Matching paint
- Paint conditioner such as Floetrol for latex
Step 1: Find the Cause Before Touching the Peeling Paint
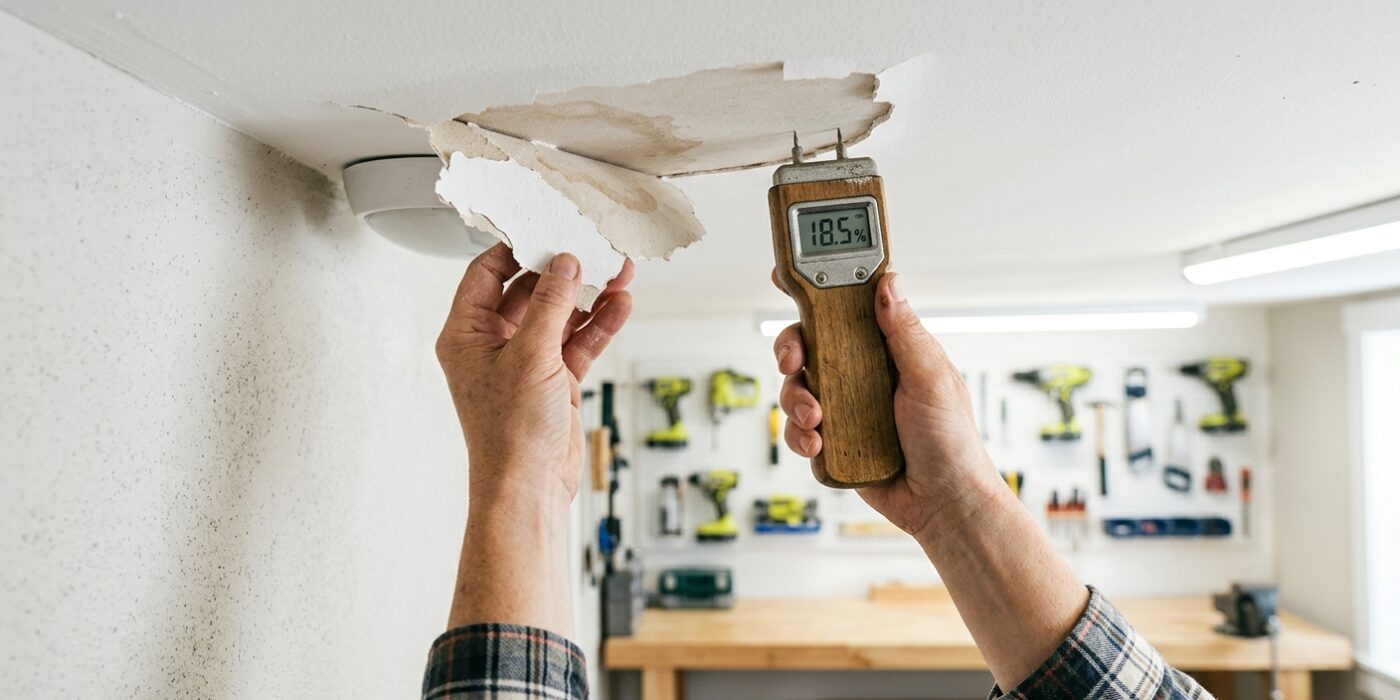
Before you pick up a scraper, take a moment to play detective. If you fix the paint without addressing the underlying issue, the new paint will simply peel away again in a few months. Grab a flashlight and hold it nearly parallel to the wall – this is called “raking light.” By angling the beam at a shallow 15-degree angle against the surface, the shadows will reveal the true extent of the damage, including cracks or damp spots that are otherwise invisible to the naked eye.
Inspect the patterns: peeling near windows or exterior corners often points to a moisture leak from outside. In bathrooms or kitchens, it usually means trapped humidity. If you see peeling in random, crusty patches, your wall likely has several layers of old, incompatible paint that aren’t bonding together. Identifying the culprit now saves you from repeating this project next year.
Beginner Tip: Avoid the common trap of rushing to the hardware store for putty and paint immediately. Don’t skip the detective work; applying high-quality paint over a wet wall is like trying to put a sticker on a damp window – it just won’t stick.
Pro Tip: If you suspect moisture but aren’t sure, tape a small sheet of clear plastic wrap over the peeling area and seal the edges with painter’s tape. If beads of water appear on the inside of the plastic after 24 hours, you have an active moisture issue that must be professionally sealed or repaired before you do any cosmetic work.
Step 2: Fix Moisture Problems First
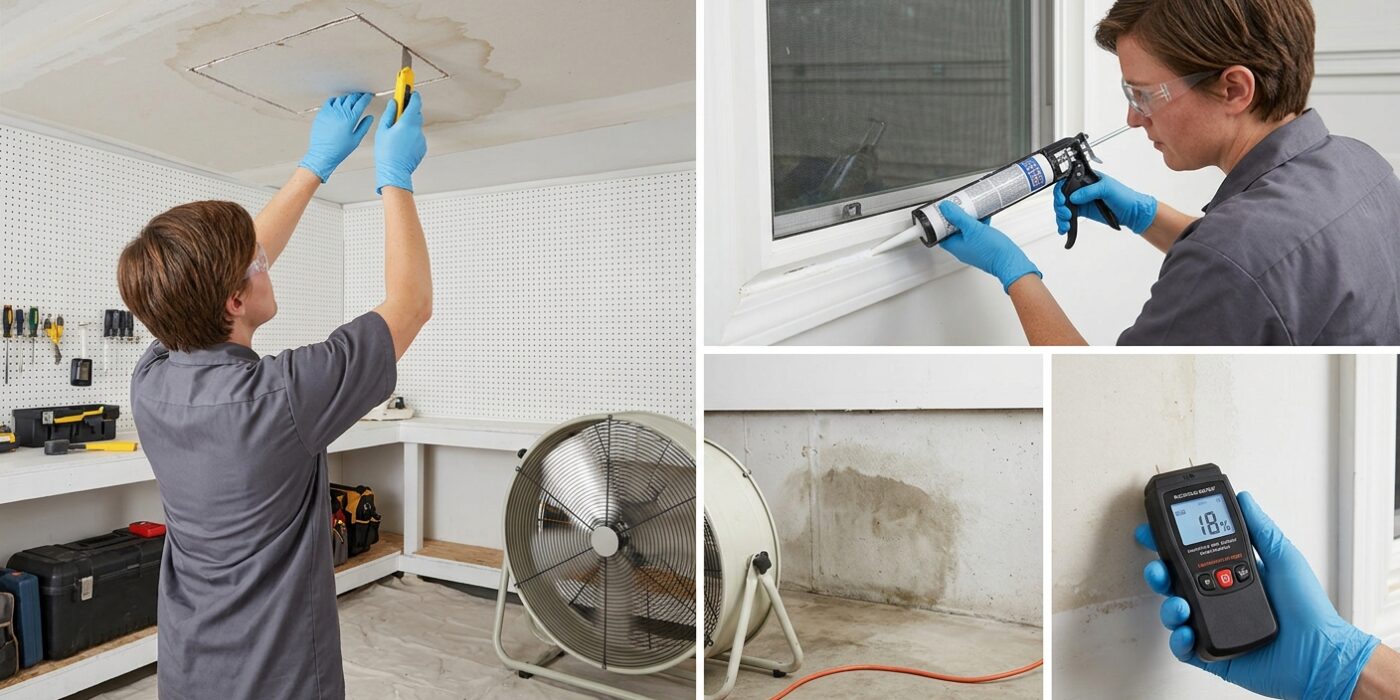
Before you pick up a paintbrush, you must address the root cause of your peeling paint. Think of this like putting a bandage on a wound without cleaning it first; if you paint over a damp spot, the new paint will simply bubble and flake off again within weeks. If the peeling is localized near a window, pipe, or ceiling corner, inspect the area carefully for active leaks or water stains. If you find a plumbing leak or a roof issue, it is best to call a professional for repairs. For minor issues like bathroom condensation, ensure your exhaust fan is working by holding a single sheet of toilet paper up to the vent while it is running – if the fan holds the paper in place, it has enough suction to effectively remove moisture.
Once the source is fixed, the area needs to be bone-dry before you continue. This usually takes one to two weeks, depending on the humidity in your home. If the area feels cold or damp to the touch, do not rush to the next step.
Beginner Tip: Avoid the temptation to use a space heater to dry the wall quickly. Rapid heating can cause the existing surrounding paint to crack or create uneven stress on the drywall, leading to more repairs later. Let the area air-dry naturally.
Pro Tip: To confirm a surface is truly dry before you begin patching, tape a six-inch square of clear plastic wrap over the area using painter’s tape. If condensation forms under the plastic after 24 hours, the wall is still holding moisture and needs more time.
Step 3: Scrape All Loose Paint
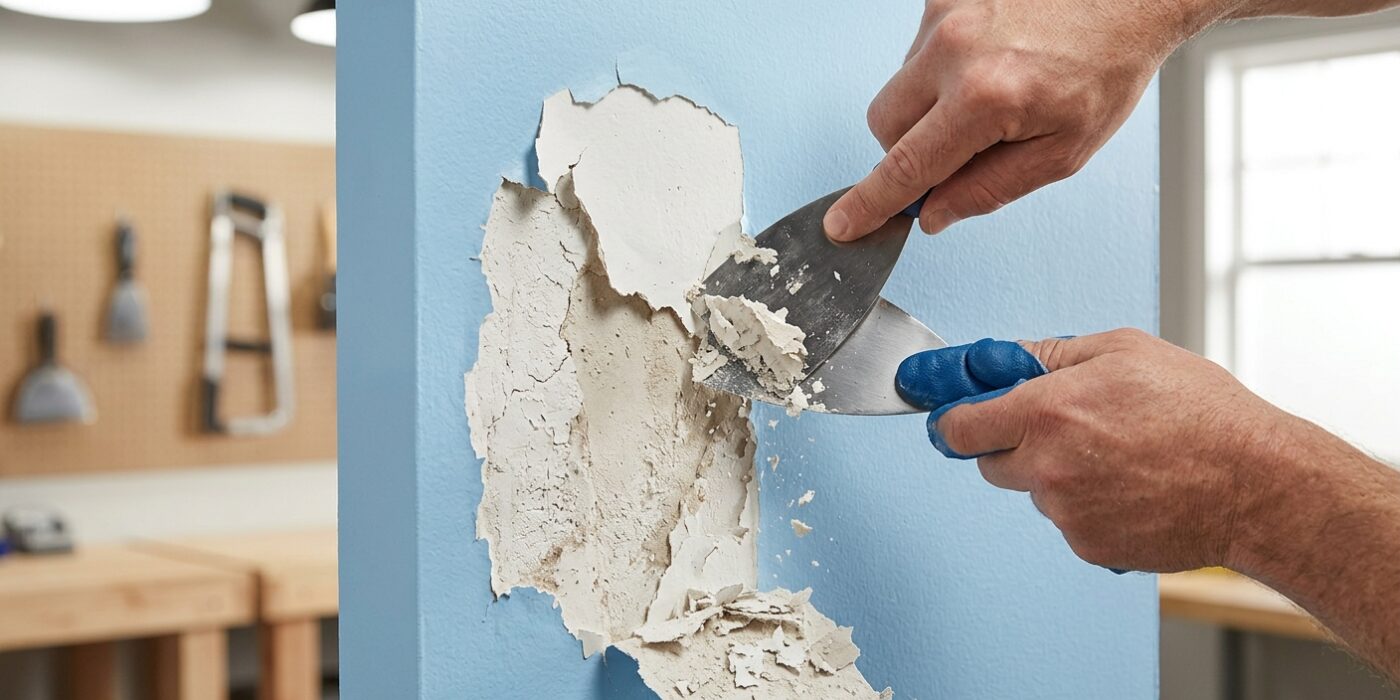
Now it is time to remove the loose material. Hold your paint scraper at a low, 30-degree angle to the wall. Use firm, consistent pressure to slide the blade under the edges of the peeling paint. If the paint bubbles, lifts, or flakes away, keep going until you reach a section that is firmly attached to the wall surface. This is vital because if you paint over loose edges, the new coat will eventually pull away, ruining your hard work. Work methodically across the area, scraping until you reach a solid base. Be sure to extend your scraping three to four inches into the surrounding stable paint; this “feathering” ensures the transition between the old surface and the new repair is smooth and invisible.
Beginner Tip: Do not dig the corners of your metal scraper into the drywall or plaster. Keep the blade flat against the surface to avoid gouging deep holes that will require extra filling and sanding later. If you feel resistance, adjust your angle rather than forcing the tool deeper.
Pro Tip: If the paint is stubborn, try heating it gently with a hair dryer on a medium setting for a few seconds. The heat softens the old adhesive, allowing the paint to release much more easily without damaging the wall underneath.
Step 4: Sand the Edges and Surface
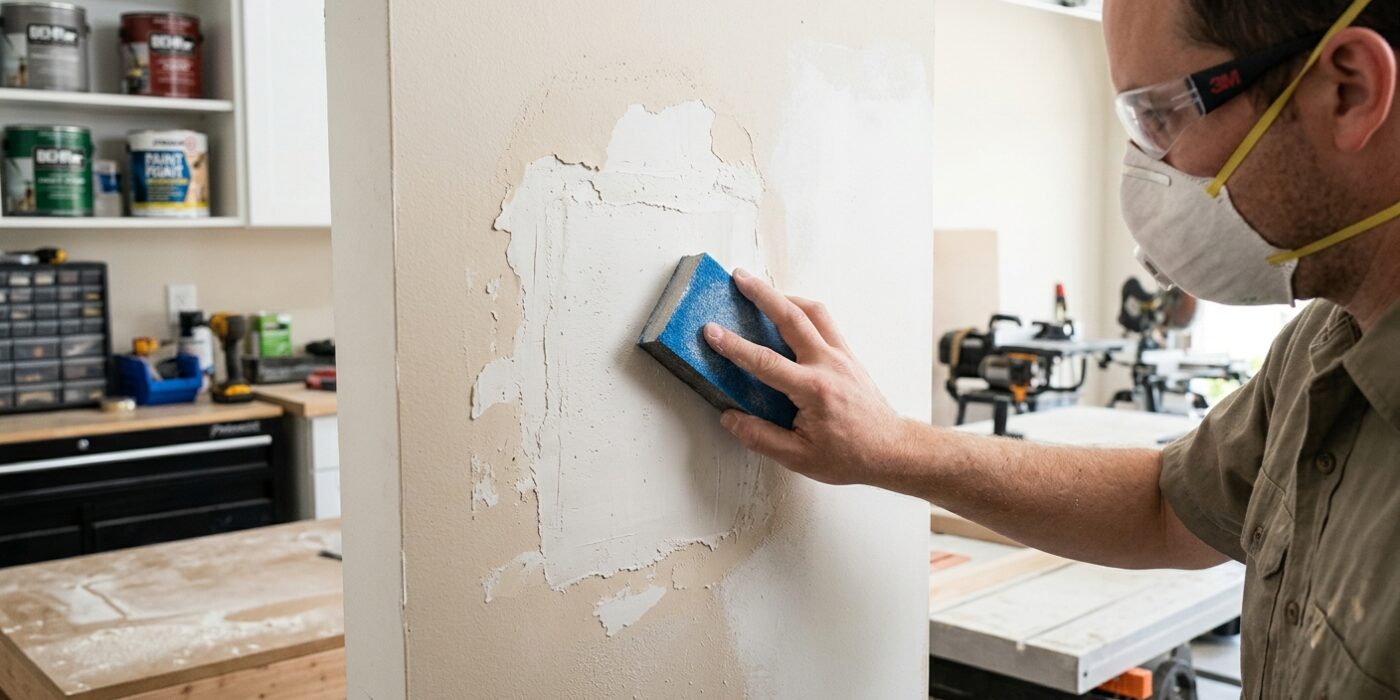
Now it is time to create a smooth surface for your new paint. Start by folding a piece of 80-grit sandpaper and using it to rub the edges where the old paint meets the bare wall. Move your hand in a gentle, circular motion, focusing on the “feather edge” – the ridge where the paint chipped away. Your goal is to sand this ridge down until it is so smooth that when you run your fingernail over it, you cannot feel a bump. Think of it like creating a gentle ramp rather than a cliff.
Once the edges are perfectly flat, switch to a 120-grit sandpaper and lightly sand the entire patch you scraped earlier. This helps remove any remaining loose bits and gives the surface a slight “tooth,” or texture, which helps the new primer stick much better. Finally, use your vacuum with a brush attachment to remove all the fine dust. If you leave the dust behind, your new paint will struggle to adhere, and you might see bumps later.
Beginner Tip: A common mistake is pressing too hard with the sandpaper. You only need light, consistent pressure. If you push too hard, you risk digging deep grooves into the drywall paper, which are much harder to fix than paint chips.
Pro Tip: To check your work, run a clean, dry rag or your hand over the area with your eyes closed. Your fingertips are much more sensitive to subtle ridges and bumps than your eyes are; if it feels perfectly flat to your touch, it is ready for paint.
Step 5: Apply Stain-Blocking Primer
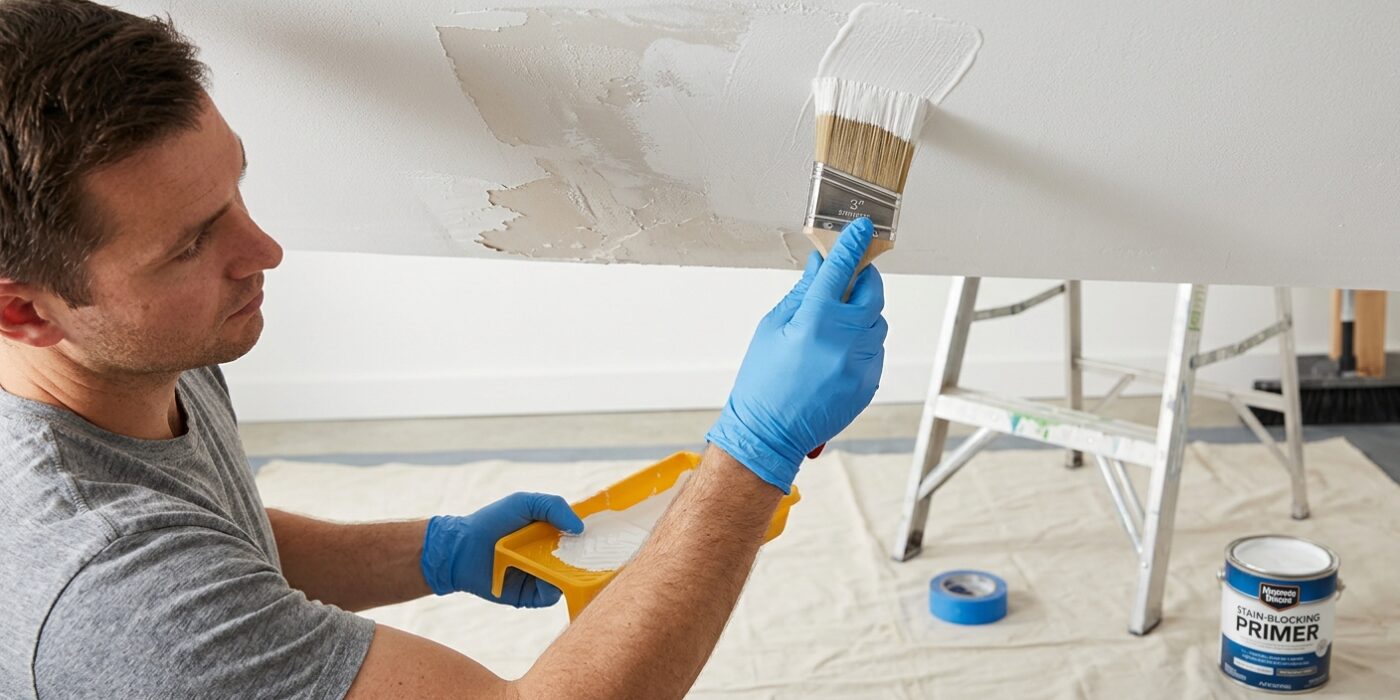
Now that your wall is clean and smooth, it is time to lock in those tough spots. If your wall had water damage, deep grease, or yellowing, you must use a specialized stain-blocking primer. Simply painting over these stains with regular wall paint is a common heartbreak; the tannins or minerals will “ghost” right through, creating a shadow that keeps appearing no matter how many coats you add. Use a small, high-quality synthetic brush to apply a product like Zinsser BIN shellac-based primer directly over the damaged areas. You only need a thin, even coat – aim to just cover the discoloration rather than globbing it on. This creates a chemical seal that locks the stain behind an impenetrable barrier, ensuring your final finish looks professional and clean.
Beginner Tip: Don’t try to “feather out” the primer too far into the surrounding clean paint. Keep your strokes focused primarily on the stained area. If you apply a thick, uneven layer of primer, you might create a texture difference that shows through your topcoat, so use just enough product to cover the spot.
Alternative Method: If you are nervous about managing a brush and a can, look for a stain-blocking primer in an aerosol spray can. It allows you to apply a light, even mist to the problem area from about 8 to 10 inches away, which prevents brush marks and makes cleanup non-existent.
Pro Tip: Shellac-based primers dry extremely fast and have a strong, distinct odor. Open a window or set up a small box fan in the room to keep the air moving, and you will find the process much more pleasant!
Step 6: Patch and Re-Prime
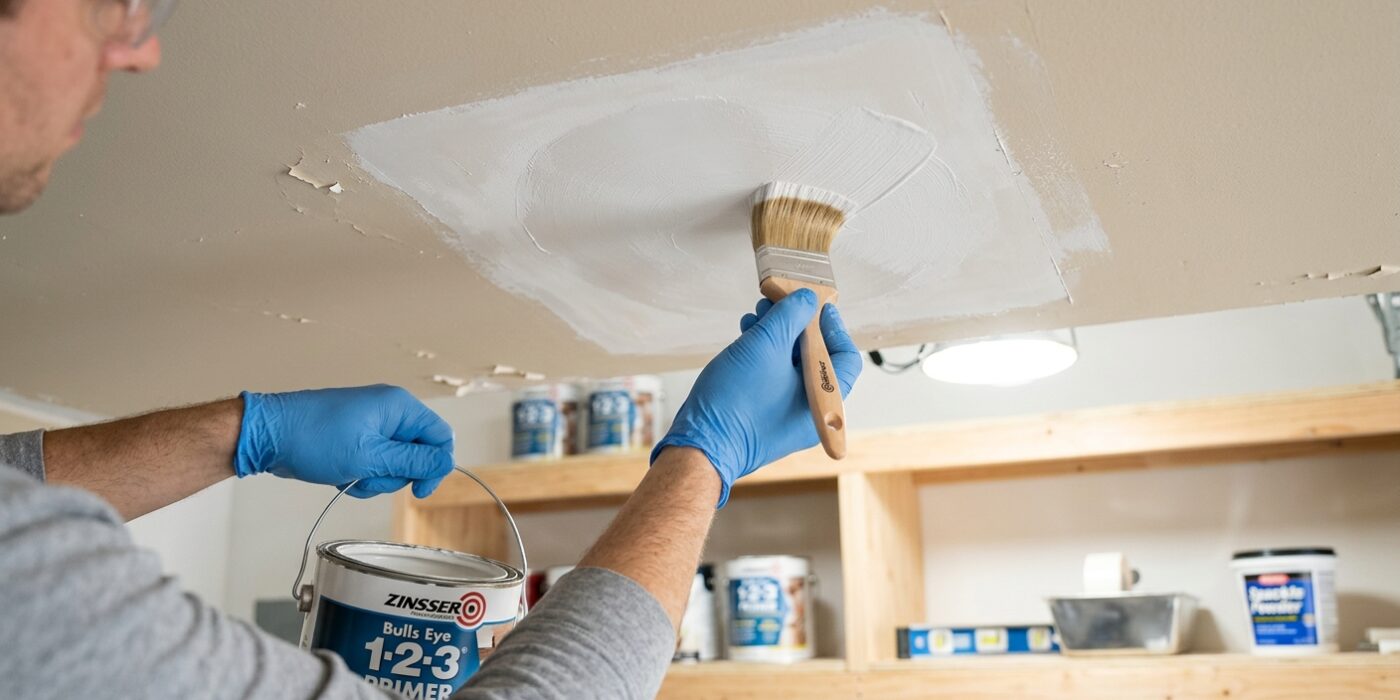
Now that your wall is clean and stable, it is time to smooth things out. Take a small amount of lightweight spackle or joint compound on your putty knife and press it firmly into any holes or rough edges left behind by the peeling paint. Your goal is to create a seamless transition between the bare wall and the remaining paint. Use your knife at a 45-degree angle, applying pressure to the handle so that the edges of the compound become paper-thin as they spread onto the surrounding surface. This “feathering” technique prevents a noticeable bump once you start painting.
Once the compound is completely dry – it should look chalky and feel room-temperature to the touch – lightly sand the area with 120-grit sandpaper until it feels perfectly smooth. Wipe away the dusty residue with a damp cloth, then apply a thin layer of primer over your patches. This seals the porous spackle, ensuring your final paint color sticks evenly without dulling.
Beginner Tip: Avoid the temptation to over-fill the holes. It is much easier to add a second, thin coat later than it is to sand down a massive, hardened mound of excess compound. Less is truly more when you are starting out.
Pro Tip: Before applying your final coat of paint, shine a flashlight against the wall at a sharp angle. This “raking light” will cast shadows on any imperfections or high spots you might have missed, allowing you to catch them before they become permanent parts of your wall.
Step 7: Apply Finish Coat
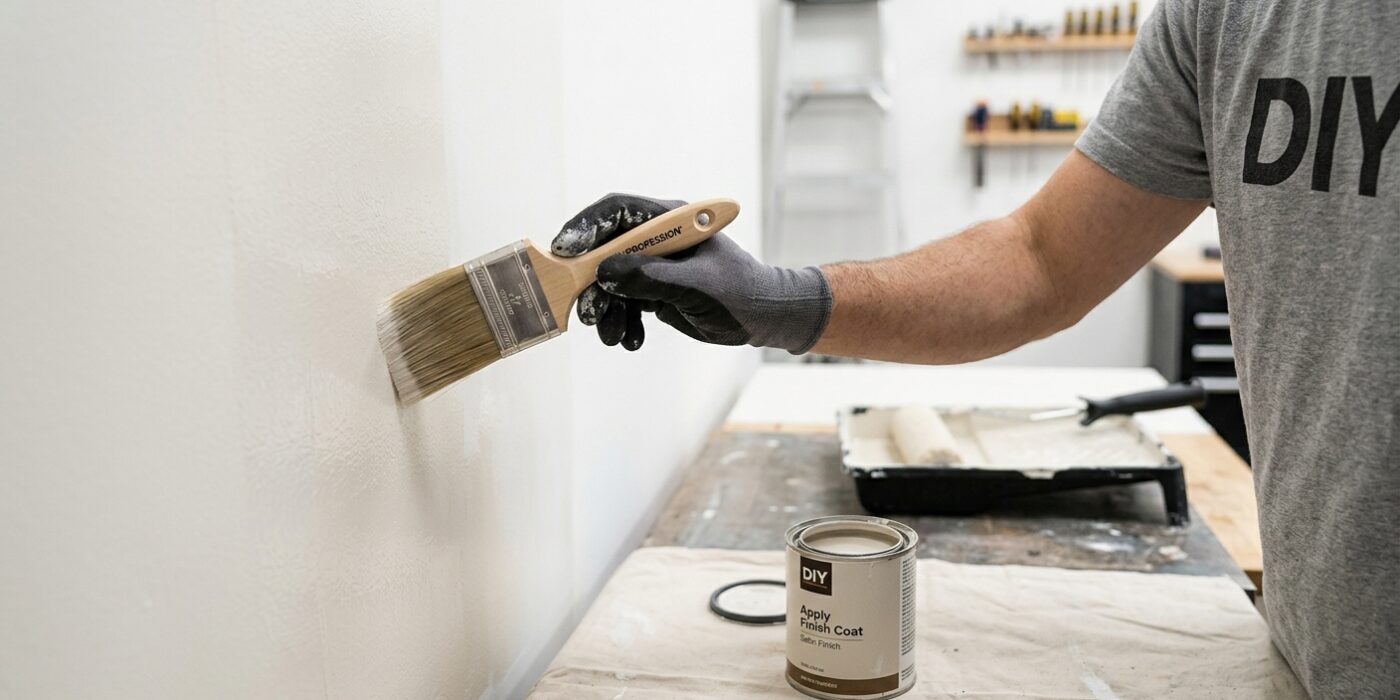
Now that your wall is smooth and primed, it is time for the final coat of paint. Using a high-quality roller, apply your paint in a “W” or “M” pattern to distribute it evenly across the surface. To achieve a seamless look, extend your brush strokes about two to three inches beyond the repair zone. For the best finish, we highly recommend rolling the entire wall or ceiling section from corner to corner. Even if your paint color is an identical match, painting only the patched spot will likely create a noticeable difference in “sheen,” or how light reflects off the surface, which makes your repair stand out.
Beginner Tip: A common mistake is pressing too hard on the roller. Let the tool do the work! If you push down too firmly, you will leave thick, visible ridges of paint at the edges of your roller path, often called “tramlines.” Use light, steady pressure and keep a “wet edge” by overlapping each stroke with the previous one while the paint is still damp.
Pro Tip: To avoid picking up loose fibers from a new roller cover, wrap a piece of painter’s tape around the roller and pull it off before you start. This simple trick removes any stray fuzz that would otherwise get stuck in your fresh coat of paint and create a bumpy texture.
FAQ: If the peeling returns, check for hidden moisture leaks. Also, remember that water-based latex paint can go over oil-based paint if you use a bonding primer, but oil-based paint should never be applied directly over latex.