Project Shopping List
Painting metal surfaces – doors, railings, pipes, appliances – fails more often than almost any other paint project because metal presents unique adhesion challenges. Metal expands and contracts with temperature changes, it can rust, and it often has mill scale, oils, or previous coatings that need specific preparation. Use the wrong primer or skip prep and your paint will peel within months, often in large sheets.
This guide covers painting three common metal surfaces in the home: steel exterior doors, iron or steel railings, and metal appliances. The prep steps are different for each, but the principles – remove rust, degrease thoroughly, use metal-compatible primer, apply topcoat in thin coats – apply to all of them.
What You’ll Need
Tools
- Wire brush (hand or drill-mounted cup brush for large areas)
- Angle grinder with flap disc (for heavy rust)
- 80-grit and 150-grit sandpaper
- Tack cloth
- HVLP sprayer or high-quality brush for application
- Clean rags
Materials
- Metal primer: rust-inhibiting oil-based primer for exterior steel, etching primer for aluminum, self-etching primer for bare metal
- Degreaser / acetone for surface cleaning
- Rust converter (Rust-Oleum Rust Reformer) for active rust that can’t be fully removed
- Topcoat: oil-based enamel or direct-to-metal (DTM) paint for exterior doors; spray enamel for appliances
- Mineral spirits for cleanup
Step-by-Step Instructions
Step 1: Remove All Rust
Rust is active corrosion – painting over it only delays further failure. Use a wire brush to scrub all rust from the surface, then follow with 80-grit sandpaper to remove the last traces. For heavy rust that’s pitted the metal, use an angle grinder with a flap disc to get down to bright metal. Any rust left under primer will continue spreading beneath the paint film. If you can’t mechanically remove all rust (common on ornamental iron with deep pits), apply a rust converter product – it chemically converts iron oxide to iron phosphate, which is stable and paintable.
Step 2: Degrease the Surface
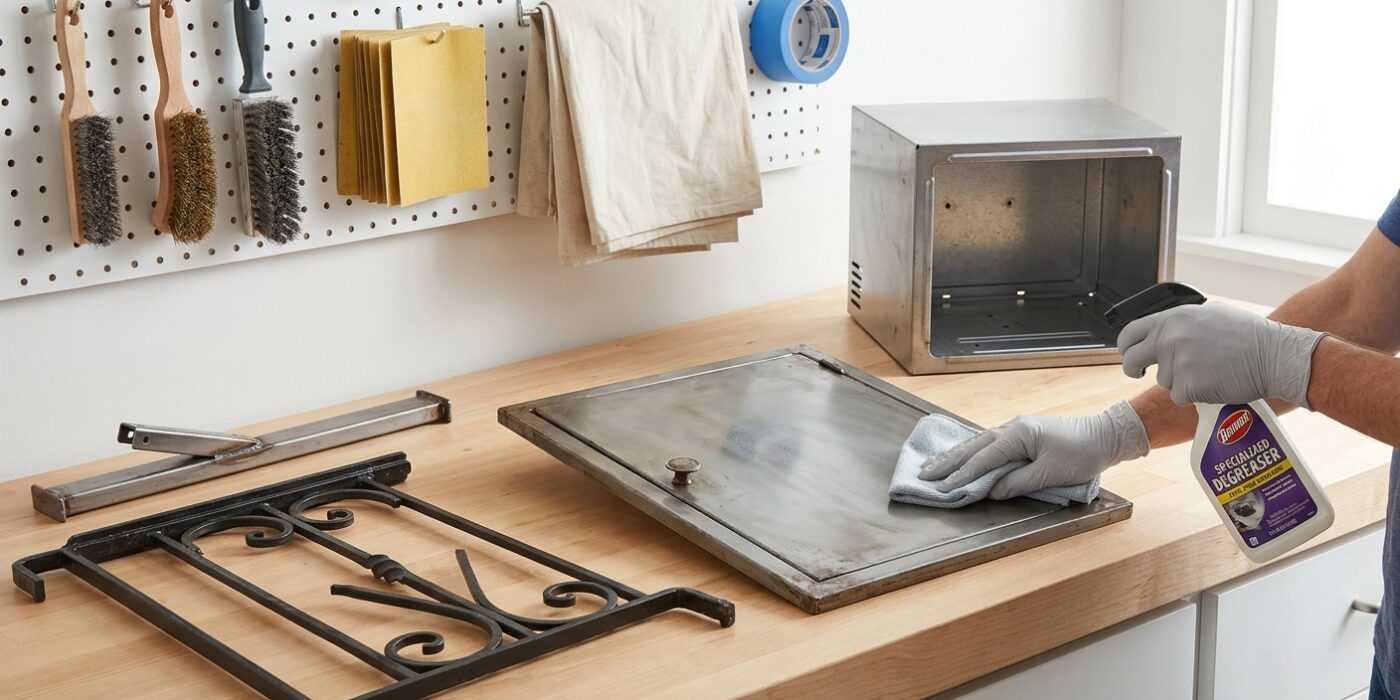
Metal surfaces, especially interior railings and appliances, carry oils from hands, cooking, manufacturing, or previous maintenance products. Wipe the entire surface with acetone or lacquer thinner on a clean rag – use fresh areas of the rag as you go rather than redistributing grease with a contaminated section. The degreased surface should feel slightly rough and look uniformly dull (not shiny). Let the solvent evaporate completely (5 minutes in warm conditions) before priming.
Step 3: Apply the Right Metal Primer
Metal primer selection matters enormously. For bare steel or iron: use a rust-inhibiting oil-based primer (Rust-Oleum Rusty Metal Primer or Zinsser Cover Stain). For galvanized metal: use a galvanized metal primer – standard primers fail on galvanized steel because the zinc coating needs a special formulation to bond. For aluminum: use an etching primer that chemically bonds to the metal. For clean, bare steel: self-etching primer (Rust-Oleum Self-Etching Primer) bites into the metal surface and provides excellent adhesion. Apply in a thin, even coat – thick primer tends to sag on vertical metal surfaces.
Step 4: Sand the Primer Lightly
After the primer dries, lightly sand with 150-grit to knock off any dust nibs, drips, or rough spots. Metal primer on vertical surfaces often shows some sag or running if it was applied too thick. Sand these smooth before topcoat. The sanded primer surface should feel almost silky – this is the substrate your topcoat bonds to and the smoother it is, the better your topcoat will look.
Step 5: Apply Topcoat in Thin Passes
For exterior steel doors: use an oil-based door and trim enamel applied with a brush. The door must be horizontal (remove and lay it across sawhorses) for the best finish – painting a vertical door almost always results in runs. Apply two thin coats, sanding lightly with 220-grit between coats. For railings: a brush works for simple railings, but an HVLP sprayer or a can of spray paint is dramatically faster on ornamental iron with complex profiles. For appliances: appliance epoxy spray paint is the right product – it’s formulated for the heat and cleaning chemicals appliances encounter.
Step 6: Allow Full Cure Before Use
Metal paint, especially oil-based enamel, takes much longer to fully cure than it takes to dry to the touch. A door that feels dry after 4 hours may still dent under finger pressure if you close it hard. Let metal paint cure for a minimum of 48 hours before reinstalling doors or putting railings back into use. Full cure for oil-based enamel on metal can take up to 2 weeks – during this period, the paint is still hardening and is vulnerable to scratching and impact damage.
Pro Tips
- Paint exterior metal doors on a dry day with temperature between 50°F and 85°F – both cold and hot temperatures affect how oil-based enamel flows and cures on metal.
- For spray-painting railings, protect the surrounding surfaces with a cardboard wind shield – spray paint overspray on brickwork, concrete, or glass requires a razor blade and significant effort to remove.
- Appliance epoxy paint is available in specific colors (bisque, black, white, almond) that match common appliance colors exactly – it’s far cheaper than replacing a refrigerator panel with a scratch.
- Use a foam brush or foam roller on flat steel door panels rather than a bristle brush – foam produces a smoother surface with fewer brush marks on flat metal surfaces.
- If you’re painting iron outdoor furniture, add 10% rust-inhibiting paint additive to the topcoat – it penetrates the paint film and keeps the substrate inhibited for longer.
Frequently Asked Questions
Can I use regular house paint on a metal door?
You can, but it won’t hold up as well as purpose-formulated door and trim enamel. Regular latex paint on a metal door chips more easily at edges and handles. If you do use latex, use a bonding primer specifically designed for metal adhesion first, and choose a paint with high binder content.
How do I stop rust from coming back on outdoor railings?
Remove all existing rust to bare metal, prime with rust-inhibiting primer, and paint with oil-based enamel. Inspect annually and touch up any chips or scratches immediately – a pinhole of bare metal on a railing expands to a rust patch within one season. Wax coating (paste wax applied and buffed) over painted railings adds a moisture barrier and extends life significantly.
Can I paint galvanized metal ductwork?
Yes, with the right primer. New galvanized metal has a zinc oxide layer that prevents standard primer from bonding. Wipe with vinegar to etch the surface slightly, or use a dedicated galvanized metal primer. After priming, any paint compatible with the primer can be used. For ductwork exposed to heat, use a heat-resistant paint rated for the temperatures involved.