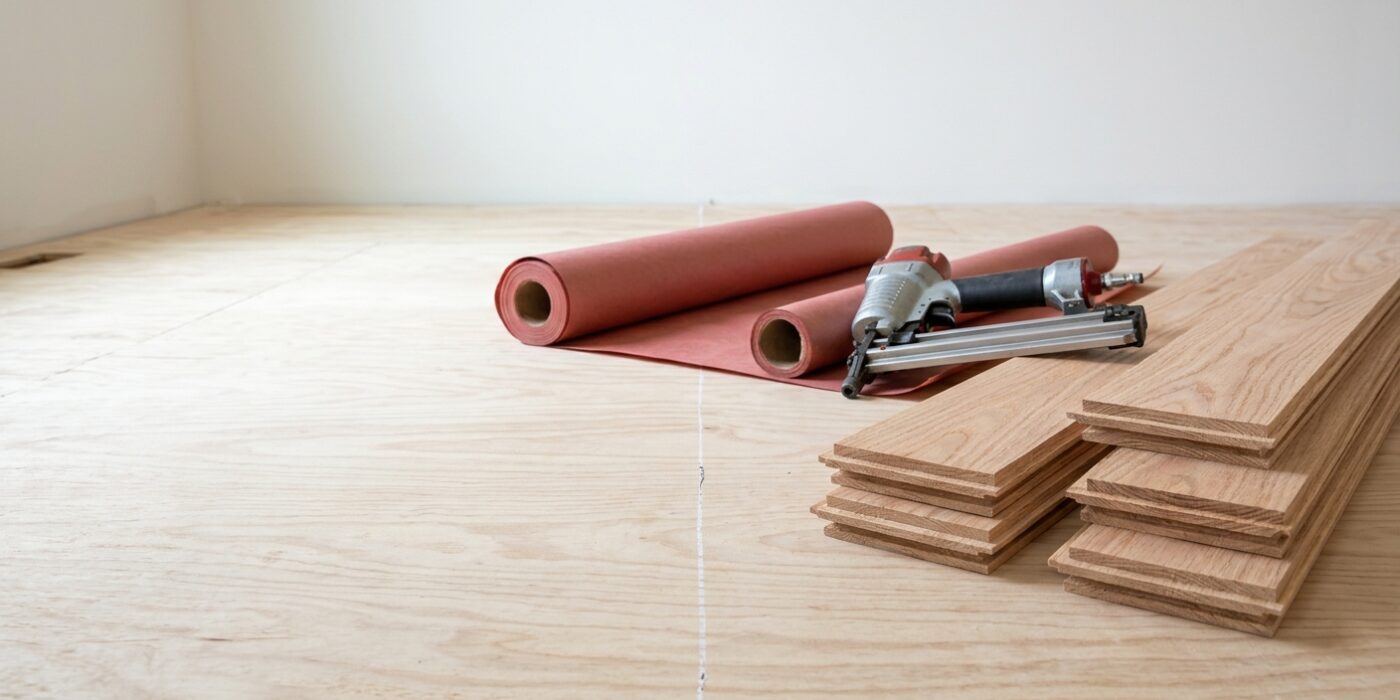
Project Shopping List
Nail-down hardwood flooring – the method used in most traditional solid hardwood floor installations – produces a floor that feels solid, sounds solid, and will last 100 years with proper care. Unlike floating floors, every plank is fastened directly to the subfloor, which eliminates flex, bounce, and the hollow sound that floating floors can produce. The process requires a flooring nailer (floor cleat nailer), good subfloor preparation, and careful layout planning.
This guide covers a complete nail-down installation from subfloor prep and moisture testing through the final face-nailed rows and threshold installation. It includes the specific fastener spacing, nailer technique, and plank selection process that determine whether the floor ends up looking like a professional installation or an obvious DIY job.
What You’ll Need
Tools
- Pneumatic flooring nailer (cleat or staple type) – rent for $40 to $60 per day
- Compressor (90 PSI minimum, 2.5 CFM)
- Miter saw for crosscuts
- Table saw or circular saw for ripping
- Chalk line and tape measure
- Jamb saw or oscillating tool for undercutting door casings
- Moisture meter for wood and concrete
- Drill with countersink bit for face-nailing first and last rows
- Nail set and finish nails (2-inch) for face-nailing
Materials
- 3/4-inch solid hardwood flooring – buy 10 to 12% extra for waste
- 15-lb or 30-lb roofing felt / hardwood flooring underlayment paper
- 2-inch hardwood flooring cleats or staples (depends on your nailer type)
- Thresholds and transition strips
- Baseboards or shoe molding
Step-by-Step Instructions
Step 1: Check Moisture – Non-Negotiable
Hardwood flooring and moisture do not coexist. Wood flooring expands and contracts with changes in moisture content, and installing over a wet subfloor or in a humid space is the single largest cause of hardwood floor failure – cupping, crowning, and buckling. Test the wood subfloor moisture with a pin-type moisture meter – acceptable levels are below 12% in most regions, and the difference between the subfloor and the flooring planks shouldn’t exceed 4%. Test the room’s humidity and temperature: install in conditions that represent normal living conditions (65°F to 75°F, 35% to 55% RH). If the subfloor is high in moisture, identify and fix the source before proceeding.
Step 2: Acclimate the Hardwood
Stack the hardwood flooring in the installation room with spacers between packages for airflow. Leave for a minimum of 3 to 5 days – up to 2 weeks in humid climates or if moving from very different moisture conditions. Hardwood flooring is kiln-dried and packaged at a low moisture content; it needs time to reach equilibrium with the room’s humidity before installation. Flooring installed before acclimation often buckles or gaps significantly within the first year as it adjusts.
Step 3: Prepare the Subfloor
Nail-down hardwood requires a minimum 3/4-inch plywood or OSB subfloor – hardwood cannot be nailed over thinner subfloor, over concrete, or over existing flooring that adds flex. Check the subfloor for flatness (3/16 inch maximum variation over 10 feet). Screw down any squeaky or bouncy spots with 2-inch screws through the subfloor into the joists – squeaks from the subfloor level before installation become permanent squeaks in the finished floor. Staple or nail roofing felt paper over the entire subfloor – it acts as a vapor retarder and prevents the hardwood from squeaking against the plywood.
Step 4: Snap a Reference Line
Find the longest, straightest wall in the room and snap a chalk line 3/4 inch from its base – this 3/4-inch gap is your expansion space. This chalk line is your first row’s straight reference. Don’t assume the wall is straight; check it with a level or straightedge and adjust your chalk line to be straight even if the wall isn’t. The first row determines the direction of every subsequent row in the room – an out-of-straight first row compounds into a visually crooked floor.
Step 5: Install the First Row Face-Nailed
The first 1 to 2 rows and last 1 to 2 rows of hardwood are too close to the wall for the flooring nailer to operate – the machine needs about 2 feet of clearance. Face-nail the first row through the face of the plank near the wall (these nails are hidden by the baseboard) and also blind-nail through the tongue at a 45-degree angle using a nail set and finish nails. This anchors the first row firmly, which is critical – the first row is the anchor point for every subsequent row you click and nail into place.
Step 6: Nail Field Rows with the Flooring Nailer
Position the flooring nailer’s shoe over the tongue of each plank, strike the nailer’s plunger with the rubber mallet, and the machine drives a cleat through the tongue at a 45-degree angle and into the subfloor. Nails should be placed every 6 to 8 inches along the plank and within 2 to 3 inches of each end – the end of every plank must be fastened or it will eventually lift. Before nailing, seat each plank tightly against the previous row by pressing or tapping with a mallet – any gap you leave becomes a permanent feature of the finished floor.
Step 7: Select and Sort Planks as You Go
Before installing each plank, look at it: check for color consistency with adjacent planks, check for any pre-existing cracks or defects, and randomize the visual “pattern” by pulling from multiple boxes. Set aside any planks with obvious defects for cutting into shorter pieces where they’ll be less visible. The appearance of a finished hardwood floor is largely determined by how well you curate and arrange the planks during installation – this takes time but the result is a floor that looks professionally installed rather than thrown together.
Step 8: Face-Nail the Final Rows
As you approach the far wall, you’ll again lose clearance for the nailer. The last two rows must be face-nailed. Pre-drill countersink holes near the wall edge of each plank (these will be covered by baseboard or shoe molding) and drive finish nails into the subfloor at those points. Use a pull bar to get the last rows tight to the previous rows while the gap between the plank and the wall is too small to swing a mallet.
Pro Tips
- Rent the most recent model of flooring nailer available – newer pneumatic cleat nailers drive cleats consistently without jamming, which dramatically affects installation speed and frustration level.
- For an 800-square-foot room, a two-person crew (one laying, one cutting) is roughly twice as fast as one person doing both – cuts and installs alternate constantly in hardwood installation.
- Don’t install in the kitchen or bathroom – solid 3/4-inch hardwood is not appropriate for wet or high-moisture areas. Engineered hardwood (a plywood core with thin hardwood veneer) can be used in these areas because it’s more dimensionally stable.
- Open multiple boxes and shuffle planks from different boxes – hardwood has natural color variation between trees, and planks from one box tend to be similar. Mixing boxes distributes variation evenly across the floor.
- The last row is almost always a rip cut. Measure every 12 inches along the last row because walls are rarely perfectly parallel – cut each plank individually to match the slightly varying gap.
Frequently Asked Questions
Can I install hardwood over a concrete slab?
Not 3/4-inch solid hardwood – solid hardwood cannot be nailed to concrete. You can glue engineered hardwood directly to concrete or float it. Alternatively, install a plywood subfloor over concrete (screwed through into concrete anchors or set on sleepers) and then nail-down solid hardwood over the plywood. This adds height but allows traditional nail-down installation on concrete slab construction.
How do I deal with out-of-square rooms?
Most rooms are not perfectly square. The solution is to let the floor run straight based on your chalk line reference – don’t follow the out-of-square wall. The baseboard and shoe molding hide the varying gap between the straight floor and the non-square wall. If the room is significantly out of square (more than 1/2 inch over the room width), consult a flooring professional about diagonal installation options.
What causes hardwood floors to squeak after installation?
Squeaks are caused by movement – either the subfloor moving against the joists, or the hardwood planks moving against the subfloor. Subfloor squeaks (usually identified by squeaks that happen when you walk near the squeak point and the squeak comes from below) should be screwed tight to the joists before hardwood installation. Post-installation hardwood squeaks usually mean the subfloor-to-joist connection needs reinforcement from below, or that a plank wasn’t nailed tightly enough and is shifting on the subfloor underlayment.