Project Shopping List
Removing carpet and getting the subfloor ready for hard flooring is one of those projects that always takes longer than expected – not because it’s technically difficult, but because of what you find underneath. Decades of padding, staples, tack strips, adhesive residue, and subfloor damage all add time. This guide prepares you for the reality of what you’ll encounter and how to handle each scenario.
By the end of this project, you’ll have a clean, flat, structurally sound subfloor ready to receive LVP, hardwood, tile, or any other hard flooring. Budget a full day for a typical room; larger rooms or those with surprises may need two.
What You’ll Need
Tools
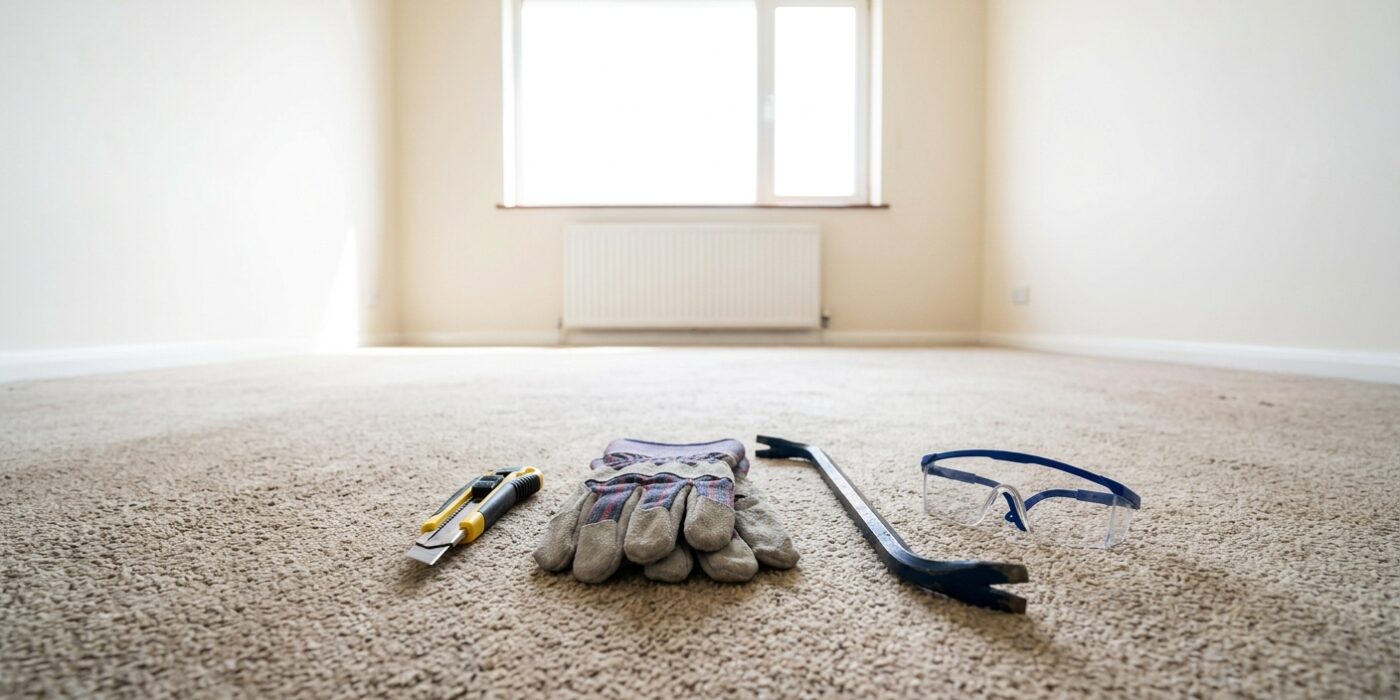
- Utility knife with extra blades
- Pry bar and hammer
- Floor scraper (long handle)
- Pliers (for staple removal)
- Shop vacuum
- Circular saw (for subfloor repairs)
- Drill
- Moisture meter
Materials
- 3-mil contractor bags
- Deck screws (1-5/8 inch)
- Floor leveling compound
- Patching compound
- Knee pads
Step-by-Step Instructions
Step 1: Clear the Room
Remove all furniture. Plan your disposal method before you start – carpet is heavy (50–100 lbs per roll) and rolled-up sections are awkward. Have bags or a dumpster accessible before you pull the first strip. Also plan your working path: you’ll be making repeated trips to dispose of material, so clear a direct route.
Step 2: Remove Transition Strips and Thresholds
Use a pry bar to remove any metal transition strips at doorways, then remove any wooden thresholds. These are attached to the subfloor and must come out before carpet removal to avoid tearing the carpet on the metal edges. Keep them if they’re reusable; most are not worth saving.
Step 3: Pull Up the Carpet
Start in a corner: grab the carpet with pliers and pull it away from the tack strip. Work the corner up with your hands, then walk the peeled-back flap toward the center of the room. Roll or fold the carpet into 3-foot-wide sections and cut them into manageable lengths (4–6 feet) with your utility knife. Each section goes directly into contractor bags. Heavy carpet saturated with old padding may need two people to carry.
Step 4: Remove the Padding
Carpet padding is usually stapled to plywood subfloor or glued to concrete. On plywood, the padding peels up in sections – work in strips and fold each strip over itself before carrying to disposal. The thousands of staples left in the plywood must be removed individually with pliers or a floor scraper. This is the most time-consuming part of the job.
Step 5: Pull All Staples
Every staple must come out – they will telegraph through new flooring, catch on rolled-out materials, and prevent underlayment from laying flat. Grip each staple with pliers and wiggle out at the angle the staple entered. A floor scraper can pry up reluctant staples, but be careful not to gouge the plywood. Vacuum thoroughly after staple removal and run your bare hand over the floor to find any missed ones.
Step 6: Remove Tack Strips
Slide a pry bar under each tack strip and lever up. Work along the strip rather than trying to pry the whole strip at once. Tack strip nails typically pull through the plywood and come up with the strip – if they don’t, pull them separately with pliers. Fill all tack strip nail holes with floor patching compound if you’re installing hard flooring.
Step 7: Inspect the Subfloor Thoroughly
Now the revealing moment. Walk every inch of the subfloor and probe suspicious areas with a screwdriver. Look for: soft or punky areas (rot), large gouges or holes, high spots where plywood panels have lifted at seams, squeaky areas that weren’t fixed by nail removal, and staining from moisture. Map all problems before buying any repair materials.
Step 8: Screw Down Squeaky Areas
Squeaks come from plywood rubbing against nails or against adjacent panels. Drive 1-5/8-inch deck screws every 6–8 inches along every joist in the squeaky area – the screws draw the plywood tight to the joist and eliminate movement. Use a stud finder or look for the pattern of existing nails to locate joists. Countersink screw heads just below the surface.
Step 9: Fix High Spots and Low Spots
Use a 6-foot straightedge to identify uneven areas. Sand or grind down high spots (often at plywood panel seams that have lifted) and fill low spots and gouges with floor leveling compound. Most hard flooring requires a surface flatness of 3/16 inch over 10 feet – use this as your standard. Let all compound cure completely before proceeding.
Step 10: Check Moisture Levels
Use a moisture meter to check subfloor moisture content before installing any new flooring. Wood subfloor should read below 12% for hardwood installation, below 14% for laminate and LVP. Readings above these values indicate active moisture intrusion that must be addressed before new flooring goes down. Install without addressing moisture and you’ll be back in a year dealing with warped floors and voided warranties.
Pro Tips
- Cut carpet into strips no wider than 30 inches before rolling – wider rolls are too heavy to carry and often split bags.
- A floor scraper with replaceable blades (the long-handled commercial type) removes padding residue from concrete slabs five times faster than hand scrapers.
- Wear a dust mask during this entire process – old carpet padding releases significant dust and potential allergens when disturbed.
- Check under carpet near exterior walls, bathrooms, and HVAC vents first – these are the most likely locations for hidden moisture damage.
Frequently Asked Questions
The tack strips are in good shape – can I reuse them for new carpet?
If the carpet is going back over the same area with new padding, reusing tack strips is fine as long as they’re firmly attached and the pins are still sharp. If the pins are bent or the strip itself is damaged, replace them – tack strips cost very little and fresh ones make new carpet installation much easier.
My plywood subfloor has some black staining. Is it mold?
Black staining on plywood subfloor under carpet is usually one of two things: mold from moisture exposure, or padding dye that transferred to the plywood. To distinguish them, spray the area with diluted bleach (1:10 bleach to water) – mold will change color, dye will not. If it’s mold, let the area dry completely, treat with a mold-killing product, and address the moisture source before closing up the floor.
Do I need to replace the entire subfloor if it has isolated damage?
No – spot repairs of damaged plywood are the standard approach. Cut out only the damaged section, making your cut lines fall on joist centers, add blocking at cut edges between joists, and sister any damaged joists before closing the floor. See the subfloor rot repair guide for complete instructions. Reserve full subfloor replacement for situations where more than 25–30% of the surface is compromised.