Project Shopping List
Bare concrete floors are porous, dusty, and plain – but they’re also a perfect canvas for an epoxy or polyurethane sealer that transforms them into a durable, attractive surface that’s easy to clean and protects against oil stains, abrasion, and moisture. Garages, basements, and laundry rooms are prime candidates. The prep work is everything – a coating on poorly prepared concrete will peel within months.
This guide covers both epoxy (the thicker, more chemical-resistant option) and penetrating polyurethane (thinner, more flexible, and faster to apply). You’ll learn how to test and prepare your concrete, apply the coating correctly, and get a finish that holds up for years instead of months.
What You’ll Need
Tools
- Pressure washer or floor scrubber
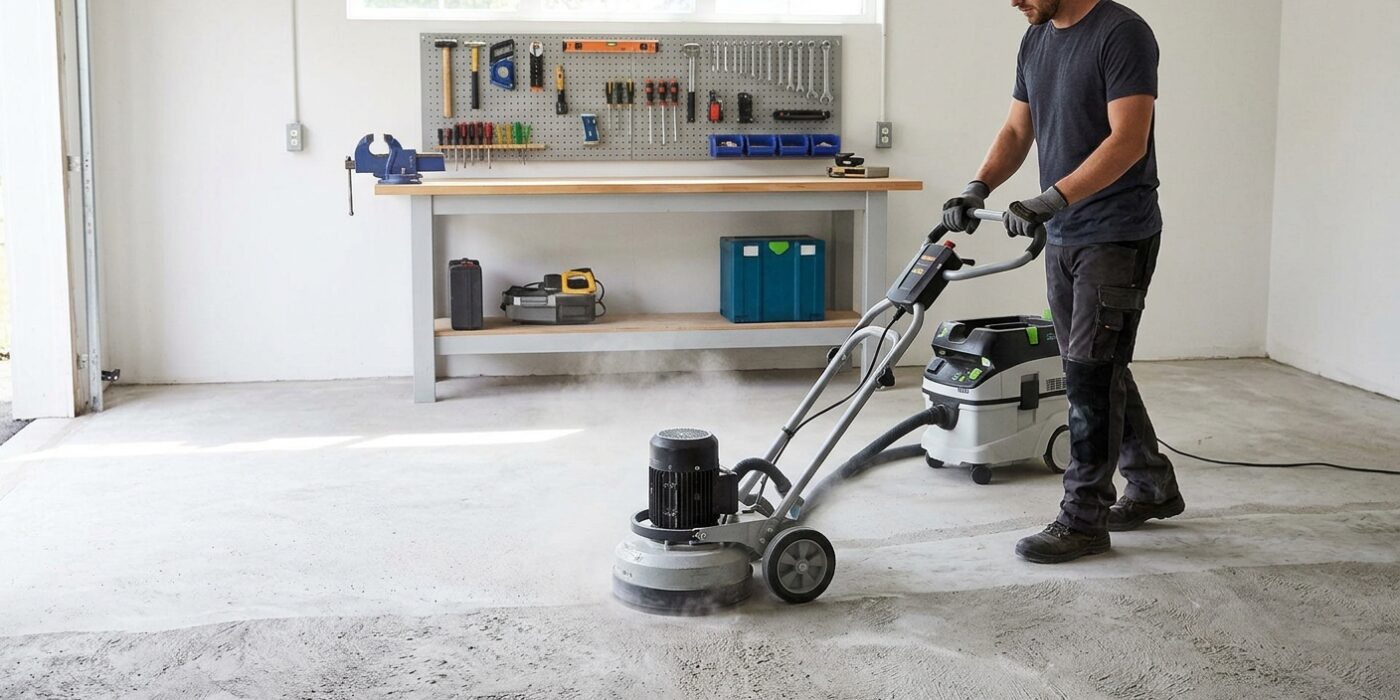
- Concrete grinder with diamond cup or floor buffer with etching pad
- Shop vacuum
- Paint roller with 3/8-inch nap cover
- Paintbrush (4-inch for edges)
- Squeegee (for epoxy spreading)
- Notched squeegee (for self-leveling epoxy)
Materials
- Epoxy floor coating (two-part, Part A and Part B) OR penetrating polyurethane sealer
- Concrete degreaser and etching solution (muriatic acid or citric acid etcher)
- Concrete patch compound for cracks and spalls
- Decorative flakes (optional, for epoxy)
- Anti-slip additive (recommended for garage floors)
- Painter’s tape
Step-by-Step Instructions
Step 1: Test for Moisture and Existing Sealer
Tape a 16×16-inch plastic sheet to the concrete and seal all four edges with tape. Leave it for 24 hours. If condensation forms under the plastic, you have a moisture problem – sealers will delaminate on wet concrete. Also pour a small amount of water on the surface: if it beads, there’s an existing sealer that must be ground off before applying new coating. Failed adhesion from moisture or existing sealer is the number one reason epoxy fails.
Step 2: Repair Cracks and Spalls
Fill all cracks wider than a hairline with concrete patching compound. For cracks that follow a line (control joint cracks), use a flexible polyurethane crack filler rather than rigid compound – rigid filler in a working crack will re-crack. For surface spalls (pitted areas where aggregate has been exposed), use a concrete resurfacer applied with a trowel and feathered smooth. Let all repairs cure fully – minimum 24 hours, 48 in cool conditions.
Step 3: Degrease the Entire Surface
Oil contamination from vehicles, machinery, or hydraulic fluid will prevent adhesion completely – even when you can’t see it anymore. Apply a concrete degreaser, scrub with a stiff brush, and rinse thoroughly. Do this twice for surfaces that have had cars parked on them for years. Let the floor dry completely.
Step 4: Etch or Profile the Concrete
New concrete and smooth troweled concrete have a surface that’s too smooth for coating adhesion. Mechanical profiling (grinding with a diamond cup wheel) is the professional standard – it opens the concrete pores and creates a consistent surface profile. Chemical etching with diluted muriatic acid is the DIY alternative: apply per the product directions, let it react (it will fizz), scrub, and rinse with lots of water. Neutralize with baking soda in the rinse water. Let dry completely – 24 hours minimum.
Step 5: Vacuum and Tack the Surface
Any remaining dust or residue becomes part of your coating and shows as contamination or adhesion failure. Vacuum the entire floor twice with a shop vacuum, then wipe with a barely damp mop and let dry. The floor should look clean and the concrete surface should feel slightly rough – like medium sandpaper – after proper etching or grinding.
Step 6: Mix Two-Part Epoxy (or Open Polyurethane)
For two-part epoxy, combine Part A (resin) and Part B (hardener) in the exact ratio specified by the manufacturer – even small deviations prevent proper curing. Mix thoroughly with a drill and mixing paddle for 3–5 minutes. Let the mixed epoxy sit (induction time) for the time specified in the instructions before applying – this activates the chemical reaction. For penetrating polyurethane, simply open and pour; no mixing required.
Step 7: Cut In the Edges
Use a 4-inch brush to apply coating along all walls, in corners, and around any floor drains or obstacles. Work in 3-foot sections along all perimeter edges before rolling the field. The brush allows you to push coating into corners and under baseboard edges where rollers can’t reach consistently.
Step 8: Roll the Field in Thin Coats
Apply epoxy in thin, even coats with a 3/8-inch nap roller – resist the temptation to apply a thick coat to “get it done faster.” Thick coats trap air, cure unevenly, and can generate enough heat to bubble. Roll in one direction, then back-roll lightly in the perpendicular direction for even coverage. Work from the far corner toward the door exit. For self-leveling epoxy, use a notched squeegee to spread it and a pin roller to release air bubbles.
Step 9: Add Decorative Flakes (Epoxy Only, Optional)
If using decorative color flakes, broadcast them immediately after rolling while the epoxy is still wet. Broadcast from low to high in a sweeping motion for even distribution. After the base coat cures, sweep up loose flakes and apply the clear topcoat over the flaked surface.
Step 10: Apply Second Coat and Topcoat
For epoxy systems, two coats of base plus a clear topcoat is standard for durability. Sand lightly with 220-grit between coats to promote adhesion. For polyurethane, apply two or three coats depending on your use case – high-traffic garage floors benefit from three coats. Add anti-slip additive to the final coat – epoxy without texture becomes dangerously slippery when wet.
Pro Tips
- Temperature matters enormously for epoxy – apply only when both the air and the concrete slab are between 50°F and 90°F, and humidity is below 85%. Cold concrete significantly extends cure time; hot concrete shortens your working window dangerously.
- Don’t drive a car onto a new epoxy garage floor for at least 7 days – the coating may feel dry after 24 hours but hasn’t achieved full hardness until full chemical cure completes.
- Penetrating sealers (silane/siloxane-based) are invisible when dry and provide excellent moisture resistance without changing the look of the concrete – ideal for basement floors where you want protection without a coating appearance.
- Roll epoxy with a long extension handle – bending over a garage floor for an hour kills your back and makes it impossible to see coverage evenness at a good angle.
Frequently Asked Questions
How long does epoxy flooring last?
A properly applied two-part epoxy floor in a residential garage typically lasts 5–10 years before requiring recoating. Failure comes from delamination (usually moisture or preparation failure), hot tire pickup (where hot car tires bond to the epoxy and peel it when the car moves), or UV yellowing in areas with direct sunlight exposure. Using a UV-stable topcoat and high-quality materials extends this significantly.
Can I apply epoxy over an existing epoxy floor that’s peeling?
Only if you grind off all the failed coating first – you cannot coat over peeling epoxy. Any failed areas will simply peel off again with new coating on top of them. Grind down to bare concrete, profile the surface, and start fresh. Trying to coat over a partially failed floor produces a partially failed result.
What’s the difference between epoxy and polyurea?
Polyurea is a newer, more expensive floor coating that cures much faster (walkable in hours rather than days), is more flexible than epoxy, and has better chemical resistance. Professional floor coating services often use polyurea because of the faster cure. For DIY use, standard epoxy kits are more widely available, better documented, and more forgiving of minor application imperfections.