Project Shopping List
Tile flooring is the most durable floor covering you can install in a home – properly set tile lasts decades with minimal maintenance. But a tile floor’s quality depends almost entirely on the substrate (the surface you set the tile on) and the layout (planning where cuts fall and how the pattern begins). Skimping on substrate prep or winging the layout without planning are the two reasons most failed tile jobs fail.
This guide covers a complete floor tile installation: substrate requirements, layout planning, setting tile in thinset, making cuts, and grouting – with explanations of why specific techniques matter and what happens when you skip them.
What You’ll Need
Tools
- Wet tile saw (rent for $40 to $70 per day)
- Angle grinder with diamond cup wheel for tight cuts
- Notched trowel: 1/4-inch x 3/8-inch V-notch for most floor tiles; 1/2-inch x 1/2-inch square notch for large-format tiles (12×24 and larger)
- Rubber float for grouting
- Grout sponge and bucket
- Level and chalk lines
- Tile spacers (choose size based on desired grout line width)
- Knee pads and bucket for mixing
- Margin trowel for mixing and spreading
Materials
- Ceramic or porcelain floor tile (buy 10% extra for waste and cuts)
- Modified thinset mortar (gray for dark grout, white for light grout colors)
- Grout (sanded for joints 1/8 inch or wider, unsanded for narrower joints)
- Grout sealer
- Cement board or existing ceramic tile for substrate
Step-by-Step Instructions
Step 1: Verify the Substrate
Tile requires a rigid, non-flexing substrate. Over wood subfloor, the combined subfloor must be at least 1 1/8 inch thick (typically 3/4 plywood subfloor plus 1/2 cement board) – deflection in the subfloor causes grout to crack and tiles to loosen. Never set tile directly over OSB, particle board, or plywood alone. Over concrete slab, check for cracks (fill with epoxy crack filler), moisture (plastic sheet test), and flatness (3/16 inch maximum variation over 10 feet). Tile can be set over existing firmly bonded ceramic tile – rough the surface with a diamond grinder and use a bonding primer in the thinset mix for better adhesion.
Step 2: Plan Your Layout
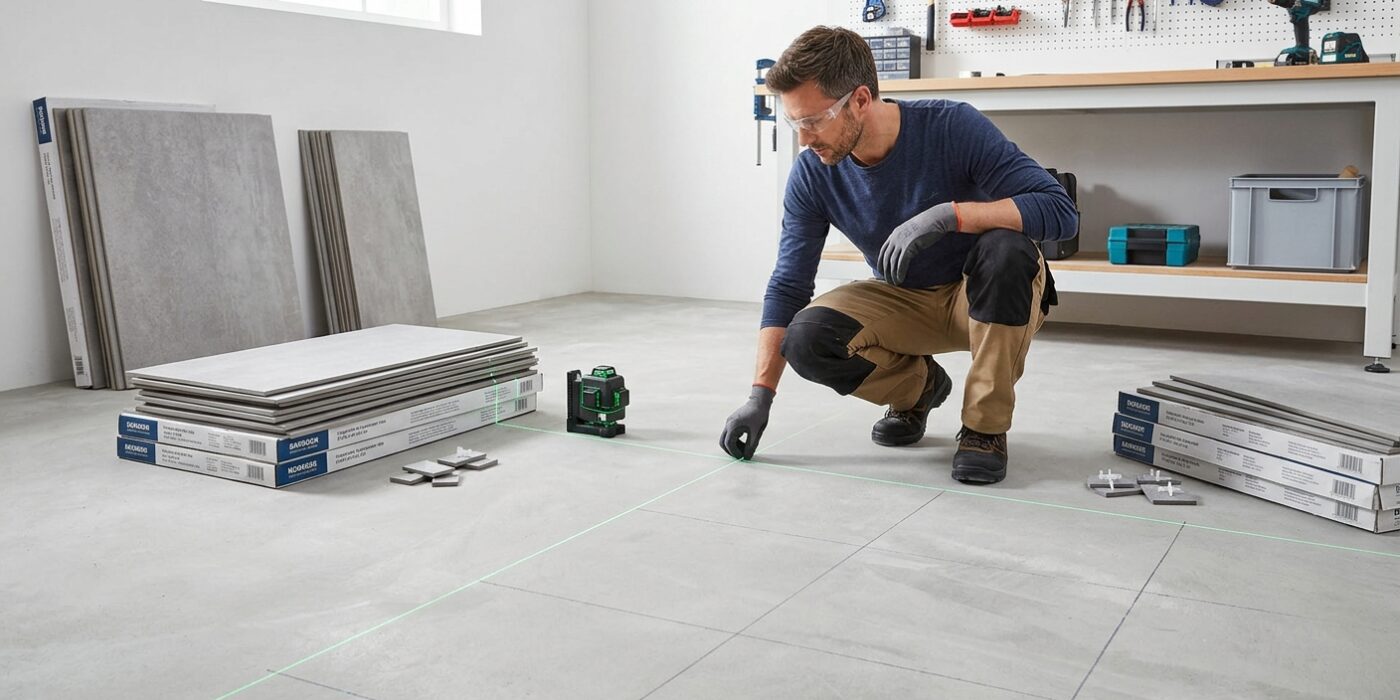
This is the most important step and is typically skipped or rushed. Find the center of the room by snapping chalk lines between the midpoints of opposite walls. These center lines intersect at the visual center of the room. Set the first tile at this intersection (dry, no thinset) and lay out the pattern in both directions – you’ll see where the cuts fall at the walls. Ideally, cut tiles at both sides of a wall are equal and at least half a tile wide. Adjust your starting point until you achieve the best layout. Never start at a wall corner – starting at the room center gives symmetrical cuts on all sides.
Step 3: Mix and Apply Thinset
Mix thinset to a peanut butter consistency – it should hold its shape when notched but not be so stiff it’s hard to spread. Apply to the floor with the flat side of the notched trowel to get adhesion, then comb with the notched side to create ridges. Spread only the area you can tile in about 15 minutes – thinset skins over and loses adhesion once the surface dries. Apply thinset to the back of large-format tiles as well (called back-buttering) to ensure full coverage – large tiles need at least 80% thinset contact, more in wet areas.
Step 4: Set Tile in Thinset
Press each tile firmly into the thinset and give it a slight twist to collapse the ridges and embed it fully. Use a level or a long straightedge to check that tiles are coplanar – one high or low tile telegraphs to every adjacent tile and the difference feels and looks worse over time. Place tile spacers at every corner to maintain consistent grout joint width. Check frequently that your layout lines are still correct – drift of 1/8 inch per row adds up to an obvious lean by mid-room.
Step 5: Make Cuts
Use the wet tile saw for straight cuts. Mark the cut line on the tile face with a pencil, align with the saw’s guide, and feed the tile through slowly and steadily – don’t force it. For angled cuts, use a speed square as a guide on the wet saw table. For notches around plumbing pipes or door casings, use a combination of straight saw cuts and an angle grinder with a diamond blade. Always wear eye protection when cutting – wet saws produce a spray of water and fine tile particles that can cause eye injury.
Step 6: Let Thinset Cure
Allow the thinset to cure for a minimum of 24 hours before grouting – 48 hours for large-format tiles or in humid conditions. Walking on tiles before the thinset cures can shift them out of position. The thinset should be fully hard before grout is applied – pressing on a tile joint should produce no give or flex. If tiles move when pressed, the thinset is not ready.
Step 7: Mix and Apply Grout
Mix sanded grout to a paste consistency – slightly thicker than toothpaste. Remove all tile spacers before grouting. Spread grout with the rubber float at a 45-degree angle to the grout lines, pressing firmly into every joint. After filling an area of about 10 to 15 square feet, wipe excess grout off the tile surface with a damp (not wet) sponge using diagonal strokes. Too much water on the sponge dilutes the grout in the joints and weakens it. Work in sections and keep moving – grout starts to haze and dry within 20 to 30 minutes.
Step 8: Clean Haze and Seal
After the grout has set (1 to 2 hours), buff the remaining haze from the tile surface with a clean dry cloth. Allow the grout to cure for 48 to 72 hours, then apply grout sealer to all grout joints using an applicator bottle or small brush – sealer prevents staining and makes the grout much easier to clean. Caulk all transition joints where tile meets another surface (tub, wall tile) with matching caulk rather than grout – these joints flex and grout will crack there.
Pro Tips
- For large-format tiles (12×24 inches or larger), use a larger notch trowel (1/2 x 1/2 inch square notch) – larger tiles span more surface and need more thinset to achieve full contact across the entire back.
- Set tile with the factory edges facing out and the cut edges going to the walls – factory edges are perfectly straight and maintain consistent grout line width; cut edges vary slightly.
- Mix your grout in batches small enough to use within 15 minutes – grout mixed with too much water or allowed to sit too long weakens significantly.
- Laying out the first several rows dry (no thinset) to verify pattern and cut positions before committing to thinset is the best way to catch layout errors before they become permanent.
- Epoxy grout is dramatically more stain-resistant and durable than standard cement grout – worth the extra cost and learning curve in kitchens and bathrooms.
Frequently Asked Questions
What size tile works best for a small bathroom?
For rooms under 50 square feet, tiles 12×12 or smaller look most proportionate. Large-format tiles (18×18, 24×24) can make a small room feel smaller because there are fewer grout lines to create visual scale. That said, personal preference matters more than strict rules – trends favor large-format tiles everywhere including small spaces.
Can I grout the same day I set the tile?
Only if using rapid-setting thinset (sold as “rapid set” or “fast-setting” thinset). Standard modified thinset needs at least 24 hours to achieve sufficient strength before grout loading. Grouting too early can shift tiles out of alignment and produces weaker adhesion because the thinset hasn’t had time to develop bond strength.
Why is my grout cracking?
Grout cracks are caused by three main issues: movement in the substrate (insufficient substrate rigidity), using grout instead of caulk at transition joints (where different surfaces meet and flex), or grout mixed with too much water (too thin). Address the root cause – if the substrate flexes, re-setting the tile on a proper substrate is the only real fix. Cracks at transitions should always be caulked, not re-grouted.