Project Shopping List
Grout doesn’t last forever. Even well-sealed grout eventually absorbs stains, develops hairline cracks, or grows mold that won’t scrub out. The good news: re-grouting is a restoration project anyone can handle. You remove the old grout, apply fresh material, seal it properly, and the floor looks brand new – no tile replacement needed.
This project requires patience more than skill. The removal step is tedious, and rushing it damages tiles. But done right, re-grouting extends a floor’s life by decades and costs a fraction of replacement. This guide covers ceramic and porcelain floor tile in standard 1/8-inch and 3/16-inch joints.
What You’ll Need
Tools
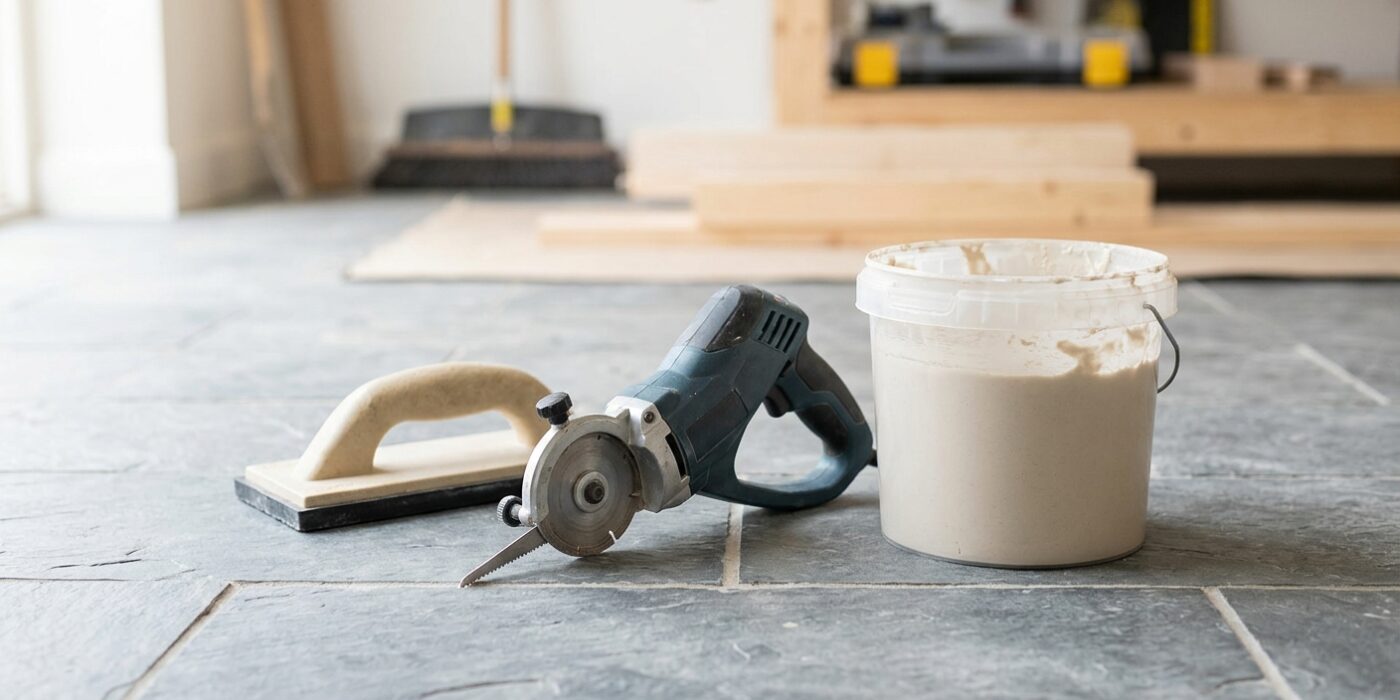
- Oscillating multi-tool with grout removal blade
- Manual grout saw (for tight spots)
- Grout float
- Large sponge and two buckets
- Shop vacuum
- Rubber mallet
- Grout sealer applicator
Materials
- Unsanded grout (joints under 1/8 inch) or sanded grout (joints 1/8 inch and wider)
- Grout additive (replaces water for stain resistance)
- Grout sealer – penetrating type, not topical film
- Painter’s tape
- Clean rags
Step-by-Step Instructions
Step 1: Assess What Needs Removal
Tap each tile lightly with a rubber mallet or the handle of a screwdriver. A hollow sound indicates the tile itself is delaminated and may need replacing before you re-grout – re-grouting over a loose tile just delays a bigger problem. Mark any hollow tiles with tape before starting removal.
Step 2: Remove the Old Grout
An oscillating multi-tool with a carbide grout blade removes grout in a fraction of the time a manual saw takes. Set it to medium speed and keep the blade centered in the joint – drifting to either side will chip tile edges. You don’t need to remove all grout to the full depth; removing the top 2/3 (about 1/8 inch deep) gives new grout sufficient mechanical bonding area. Vacuum as you go.
Step 3: Clean the Joints Thoroughly
After removal, vacuum all joints completely, then wipe with a damp sponge. Any dust, old sealer residue, or loose debris will prevent new grout from bonding and cause it to crumble out prematurely. For badly contaminated joints, use a grout and tile cleaner, scrub with a stiff brush, and rinse well. Let dry completely – at least 2 hours.
Step 4: Mix the Grout
Mix grout to a thick peanut butter consistency. If using a grout additive (highly recommended – it dramatically improves stain resistance), use it in place of all the water. Mix only what you can use in 20–30 minutes. Grout that begins to dry in the bucket will have different color and texture than freshly mixed material – this causes visible color variation across the floor.
Step 5: Apply Grout to a Section
Work in 10–15 square foot sections. Apply a generous amount of grout with the float at a 45-degree angle to the joints, pressing firmly to pack grout into the full depth of each joint. Work the float in multiple directions across each section to ensure no voids. Don’t worry about getting grout on the tile faces – you’ll clean it shortly.
Step 6: Initial Cleanup – Timing Is Critical
Wait 10–15 minutes after grouting a section, then use a barely damp sponge (wrung out as dry as possible) to wipe off surface grout in circular motions. Rinse the sponge after every two swipes. This initial wipe removes the bulk of surface grout while leaving the joint grout intact. Too much water at this stage weakens the grout mix and causes color inconsistency.
Step 7: Second Pass Cleanup
After another 20–30 minutes, a hazy film will appear on the tile surfaces. This is grout residue. Buff it off with a clean dry rag or terry cloth towel. If it’s too hard to remove, dampen your sponge slightly and wipe again, then buff dry. Don’t let the haze sit longer than 24 hours – it becomes very difficult to remove once fully cured.
Step 8: Final Inspection and Touch-Ups
Inspect all joints in good light, looking for low spots, pinholes, or areas where grout didn’t fully fill the joint. While grout is still within 24 hours of application, you can dampen these areas and press in more grout with a gloved finger, then re-clean. After 24 hours, touching up becomes much harder because new and old grout cure at different rates and show as color differences.
Step 9: Allow Full Cure
Cement-based grout takes 72 hours to cure sufficiently for light use and up to 28 days for full cure. Keep foot traffic off the floor for 24 hours, and don’t mop aggressively for at least 72 hours. Humidity and temperature affect cure time – dry conditions above 70°F are ideal.
Step 10: Apply Grout Sealer
After 72 hours, apply a penetrating grout sealer using an applicator brush or squeeze bottle applicator along each joint. Wipe excess off tile surfaces within 5 minutes with a clean rag. Apply two coats with a 30-minute interval between them. Sealer protects against moisture and staining – without it, grout can begin to discolor within months in a wet bathroom environment.
Pro Tips
- Mix grout color slightly darker than the samples – grout always dries lighter than it looks when wet.
- Use the same brand and color across the entire floor – even matching colors from different manufacturers can show variation.
- White grout in wet areas is a maintenance nightmare. Switch to a medium gray – it hides grime and age far better without looking dirty.
- Apply sealer to a small test area first to confirm it doesn’t darken your tile – some porous tile absorbs sealer and changes color.
Frequently Asked Questions
Can I grout over old grout without removing it?
You can apply a thin layer of new grout over old, but it won’t bond as well and the added height will be noticeable. More importantly, if old grout is cracked or contaminated, the new layer will fail too. Removal is always the right answer for a long-lasting result.
My grout is cracking in the same spots repeatedly. Why?
Cracking in the same pattern usually indicates subfloor movement – the structure below is flexing slightly, transmitting stress to the grout joints. Grout is rigid and can’t flex. The long-term fix is to stiffen the subfloor or use a crack isolation membrane. Re-grouting without addressing the cause will just crack again.
What’s the difference between sanded and unsanded grout?
The sand is an aggregate that adds bulk and prevents shrinkage in wider joints. Use unsanded grout for joints under 1/8 inch – it’s smoother and won’t scratch polished tile. Use sanded grout for joints 1/8 inch and wider – unsanded grout shrinks too much in wider joints and will crack or pit as it cures.