Project Shopping List
Tiling a bathroom floor is an intermediate DIY project that transforms a room and lasts decades when done correctly. The job requires patience and attention to layout, but the techniques are learnable. The key skills are mixing mortar to the right consistency, laying tiles level and evenly spaced, and grouting cleanly without pulling tiles out of alignment.
What You Will Need
Tools
- Tile saw with diamond blade (rented) or manual tile snap cutter
- Notched trowel (size depends on tile — 1/4-inch V-notch for small tile, 3/8 or 1/2-inch square notch for larger tile)
- Grout float
- 4-foot level
- Rubber mallet and beating block
- Tile spacers
- Buckets and mixing paddle
Materials
- Ceramic or porcelain floor tile (measure square footage plus 10%)
- Gray or white thinset mortar (gray for darker tile, white for light or transparent tile)
- Tile spacers (size determines grout joint width)
- Sanded grout for joints 1/8 inch or wider
- Grout sealer
- Cement backer board if the existing floor is not suitable
Step 1: Assess and Prepare the Subfloor
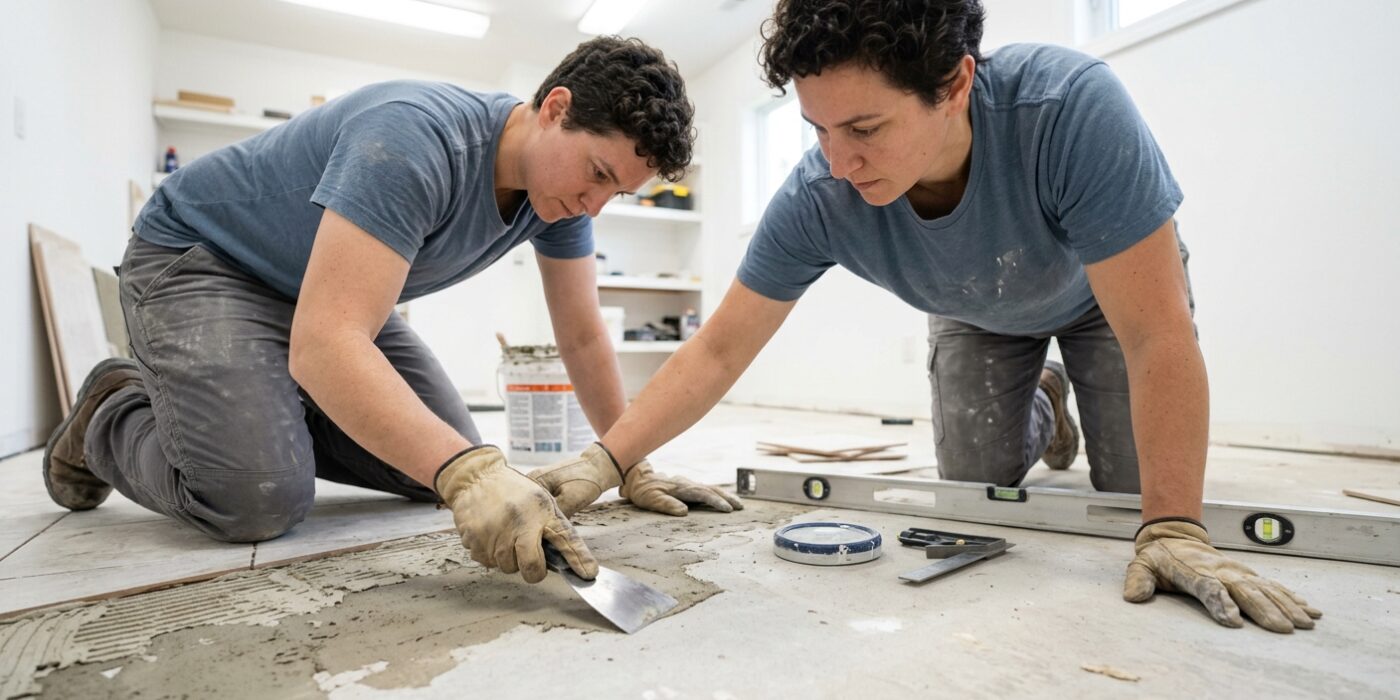
Before you lay your first tile, you must ensure your floor is rock-solid. Tile and grout are rigid materials; if your wooden subfloor flexes even a fraction of an inch under your weight, those grout lines will crack and tiles may pop loose. In construction terms, the floor must have a deflection rating of less than 1/360 of its span. For most homes, this means installing a cement backer board (like HardieBacker or Durock) over your wood subfloor to provide a stiff, moisture-resistant base.
Start by clearing the floor of debris. Cut your backer board sheets to fit the room, leaving a 1/8-inch gap between sheets and at the walls. Spread a layer of thinset mortar on the subfloor, press the board down, and secure it using backer-board-specific screws. Space these screws every 6 inches in the middle of the board and every 4 inches along the edges to ensure a tight grip. Finally, cover all seams with alkali-resistant mesh tape and a thin layer of thinset. Let it dry completely – ideally overnight – before moving forward.
Beginner Tip: Don’t skip the thinset underneath the backer board. It might feel like extra work, but that mortar layer acts as a bed that fills in tiny gaps and voids, preventing the board from squeaking or flexing later.
Pro Tip: When driving your screws, set your drill’s clutch to a lower torque setting. This helps you seat the screw heads perfectly flush with the board surface without stripping the heads or cracking the cement board.
Step 2: Plan the Layout
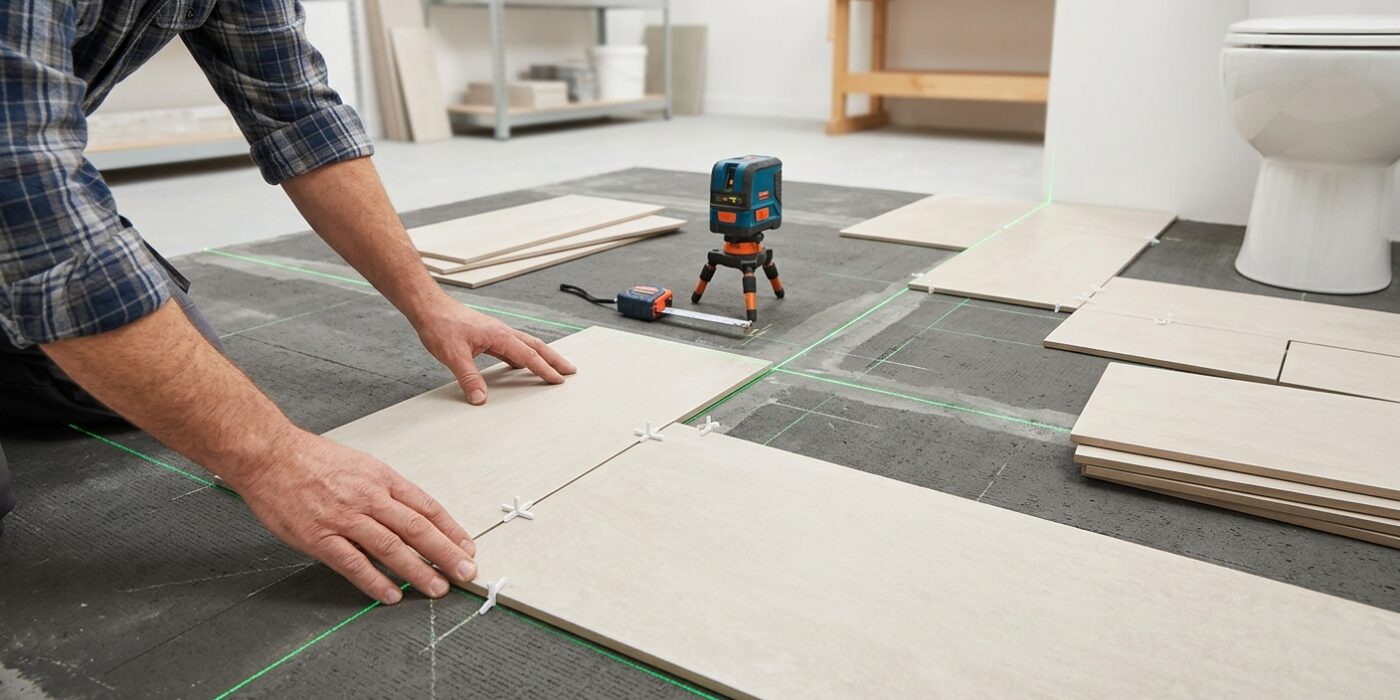
Before you commit to using thin-set mortar, you must map out your floor. This step prevents “sliver cuts” – those tiny, awkward, and difficult-to-cut tile pieces at the edges of the room. Start by finding the center of each wall and snapping chalk lines across the room to create a perfect crosshair. Lay your tiles dry along these lines, incorporating your spacers to simulate the finished look.
Your goal is to ensure the tiles at opposite walls are equal in size. If your layout leaves a tiny one-inch strip on one side, shift the entire grid until the cuts at both walls are at least half a tile wide. Prioritize the area directly opposite the doorway, as this is the first thing guests will notice; aim for full, uncut tiles there for a clean, professional finish.
Beginner Tip: Do not forget to account for the thickness of your tile spacers during the dry layout. If you lay tiles edge-to-edge without spacers, your entire grid will be off by the time you reach the walls, making your final tiles not fit as planned.
Pro Tip: Use a laser level if you have access to one. It projects a perfectly straight, bright line across the floor, which is much easier to follow than manually snapping chalk lines and stays visible even after you start placing your first tiles.
Step 3: Mix the Thinset Mortar
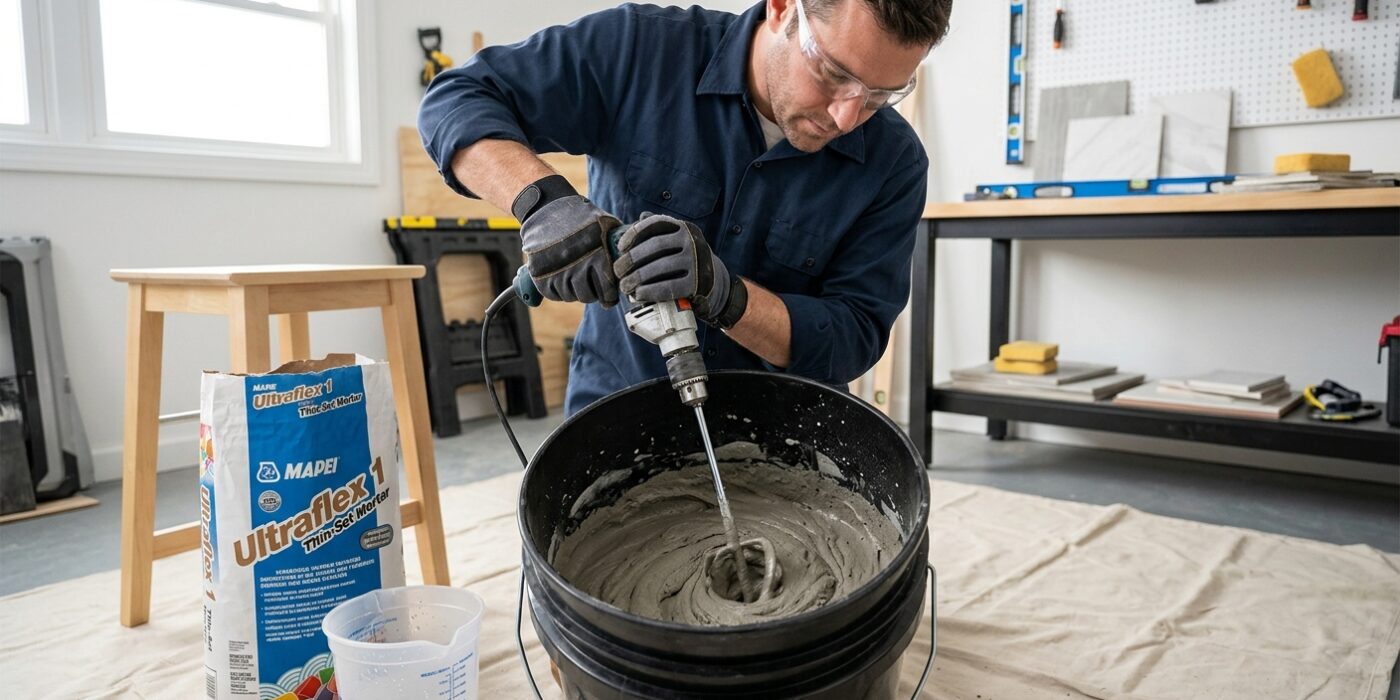
Mixing mortar is arguably the most important part of your project, as the consistency determines whether your tiles stay put or slide around. Start by pouring about two-thirds of the required water listed on your thinset bag into a clean five-gallon bucket. Gradually add the powder while using a drill equipped with a mixing paddle. Mix on a low speed setting to avoid whipping excess air into the mixture, which can weaken the bond.
Your goal is a creamy, peanut-butter-like consistency. Test it by dragging your notched trowel through the mix; the ridges should stand up straight without sagging or slumping. If it looks dry and crumbly, add water in tiny, splash-sized amounts. If it runs off the trowel, it is too wet. Only mix enough mortar for about 30 to 45 minutes of work, as it will harden quickly, especially in warmer rooms.
Beginner Tip: The most common mistake is over-mixing or ignoring the “slake” time. After your initial mix, let the mortar sit for about five to ten minutes, then stir it briefly one more time. This allows the chemicals in the powder to activate properly, ensuring a much stronger hold.
Pro Tip: To keep your workspace pristine and save cleanup time, place a large piece of cardboard or a drop cloth directly under your mixing bucket. Mortar is notoriously messy, and having an easy-to-dispose-of surface underneath prevents the powder from permanently staining your bathroom subfloor.
Step 4: Set the Tiles
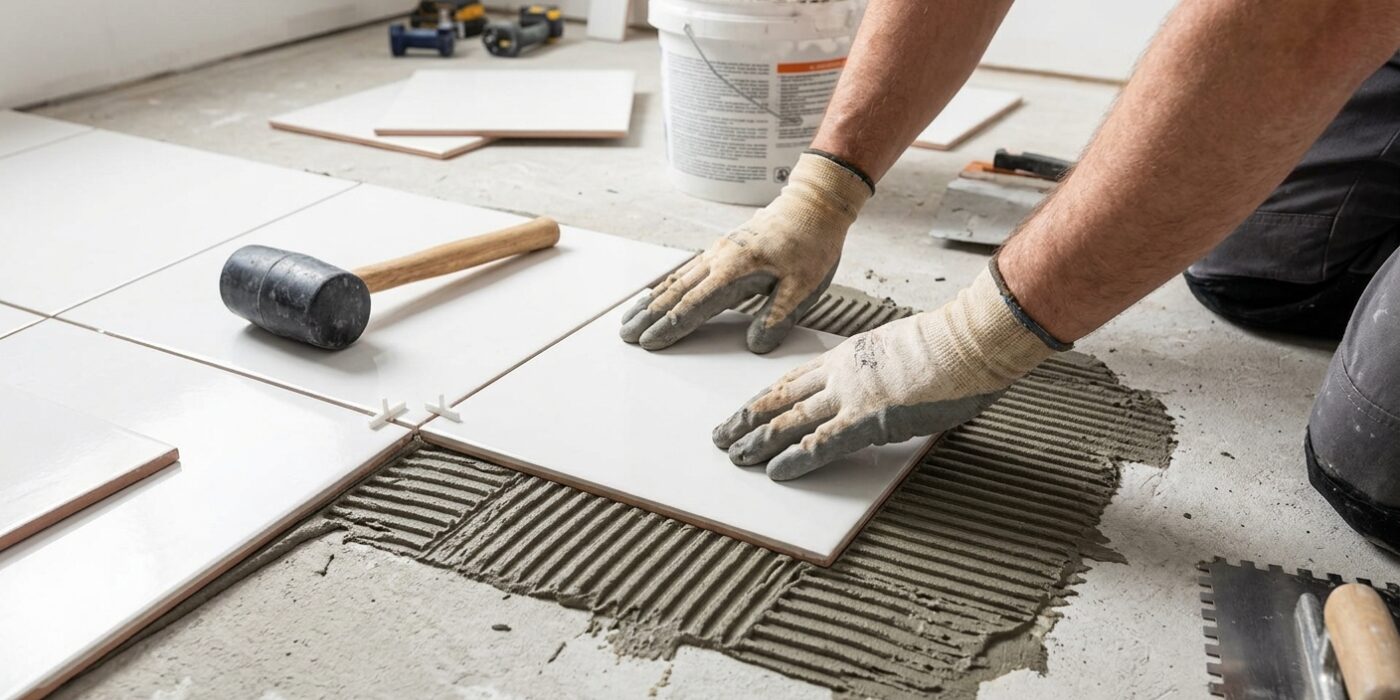
Now it is time to bring your design to life. Start by scooping a small amount of thinset mortar onto your floor. Use the flat side of your notched trowel to spread it, then flip the trowel to the notched side. Hold it at a 45-degree angle against the floor and comb the mortar in straight lines. This creates consistent ridges that collapse evenly under the tile, ensuring a strong, void-free bond. If your tiles are larger than 15 inches, apply a thin “back-butter” layer of mortar directly to the back of the tile with the flat side of the trowel before placing it.
Place your tile into the mortar and give it a slight, firm twist to settle it. Insert plastic spacers at every corner to keep your grout lines uniform. Place a level across several tiles; if a corner is high, gently tap it down using a rubber mallet and a beating block – never hit the tile directly, as it may crack. Repeat this process one section at a time, working backward toward the doorway so you do not paint yourself into a corner.
Beginner Tip: Do not spread too much mortar at once. If you cover more than a few square feet, the thinset may begin to “skin over” or dry on the surface before you can set your tiles, which prevents a proper bond.
Pro Tip: Periodically pull up one tile after you have set it to check the coverage on the back. You want to see full suction marks from the mortar ridges. If you see bald spots, you aren’t using enough mortar or your trowel angle is too shallow.
Step 5: Cut Tiles
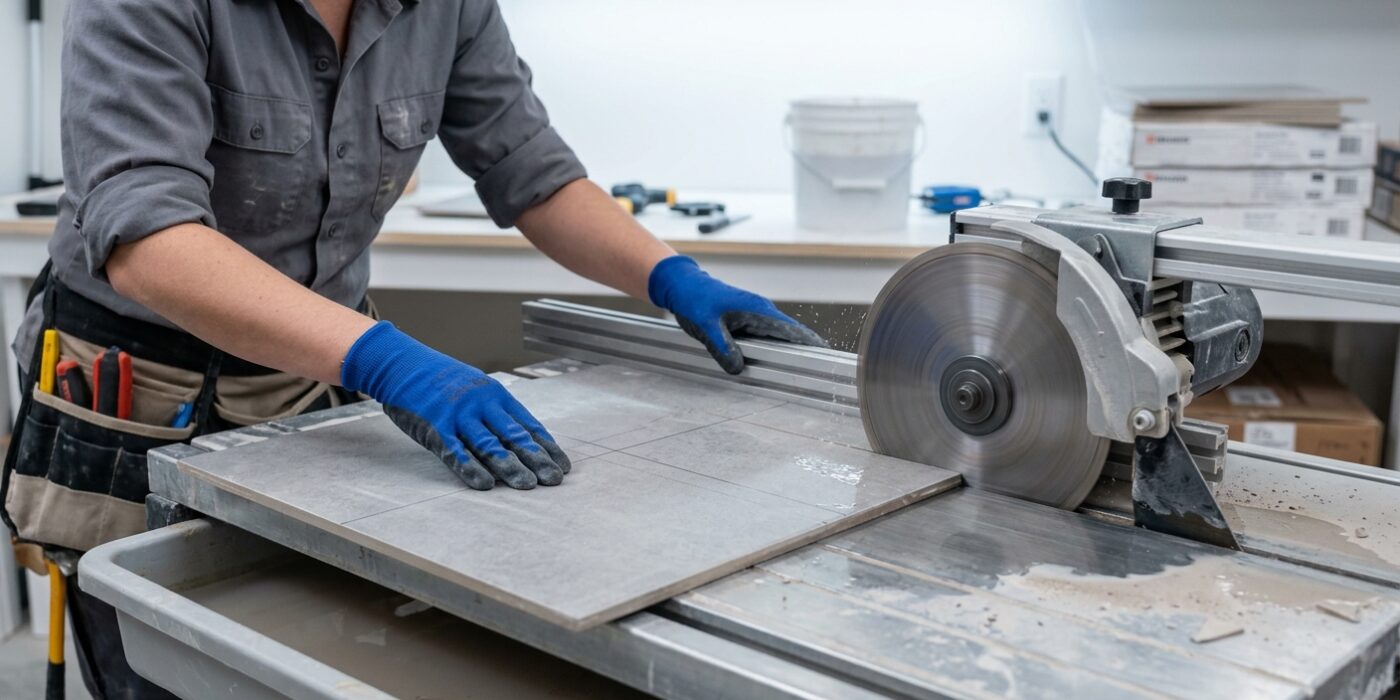
Cutting tiles is where your bathroom floor truly starts to come together. Because bathroom walls are rarely perfectly straight, you cannot simply measure one tile and cut them all the same size. For every edge, measure the gap between the last full tile and the wall, then subtract 1/8 inch to account for your grout line expansion gap. Use a pencil to mark your cut line clearly across the tile’s face. When using a wet saw, slide the tile slowly and steadily into the blade, keeping your fingers well away from the path. Always test the fit of your cut tile in the dry layout before applying any mortar.
Beginner Tip: A common mistake is forcing the tile through the blade too quickly. If you push hard, the blade will vibrate or chip the edge of the glaze. Let the saw do the work; if you hear the motor struggling or the blade whining, ease up on your pressure and let the machine maintain its speed.
Alternative Method: If you are working with small, simple ceramic tiles and don’t want to invest in a power tool, a manual snap cutter is an excellent choice. You simply score a line across the glaze with the carbide wheel and use the lever to apply even pressure, snapping the tile cleanly along the line.
Pro Tip: To get professional-looking edges, keep a fine-grit diamond sanding sponge nearby. After every cut, give the jagged edge a quick rub to smooth out any tiny chips, ensuring your tile edges look polished and seamless once installed.
Step 6: Grout the Tiles
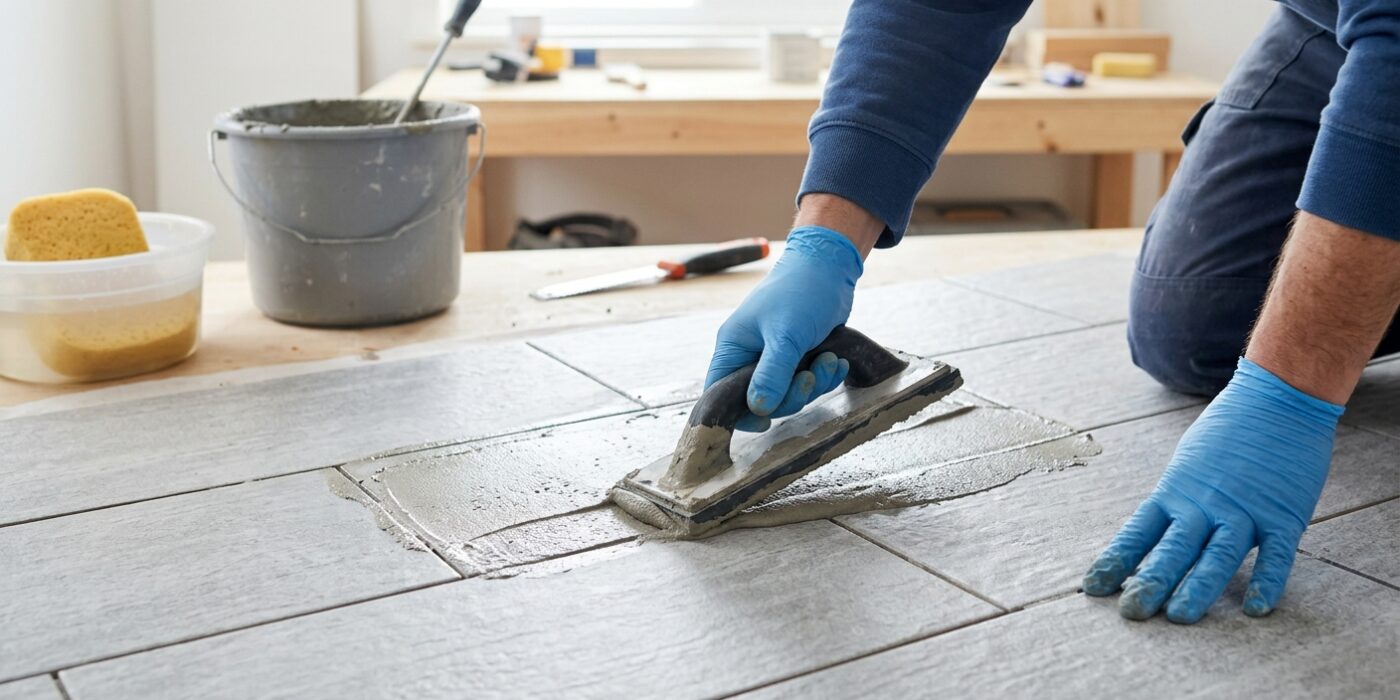
Before you begin, ensure your mortar has cured for at least 24 hours so the tiles are locked firmly in place. Start by removing all plastic tile spacers, as these will be visible through the grout if left behind. Mix your grout according to the manufacturer’s instructions until it reaches the consistency of creamy peanut butter. Using a rubber grout float, scoop a generous amount onto the floor. Hold the float at a 45-degree angle to the floor and spread the grout across the tiles, moving diagonally. This diagonal motion is crucial because it forces the grout deep into the joints without accidentally scooping it back out.
After about 15 to 30 minutes, the grout will begin to set. Use a slightly damp – not dripping – sponge to wipe away the excess grout in a gentle, circular motion. Rinse your sponge frequently in a bucket of clean water, wringing it out until it is just barely moist. Once the tiles develop a dry, chalky haze, perform a final buffing with a clean, dry microfiber cloth to reveal your beautiful finished floor.
Beginner Tip: Avoid the temptation to use too much water when wiping the tiles. Using a soaking wet sponge can wash the color pigment out of the grout joints and weaken the mix, leading to crumbly or patchy grout once it dries.
Pro Tip: To keep your grout lines perfectly uniform, use a specialized grout finishing tool or the rounded edge of a plastic spoon to smooth the joints. This creates a consistent, professional-looking indentation that is much easier to clean later.