Project Shopping List
An uneven subfloor is one of the most common reasons new flooring fails – LVP clicks apart at the seams, tile cracks, laminate develops hollow spots, and hardwood squeaks. Most flooring manufacturers void their warranties if the subfloor exceeds 3/16-inch variation over 10 feet. Fixing this before you lay new material is not optional; it’s foundational.
This guide covers the two main scenarios: leveling a plywood subfloor with low spots using self-leveling compound, and dealing with high spots using a grinder or sander. You’ll also learn how to identify which problem you actually have before buying materials.
What You’ll Need
Tools
- 10-foot straightedge or long level
- Pencil or chalk for marking
- Floor grinder or belt sander (for high spots)
- Mixing paddle and drill
- Gauge rake and squeegee
- Shop vacuum
- Primer roller
Materials
- Self-leveling underlayment compound (Portland-based)
- Floor primer (required by most SLC manufacturers)
- Floor patch compound (for small low spots)
- Screws (1-5/8-inch deck screws for squeaky areas)
- Foam backer rod (for control joints over concrete)
Step-by-Step Instructions
Step 1: Diagnose the Problem First
Drag a 10-foot straightedge across the floor in multiple directions, marking low spots and high spots with chalk. A low spot is a depression where light shows under the straightedge; a high spot is a lump where the straightedge rocks. Map your entire floor – you need to know both the location and severity before choosing materials. Low spots need filler; high spots need grinding or sanding.
Step 2: Fix Structural Problems First
Self-leveling compound cannot fix a floor that moves. Bounce on the floor in problem areas – if you feel flex, the subfloor itself is undersized, has damaged joists, or isn’t fastened properly. Screw down any loose areas of plywood subfloor with 1-5/8-inch screws every 8 inches along joists. Drive any protruding nails below the surface. Address any rot or damage before applying any leveling compound.
Step 3: Grind or Sand High Spots
High spots over 1/4 inch above the surrounding floor cannot be bridged by flooring – they must be physically removed. Use a floor grinder with a diamond cup wheel or a belt sander with 24-grit paper. Feather the edges gradually so you’re not creating a new step at the edge of the ground area. Vacuum completely before moving on.
Step 4: Prepare the Subfloor for SLC
Self-leveling compound (SLC) will not bond to a dusty, oily, or unsealed surface. Vacuum the entire floor, then mop with clean water and let dry. Fill any gaps larger than 1/4 inch with backer rod or hydraulic cement first – SLC will drain through large cracks and waste material. Over concrete, check for moisture with a plastic sheeting test before applying anything.
Step 5: Apply Floor Primer
Primer is not optional – it’s what allows SLC to bond and flow correctly. Roll it across the entire area you plan to level. Concrete is highly porous and absorbs water from SLC too fast without primer, causing it to crack. On plywood, primer seals the wood grain so SLC doesn’t get absorbed unevenly. Let primer become tacky (usually 30–60 minutes) before pouring.
Step 6: Mix the Self-Leveling Compound
Mix SLC in a clean bucket with a mixing paddle – hand mixing creates lumps that cause ridges in the finished surface. Add powder to water (not the reverse) and mix for 2–3 minutes until completely smooth and lump-free. Work fast – most SLC products begin setting in 15–20 minutes. Mix only what you can pour and spread in 10 minutes.
Step 7: Pour and Spread
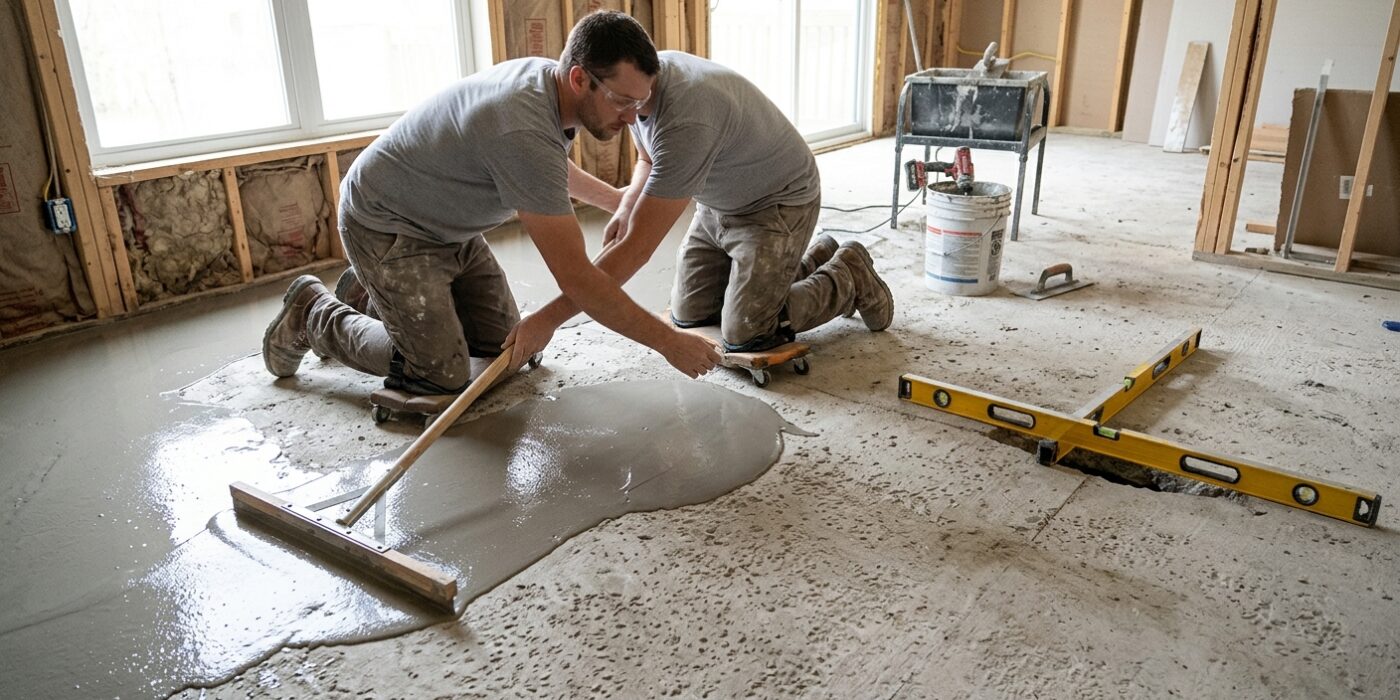
Pour SLC into low spots and use a gauge rake set to your target thickness to spread it evenly. Then use a smoother/squeegee to help it flow into corners and edges. SLC flows on its own by gravity, but it doesn’t flow as freely as water – it needs help reaching edges. Work quickly but don’t panic; most SLC stays workable for about 20 minutes.
Step 8: Check for Bubbles and Smooth
After pouring, drag a spiked roller (pin roller) over the surface to break any air bubbles that came in during mixing. Air bubbles become pits in the surface once it cures. Then leave the compound alone – touching or moving it after the initial spread causes ridges and marks that won’t self-level out.
Step 9: Allow Full Cure Before Flooring
Most SLC compounds can be walked on in 2–4 hours, but require 16–24 hours before flooring installation. Check the manufacturer’s specs for your specific product and ambient temperature – cold temperatures significantly extend cure time. Do not install flooring over SLC that is still soft or has a powdery surface.
Pro Tips
- Pour SLC starting from the farthest point from the door and work toward the exit – you cannot walk on wet compound without leaving footprints.
- Mix multiple batches back-to-back without pausing – mixing batch two while batch one is flowing allows them to blend at the seam. Waiting between batches creates a visible ridge.
- The 3/16-inch over 10-foot spec is for most resilient and hard flooring; some luxury vinyl products require 1/8 inch over 6 feet – always check your specific flooring’s warranty requirements.
- For small isolated low spots (under 4 square feet), floor patch compound is faster and cheaper than SLC – mix it thick, fill the low spot, feather the edges, and let it cure.
Frequently Asked Questions
Can I apply self-leveling compound over existing tile?
Yes, if the tile is fully bonded, clean, and not cracked. Any loose tiles must be re-adhered or removed first. Lightly scarify the tile surface with a floor grinder and apply the appropriate primer for non-porous surfaces. SLC over tile works well as a preparation layer before new resilient flooring.
How thick can I apply self-leveling compound in one pour?
Most standard SLC products are rated for 1/4 inch to 1-1/2 inches per pour. If your low spots exceed 1-1/2 inches, use a fill-grade SLC for the bulk fill and a finish-grade SLC for the top layer. Using a finish-grade product in a thick pour can cause it to crack as it cures due to the heat generated during hydration.
My subfloor is wavy but not exactly low or high – what do I do?
Wavy subfloor is the most common problem in older homes. Fill all low areas with SLC to bring them up to the high points. Then use a floor grinder to knock down any remaining peaks. This two-step approach – fill lows, grind highs – achieves flatness more economically than trying to fill everything up to the highest point.