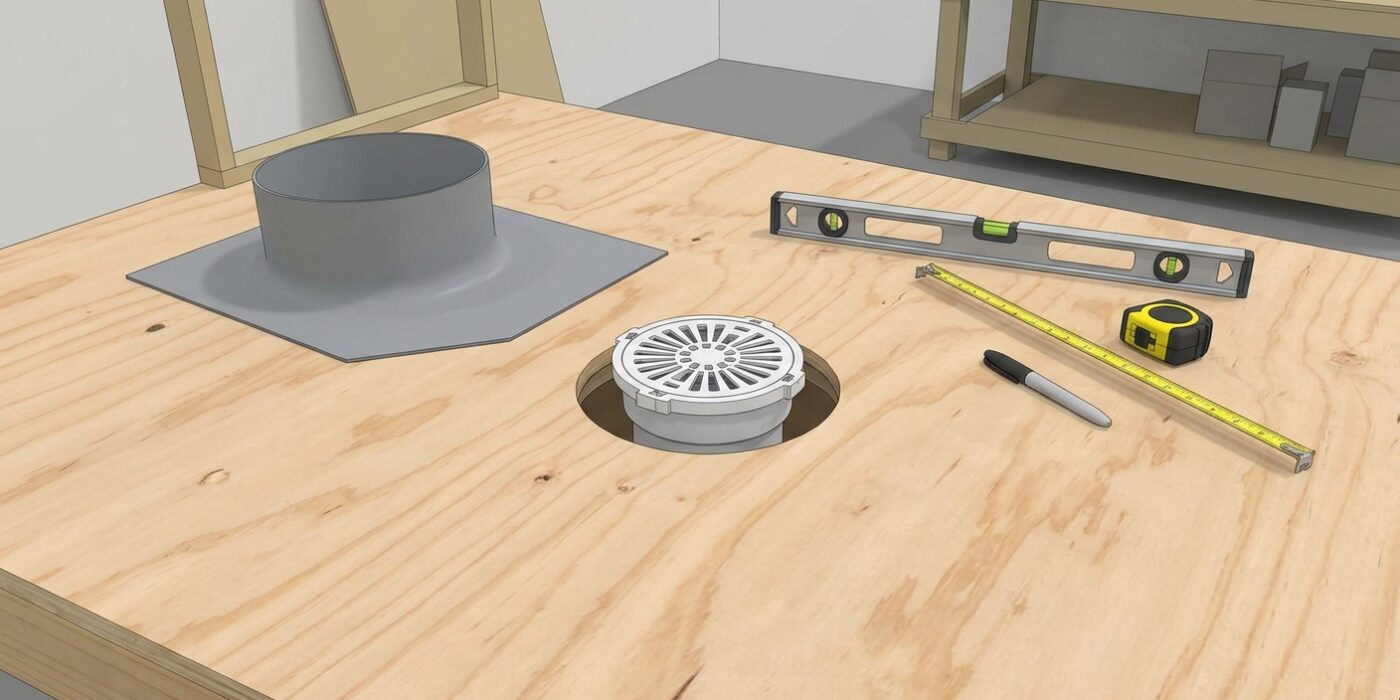
Project Shopping List
A shower pan liner installed using the traditional mortar bed method is the gold standard for custom tile shower floors. Unlike prefab pans or thin-set-only approaches, a mortar bed liner installation creates a sloped, solid, fully waterproof floor that will last for decades. It’s the method that professional tile setters use on commercial and high-end residential jobs – and with careful work, it’s fully achievable by a skilled DIYer.
This is an advanced project that requires understanding of critical slopes, proper liner folding at corners, and correct weep hole protection. A mistake in the liner or mortar bed means water behind your walls – so read this guide fully before beginning and proceed methodically.
What You’ll Need
Tools
- 4-foot level
- Screed board or straightedge
- Margin trowel and gauging trowel
- Hot air welding gun or liner solvent (for PVC liner corners)
- Utility knife
- Drill and bits
- Mixing paddle and bucket
- Grout float
Materials
- PVC shower pan liner – 40-mil minimum, CPE or PVC type
- Shower drain body with clamping ring and weep holes
- Dry-pack mortar mix (or Portland cement, sand, and water)
- Cement board for walls (1/2-inch thickness)
- Deck screws (1-1/4 inch for cement board)
- Alkali-resistant mesh tape
- Ceramic or stone floor tile
- Unmodified thinset (for setting tile over liner)
Step-by-Step Instructions
Step 1: Set the Drain Body and First Mortar Bed
Install the shower drain body at the correct height – the top of the drain should end up flush with the finished tile surface. This requires working backwards from your finished tile, thinset, liner, and first mortar bed thicknesses. A general rule: the drain body sits roughly 3/4 inch below finished floor level before the liner goes in. The first mortar bed should slope at 1/4 inch per foot toward the drain on all sides. Mix dry-pack mortar (Portland cement and sand 1:3, barely moistened) and pack it to the correct slope, screeding smooth.
Step 2: Allow First Mortar Bed to Cure
Let the pre-slope mortar bed cure for at least 24 hours. It must be firm enough to support your weight without deforming when you install the liner. Test by pressing firmly with your thumb – it should not indent. A soft pre-slope will shift when you walk on the liner and create low spots that pool water.
Step 3: Install Cement Board on Walls
While the mortar cures, install 1/2-inch cement board on all shower walls, starting at the bottom. The cement board should overlap the shower floor area (not stop at the edge of it) so the liner can eventually lap up behind it. Tape and thinset all seams with alkali-resistant mesh tape. Keep cement board screws at least 1 inch from the bottom edge – the liner will come up behind the bottom of the board.
Step 4: Test Fit the Liner
Cut the liner so it covers the entire shower floor and extends up the walls at least 9 inches (some codes require 12 inches). On outside corners, cut the liner to fold flat – do not allow bunching at corners, which creates void pockets. Mark each corner fold location before cutting. The liner must cover the bottom flange of the drain body completely.
Step 5: Fold and Seal the Liner Corners
Corner folds are the most critical part of the installation. Use either a hot-air welding technique (heating PVC with a heat gun and pressing the fold) or liner solvent cement to bond corner folds flat and watertight. Each fold creates a double-thickness pleat on the vertical surface. The pleat should be pressed flat and sealed – not just folded and hoped for. This is where 90% of liner failures occur.
Step 6: Secure the Liner
Staple or nail the liner to the wall studs above the waterproof zone – never below it. Fasteners in the waterproof zone (below 9 inches) create leak paths. Use staples at 4-inch intervals along the top edge of the liner, about 1 inch from the top edge. The liner should be taut across the floor with no wrinkles or slack that could hold water.
Step 7: Protect the Weep Holes and Clamp the Drain
Place small gravel or the provided weep hole protectors over the weep holes at the base of the drain body before installing the second mortar bed. These holes allow any water that gets between the mortar bed and liner to drain to the drain body – if covered by mortar, they’re blocked and you lose this critical drainage path. Clamp the drain ring to the liner, sandwiching the liner between the drain body and the clamping ring – this is the only mechanical fastening at the drain.
Step 8: Flood Test the Liner
This step is not optional. Plug the drain and fill the shower floor with 2 inches of water. Mark the water level. Wait 24 hours and check for any drop in level. Any drop indicates a leak in the liner – find and repair it before the second mortar bed. Common failure points: the drain clamp (not fully tightened), corner folds (not sealed), and small punctures from tools. Let the area dry completely after the flood test.
Step 9: Install the Second Mortar Bed
The second mortar bed goes over the liner and creates the final sloped surface for tile setting. Use the same dry-pack mortar mix. Set screed guides at the correct height so the finished mortar slopes 1/4 inch per foot to the drain on all sides. Pack mortar firmly, working from the walls toward the drain, and screed smooth. Do not puncture the liner with tools at any point.
Step 10: Set Tile and Finish
After the second mortar bed cures (24–48 hours), set floor tile using unmodified thinset – modified thinset traps moisture against the liner and can cause adhesion problems in wet environments. Use small format tile (under 4 inches) or mosaic tile for shower floors – the slope makes large format tile difficult to set without lippage. Grout with sanded grout at the appropriate joint width and seal after 72 hours.
Pro Tips
- Buy 10–15% extra liner – you’ll use material for corner folds and test patching. Running out of liner mid-installation is a serious problem because liner products vary by manufacturer and you can’t easily patch seams on a finished liner without factory-certified seam tape.
- Keep the liner away from all heat sources during installation – PVC liner becomes brittle in cold conditions. Work above 50°F for best results.
- Never use modified thinset for the pre-slope mortar bed that contacts the liner – the polymers in modified thinset can soften PVC liner over time.
- Take a photo of the drain clamp torque and weep hole positions before closing with mortar – future drain access issues become much easier to diagnose.
Frequently Asked Questions
Do I need a permit for a shower liner installation?
Shower pan liner installation is typically part of a bathroom remodel that requires a permit if it involves plumbing changes. The liner installation itself is often inspected by a building official before the second mortar bed is placed. Check your local requirements – the flood test is often the formal inspection point in jurisdictions that inspect shower pans.
How long does a mortar bed liner installation last?
A properly installed CPE or PVC shower liner lasts 20–30 years or more under normal use. Failure is almost always at the corners or drain clamp – areas that were improperly installed from the start. The mortar bed itself is extremely durable; the liner is the component that limits lifespan.
Can I use a waterproofing membrane instead of a liner?
Yes – sheet-applied or liquid-applied waterproofing membranes (like Schluter KERDI or Laticrete Hydro Ban) are the modern alternative to pan liners. They bond directly to the substrate and allow for thinset-only bed installations without dry-pack mortar. They’re faster to install and equally durable when correctly applied, but they require different preparation and a different skill set.