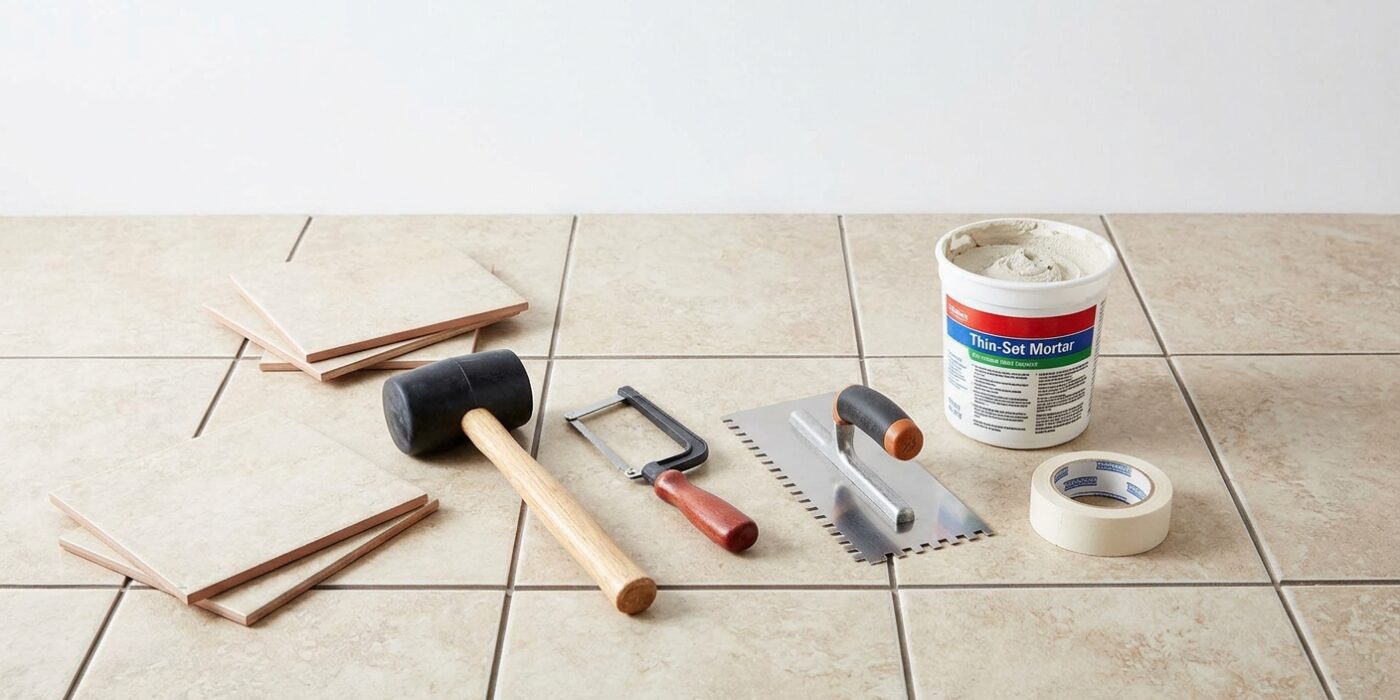
Project Shopping List
Hollow-sounding tile – that dull thud when you knock on it instead of a solid ring – means the tile has delaminated from the substrate below. This is more than an annoyance: hollow tile is unstable, prone to cracking under point loads, and can shift under foot traffic. The good news is that hollow tile can often be repaired without replacement if the tile surface is undamaged.
This guide covers two repair methods: injection grouting (injecting specialized adhesive through the grout joints to re-bond the tile from below) and full tile removal and re-setting. You’ll learn how to diagnose which method is appropriate and execute both effectively.
What You’ll Need
Tools
- Rubber mallet or knuckle (for sounding)
- Grout saw or oscillating multi-tool
- Injection syringe or grout injection kit
- Drill with masonry bit (1/8-inch)
- Margin trowel
- Suction cup (for tile lifting if removing)
- Putty knife
Materials
- Epoxy injection adhesive (for injection method)
- Grout to match (for re-grouting after repair)
- Thinset mortar (if removing and re-setting)
- Grout sealer
Step-by-Step Instructions
Step 1: Map the Hollow Areas
Tap systematically across every tile in the suspect area with a rubber mallet or your knuckle. A solid tile produces a ring; a hollow tile produces a dull thud. Mark each hollow tile with painter’s tape. Also note any tiles that rock or shift under pressure – these are more severely delaminated and may require full removal even if the injection method could otherwise work.
Step 2: Determine the Cause
Before repairing, understand why the tile went hollow. Common causes: inadequate thinset coverage during installation (should be 95% coverage but was applied too thinly), settlement or seasonal movement in the subfloor, or moisture intrusion that softened the adhesive. If you have multiple hollow tiles in a pattern (along a seam, near a wall, or in a large cluster), the entire section may need replacement – injection repairs individual hollow tiles, not widespread adhesion failure.
Step 3: Decide on Injection vs. Removal
Injection is appropriate when: the tile face is intact (no cracks), the hollow is under less than 50% of the tile area, and the grout joints are accessible. Removal and re-setting is necessary when: the tile is cracked, the hollow covers more than 50% of the tile, the tile shifts under foot pressure, or you cannot source matching grout for re-grouting after injection.
Step 4: Injection Method – Remove Grout at Injection Points
Use a grout saw or oscillating multi-tool to remove grout along one side of the hollow tile – typically one joint, 2–3 inches long – or drill a 1/8-inch hole in the grout joint. This creates the entry point for the adhesive. For large hollow areas, you may need two injection points on opposite sides of the tile.
Step 5: Inject Epoxy Adhesive
Use a specialized low-viscosity epoxy injection adhesive – standard tile adhesive is too thick to flow under a tile. Insert the syringe tip into your access point and inject slowly, watching for the adhesive to spread by the slight bubbling or movement at other grout joints. Don’t over-inject – the goal is to fill the void, not pressurize the tile off the floor. Most hollow tiles under 12 inches square take 1–4 ounces of adhesive.
Step 6: Weight the Tile While Adhesive Cures
Immediately after injection, place heavy weights on the tile (books, sandbags, a stack of buckets) to press it firmly against the adhesive and the substrate. Leave weights in place for the full cure time specified by the adhesive manufacturer – typically 24–48 hours. Check by sounding after cure: the tile should now ring solidly.
Step 7: Re-Grout the Access Point
Fill the removed grout with matching grout, clean, and seal. Color-matching existing grout is the hardest part of this repair – existing grout has aged and changed color. Buy small amounts of several adjacent colors, mix them, and test on a small area before committing to the repair.
Step 8: Removal Method – Remove Grout Around Entire Tile
If removal is necessary, first remove all grout around the perimeter of the tile using a grout saw or oscillating tool with a grout blade. Work to full grout depth so you can get a tool under the tile edge. Score around the tile perimeter with a utility knife to cut any paint or caulk that may be bonding the tile to adjacent grout.
Step 9: Remove the Tile
Use a suction cup handle to lift the tile straight up while working a putty knife or margin trowel under one edge. Work around the tile progressively – prying at one edge while lifting at the center with the suction cup. Never lever against an adjacent tile. If the tile won’t budge, it may still have solid adhesion points – use a heat gun on those areas to soften old adhesive, then try again.
Step 10: Re-Set the Tile
Scrape the substrate clean and remove all old thinset until flat. Apply fresh modified thinset with back-buttering on both the tile and the substrate. Set the tile, press firmly to achieve full coverage, and check for level with adjacent tiles. Re-grout after 24 hours and seal after 72 hours.
Pro Tips
- Sounding tiles with a dedicated inspection tool (a ball peen hammer on a handle) gives more consistent results than knuckle-sounding – the consistent mass produces more reliable acoustic feedback.
- If more than 20% of tiles in a room are hollow, consider full replacement – the thinset coverage was inadequate at installation and remaining tiles will delaminate progressively over the next few years.
- Low-viscosity epoxy injection kits sold for tile repair are the right product here – they’re not the same as structural crack injection epoxy, which is too thick to flow under a tile.
- On heated floors, turn off the radiant heat for 48 hours before and after injection – thermal movement complicates adhesion during cure.
Frequently Asked Questions
Will the injection repair hold as long as the original installation?
A properly executed epoxy injection repair bonds tile as strongly or more strongly than the original thinset installation. Epoxy adhesive is stronger than thinset in tensile strength. The repair fails only if the substrate itself is compromised (soft, wet, or crumbling) – in which case removal and substrate repair is the right solution anyway.
My entire bathroom floor sounds hollow. Do I have to replace everything?
If the tiles are otherwise in good condition, full-area injection is sometimes done on large hollow sections. However, it’s labor-intensive and the cost of professional injection often approaches the cost of full replacement. Get quotes for both options. If you’re DIYing, injection of individual hollow tiles is manageable; injecting an entire bathroom floor is a significant undertaking.
Can hollow tile be dangerous?
A hollow tile over a solid concrete slab can crack suddenly under point load (like a dropped heavy object or concentrated weight from chair legs) because the unsupported area has no backing to distribute impact. A hollow tile over a wood subfloor flexes under foot traffic and can fracture the tile or the grout joints. Neither is immediately dangerous in normal foot traffic, but both will progressively worsen.