Project Shopping List
A coat rack with shelf is one of the fastest and most practical woodworking projects you can build — it goes together in a few hours, requires minimal materials, and solves the real daily problem of where to hang coats, bags, and keys near the front door. A well-made one also looks far better than anything from a home goods store at any price.
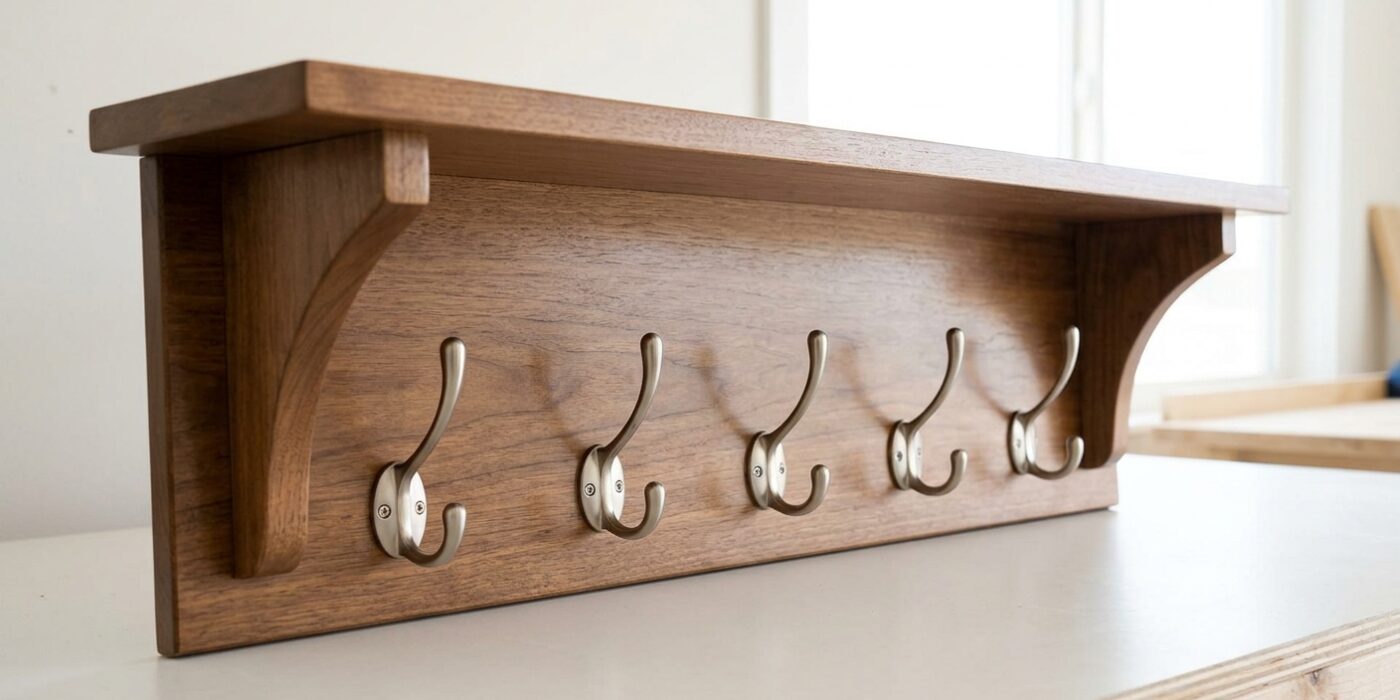
This guide builds a wall-mounted coat rack approximately 36 inches wide with a 5-inch-deep upper shelf for hats, gloves, and baskets. Construction uses solid wood throughout and takes under half a day to complete.
What You Need
Tools
- Miter saw
- Drill
- Stud finder
- Level
- Router (optional, for shelf edge profile)
- Random orbital sander
Materials
- 1×6 hardwood or poplar, 36 inches for the mounting board
- 1×6 hardwood, 36 inches for the shelf
- 1×2 hardwood, 36 inches for the shelf support lip
- 3-5 Shaker-style coat hooks
- 2-1/2-inch wood screws for wall mounting
- 1-1/4-inch wood screws for shelf assembly
- Sandpaper (120, 180 grit)
- Stain and polyurethane or paint
Steps
Step 1: Cut and Profile the Mounting Board
Cut the mounting board to length. This is the vertical backing piece that mounts to the wall and holds both the hooks and the shelf. If you want a decorative edge, rout a simple chamfer or roundover on the bottom edge and the two ends. Sand through 120 and 180 grit. The mounting board should be at least 3/4 inch thick — thinner material will not hold coat hooks under load reliably.
Step 2: Build the Shelf Assembly
The shelf consists of two pieces: the shelf board and a support lip on the front edge. Attach the 1×2 support lip to the front edge of the 1×6 shelf board with glue and countersunk screws from above, creating an L-shape that provides visual depth and extra strength. Optionally, rout a decorative profile on the lower front edge of the lip. Sand smooth before attaching to the mounting board.
Step 3: Attach the Shelf to the Mounting Board
Position the shelf assembly on top of the mounting board at the back edge. Drive 1-1/4-inch screws through the back of the mounting board into the back edge of the shelf at three equally spaced locations. Countersink the screws so they sit below the surface. Clamp the pieces together during fastening to prevent shifting. Confirm the shelf is level before fully tightening.
Step 4: Mark Hook Locations
Lay out the hook positions along the face of the mounting board. Space hooks evenly — for five hooks on a 36-inch board, place one at each end (3 inches in from the edge) and divide the remaining space for the middle three. Mark the exact location for each hook screw. For heavy-duty hooks (the kind that can hold a loaded pack or a wet winter coat), pre-drill pilot holes to prevent splitting.
Step 5: Apply Finish Before Mounting
Apply your chosen finish to all surfaces before mounting on the wall — this is much easier than working around hooks and wall edges after installation. Apply stain, let cure, then apply two coats of polyurethane for durability. Alternatively, paint with primer and two coats of semi-gloss. Install the hooks after the finish has fully cured.
Step 6: Find Studs and Mount to Wall
Use a stud finder to locate studs behind the wall at the height you want the rack. A standard mounting height is 60-66 inches from the floor (hook height), which means the bottom of the mounting board sits at approximately 54-60 inches. Drive 2-1/2-inch wood screws through the mounting board into studs at a minimum of two stud locations. Hold the rack against the wall with a helper, check level, and drive the screws. The weight of coats and bags is significant — studs are mandatory.
Pro Tips
- Add a small lower shelf or a drawer below the main shelf for keys, mail, and sunglasses — this turns a coat rack into a complete entryway organizer.
- Double-headed hooks (one hook curving each way from a center post) hold significantly more than single hooks and prevent pile-ups when multiple people hang coats in the same spot.
- A coat rack at 60 inches creates a natural height for adults — add a second lower set of hooks at 42 inches for children if needed, mounted as a separate strip below the main rack.
- Use Shaker-style peg hooks for a traditional look or modern flat-profile hooks for a contemporary one — the style of hook sets the entire visual character of the rack.
FAQ
What is the ideal height for a coat rack?
The bottom of hanging coats should clear the floor by 2-4 inches. Long winter coats are 52-58 inches from hook to hem, so the hook center needs to be at 56-62 inches from the floor. A mounting height of 60 inches for the hook center works well for most adults and accommodates most coat lengths. For children, 42-48 inches is appropriate.
How many hooks do I need?
Plan one hook per regular user of the entryway, plus one or two for guests. A household of four benefits from six hooks. More hooks than people creates clutter — items get piled on hooks and the rack looks messy. Better to have five well-spaced hooks than ten tightly packed hooks where coats constantly fall off each other.
Can I mount a coat rack into drywall without studs?
Only for lightweight decorative racks holding scarves and light items. A coat rack holding heavy winter coats, loaded backpacks, and wet umbrellas exerts significant pull-out force — easily 50-100 lbs per hook cluster. Drywall anchors rated for 50 lbs each are an absolute minimum; structural toggle bolts are better; studs are best. When in doubt, find the studs.