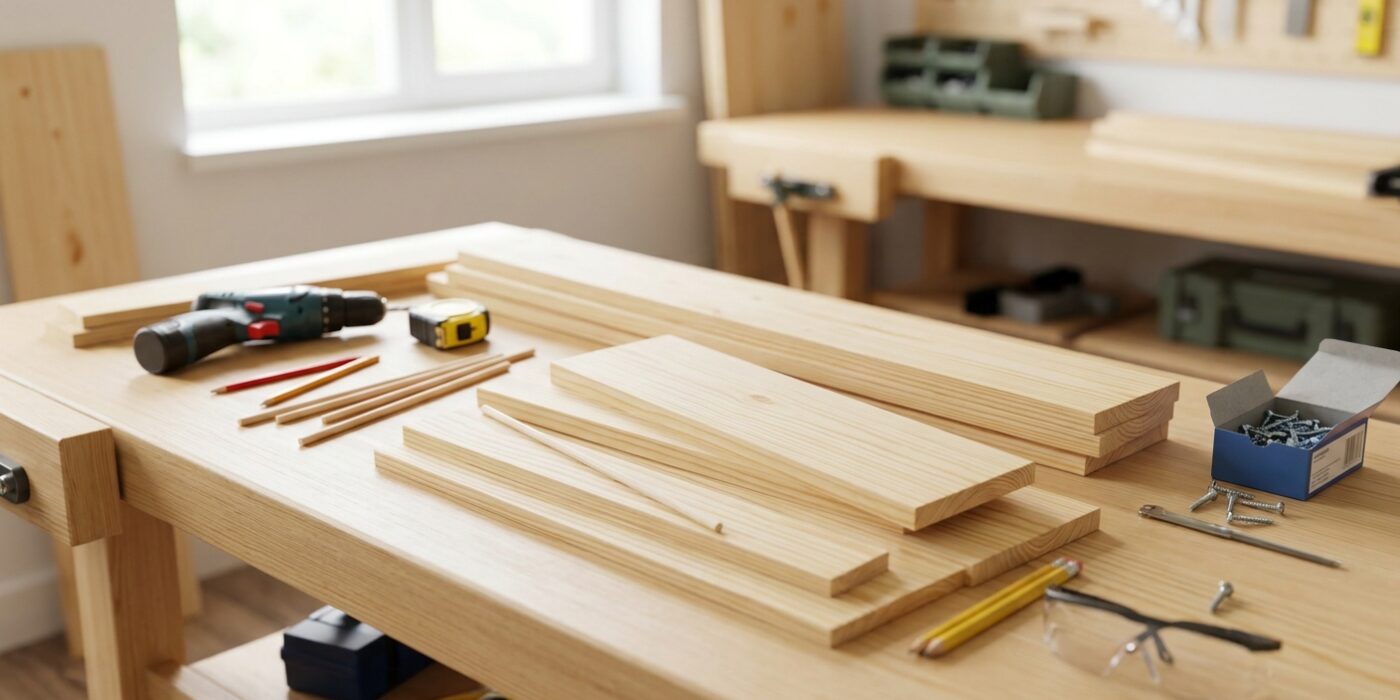
Project Shopping List
A shoe rack is the perfect beginner woodworking project — it requires only basic tools, uses a small amount of lumber, and produces something immediately useful. More importantly, the skills you use here (crosscutting, drilling, pocket holes, and finishing) are directly transferable to every furniture project that follows.
This guide builds a three-tier shoe rack approximately 30 inches wide by 22 inches tall, with angled slats that hold shoes at a natural angle and keep them from sliding off. The design holds 12-15 pairs of shoes and fits a standard entryway or closet floor space.
What You Need
Tools
- Miter saw
- Drill and pocket hole jig
- Random orbital sander
- Tape measure, square, and pencil
- Clamps (2-4)
Materials
- 1×4 pine or poplar — two 8-foot boards for the shelves and frame
- 1×3 pine or poplar — one 8-foot board for the angled slats
- 1-1/4-inch pocket screws
- 1-1/2-inch brad nails (or finish nails)
- Wood glue
- Sandpaper (120 and 180 grit)
- Paint, stain, or clear finish
Step-by-Step Instructions
Step 1: Plan Your Dimensions
A standard shoe rack holds shoes best when the shelf angle is between 15 and 20 degrees. This allows heels to sit lower and toes to rest on the slat above, maximizing space efficiency. Decide how many tiers you want (2, 3, or 4 are common) and multiply the tier spacing by the number of tiers to get the total height. Standard spacing between tiers is about 6-7 inches for flat shoes and sneakers, 8 inches for boots.
Step 2: Cut the Side Panels
The two side panels are the structural elements. Cut them from 1×4 lumber at 22 inches tall. Mark the shelf positions on both panels simultaneously by clamping them together and laying out the shelf notch or pocket hole positions — this ensures both sides are identical. The bottom shelf sits 2-3 inches off the floor; the tiers space evenly above it.
Step 3: Cut the Shelf Rails
Each shelf consists of two horizontal rails running the full width between the side panels — one at the back of each tier to hold the heel, and one at the front to support the toe. Cut all rails from 1×3 lumber at 27-1/2 inches (this gives a finished width of 30 inches including the side panels). Cut all rails to the same length at once to ensure consistency.
Step 4: Drill Pocket Holes in the Rails
Drill two pocket holes at each end of each rail — holes angled to drive into the inside face of the side panel. Set the pocket hole jig for 3/4-inch material. Pocket holes in the rails keep all fasteners completely hidden from the front and sides of the finished rack, giving it a clean, furniture-quality appearance.
Step 5: Assemble the Frame
Lay one side panel flat on your work surface. Apply glue to the rail ends and pocket screw each back rail into position — the back rail sits flush with the back edge of the side panel. Check that each rail is level (perpendicular to the side panel) before driving the second screw. Attach the front rails the same way, positioning them 4 inches forward of the back rails to create the angled shelf surface. Attach the second side panel.
Step 6: Add the Toe Stop Slats
Between the front rails of each tier, add a thin horizontal slat that prevents shoes from sliding completely off the front. Cut slats from 1×2 material at 27-1/2 inches. Nail or screw them flush with the top edge of each front rail. These slats also stiffen the front face of the rack significantly and improve the overall rigidity of the structure.
Step 7: Add a Back Panel (Optional)
A 1/4-inch plywood back panel attached to the rear of the rack dramatically stiffens the structure and prevents racking (side-to-side movement). Cut a panel to the full back face dimensions, apply glue, and nail every 6 inches along all edges. A back panel is most important for taller racks (3+ tiers) where the weight of shoes can cause the rack to lean without it.
Step 8: Sand and Finish
Sand all surfaces starting at 120 grit, then 180 grit. Pay particular attention to the rails and slats — rough surfaces scratch shoes. Round over the front edges of all rails and slats with sandpaper or a small router chamfer to prevent shoe leather scuffing. Apply your chosen finish: paint is the most practical for a shoe rack since it is easily wiped clean; a clear polyurethane coat over bare wood also works well.
Pro Tips
- Build the rack 2 inches wider than your designated floor space — shoes tend to hang over the edge and the extra width keeps things tidy without the rack looking oversized.
- Use poplar rather than pine if you plan to paint — poplar takes paint more smoothly and does not bleed sap through paint the way pine can.
- Line the rails with adhesive-backed felt tape to prevent shoes from scratching — this is a simple upgrade that dramatically reduces shoe damage on the rack.
- For a closet installation, add a toe kick at the bottom (a 3-inch-tall board along the front base) to move the shoe rack off the floor and allow a broom to sweep under it easily.
Frequently Asked Questions
How do I size the rack for boots?
Boots require more vertical clearance than flat shoes. A two-tier boot rack with 10-inch spacing between tiers is better than a three-tier regular rack. For a combination rack, put the boot tier at the bottom (with 10+ inches of clearance) and regular shoe tiers above. Knee-high boots may need to hang over the edge of the rail — this is fine as long as the weight is balanced.
Can I add a fourth tier without the rack becoming unstable?
A four-tier rack 30 inches wide and 30 inches tall needs a back panel and possibly wall anchoring to remain stable when fully loaded. The weight of 20 pairs of shoes at the front creates significant forward-tipping leverage. Use 1×6 side panels instead of 1×4 for a four-tier build, and always anchor the rack to the wall with an L-bracket at the top.
What is the best finish for a shoe rack?
Semi-gloss paint is the most practical finish for a shoe rack — it is easily wiped clean, hides dirt well, and resists the moisture that comes from wet shoes. Oil-based paint is more durable than water-based for this application. If you prefer natural wood, apply two coats of satin polyurethane, which cleans up easily and does not darken or yellow the wood the way oil finishes do over time.