Project Shopping List
Soft, spongy, or visibly splitting deck boards are a rot problem – and rot doesn’t stay contained. Before you replace the board, you need to check whether the rot has spread to the joists underneath. A deck with healthy boards on compromised structure is an accident waiting to happen. Here’s how to diagnose the damage and make a repair that actually lasts.
What You’ll Need
Tools
- Pry bar and hammer
- Circular saw or oscillating multi-tool
- Drill with deck screw bit
- Awl or screwdriver (for probing rot)
- Tape measure and pencil
- Safety glasses and work gloves
Materials
- Replacement decking board (same species and width as existing, if possible)
- Stainless steel or coated deck screws, 2.5″–3″
- Wood preservative (end-cut sealer)
- Joist repair bracket or sister joist lumber (if joist is damaged)
- Epoxy wood filler or sister board (for partial joist repair)
Step 1: Diagnose Before You Demo
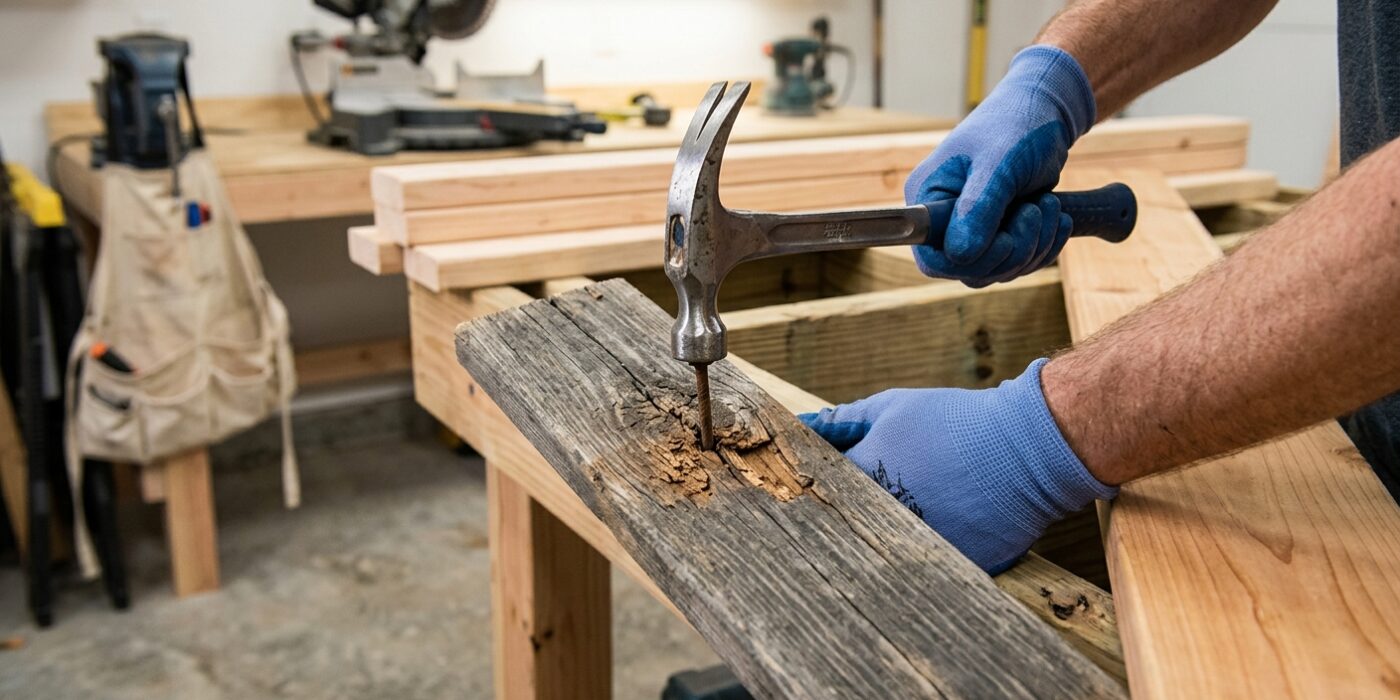
Before you start pulling up old lumber, you need to know exactly what you are dealing with. Start by taking a metal awl or a sturdy flat-head screwdriver and poking the surface of your deck boards. Healthy wood is dense and will resist your push, while rotted wood will feel spongy or let the tool sink in easily. Mark any soft areas with a piece of chalk or a pencil.
Next, grab a flashlight and crawl under the deck to inspect the joists – the horizontal beams that support your boards. Press your awl into the top edges and the ends of these joists. You are looking for two major warning signs: deep, dark discoloration (black or gray-green) and wood that feels soft to the touch. If the joist itself is crumbling or soft, simply replacing the deck board won’t fix the problem; you must address the structural integrity of the frame first.
Beginner Tip: Don’t mistake a little surface dirt or a dark stain for rot. Always perform the “awl test” first. If the wood feels hard and solid under the surface, it is likely just cosmetic weathering rather than structural decay.
Pro Tip: When inspecting joists, pay extra attention to the areas directly beneath the gaps between boards. These cracks are where water sits the longest, meaning rot almost always starts at these specific contact points.
Step 2: Remove the Rotted Board
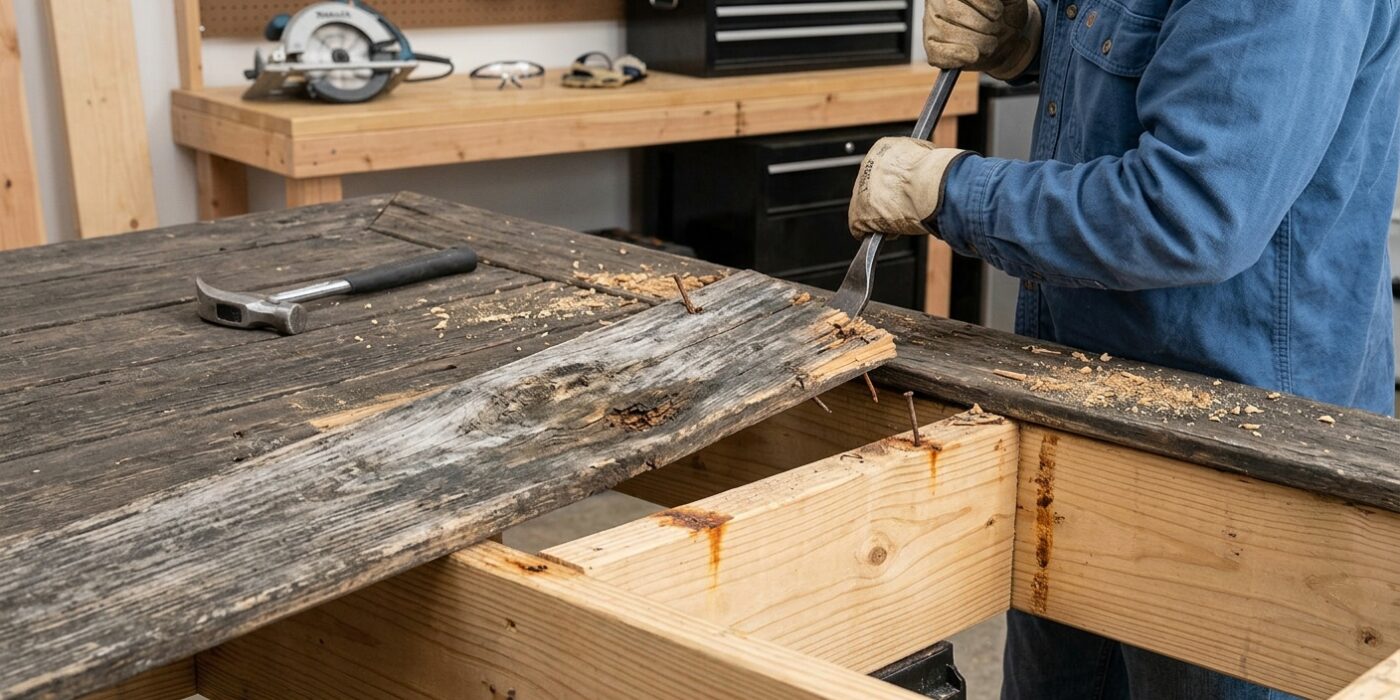
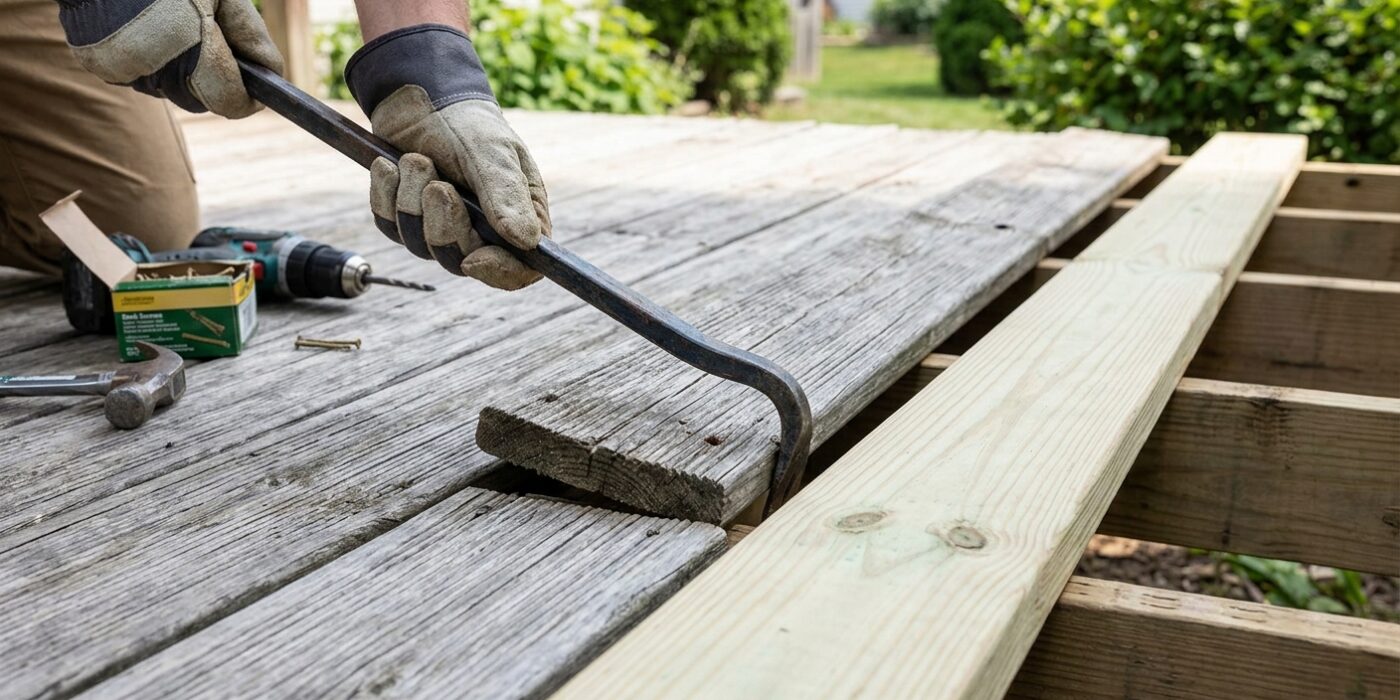
Start by sliding your flat pry bar under the edge of the rotted board near a joist. Apply steady, upward pressure to pop the board up just enough to reveal the fasteners. If the board is severely decayed, it may break into pieces, so keep your movements slow and deliberate to avoid splintering the surrounding healthy wood. Once you hear the wood release from the joist, move to the next set of screws.
If the fasteners are so rusted that your drill bit slips, don’t force it. Instead, use a metal-cutting blade on an oscillating tool to slice through the screws hidden between the deck board and the joist. Once the board is removed, use a pair of pliers or the claw end of a hammer to pull any remaining screw shanks out of the joist so the surface is perfectly smooth for the new board.
Beginner Tip: Avoid prying against the edge of a good, healthy deck board. If you do, you will likely leave ugly gouges or crush the wood fibers on your nice boards. Place a small, scrap piece of plywood or a wide putty knife under your pry bar to protect the good wood as you leverage the old board upward.
Pro Tip: When using a circular saw to cut a partial board, set your blade depth exactly to the thickness of your deck boards – usually 1.5 inches – plus an extra 1/8 inch. This ensures you cut through the wood completely without damaging the structural joist sitting underneath.
Step 3: Treat or Repair the Joists
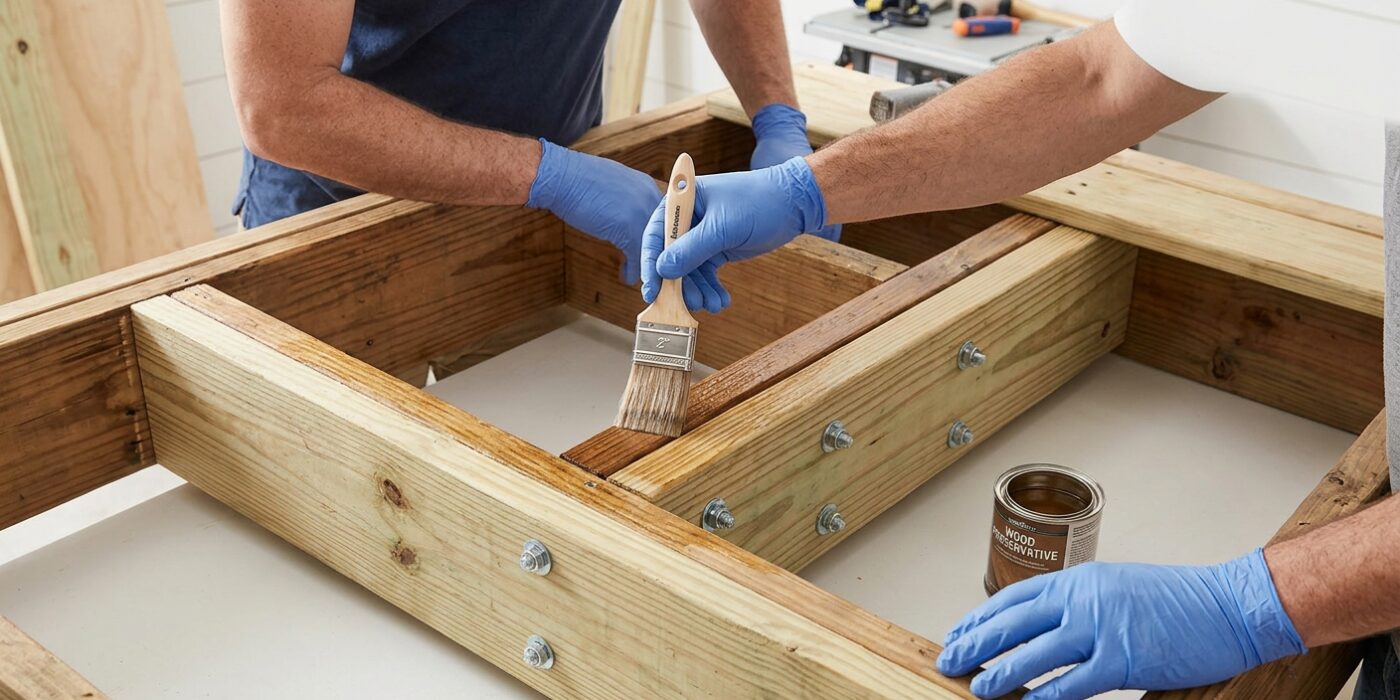
Once your old deck boards are removed, inspect the joists underneath. If you can push a screwdriver or awl more than 1/4 inch into the wood, the joist is structurally compromised and needs reinforcement. If the wood is only slightly soft, use a wire brush to remove debris, then apply a borate-based wood preservative to stop further decay.
To reinforce a weakened joist, we use a method called “sistering.” Measure the length of your existing joist, then cut a piece of pressure-treated lumber (matching the height of the original) to match. Press this new board firmly against the side of the old one. Using 3-inch exterior-grade deck screws, fasten the two boards together every 12 inches. Alternate your screw pattern slightly – place one screw near the top edge, the next near the bottom – to avoid splitting the wood and ensure a rock-solid connection that transfers the weight safely to the new board.
Beginner Tip: Avoid the mistake of using standard indoor screws. Always use high-quality, pressure-treated compatible deck screws; standard screws will corrode quickly when they come into contact with the chemicals inside treated lumber, causing your repair to fail prematurely.
Pro Tip: Before driving your screws, use a drill bit to create “pilot holes” slightly smaller than the diameter of your screws. This prevents the wood from splitting as you drive the fasteners in and makes the process much smoother for your drill.
Step 4: Cut and Fit the New Board
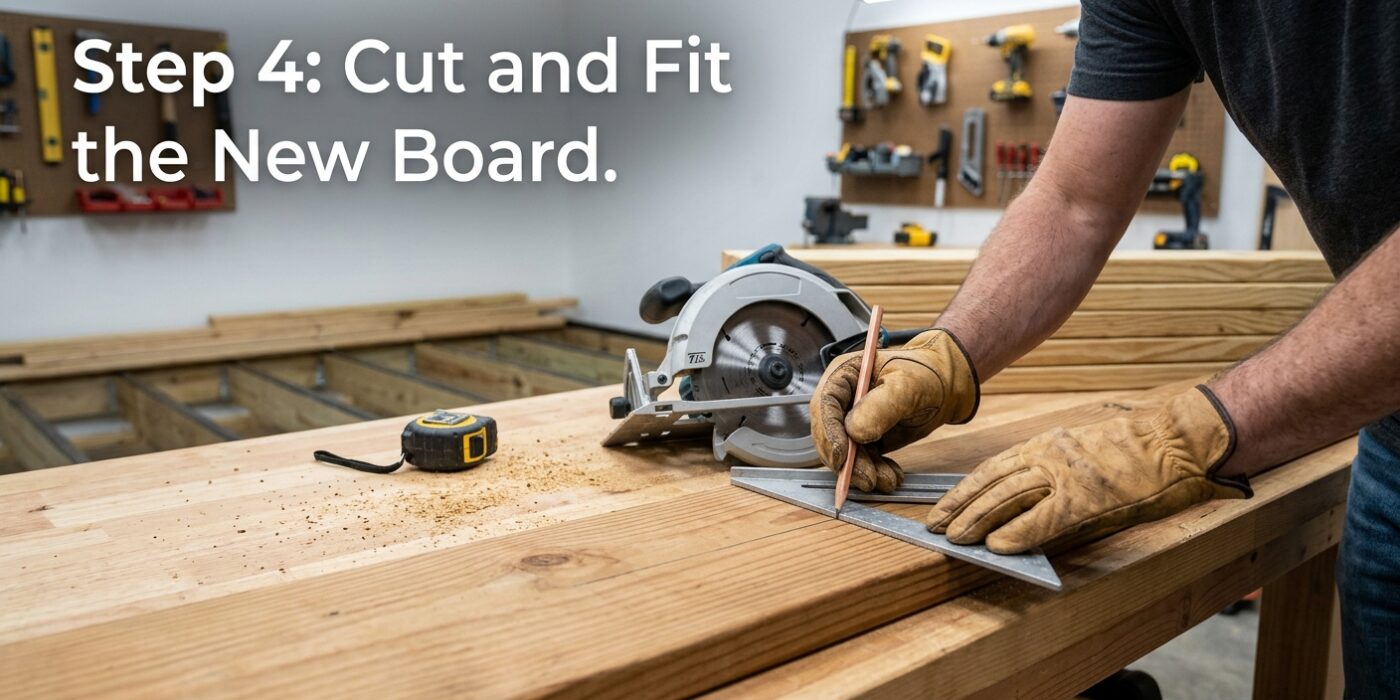
Now that your old board is removed, it is time to install your replacement. First, measure the gap where the board will sit. If your gap spans two joists, measure the distance from the center of the first joist to the center of the next. When you buy your replacement, ensure the thickness and width match your existing decking exactly to prevent uneven, tripping hazards.
Use a circular saw or a miter saw to cut your board to the measured length. If you are splicing a board mid-run, always ensure the ends of both the old and new boards meet exactly in the middle of a joist so they have solid wood to screw into. Before dropping the board into place, brush an end-cut wood preservative onto every fresh cut. Pressure-treated lumber is only protected on the surface; the raw, inner wood at the cut is a magnet for moisture and rot. Sealing these ends is the best way to ensure your repair lasts for years.
Beginner Tip: Don’t try to make the board fit perfectly tight against its neighbors. Wood expands and contracts with the weather. Leave a small gap of about 1/8 to 1/4 of an inch between boards to allow for drainage and natural movement.
Pro Tip: Use a scrap piece of wood as a spacer between your new board and the existing ones while you fasten it. This keeps your board perfectly straight and ensures your spacing is consistent across the entire length of the deck.
Step 5: Fasten the Board
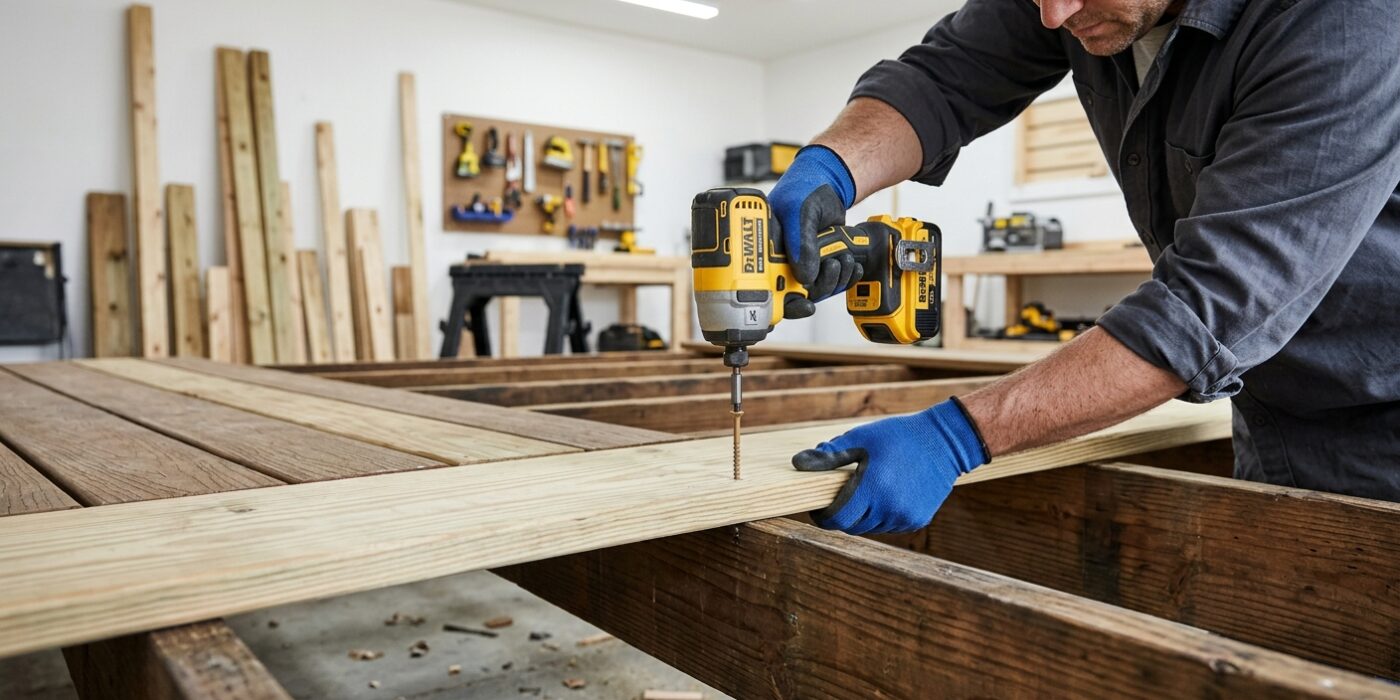
Now that your board is perfectly positioned, it is time to lock it down. Start by pre-drilling your screw holes using a drill bit slightly thinner than the shank of your screw. This step is non-negotiable; it prevents the wood from splitting, which is most likely to happen at the ends of the board. At every point where the deck board crosses a joist, drive two screws about one inch from the edges. Angle them slightly inward toward the center of the joist to provide a stronger grip.
Always use stainless steel or hot-dipped galvanized deck screws. Standard zinc screws will rust rapidly when exposed to rain, leaving ugly black streaks on your wood and eventually failing. To ensure proper drainage, leave a 1/8-inch gap between this board and the previous one. You can use a 16d nail or a plastic deck spacer as a simple gauge to keep that spacing consistent along the entire length.
Beginner Tip: Avoid the urge to drive the screw head deep into the wood. The goal is for the top of the screw head to be perfectly flush with the surface of the board. Sinking it too deep creates a bowl that traps water, which will lead to rot, while leaving it too high creates a tripping hazard.
Pro Tip: If your new board is slightly bowed or warped, use a scrap piece of wood as a lever. Push the scrap against the edge of the board to force it straight while your partner drives the screws to hold it in place.
Step 6: Match the Finish
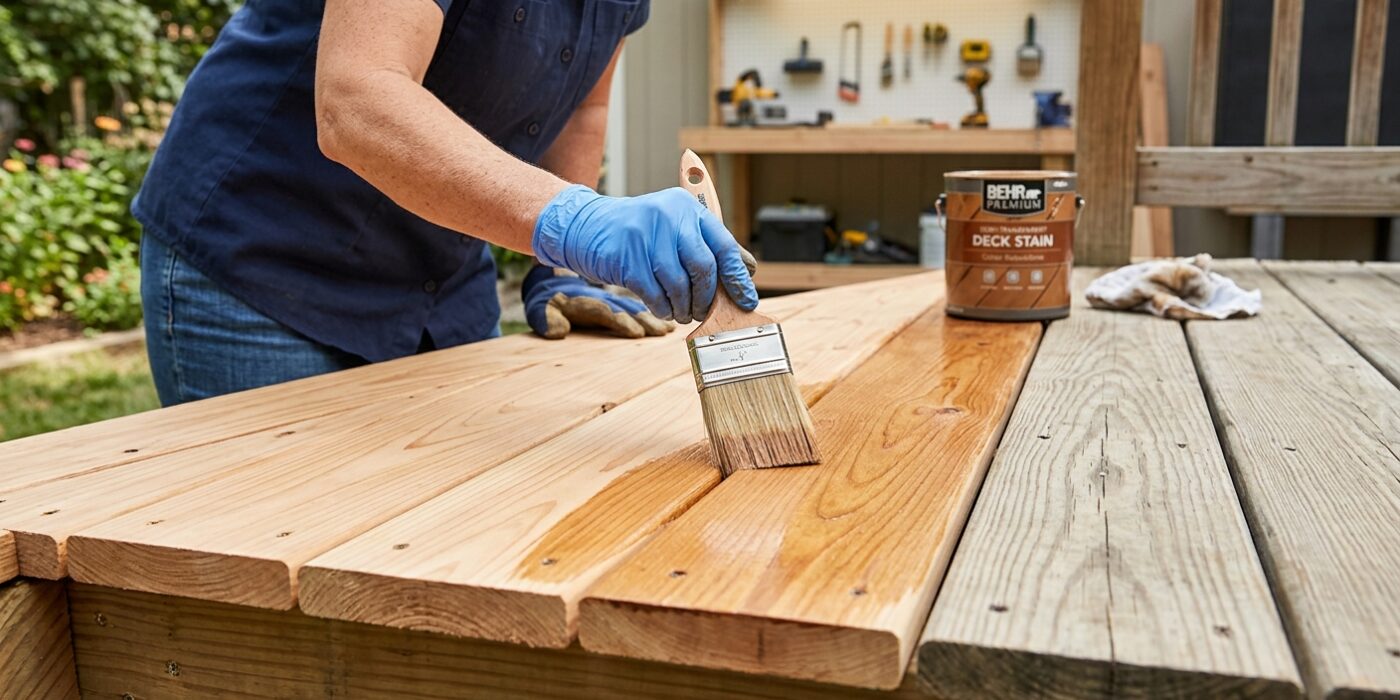
Your new deck boards will likely look like bright, golden newcomers compared to the weathered, gray wood of the rest of your deck. To get everything looking cohesive, you have two simple choices. You can simply leave the new boards alone and wait; they will naturally turn gray over a season of sun and rain, eventually blending in with the surrounding area. Alternatively, you can apply a fresh coat of deck stain or sealer to the entire surface. This is the best way to achieve a uniform, professional look immediately. If your deck looks patchy or hasn’t been maintained in a few years, staining the whole surface now is the perfect excuse to protect the wood and refresh the look of your entire outdoor space.
Beginner Tip: Avoid the urge to stain just the new, lighter boards. Because the wood types and ages are different, the stain will soak in at different rates and will likely look like a messy patch job. Always aim to coat the entire deck surface at once to ensure the color and finish remain consistent.
Pro Tip: When you are ready to finish the wood, use a long-handled deck stain applicator or a thick-nap roller on an extension pole rather than a small hand brush. This allows you to stand upright while you work, saving your back from unnecessary strain and helping you keep a “wet edge” to prevent ugly overlap marks where the stain dries too quickly.