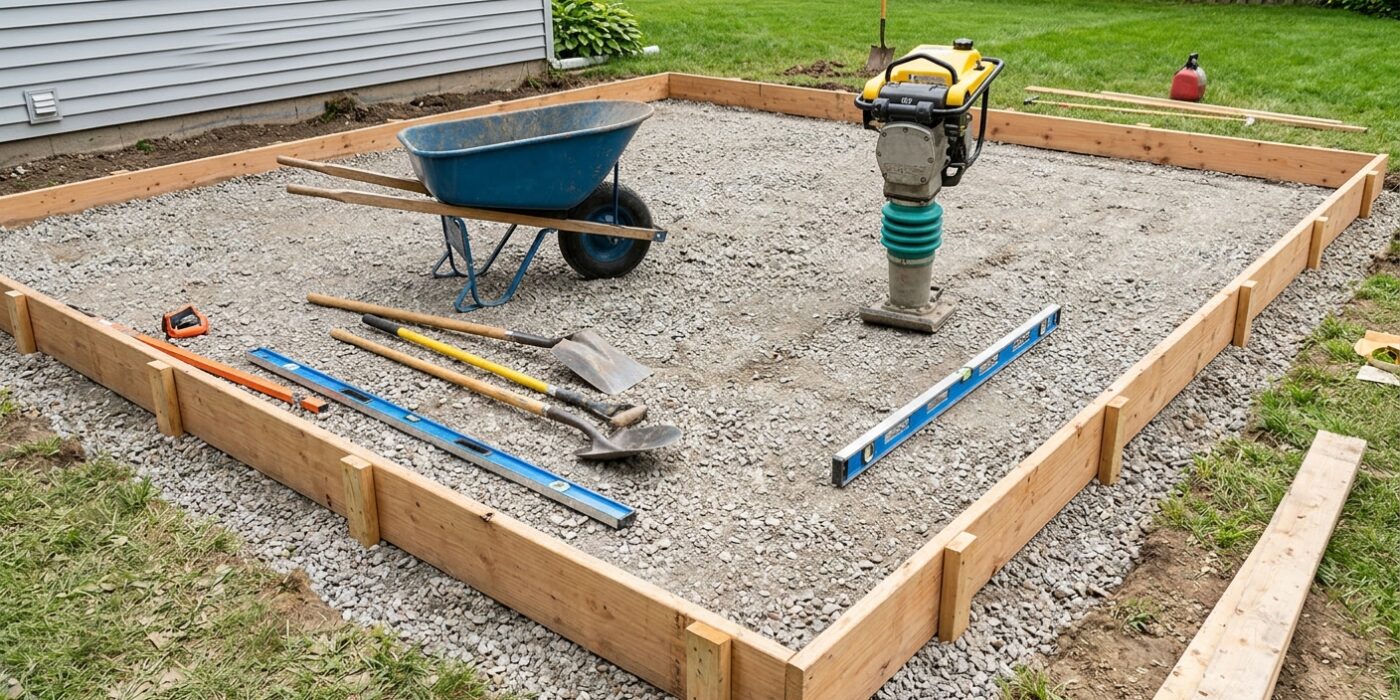
Project Shopping List
A concrete patio is the most durable outdoor surface you can pour — it handles decades of weather, furniture, and foot traffic without rotting or shifting. A 10×12-foot slab takes a full weekend and careful work, but lasts 30-50 years with minimal maintenance.
This guide covers a 4-inch residential slab on grade: excavation, sub-base, forms, reinforcement, and finishing.
What You Need
- Shovels, wheelbarrow; plate compactor (rent)
- 2×4 lumber for forms; concrete stakes
- Screed board, bull float, hand float
- Concrete edger and groover (control joint tool)
- 3/4-inch compacted gravel — 4 inches deep
- Concrete: 1.3 cubic yards per 100 sq ft at 4-inch depth
- Rebar (1/2-inch) or 6-inch wire mesh
- Plastic sheeting for curing
Step-by-Step Instructions
Step 1: Excavate and Grade
Dig 8 inches below finished grade: 4 inches for concrete plus 4 for gravel base. Slope the base 1/8 inch per foot away from any structures. Compact native soil before adding gravel. Remove all organic material including roots and sod.
Step 2: Install Gravel Sub-Base
Spread and compact 4 inches of 3/4-inch crushed gravel in 2-inch lifts. The sub-base provides drainage and a stable bearing surface. Without a compacted base, slabs crack and settle within a few years regardless of concrete quality.
Step 3: Build Forms
Use 2×4 lumber for a 4-inch slab. Drive 2×4 stakes every 4 feet along the outside of the forms and screw the form boards to the stakes. The top of the forms sets your finished height — slope forms for drainage (1/8 inch per foot). Check corners for square with the 3-4-5 triangle method. Coat form interiors with vegetable oil or release agent for clean removal after the slab sets.
Step 4: Install Reinforcement
Place 1/2-inch rebar on 18-inch centers in a grid, or lay 6-inch wire mesh. Support reinforcement on plastic rebar chairs or stones to hold it at mid-slab depth (2 inches up). Reinforcement resting on the ground provides no tensile benefit — it must be in the center of the slab thickness to work.
Step 5: Pour Concrete
For slabs over 1 cubic yard, order ready-mix delivered — it is more consistent and much faster than mixing bags. Order 4000 psi air-entrained mix (essential in freeze-thaw climates). Calculate volume: length x width x depth in feet divided by 27 equals cubic yards. Order 10% extra for waste. Pour from one end, spread with a rake or come-along, and screed level before moving on.
Step 6: Screed, Float, Edge, and Groove
Screed by resting a straight 2×4 on both form edges and pulling it toward you in a sawing motion. Make two passes. Once bleed water evaporates (1-4 hours depending on temperature), float the surface with a bull float in overlapping arcs, then a hand float in circular then straight motions. Run an edger around the perimeter to create a rounded edge. Cut control joints every 8-10 feet with a groover — these joints control where the slab cracks as it shrinks during curing. Without them, the slab cracks randomly.
Step 7: Cure
Cover the finished slab with plastic sheeting within 30 minutes of final finishing. Keep it covered for at least 7 days. Slow curing produces significantly stronger concrete. Do not walk on the slab for 24-48 hours; do not drive on it for 28 days.
Pro Tips
- Pour in moderate temperatures (50-80 F). Cold concrete cures slowly and can freeze; hot concrete sets too fast to finish properly.
- Have at least 3 people on pour day — one at the chute, one spreading, one screeding. Concrete does not wait.
- Apply a penetrating concrete sealer after 28 days to protect from staining and freeze-thaw damage.
Frequently Asked Questions
How thick should a patio slab be?
Four inches is standard for pedestrian patios. Six inches for vehicle access. A thicker slab on poor sub-base will still crack — compacted gravel base matters more than extra slab thickness.
Can I pour over an old slab?
Yes if the old slab is structurally sound and the overlay is at least 2 inches thick with bonding agent applied. Thin overlays delaminate. Demolishing an old slab with a rented jackhammer is often easier than a proper overlay for badly cracked slabs.