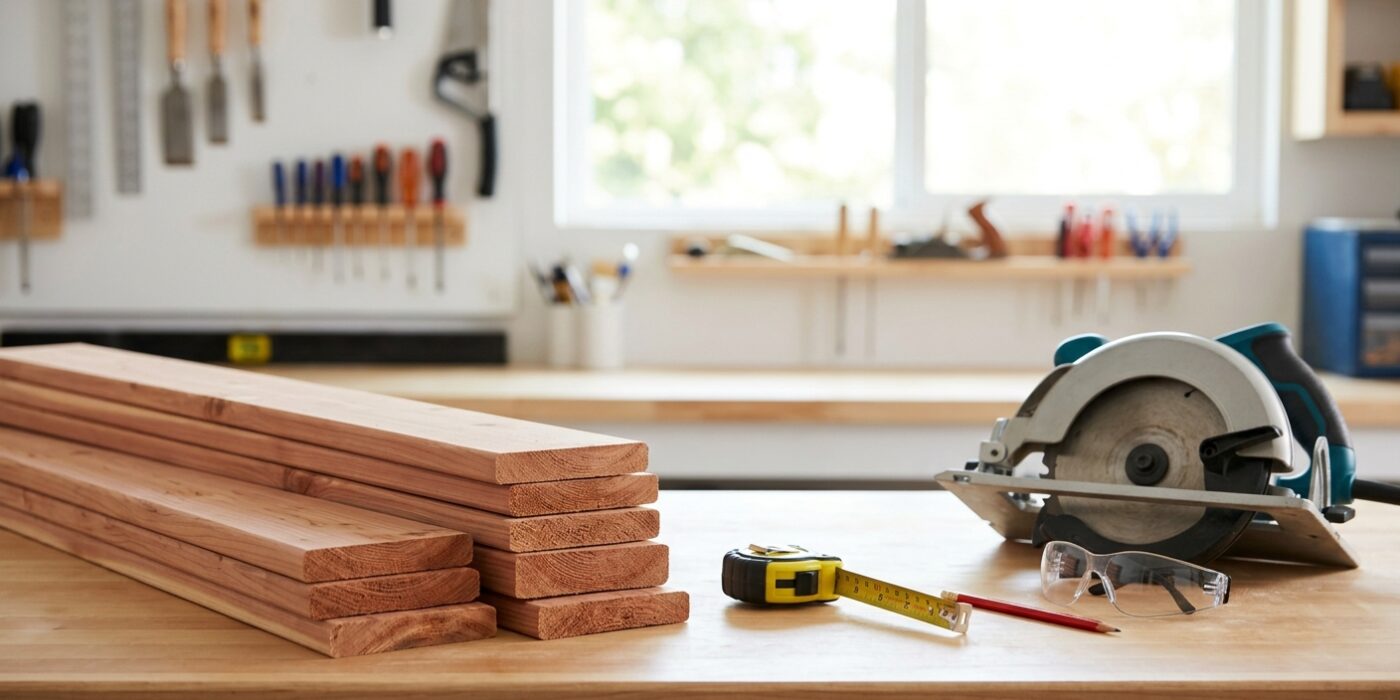
Project Shopping List
Cedar planter boxes are the perfect outdoor build for gardeners who also like to use power tools. Cedar is naturally rot-resistant, smells wonderful, and weathers to a beautiful silver-gray if left unfinished. A simple rectangular cedar box takes about three hours to build, costs less than $50, and will last a decade or more in your garden without any preservative treatment.
Why Cedar
Cedar contains natural oils that repel insects and resist rot. Unlike pine, it survives outdoors without paint or stain. Redwood has similar properties but is expensive and hard to find. Pressure-treated lumber works for raised beds but some gardeners prefer not to use it around edible plants. For a clean natural planter, cedar is the right material.
Tools You Will Need
- Miter saw or circular saw
- Drill and countersink bit
- Tape measure, square, pencil
- Four clamps
- Sandpaper, 120-grit and 220-grit
- Safety glasses
Materials for a 24x12x12 Inch Planter
- Three 1×6 cedar boards, 8 feet long
- One 1×4 cedar board, 6 feet long for bottom slats
- 1-5/8-inch stainless steel or hot-dipped galvanized exterior screws
- Exterior wood glue
- Landscape fabric or burlap for lining
Cut List
Long side panels: four boards at 24 inches each from 1×6 stock, two per side stacked vertically. Short end panels: four boards at 10-7/8 inches each. Corner posts: four pieces of 2×2 cedar at 11 inches tall. Bottom slats: three pieces of 1×4 at 22-1/2 inches long.
Step 1 — Cut All Pieces
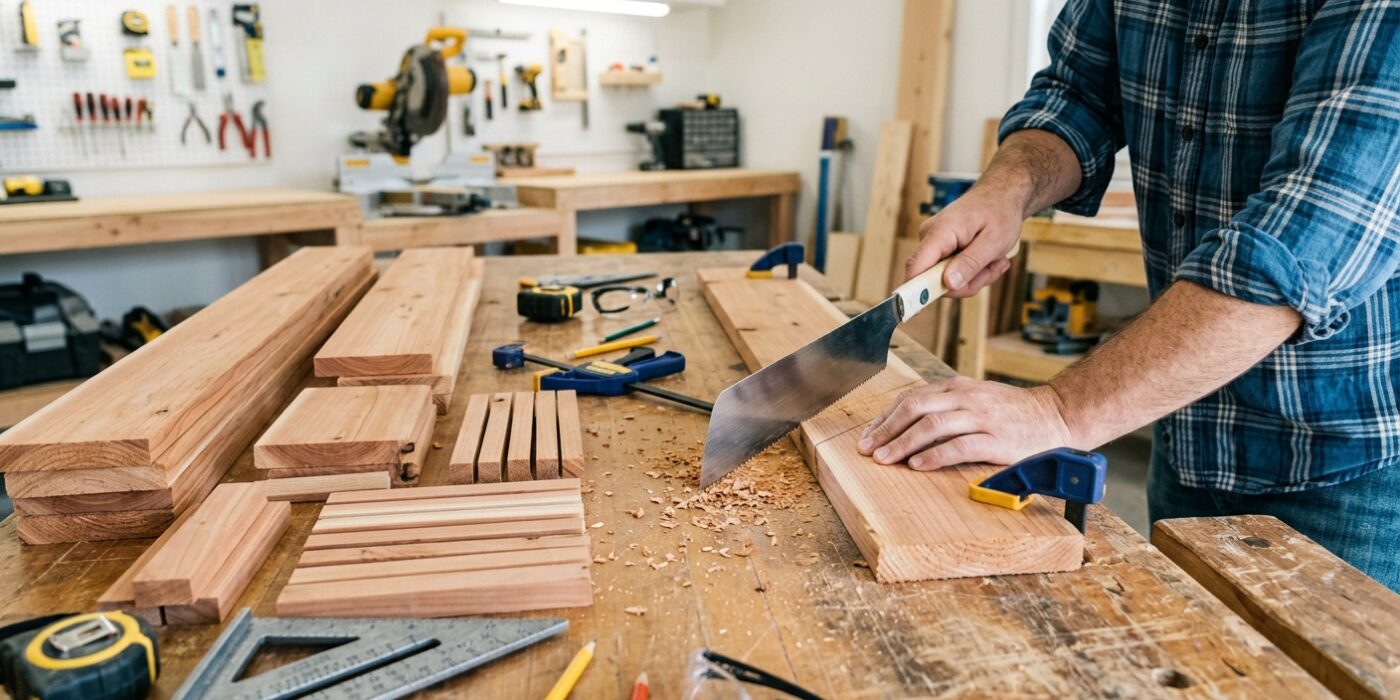
Now that you have your cedar boards ready, it is time to turn them into the specific pieces needed for your planter. Using your cut list as a guide, measure and mark each piece carefully with a carpenter’s square and a pencil. Accuracy is the secret to a professional look; even a tiny discrepancy in length will cause gaps at the corners, making the box difficult to assemble and prone to leaks. Once you make your first cut, use that piece as a physical template for any identical boards. Stack these matching pieces together and align them perfectly at one end to ensure they are the exact same length. If they don’t line up perfectly, sand the longer ends until they match.
Beginner Tip: A very common mistake is forgetting to account for the “kerf,” which is the width of the saw blade itself. Every time the blade passes through the wood, it turns about an eighth of an inch of material into sawdust. If you mark all your cuts at once, your final pieces will end up shorter than intended. Always mark, cut, and measure again for the next piece to ensure perfect precision.
Alternative Method: If you do not own a miter saw, you can use a hand saw paired with a simple miter box. This inexpensive plastic or wooden guide helps you hold the saw at a perfect 90-degree angle, ensuring your cuts are square and clean without needing heavy power equipment.
Pro Tip: Before you make your final cut on each piece, apply a small strip of painter’s tape over your pencil line. Cutting through the tape prevents the cedar from splintering or “chipping out” as the saw blade exits the wood, leaving you with a much cleaner edge.
Step 2 — Build the Long Sides
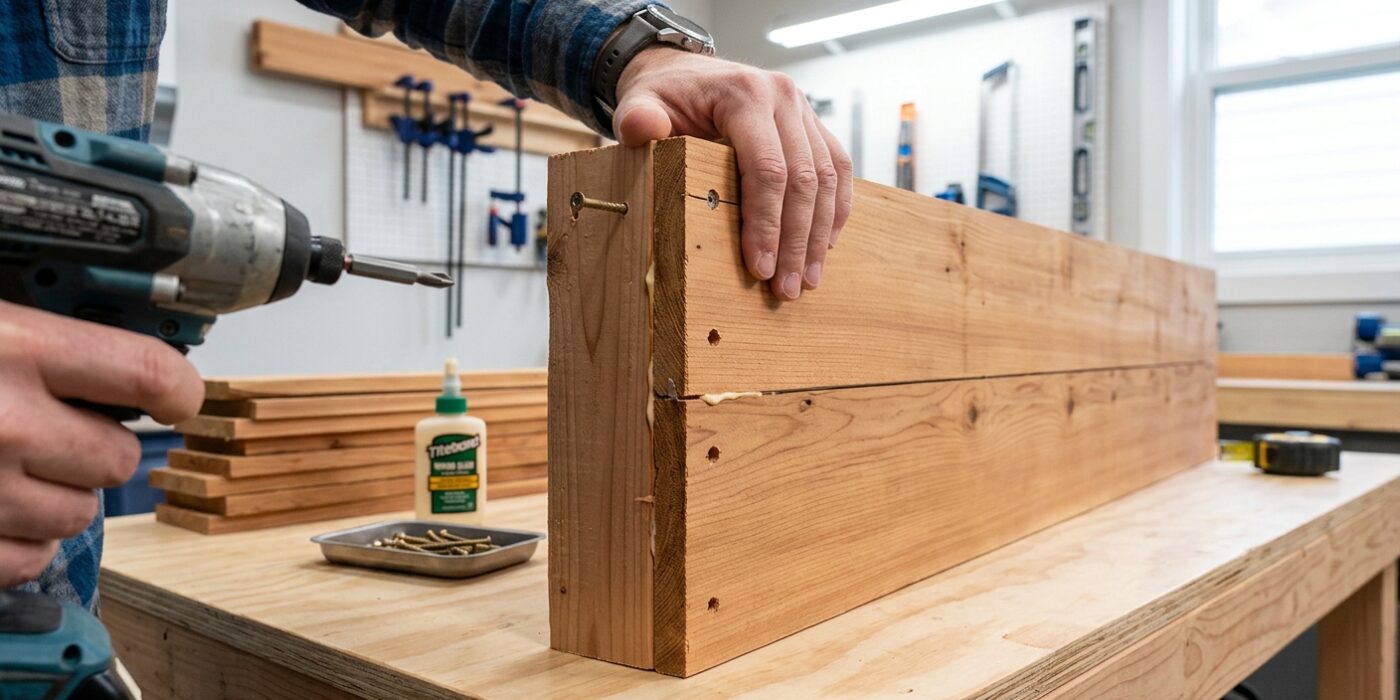
Now that your materials are cut to size, it is time to assemble the two long sides of your planter. Each side consists of two 1×6 cedar boards stacked vertically and anchored by a 4×4 corner post at each end. Start by laying your two long boards flat on your workspace, side-by-side, perfectly aligned. Place a corner post at both ends of these boards. Ensure the outside edges of the boards are flush with the edges of the posts to create a neat, professional corner. Apply a thin, consistent bead of exterior-grade wood glue to the face of the post where it meets the wood; the glue acts as a secondary fastener, significantly increasing the structural integrity of your planter against the weight of heavy, wet soil.
Once aligned, drive two 2-inch exterior deck screws through the face of each board and into the post. Pre-drilling your holes with a bit slightly smaller than your screw shank prevents the cedar from splitting, which is especially important when driving screws near the ends of boards.
Beginner Tip: The most common mistake is driving screws too close to the edge of the wood, which causes the cedar to crack. Aim to place your screws at least one inch in from the top and bottom edges of each board, and keep them centered horizontally on the post to ensure a strong, secure bite.
Pro Tip: To keep your boards perfectly aligned while you work, use a piece of scrap wood as a spacer against the bottom edge. This ensures your boards remain parallel and level throughout the entire assembly process.
Step 3 — Connect the Short Ends
Now it is time to give your planter its shape. Stand your two long side panels upright on your workspace, keeping them parallel to each other. Place them exactly 10-7/8 inches apart; this specific distance ensures your short end panels fit perfectly between them, sitting flush against the inside faces of your corner posts. Apply a thin bead of wood glue to the vertical edges of your end panels before pressing them into place. Once aligned, drive two countersunk screws through the exterior of the long side panel and into the edge of the end panel. To ensure your box is perfectly square, take a tape measure and check the distance from one corner to the opposite corner. Measure both diagonal paths – if the numbers are identical, your box is square. If they differ, gently nudge the frame until the measurements match.
Beginner Tip: The most common mistake here is letting the wood shift while driving the screws. Use a clamp to hold the boards tightly together before you start drilling. If you don’t have clamps, ask a friend to hold the pieces steady so the boards don’t slide out of alignment when the screw tip bites into the wood.
Pro Tip: Before driving your screws, use a drill bit slightly smaller than the shank of your screw to create pilot holes. This prevents the cedar from splitting and makes it significantly easier to drive the screws in straight without the drill bit “walking” across the wood surface.
Step 4 — Install Bottom Slats
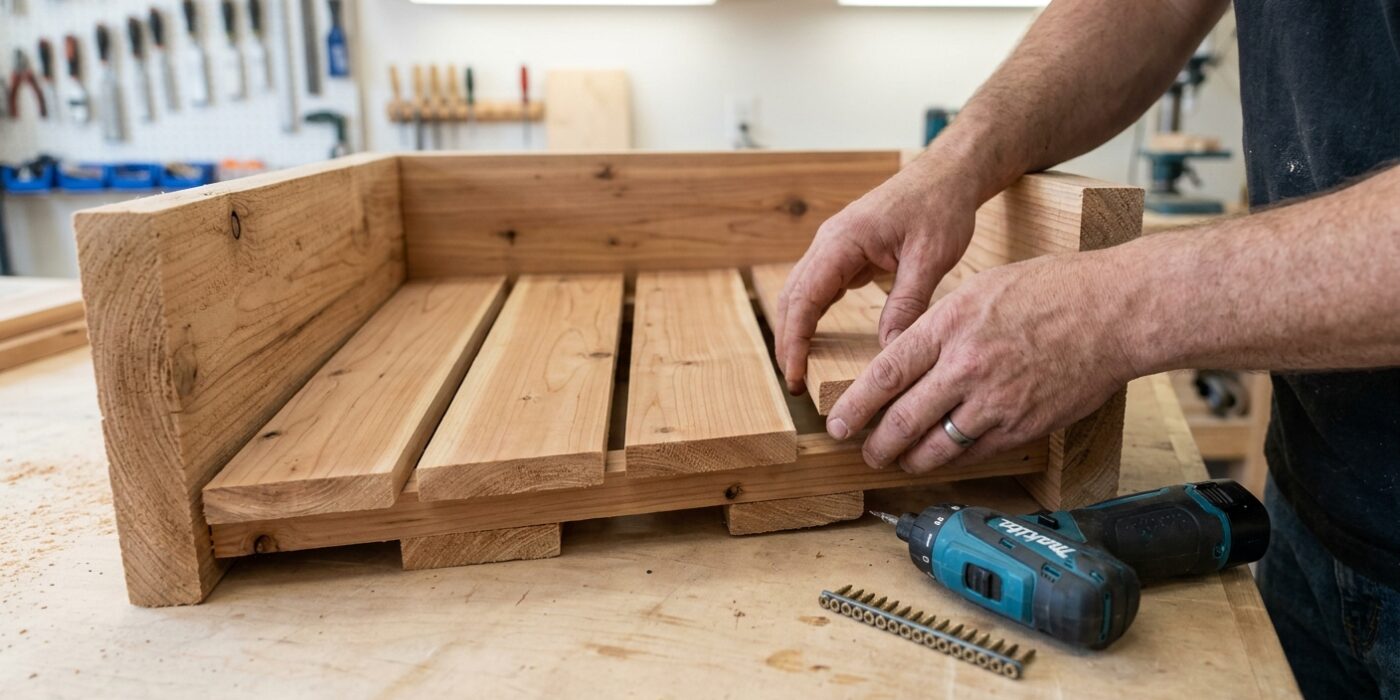
Now that your frame is assembled, it is time to give your plants a floor. Flip your planter upside down on your workspace so the top edges are resting on a flat surface. Take your three 1×4 cedar boards and lay them across the bottom opening. You want to space these slats about 1/4 inch apart from each other. This gap is vital because it allows excess water to drain out after rain or watering, which prevents your plant roots from sitting in soggy soil and rotting.
Once you have them evenly spaced, secure each slat by driving two exterior-grade wood screws through the ends and into the bottom edges of the box walls. You do not need wood glue here; in fact, it is better to leave them dry. By skipping the glue, you can easily unscrew and replace a single rotted board years down the line without having to take the entire planter apart.
Beginner Tip: Avoid the common mistake of driving your screws too close to the very edge of the board. If the screw is right at the corner, the wood is likely to split. Aim to place your screws at least 3/4 of an inch away from the board ends to keep the cedar intact.
Pro Tip: To get perfect 1/4-inch spacing without measuring every time, use a scrap piece of wood or a standard carpenter’s pencil as a “spacer block.” Simply hold the pencil flat between your slats while you drive the screws, and you will have consistent drainage gaps every time.
Step 5 — Sand and Finish
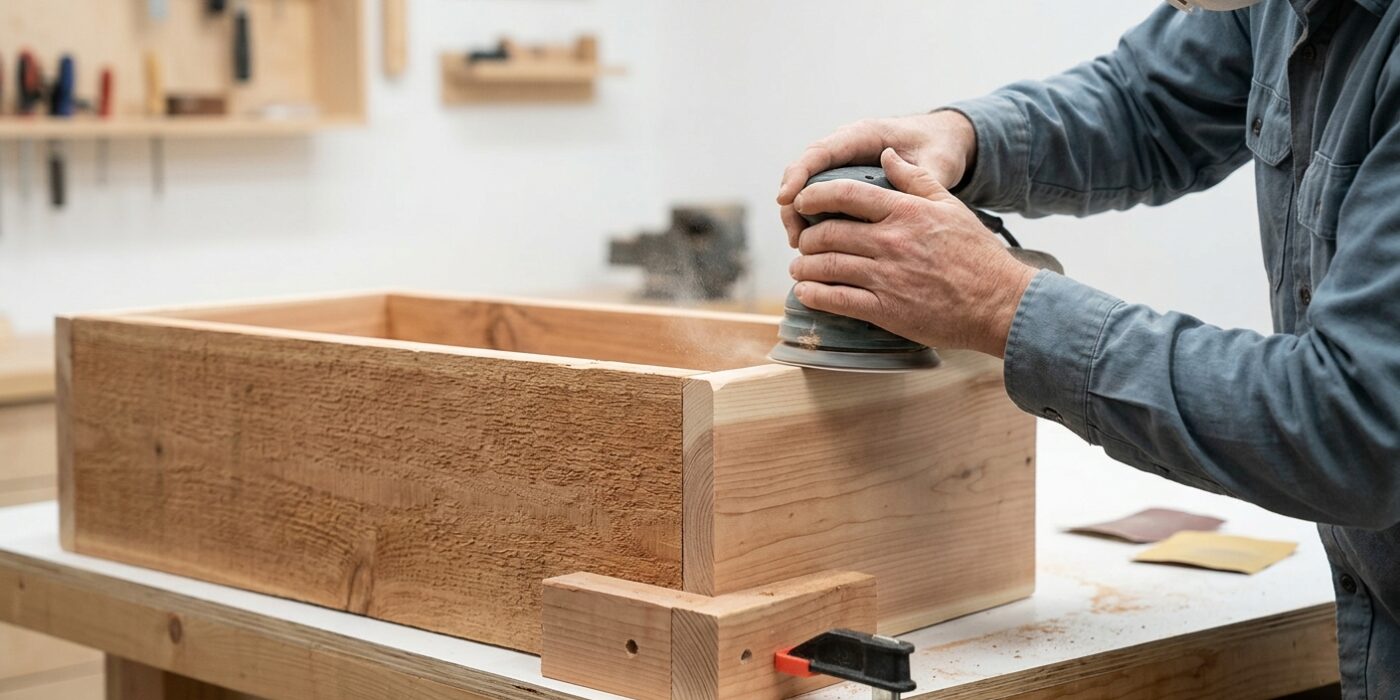
Now that your planter is assembled, it is time to make it smooth to the touch and ready for the outdoors. Start by sanding the exterior surfaces with 120-grit sandpaper to remove any rough patches or pencil marks. Follow this with 220-grit sandpaper for a silky, refined finish. As you sand, focus on the sharp edges; move your sandpaper in a rhythmic, circular motion along the corners to gently round them over. This doesn’t just look professional – it prevents future splinters when you are moving your planter.
You have three great options for the final look. If you love a rustic aesthetic, leave the cedar bare; it will naturally fade to a sophisticated silver-gray over time. If you prefer to keep the wood’s original golden hue, apply a generous coat of teak or cedar oil using a clean rag. For a splash of personality, use an exterior primer followed by two coats of high-quality outdoor paint.
Beginner Tip: Always sand in the direction of the wood grain, not across it. Sanding across the grain can leave unsightly scratches that are very difficult to remove once you apply oil or paint.
Alternative Method: If you do not own a sanding block, simply wrap your sandpaper around a scrap piece of 2×4 lumber. This creates a flat, sturdy surface that helps you sand evenly without wearing out your fingers.
Pro Tip: Before applying your final finish, use a slightly damp cloth to wipe away all the sawdust. Removing this fine dust ensures your oil or paint adheres perfectly to the wood, giving you a smooth, long-lasting result.
Step 6 — Line and Plant
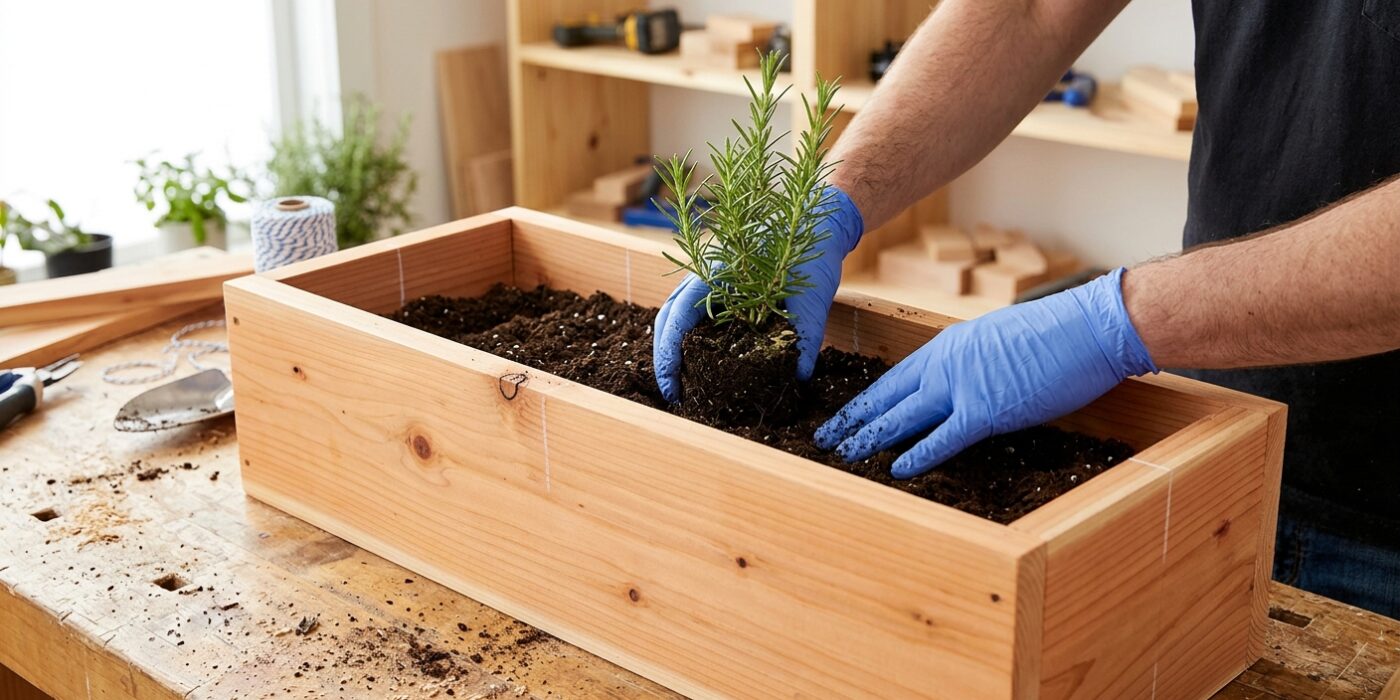
Now that your structure is complete, it is time to turn it into a home for your plants. First, cut a piece of landscape fabric large enough to cover the interior bottom and all four sides. Fold the fabric neatly at the corners and use a staple gun to attach it to the wood every 4 to 6 inches. This fabric prevents your soil from washing out through the gaps between the bottom slats while still allowing water to drain away freely, which is essential to prevent root rot. Once lined, fill the box with high-quality potting mix. Avoid using dirt from your garden, as it is too heavy and will compact into a dense brick inside the container. Stop filling about 2 inches from the top rim; this empty space, known as “headroom,” ensures that when you water your plants, the liquid stays in the box rather than spilling over the sides.
Beginner Tip: Do not over-staple your fabric. A few staples near the top edge are sufficient to hold it in place. If you put too many staples near the bottom, you risk creating small pockets where water can collect and rot the wood prematurely.
Pro Tip: To get the best results, dampen your potting mix slightly with a hose before you pack it into the corners of the box. This prevents the dry, fluffy soil from shifting or sinking unevenly once you finally give your new plants their first deep watering.