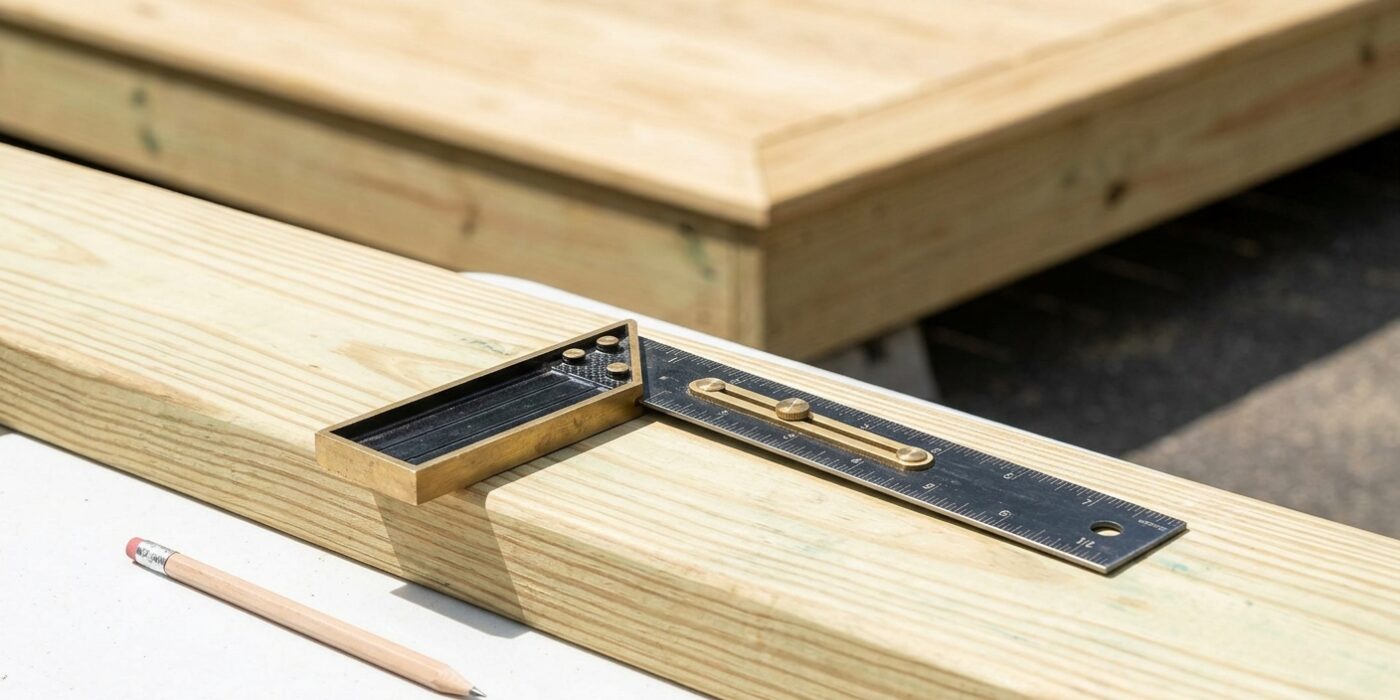
Project Shopping List
Deck stairs are the most structurally and code-critical part of any deck project. Every dimension matters: the rise (vertical height of each step), the run (horizontal depth of each tread), and the total stringer length. International Residential Code (IRC) sets maximum rise at 7-3/4 inches and minimum run at 10 inches. Stair treads that are too tall or too narrow are a genuine falling hazard, and inspectors catch non-compliant stair framing at rough inspection.
This guide walks through laying out and cutting stair stringers, setting the stringers on a proper concrete footer, and installing treads. It assumes a wood deck attached to a house and stairs going from the deck level to grade. The math here is simple but must be done carefully before you cut any lumber.
What You’ll Need
Tools
- Framing square with stair buttons or gauges
- Circular saw and jigsaw
- Level and tape measure
- Post hole digger or rental auger (for concrete footer)
- Drill and driver
- Speed square
Materials
- 2×12 pressure-treated lumber (stringer stock)
- 5/4×6 or 2×6 pressure-treated decking (treads)
- Concrete mix (for stringer footer)
- Post bases or stringer connectors
- 3/8-inch carriage bolts (for stringer-to-frame connection)
- 2-inch and 3-inch structural screws
Step 1: Calculate Total Rise and Number of Steps
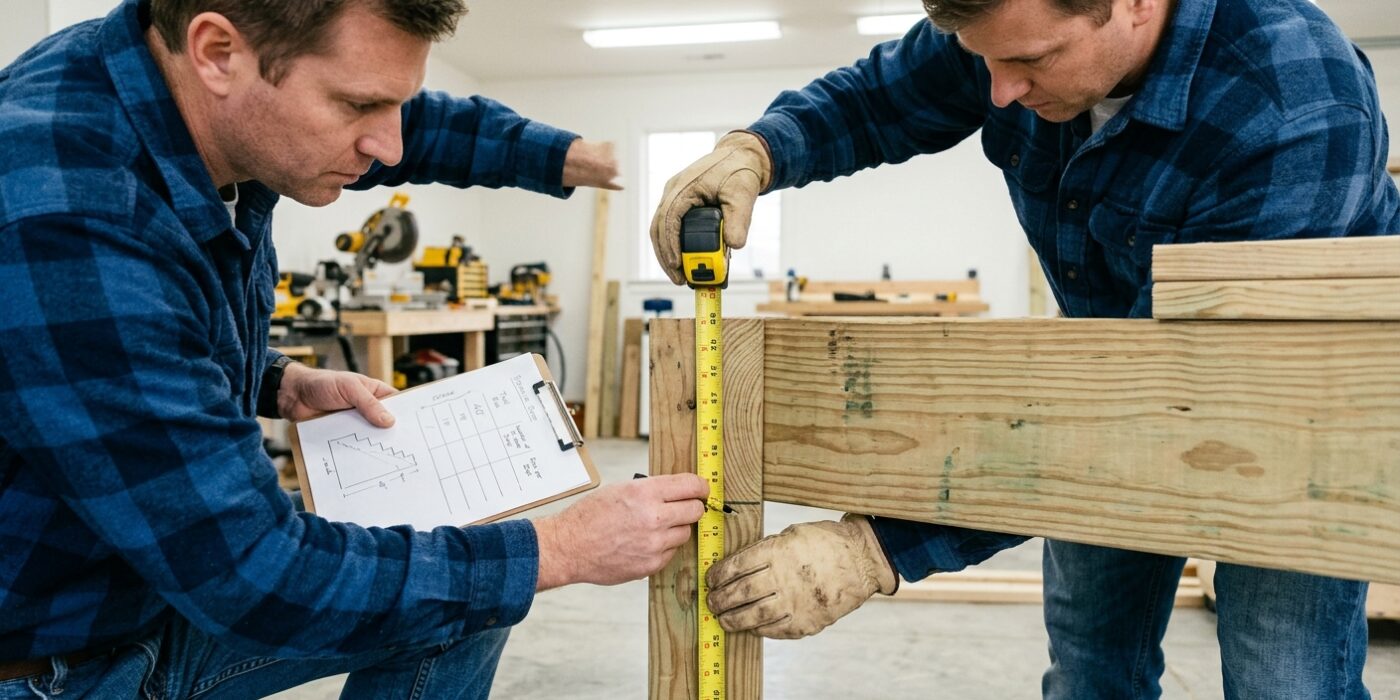
Before you cut any wood, you must determine exactly how tall each step needs to be. First, measure the vertical distance from the top of your deck surface down to the finished ground where the stairs will land. This is your “total rise.” To keep your stairs comfortable and code-compliant, target an individual riser height of around 7 inches. Divide your total rise by 7, then round that number to the nearest whole digit – this is your total number of steps. Finally, divide the total rise by that number to find your exact riser height. For example, if your total rise is 42 inches, 42 divided by 7 equals 6. Because 42 divided by 6 is exactly 7, your riser height is 7 inches. This is perfect, as it sits safely below the common 7-3/4 inch maximum code limit.
Beginner Tip: The most common mistake is forgetting to account for the thickness of your decking material. If you measure from the deck surface but forget that your bottom step will sit on a concrete pad or finish grade, your final step height will be off. Always verify your starting point is the actual finished landing surface.
Pro Tip: To avoid measuring errors, use a story pole – a long, straight piece of scrap lumber. Mark your calculated riser height along the pole to visualize the flight before committing to your stringer cuts. This helps you spot potential obstructions at the top or bottom of the staircase before you start building.
Step 2: Calculate Total Run and Landing Location
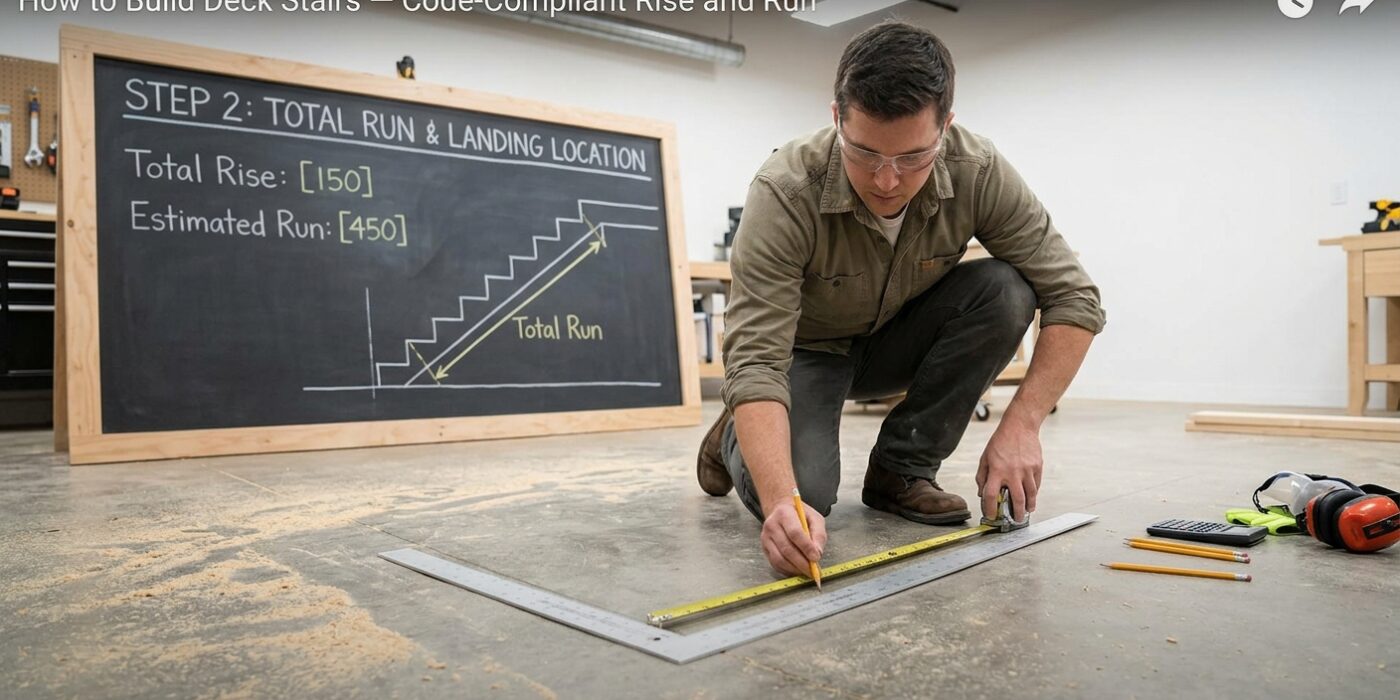
Before you start cutting, you need to know exactly how far your stairs will stretch into your yard. This distance is called the total run. To calculate it, multiply your number of treads by the depth of each tread. Remember, stairs always have one fewer tread than risers because the top step is actually the deck itself. For example, if you have 6 risers, you will have 5 treads. If each tread is 10-1/2 inches deep, your math is 5 times 10.5, which equals 52.5 inches. This is the horizontal distance from the base of your deck to where your stairs will finish.
Use a tape measure to mark this distance on the ground, starting from the face of your deck’s rim joist. This mark indicates where the bottom of your stringers will sit. It is vital to provide a solid base, like a poured concrete landing pad or a buried concrete paver, to prevent the wood from rotting and the stairs from sinking into the dirt over time.
Beginner Tip: Double-check your math before making any marks! A common mistake is including the top deck as a tread; always count only the treads attached to the stringer itself. If your run is off by even an inch, your stairs won’t fit against the deck properly.
Pro Tip: To ensure your landing point is perfectly square to the deck, use the 3-4-5 triangle method. Measure 3 feet along your deck and 4 feet out toward your stairs; if the diagonal distance between those marks is exactly 5 feet, your layout is perfectly square.
Step 3: Lay Out the Stringer
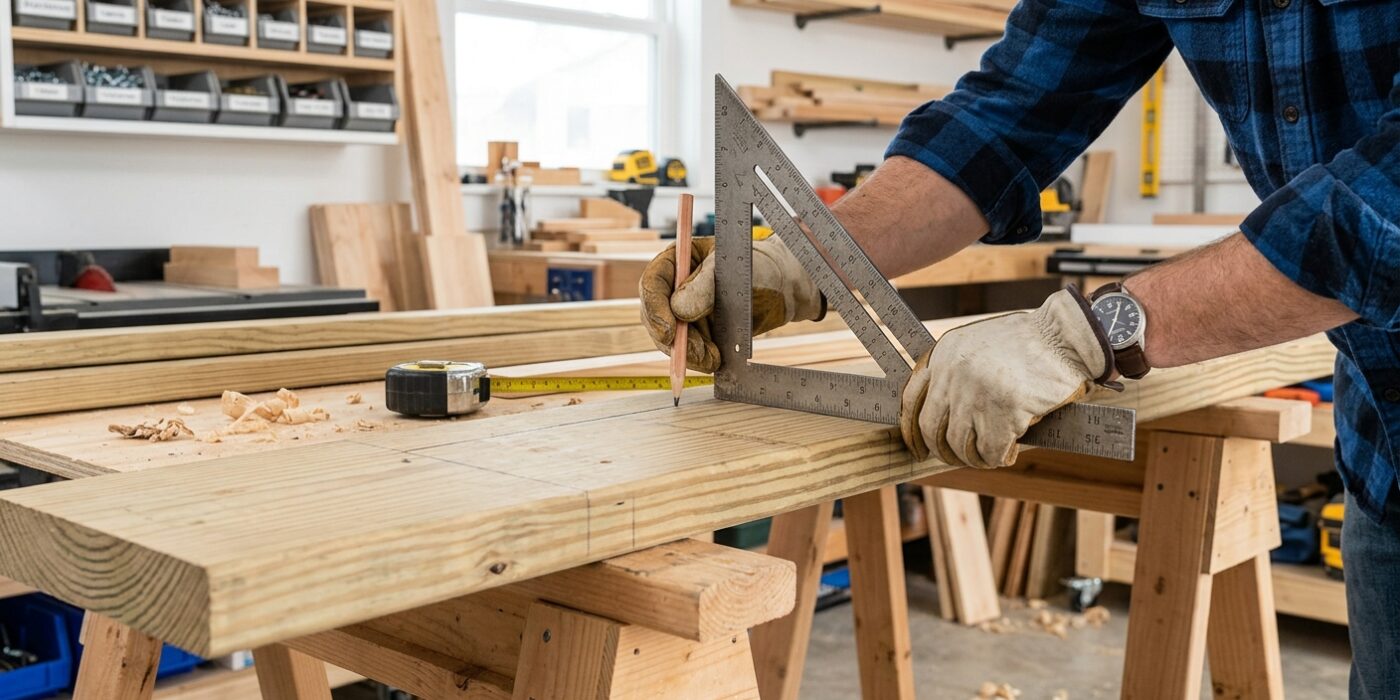
Now it is time to map out your stairs on your 2×12 lumber. To start, take your framing square and attach two small metal stair buttons (also called gauges) to the edges. Set one button to your calculated riser height on the tongue (the shorter arm of the square) and the other to your tread depth on the blade (the longer arm). These buttons ensure that every single step is perfectly identical, which is crucial for safety and local building codes.
Place your square against the edge of the board, aligning the buttons with the wood grain. Trace the L-shape created by the square. Slide the square down, lining the top button up with your previous mark, and continue until you have drawn all your steps. At the bottom, draw a horizontal line equal to the thickness of one tread; you will trim this off so the stairs sit flush on your patio or landing. Finally, mark the plumb cut at the top where the stringer will butt against your deck frame.
Beginner Tip: The most common mistake is failing to account for the thickness of the stair tread. If you don’t trim the bottom of the stringer by the exact thickness of your chosen decking material, your bottom step will be too tall and your top step will be too short, creating a tripping hazard. Always double-check your math before making the first cut.
Pro Tip: If you find the square slipping, use a spring clamp to hold it firmly against the board while you trace. Precision here saves you hours of sanding or patching later.
Step 4: Cut the Stringers
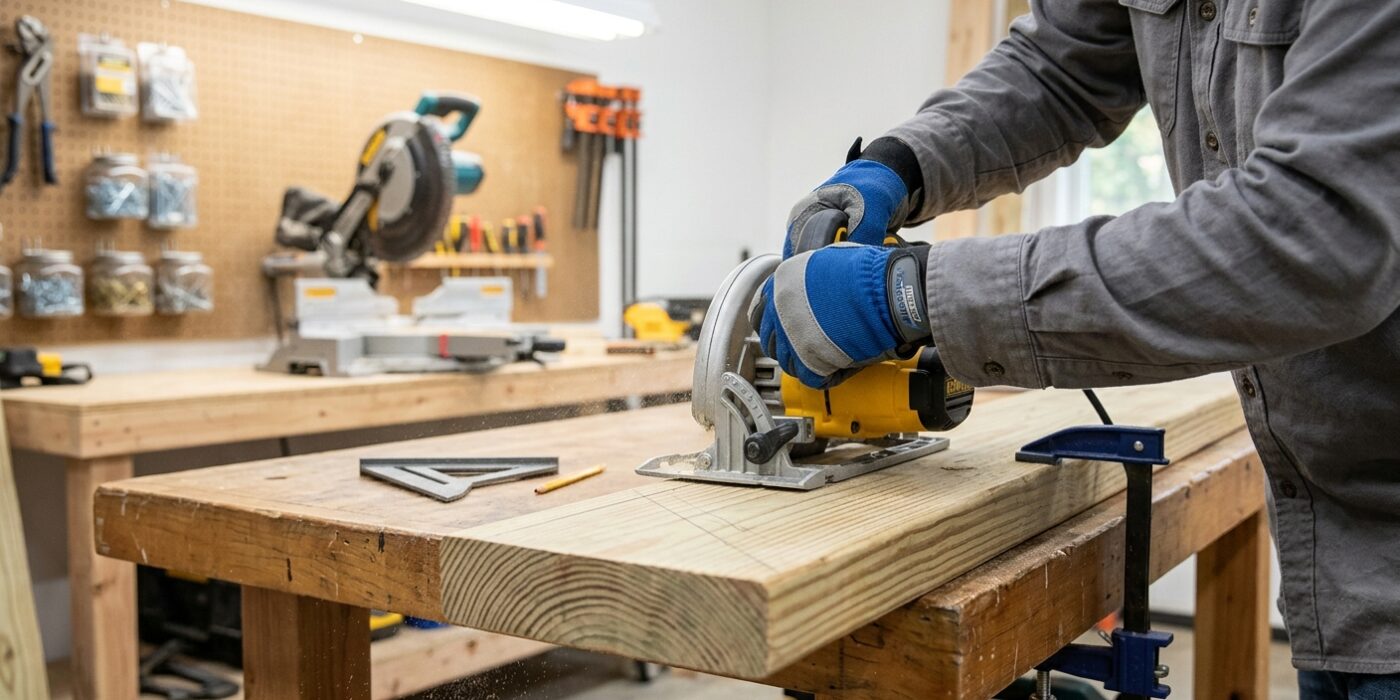
Now it is time to transform your 2×12 lumber into the structural backbone of your stairs. Start by adjusting your circular saw blade depth so it protrudes about 1/4-inch past the bottom of the wood; cutting too deep can damage your workbench or floor. Carefully follow the lines you traced in the previous step. It is crucial that you stop your circular saw exactly where the horizontal and vertical lines meet. Do not let the blade cross into the corner, as this removes structural wood and creates a weak point that could cause your stairs to crack under weight. Finish those tight corners using a jigsaw or a hand saw to ensure a clean, sharp interior angle.
Beginner Tip: The most common mistake is letting the saw “drift” away from the line. To prevent this, keep your saw base flat against the board and move slowly. If you find your hand shaking, take a breath; it is better to cut slightly wide of your line and sand the edge smooth than to cut into the structural material.
Alternative Method: If you find a circular saw intimidating, you can use a high-quality hand saw. While it takes more physical effort, a sharp hand saw offers superior control, making it much easier to stop exactly at your corner marks without the risk of over-cutting.
Pro Tip: After cutting your first stringer, stack it perfectly on top of your next raw 2×12. Clamp them together securely and use the first one as a physical stencil to trace your cuts. This ensures every stringer is identical, which is the secret to a level, professional-looking staircase.
Step 5: Install the Concrete Footer
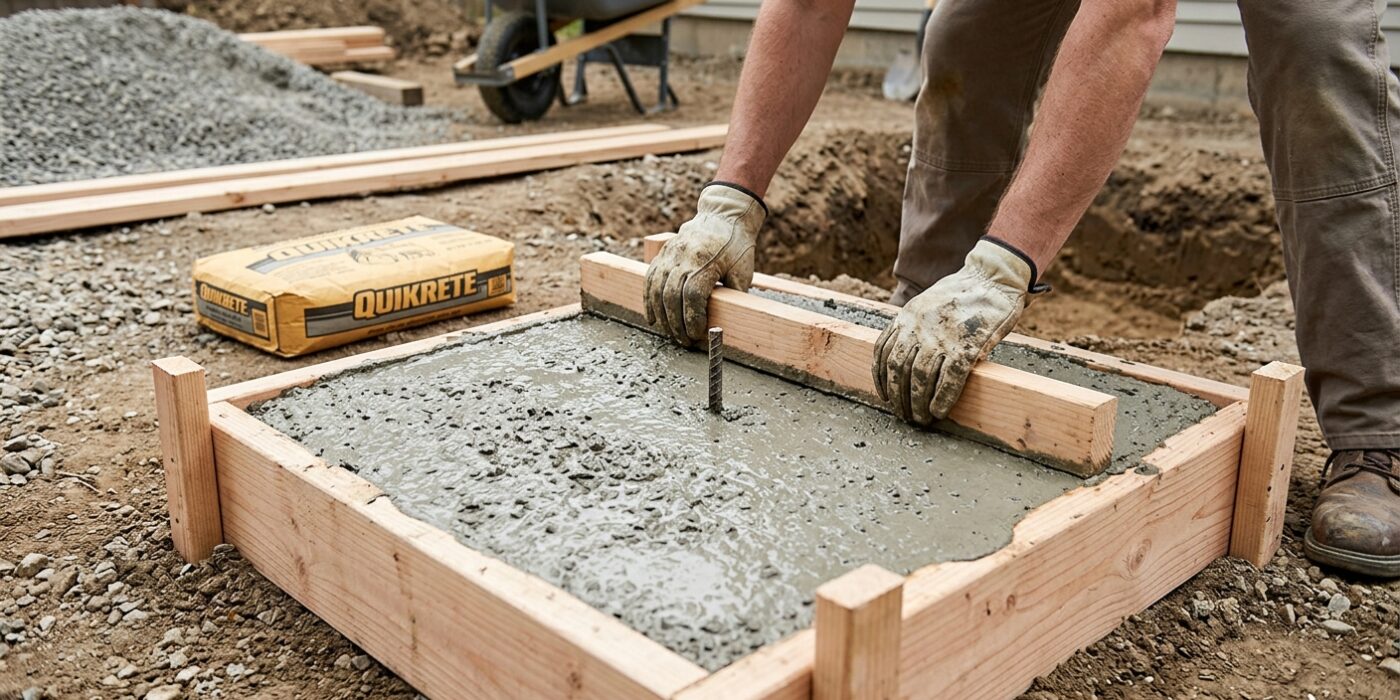
Now that you have marked where your stairs will land, it is time to create a solid foundation. You need to dig a hole that extends below your local frost line – check your city’s building department website for this specific depth, as it prevents your stairs from heaving or shifting when the ground freezes and thaws. Place a 12-inch diameter cardboard tube form into the hole and fill it with pre-mixed concrete. This creates a stable pad that keeps your wood stringers off the damp ground, preventing rot.
While the concrete is still wet, embed your adjustable post bases or stringer connectors. Use a level to ensure these anchors are perfectly flat and spaced exactly to match the width of your staircase. Once the concrete is set, these anchors will bolt to your stringers, locking them securely in place so the base of your stairs cannot kick outward when you walk on them. Allow the concrete to cure for at least 48 hours before you attempt to attach the stringers.
Beginner Tip: The most common mistake is letting the concrete “float” too high above grade. Ensure the top of your footer sits about one inch above the surrounding soil; this prevents rainwater from pooling around your wooden stringers, which significantly extends the life of your deck.
Pro Tip: To keep your anchors perfectly aligned while the concrete sets, attach them to a piece of scrap lumber cut to the exact width of your staircase. Rest this lumber across the top of the tube form; it acts as a jig, holding the anchors in the correct position until the concrete hardens.
Step 6: Attach Stringers to the Deck
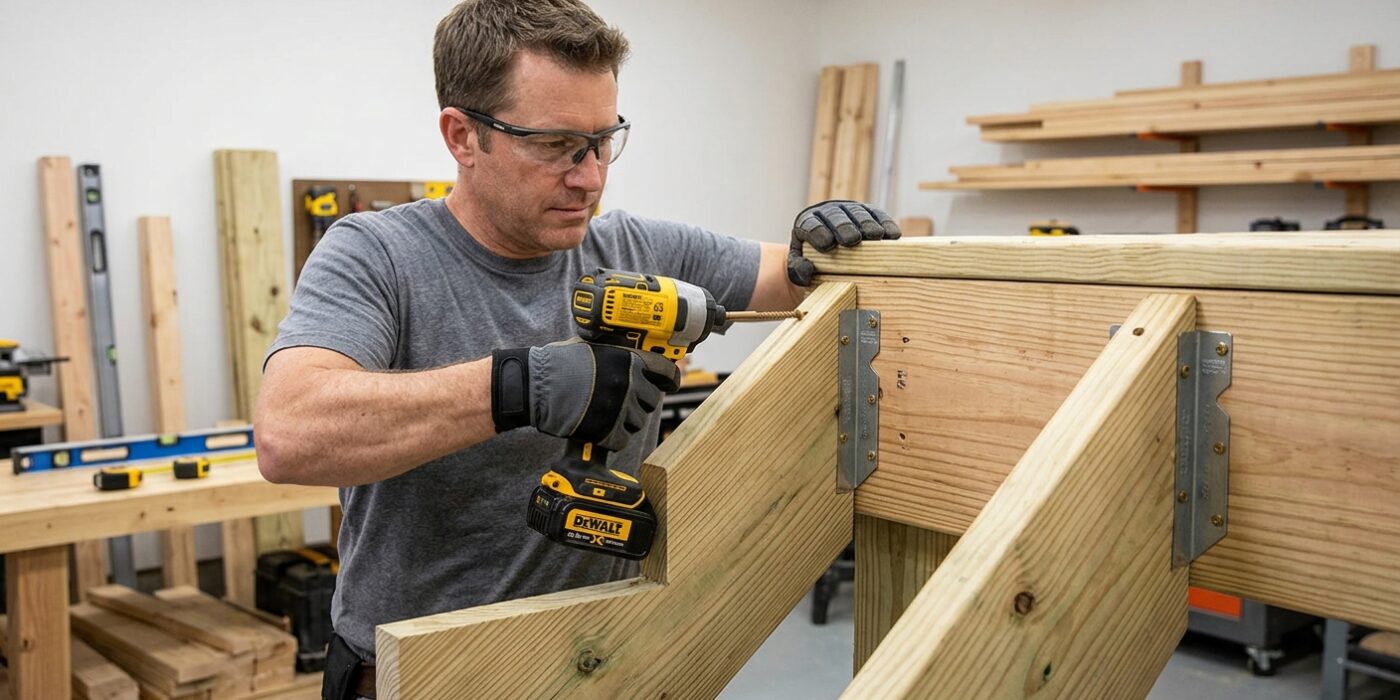
Now that your stringers are cut, it is time to secure them to the deck rim joist. This connection is the foundation of your staircase, so it must be rock-solid to ensure safety. Position your three stringers evenly across the width of your stairs. The top edge of each stringer should sit flush against the rim joist so that the top tread will eventually be level with – or slightly below – your deck surface. Use a carpenter’s level to ensure each stringer is perfectly plumb (vertical). If you find a gap at the bottom where the stringer meets the ground, place a shim under the footer connector until the stringer stands perfectly straight.
To fasten them, use structural stringer hangers, which act like a steel cradle for your wood, or secure them using 3/8-inch galvanized carriage bolts. If bolting, drill your holes straight through both the stringer and the rim joist, then tighten the nuts firmly with washers. A secure connection prevents your stairs from shifting or pulling away over time.
Beginner Tip: A common mistake is tightening your fasteners before checking the level of all three stringers simultaneously. Always use a long, straight board across all three stringers to make sure they are aligned with each other before you lock them into place permanently.
Pro Tip: To get the perfect height every time, use a “spacer block” cut to the exact thickness of your decking material. Place this block between the stringer and the deck rim joist while mounting; this guarantees that your finished top step will align perfectly with your deck surface.
Step 7: Install Treads
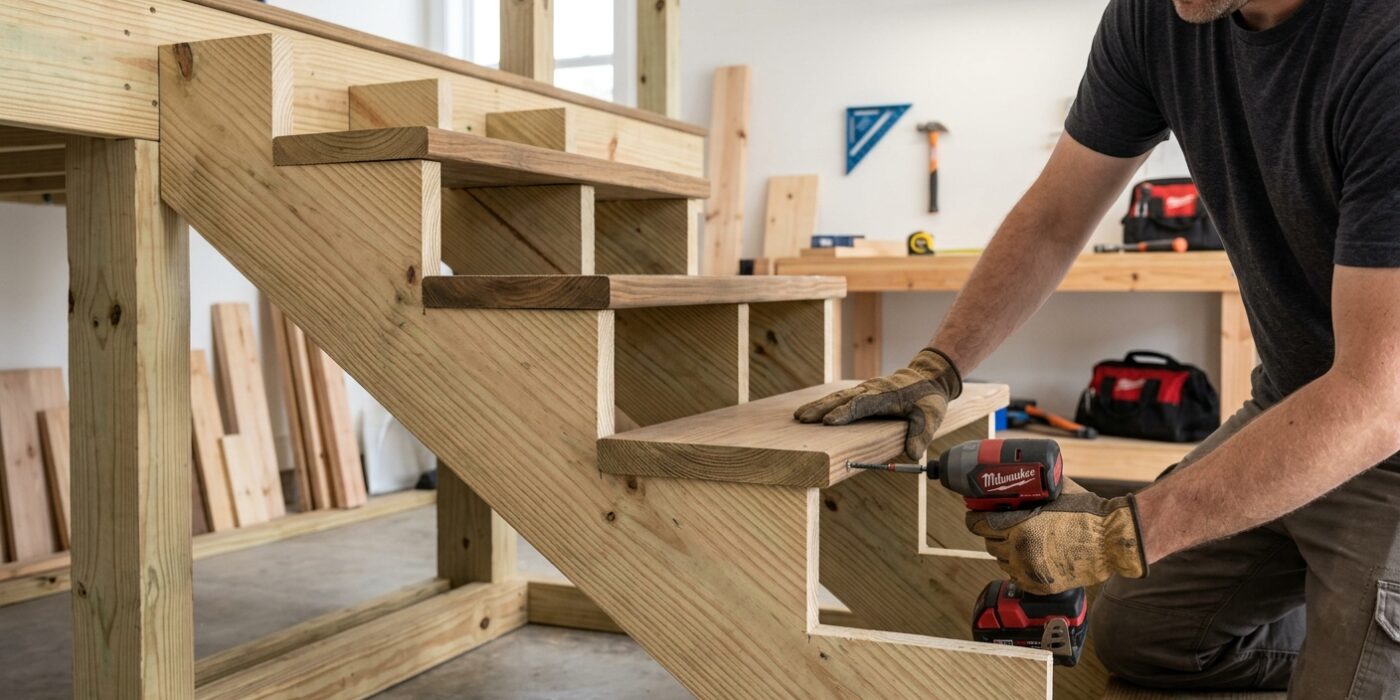
Now it is time to give your stairs a place to land. You will be using 5/4×6 or 2×6 pressure-treated decking boards for your treads. To achieve a standard 10-1/2 inch tread depth, place two boards side-by-side. Because these boards are typically 5-1/2 inches wide, setting them with a 1/2 inch gap between them creates the perfect depth. When you position your boards, ensure the front edge (the nosing) overhangs the riser below by 3/4 to 1-1/4 inches. This overhang is a safety requirement that prevents your toes from catching on the riser as you climb.
Before driving your screws, always pre-drill pilot holes using a drill bit slightly smaller than your screw shank. This is crucial because wood near the ends of boards is prone to splitting. Use two deck screws per board at every stringer intersection to ensure the tread stays rock-solid under your weight. Aim for a 1/8 to 1/4 inch gap between the boards to allow rainwater to drain properly, which significantly extends the life of your wood.
Beginner Tip: Avoid the mistake of using standard nails. Nails will eventually work their way loose as the wood expands and contracts, leading to squeaky, unsafe stairs. Always use high-quality, exterior-rated deck screws for superior holding power.
Pro Tip: To keep your spacing perfectly consistent across every single step, cut a scrap piece of wood to your desired 1/4 inch width and use it as a spacer block. Simply hold this block between your boards as you fasten them to ensure perfectly uniform drainage gaps.
Step 8: Add Handrail If Required
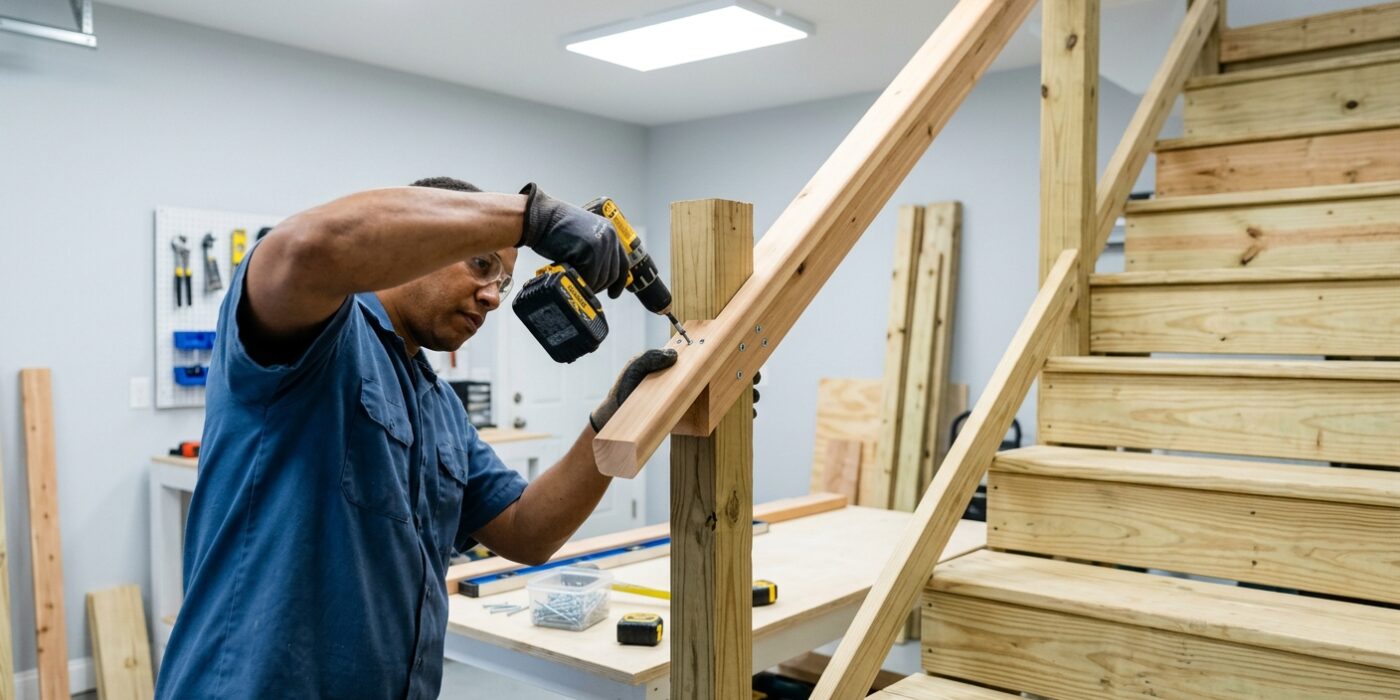
Safety is the most important part of your deck, so adding a sturdy handrail is non-negotiable for stairs with four or more risers. Code requires your rail to be between 34 and 38 inches high, measured vertically from the front edge (nosing) of the stair tread. The rail itself needs to be “graspable” – ideally a smooth, round, or oval profile between 1-1/4 and 2 inches in diameter – so that anyone can easily wrap their hand around it in an emergency.
To begin, mount your newel posts securely to the deck frame or the side stringers using structural lag bolts rather than standard screws. Once the posts are solid, install your handrail brackets and attach the railing, ensuring the rail extends continuously from the top riser to the bottom riser. Finally, install a “return” fitting at each end, which curves the rail back toward the post or wall; this prevents clothing or bag straps from snagging on the end of the rail as you walk by.
Beginner Tip: A common mistake is measuring your rail height from the ground. Always measure from the front edge of the stair tread itself. If you measure from the ground, your handrail will likely end up at the wrong height and fail a safety inspection.
Pro Tip: To get the perfect look, use a scrap piece of handrail material to test your bracket positions before drilling your final holes. This helps you confirm that the rail sits comfortably in your hand at the correct height across the entire span.