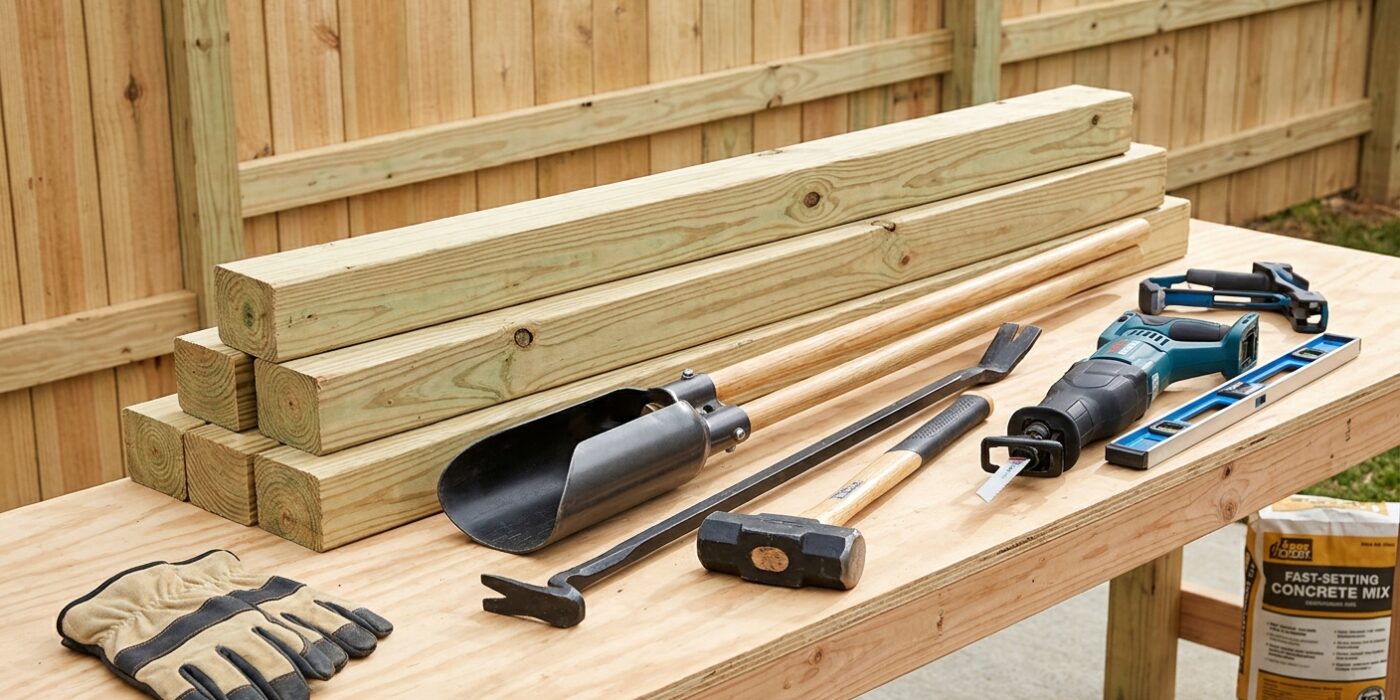
Project Shopping List
A rotted fence post is the most common cause of fence failure, and replacing one post while leaving the rest of the fence intact is a straightforward afternoon project. The key is extracting the old post and broken concrete cleanly without disturbing adjacent rails and pickets, then setting the new post at exactly the same height and alignment as the old one.
What You Need
- New 4×4 cedar or pressure-treated post (10-12 feet for a 6-foot fence)
- Post puller or digging bar
- Post hole digger
- Fast-setting concrete mix
- Level and clamps
- Drill and 3-inch exterior screws
- Circular saw
Step-by-Step Instructions
Step 1: Assess and Disconnect the Post
Examine the failing post before removing anything. Identify what is attached: rails screwed or nailed to the post face, rails mortised into the post, or panels set between posts. Remove all fasteners connecting rails to the failing post. If rails are face-mounted, unscrew them from the post only — the far ends stay connected to adjacent posts. Prop the rails temporarily with scrap wood blocks so they do not sag while the post is out.
Step 2: Extract the Old Post and Concrete
The old post and its concrete footing must come out together. Three methods: (1) Post puller tool — a specialized lever tool that grips the post and uses mechanical advantage to pull it straight up (the easiest method). (2) Digging around the concrete with a post hole digger or digging bar, then levering out the concrete with a pry bar. (3) Cut the post off at grade, drill a series of holes into the concrete footing, break it up with a 3-lb hammer and cold chisel, and remove pieces. Method 3 is the most labor-intensive but works when the footing is buried very deep or has spread laterally.
Step 3: Clean and Prepare the Hole
Remove all debris from the hole. If the footing extended below the frost line (which it should have), the new footing must also extend below frost line — do not assume the old hole is adequate if the old post was too shallow. Add 6 inches of fresh gravel to the bottom of the hole for drainage. Check the depth: for a 10-foot post with 4 feet in the ground, the hole must be at least 42 inches deep.
Step 4: Cut the New Post to Height
Do not cut the new post to final height before setting it — cut it slightly long and trim to exact height after the concrete cures. This allows you to adjust the exact top height based on the surrounding fence height without being committed to a fixed length. Alternatively, mark the new post at the desired finished height using the existing fence as a reference, then cut after setting and curing.
Step 5: Set the New Post
Drop the new post in the hole. Brace it plumb in two directions with 2×4 kickers staked to the ground — the post must stay exactly plumb during the concrete pour and cure. String a line between adjacent posts to align the new post along the fence line — the new post front face must be in the same plane as the adjacent posts. Pour fast-setting concrete into the hole dry, add water per the bag directions, and let set 30-45 minutes. Slope the wet concrete crown slightly away from the post.
Step 6: Re-Attach Rails and Cut to Final Height
After concrete cures (1-2 hours for fast-setting), cut the post to its final height if needed. Re-attach all rails with 3-inch exterior screws — pre-drill to prevent splitting. Check that the top rail sits at the same height as on adjacent panels. If pickets were removed for access, re-install with consistent spacing using a spacer block. Paint or stain the new post to match the existing fence.
Pro Tips
- Use fast-setting concrete (Quikrete Fast Setting No-Mix) — pour it dry into the hole and add water. It sets in 30 minutes and you can re-attach rails the same day.
- If the old post rotted at the ground line but is solid above and below, you can sister a new pressure-treated 4×4 alongside it for an even faster repair.
- Ground-contact rated lumber (UC4B) dramatically outlasts standard pressure-treated or cedar posts in direct soil contact — use it for the replacement post.
Frequently Asked Questions
Why did my fence post rot so quickly?
Post rot occurs at the ground line where moisture is highest and air circulation is minimal. The most common causes: post not rated for ground contact (UC4A vs UC4B rating), poor drainage allowing water to pool around the post base, and no gravel drainage layer at the bottom of the post hole. Pressure-treated posts rated UC4B in a hole with proper gravel drainage can last 30-40 years.
Can I use a metal fence post spike instead of concrete?
Metal post spikes (driven stakes with a square socket for the post) work for gates and low-stress applications in stable soil. They are not adequate for a 6-foot privacy fence in freeze-thaw climates — frost heave pulls them up. For full privacy fencing, concrete is the correct method.