
Project Shopping List
Landscape timber edging creates a clean separation between lawn and garden beds, keeps mulch in place, and gives planted areas a defined, finished look. Pressure-treated landscape timbers – typically 4×4 or 4×6 in 8-foot lengths – are inexpensive, easy to work with, and last for years. This guide covers installing landscape timber edging along a curved or straight bed border using stakes and timber screws.
What You’ll Need
Tools
- Circular saw or miter saw (for straight cuts) or reciprocating saw (for angles)
- Drill with long bit for pilot holes
- Sledgehammer or maul
- Flat spade
- Level
- Garden hose or rope (for layout)
Materials
- Landscape timbers (4×4 or 4×6, 8-foot lengths)
- Rebar stakes: 2-foot sections of 1/2-inch rebar, or pressure-treated 2×2 stakes
- Timber screws or landscape spikes (12-inch galvanized spikes or 3/8-inch timber screws)
- Landscape fabric staples
Step 1: Lay Out the Edging Line
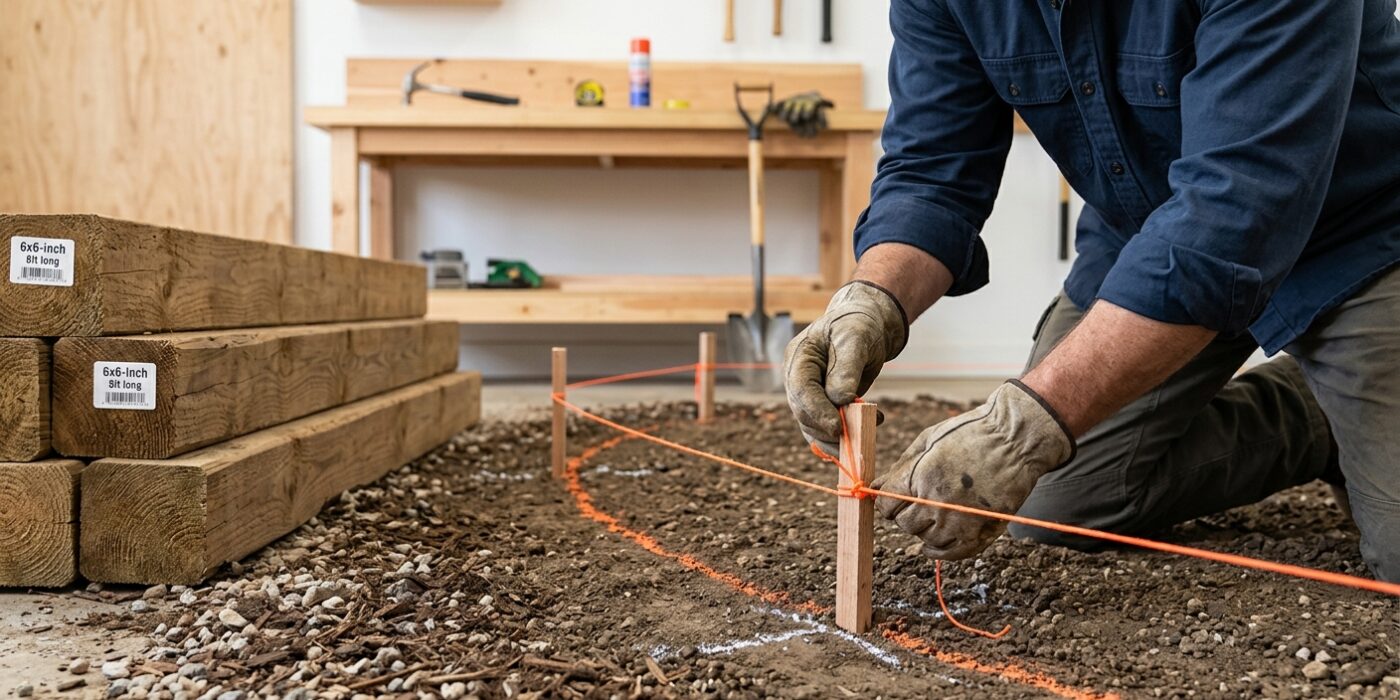
Before you start digging, you need to visualize exactly where your new border will go. Using a garden hose is the secret to a professional-looking landscape. Lay the hose out across the grass in the shape you desire; curves should be long and sweeping rather than tight, as landscape timbers are rigid and cannot bend around sharp corners. Once the hose is in place, walk around your project from multiple angles – including from inside your house looking out – to ensure the shape feels natural.
For straight sections, drive two stakes into the ground and pull a piece of mason’s string taut between them. This creates a perfect visual guide. Once you are happy with the layout, use a flat-head spade to slice straight down into the sod along the edge of your hose or string. You are essentially creating a clean, vertical incision about three inches deep. This creates the “canvas” for your project and ensures your timbers align perfectly.
Beginner Tip: Don’t rush this step. It is common for beginners to be unhappy with the shape once the timbers are actually in place. Take the time to move the hose back and forth until the flow of the curve feels right. It is much easier to move a hose than it is to move heavy wooden timbers later.
Pro Tip: To get a perfectly crisp line, spray a light coat of inverted landscape marking paint along the path of your hose or string before you remove them. This gives you a permanent, high-visibility guide to follow with your spade.
Step 2: Excavate the Trench
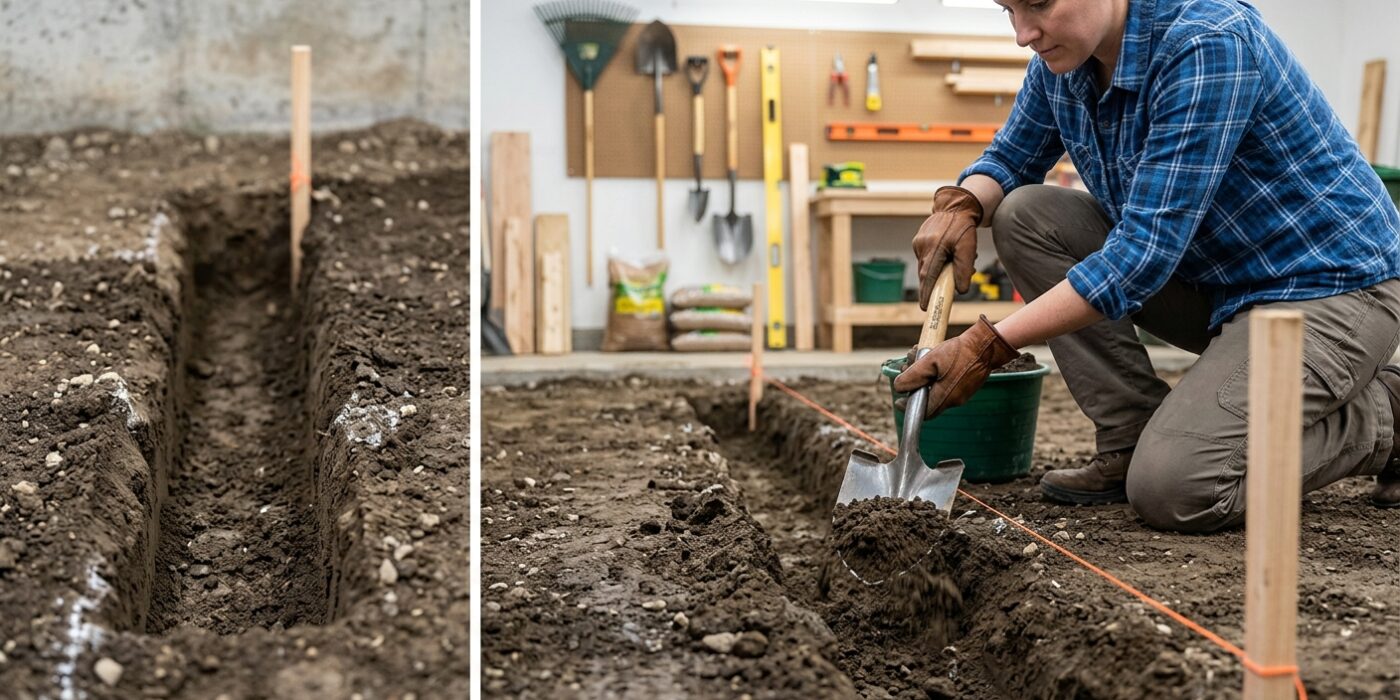
Now it is time to carve out the space for your timbers. Using a square-edged shovel, dig a trench along your marked line that is roughly 6 inches wide and 2 inches deep. The goal is to bury your 4×4 timber halfway. This specific depth is perfect because it keeps the wood stable and creates a sturdy barrier to hold your mulch inside the bed, while remaining low enough for your lawn mower wheels to roll over the top without damaging the blades or the timber itself.
As you dig, focus on keeping the bottom of the trench as flat and level as possible. Think of the trench floor like a shelf; if it is uneven, your timbers will wobble or tilt once installed.
Beginner Tip: Avoid digging your trench too wide. If the gap between the timber and the soil is too large, the timber will shift out of place over time. Keep the trench snug so the wood fits firmly against the dirt walls.
Pro Tip: To keep your trench perfectly level without constantly checking a bubble level, lay a long, straight 2×4 board across the trench every few feet. Place your level on top of that board; it will give you an accurate reading of the entire trench floor rather than just one tiny spot, ensuring your final edge looks professional and uniform.
Step 3: Set the Timbers
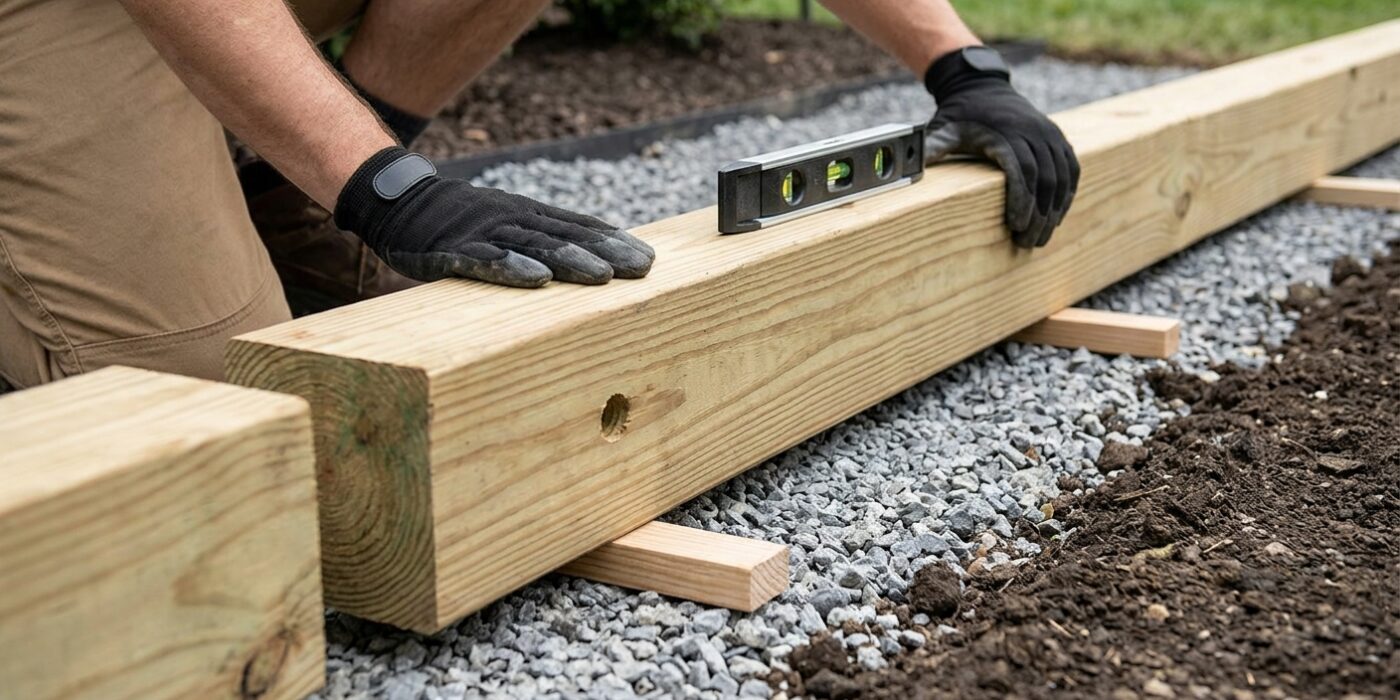
Now it is time to bring your vision to life by placing the landscape timbers into your trench. Start by laying the first timber in the center of the trench and use a carpenter’s level to ensure it sits perfectly flat. The goal is a stable base, as uneven timbers will wobble or shift over time. If your yard has a slope, do not try to bend the wood to follow the ground. Instead, use a “stepped” approach: keep each timber level, creating a small “staircase” effect as the ground drops away. This keeps your mulch contained and creates a professional, terraced look.
For joints, push the ends of the timbers tightly against one another to keep gaps to a minimum. If you are navigating a curve, you will need to cut the ends of the timbers at a slight angle using a miter saw or a hand saw. By angling the cuts, you allow the timbers to pivot slightly, creating a smooth, flowing line around your garden bed.
Beginner Tip: A common mistake is skipping the leveling process because the ground looks “flat enough.” Always check the level on every single timber. Even a tiny tilt in the first piece will become a noticeable, unsightly gap by the time you reach the end of the run.
Pro Tip: To keep your timbers from shifting while you work, drive a 12-inch galvanized landscape spike through the timber and deep into the soil at each end. This acts as an anchor, holding your beautiful new border firmly in place against the elements.
Step 4: Stake the Timbers
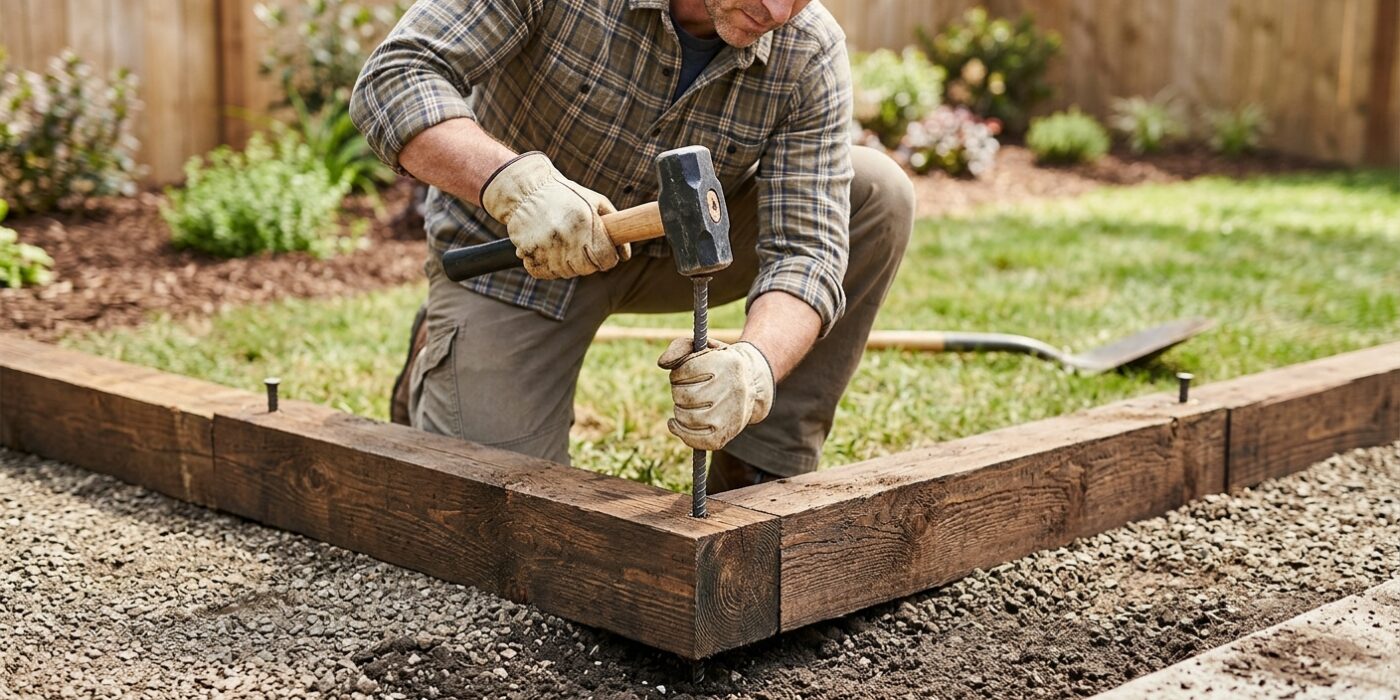
Now that your timbers are level and aligned, it is time to lock them in place so they do not shift or bulge over time. You will use rebar stakes or 2-foot lengths of pressure-treated 2×2 wood. Place a stake every 4 feet along the inside edge of your timbers – the side facing the garden bed. First, use a power drill with a bit slightly smaller than your stake to drill a pilot hole straight down through the timber and into the ground. This prevents the wood from splitting. Once the hole is drilled, place your stake and drive it down with a sledgehammer until the top is flush with or slightly below the surface of the timber. This ensures the stake remains completely hidden once you add mulch.
Beginner Tip: A common mistake is driving the stakes too close to the very end of a timber. This can cause the wood to crack or split. Always keep your stakes at least 6 inches away from the ends of each timber to maintain structural integrity.
Alternative Method: If you do not have a drill, you can use landscaping spikes, which are large, heavy-duty metal nails specifically designed for this purpose. Simply position the spike and hammer it through the timber and into the soil. While these are easier to install than rebar, they offer slightly less lateral support for taller garden walls.
Pro Tip: To keep your finished project looking clean, use a small piece of scrap wood as a buffer between your sledgehammer and the stake while you are pounding it in. This prevents the face of the hammer from scuffing or denting the top of your landscape timber.
Step 5: Connect Stacked Timbers (Optional)
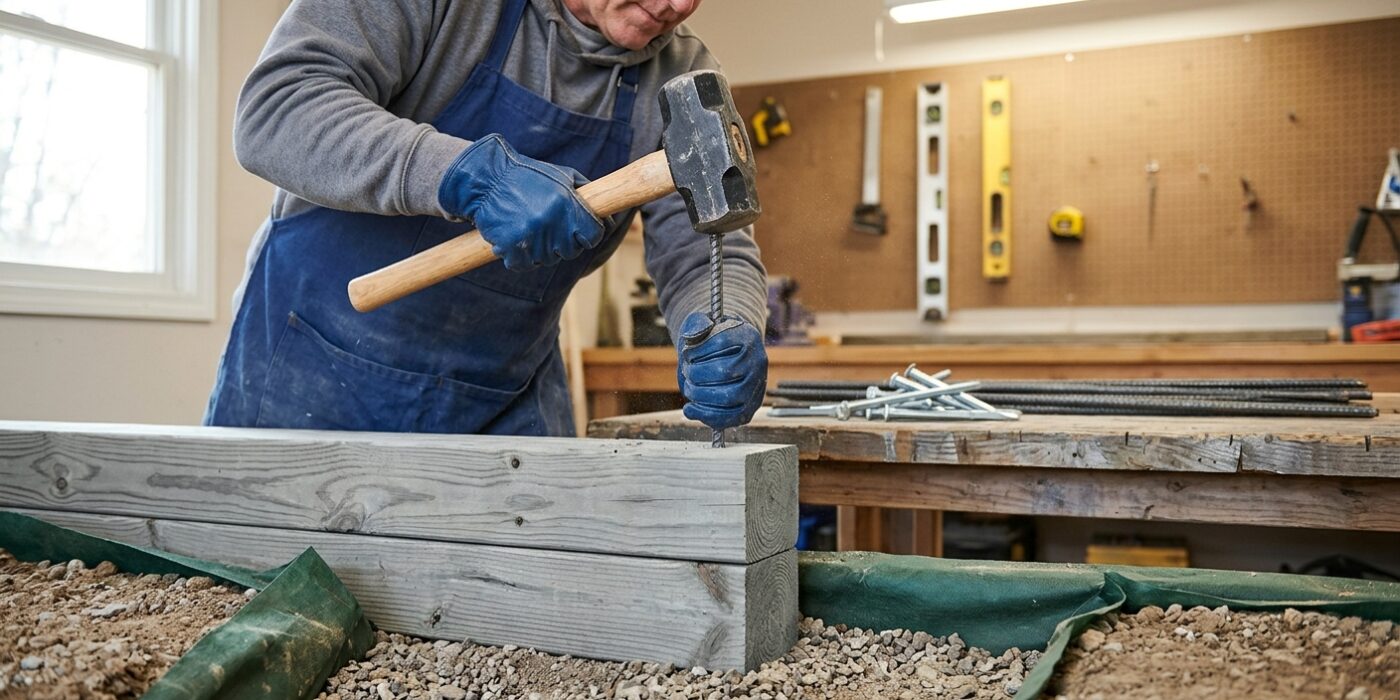
If you want a taller border for your garden, stacking timbers is a fantastic way to add dimension. When adding a second layer, you must “stagger” the joints, meaning the seam where two boards meet on the bottom row should be covered by the solid center of a board on the top row. Think of this like building with bricks; this interlocking pattern prevents your wall from shifting or pulling apart over time.
To secure them, use 12-inch galvanized landscape spikes or long timber screws. Space these fasteners about 24 inches apart along the length of each board. Drive them straight down through the top timber so they bite firmly into the base timber below. This creates a rock-solid, unified structure that stays put even during heavy rain.
Beginner Tip: Avoid placing your vertical spikes too close to the very ends of the timbers. Driving a spike within an inch or two of the end often causes the wood to split. Aim to place your first and last spikes at least six inches away from the ends to keep your wood intact.
Alternative Method: If you find driving 12-inch spikes difficult, try using heavy-duty 8-inch exterior-grade structural wood screws instead. These are much easier to install with a standard power drill and provide a tighter, more permanent grip than nails, helping to pull the two pieces of wood tightly together.
Pro Tip: Before driving your spikes, use a drill bit slightly smaller than the shank of the spike to create a “pilot hole.” This makes it much easier to drive the hardware straight and keeps the heavy timber from moving while you work.
Step 6: Backfill and Mulch
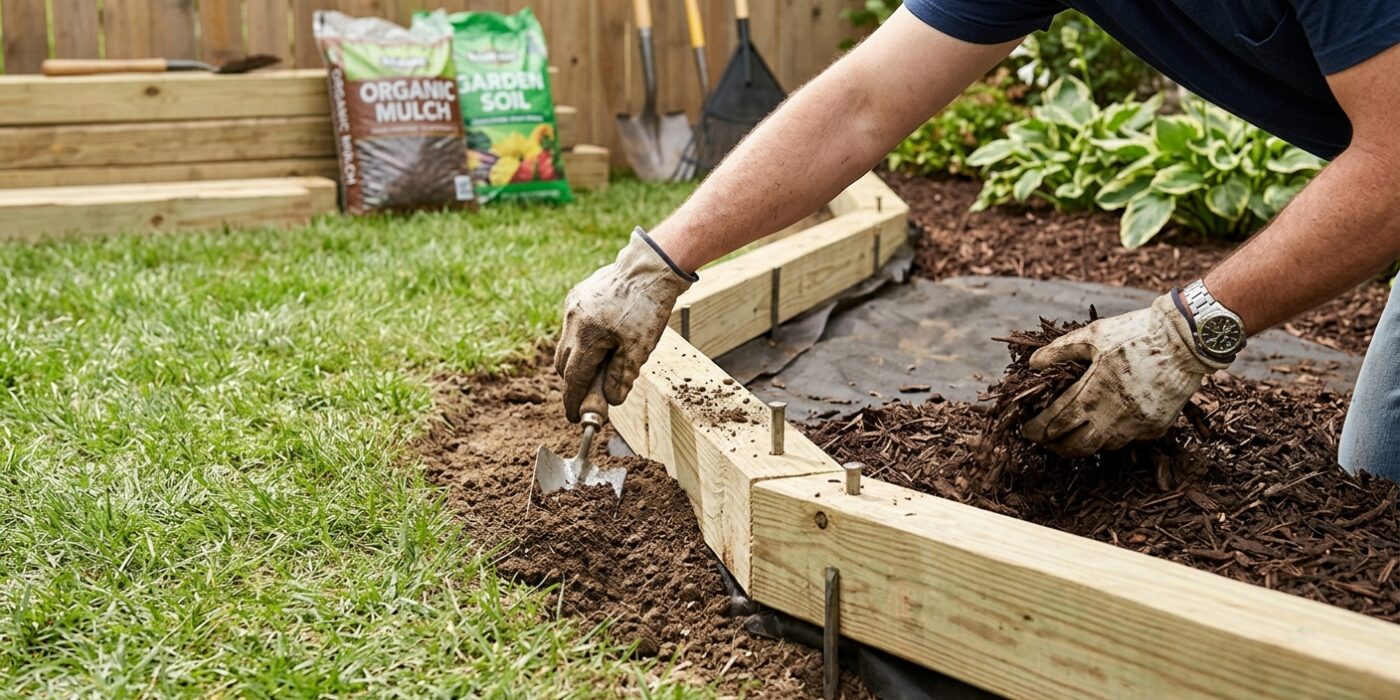
Now that your timbers are securely anchored, it is time to neaten up the edges to ensure a professional look and prevent soil erosion. Start by taking the soil you dug up earlier and filling the small gap between the timber and the ground. Use your foot or a hand tamper to pack this soil firmly against the base of the timber. On the lawn side, you want to create a gentle, sloping grade that leads up to the timber; this prevents you from scalping your grass with the mower blades. On the garden bed side, pack the soil snugly against the timber to stop mulch from leaking out. Once the soil is secure, lay down a strip of landscape fabric if you want to keep weeds at bay, then add a 2 to 3-inch layer of mulch. Keep the mulch just slightly below the top of the timber for a clean, crisp finish.
Beginner Tip: A common mistake is piling the mulch too high, so it buries the top of your timber. This hides your hard work and can trap moisture against the wood, which invites rot. Keep the mulch layer level with the bottom edge of the top curve of your timber.
Pro Tip: To get that perfectly sharp line between your lawn and the mulch, use a half-moon edger or a flat-head shovel to create a small “trough” at the base of your newly filled soil. This creates a physical break that stops grass roots from spreading into your garden bed.