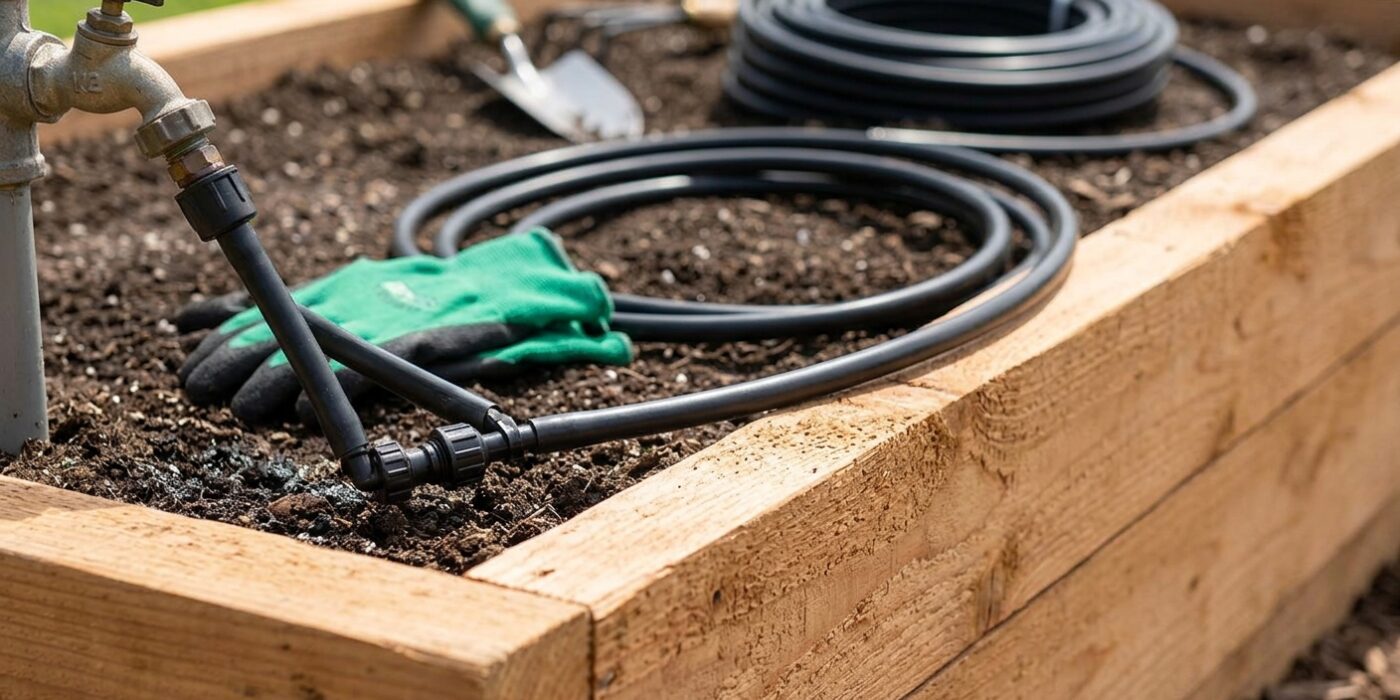
Project Shopping List
A drip irrigation system is the most water-efficient way to keep a garden bed healthy. Drip delivers water directly to the root zone at a slow, steady rate that soil can absorb without runoff. Compared to overhead sprinklers, drip reduces water use by 30 to 50 percent, keeps foliage dry (reducing fungal disease), and can run on an automatic timer so your garden is watered even when you are away.
This guide covers installing a basic drip system in a 10 x 20-foot garden bed: main supply line, emitter tubing, individual emitters at each plant, and a simple timer. The entire installation connects to a standard outdoor hose bib. No trenching, no plumbing permits, and no special tools beyond a hole punch and tubing cutters.
What You’ll Need
Tools
- Drip system hole punch
- Tubing cutters or sharp scissors
- Tape measure
- Stakes or U-pins for securing tubing
Materials
- Hose timer (battery-powered)
- Backflow preventer and filter assembly (most kits include these)
- Pressure regulator (reduces hose pressure to 25-30 PSI for drip systems)
- 1/2-inch main supply line tubing: enough to run from hose bib to garden bed
- 1/4-inch emitter tubing: enough to reach each plant from the main line
- Drip emitters: 0.5 GPH or 1 GPH per plant (choose based on plant size and water needs)
- End caps for the main line
- Goof plugs (to cap unused punch holes)
Step 1: Plan the Layout
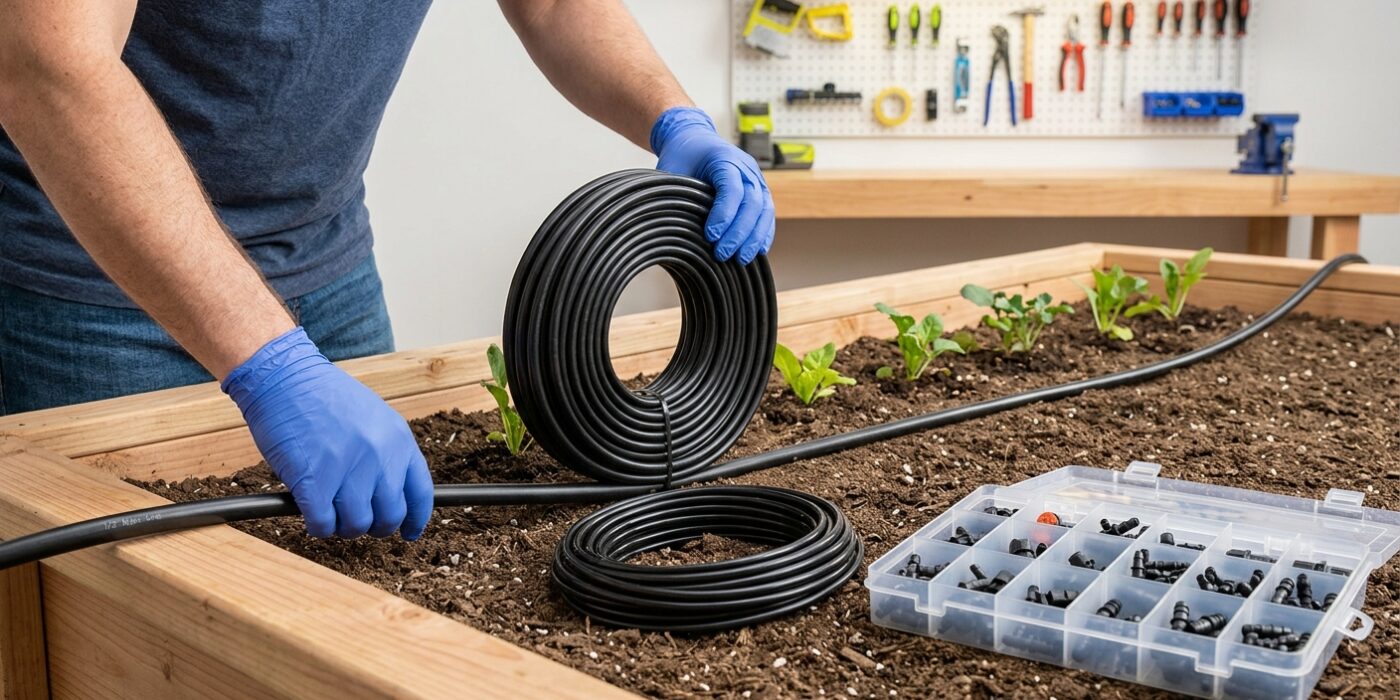
Before you purchase any supplies, grab a piece of paper and sketch your garden bed. Mapping your layout prevents wasted materials and ensures every plant gets exactly the right amount of water. First, identify your thirsty plants, such as tomatoes, peppers, and squash; these will need two emitters each to encourage deep, healthy root growth. For drought-tolerant varieties like lavender, rosemary, or thyme, a single emitter is perfect.
Draw a line representing your main supply tubing – usually a half-inch thick pipe – running down the center or along the long edge of your bed. From this “artery,” you will branch out with thinner, quarter-inch tubing to reach each plant. Aim to keep these small branch lines under 24 inches long; this ensures the water pressure remains strong and consistent across every corner of your garden. If you have a sprawling bed, don’t worry about perfect symmetry – just focus on getting the tubing as close to the root zone of each plant as possible.
Beginner Tip: Avoid the mistake of “over-planning” by trying to water every single inch of soil. Drip irrigation is designed to target roots, not the entire bed surface. Focus your plan only on the base of your plants to save water and significantly reduce weed growth in the bare soil between them.
Pro Tip: Use a bright-colored chalk or colorful garden flags to mark where your emitters will go directly on the soil. It is much easier to visualize the final layout in the physical space than on a flat piece of paper.
Step 2: Install the Hose Bib Assembly
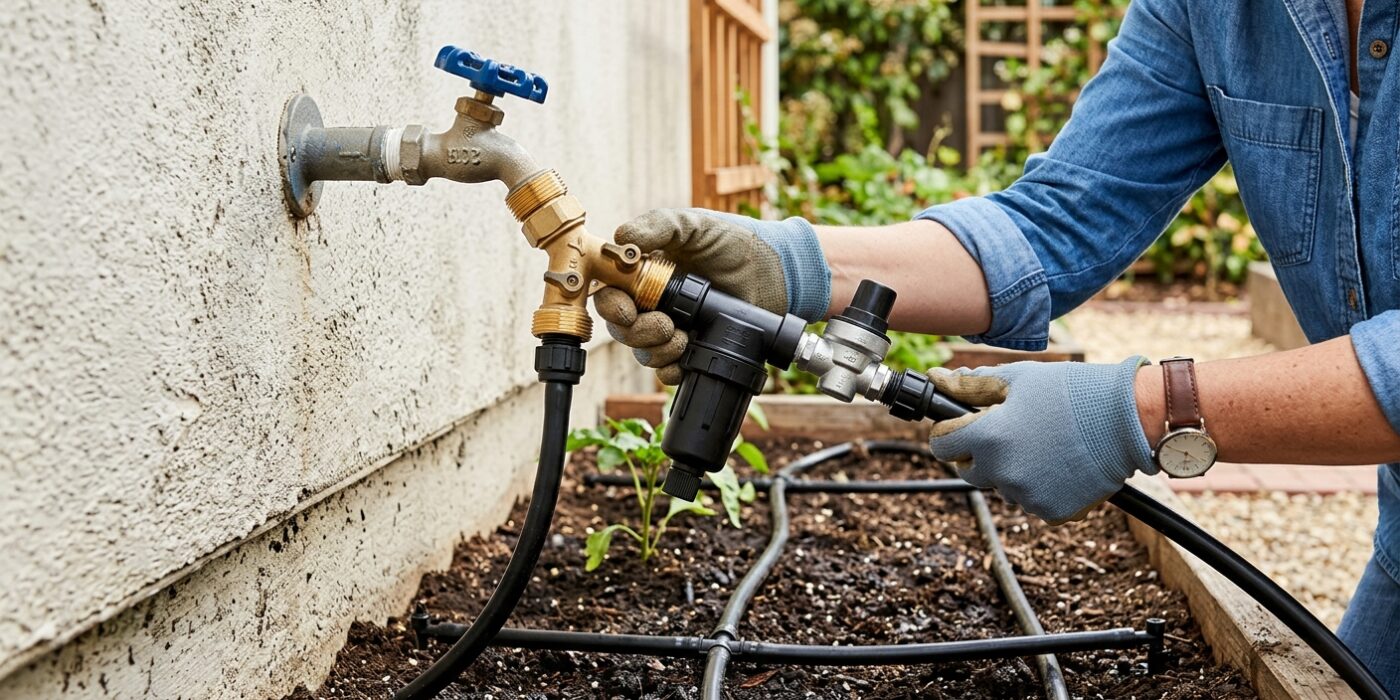
Now that your materials are ready, it is time to build your hose bib assembly. Think of this as the “brain and heart” of your system. You will connect these five components directly to your outdoor faucet in a specific order: hose timer, backflow preventer, filter, pressure regulator, and the 1/2-inch tubing adapter.
Simply screw each piece onto the next, turning them clockwise until they feel snug. You do not need a wrench for this; hand-tightening is perfect. The timer controls your schedule, while the backflow preventer ensures your home’s drinking water stays safe. The filter is crucial for catching sediment that could clog your small emitters, and the pressure regulator is essential for stepping down your home’s high water pressure to the 25–30 PSI drip systems need to avoid popping tubes off.
Beginner Tip: Resist the urge to use pliers or a wrench to tighten these plastic components. Overtightening is the most common mistake for new gardeners and can easily crack the plastic threads, causing leaks. If you feel resistance, stop turning and check that the piece is lined up straight.
Pro Tip: Before you screw everything together, make sure you have installed the small rubber washer that comes with each component. These gaskets are the secret to a drip-free system; if you leave one out, you will likely see a steady spray of water at that connection point.
Step 3: Run the Main Supply Line
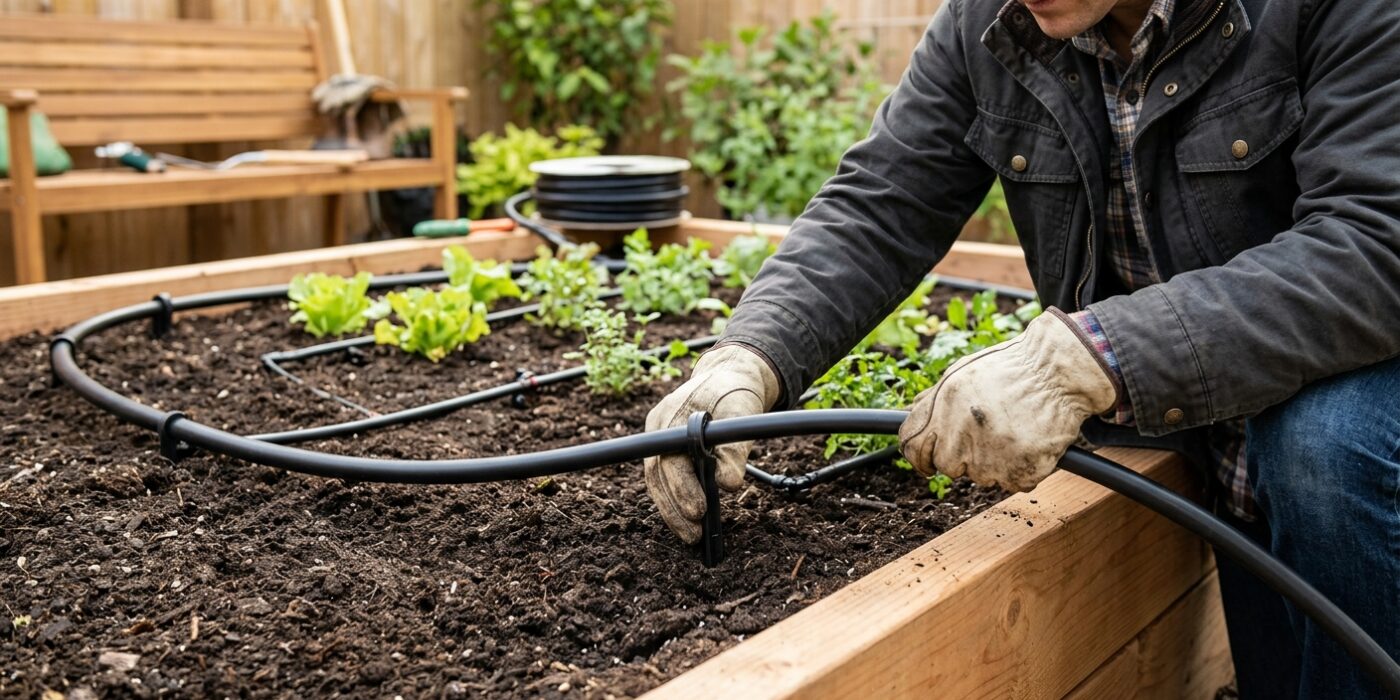
Now it is time to bring your water source directly to your plants. Take your 1/2-inch poly tubing and securely attach one end to your hose bib assembly. Lay the tubing along the edge or down the center of your garden bed. Think of this line as the main artery of your garden; it needs to be straight to ensure even water pressure throughout the entire system. Once you have reached the far end of the bed, cut the tubing with pruning shears and slide on an end cap to seal it.
To keep the line neat and flat against the soil, use U-shaped landscape stakes. Push a stake into the ground every 18 to 24 inches. If you pull the tubing taut as you place each stake, you will avoid unsightly kinks and loops that can trap air bubbles or restrict flow.
Beginner Tip: A common mistake is leaving the tubing curled up from being stored in a roll. Before you start, unroll the tubing and let it sit in the warm sun for about 30 minutes. The heat makes the plastic soft, flexible, and much easier to lay perfectly straight.
Pro Tip: If the tubing feels stubborn or stiff when you are trying to attach it to fittings, dip the end of the hose into a mug of hot tap water for 10 seconds. This gently expands the material, allowing it to slide over connectors with almost zero effort.
Step 4: Punch and Connect Emitter Lines
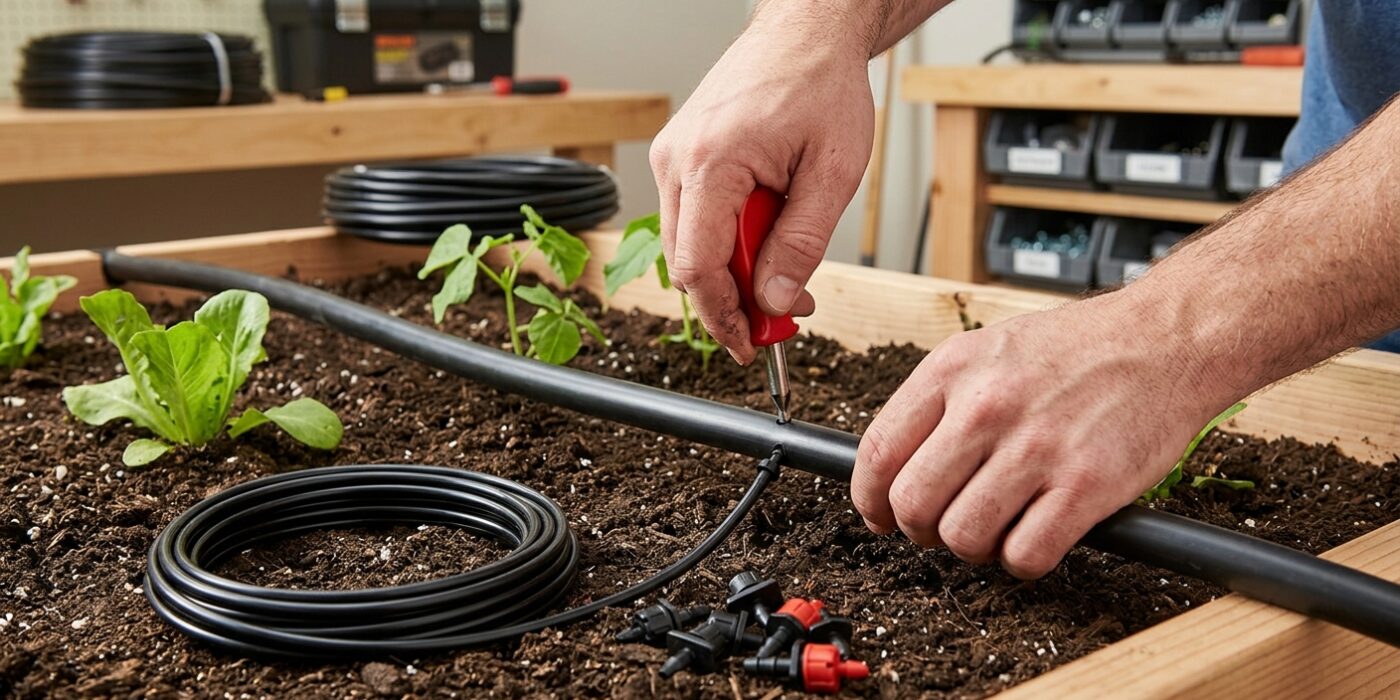
Now it is time to connect your individual plants to the water supply. First, locate the spot on your main line directly across from each plant. Using your hole punch tool, press down firmly against the main tubing at a 90-degree angle until you hear a soft pop or feel it pierce the plastic. This hole creates the gateway for water to flow to your plants.
Next, take a barbed connector and push it into the hole until the flange sits flush against the main line; this creates a watertight seal. Attach a piece of 1/4-inch tubing to the connector, trimming it with scissors so it reaches your plant. Keep these branches under 24 inches to ensure consistent water pressure. Finally, attach an emitter to the end of the tubing and place it in the soil near the plant base. Avoid placing the emitter directly against the stem, as constant moisture right against the stalk can cause rot.
Beginner Tip: A common mistake is leaving the main line pressurized while punching holes. Always turn the water off before you begin, or you will end up getting sprayed in the face the moment you punch through!
Pro Tip: If the tubing feels stiff and difficult to push onto the barbed connectors, dip the ends of the 1/4-inch tubing into a small cup of warm water for ten seconds. The heat softens the plastic, making it slide onto the barbs with almost zero effort.
Step 5: Test the System
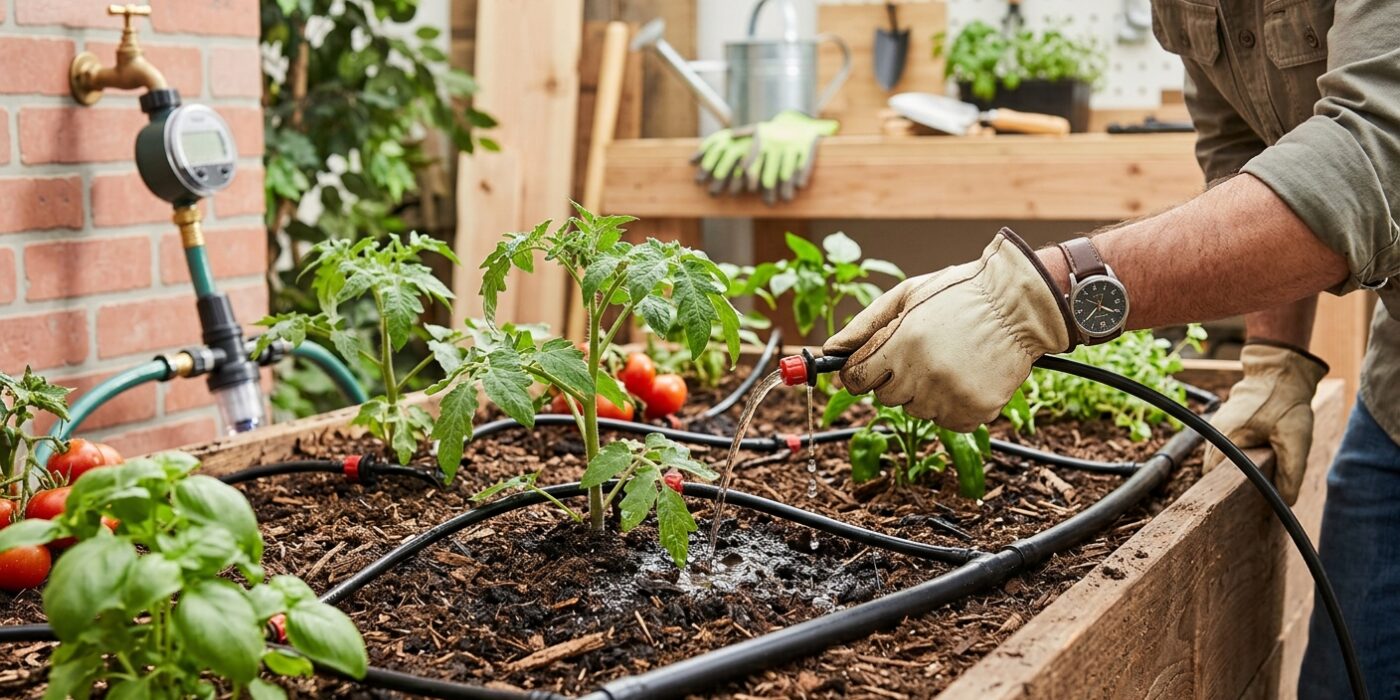
Now that your tubing and emitters are in place, it is time to see your hard work in action. Slowly turn your hose bib (the outdoor water faucet) to the fully open position. Walk the entire length of your garden bed, pausing at every connection point and emitter to inspect them closely. You are looking for steady, slow drips rather than aggressive sprays or pooling water. If you see water spraying from a connection, ensure the tubing is pushed firmly into the fitting until you feel a distinct click or resistance.
Observe the soil around each emitter for about 15 minutes. The goal is to create a small, dark “wet zone” around the base of each plant. If an emitter is dry, first check if it is clogged with debris by gently twisting it. If it remains dry, you may have missed punching the hole correctly; simply remove the emitter, use a “goof plug” to seal the original puncture, and punch a fresh hole an inch away.
Beginner Tip: Avoid turning the faucet on too quickly. High pressure can cause the tubing to pop off the fittings if they aren’t fully seated. Always start with a slow trickle to let the system pressurize before opening the tap all the way.
Pro Tip: To easily spot leaks, dry off any damp tubing with a rag before you turn the water on. This makes it much easier to see the dark contrast of fresh, leaking water against dry plastic.
Step 6: Set the Timer
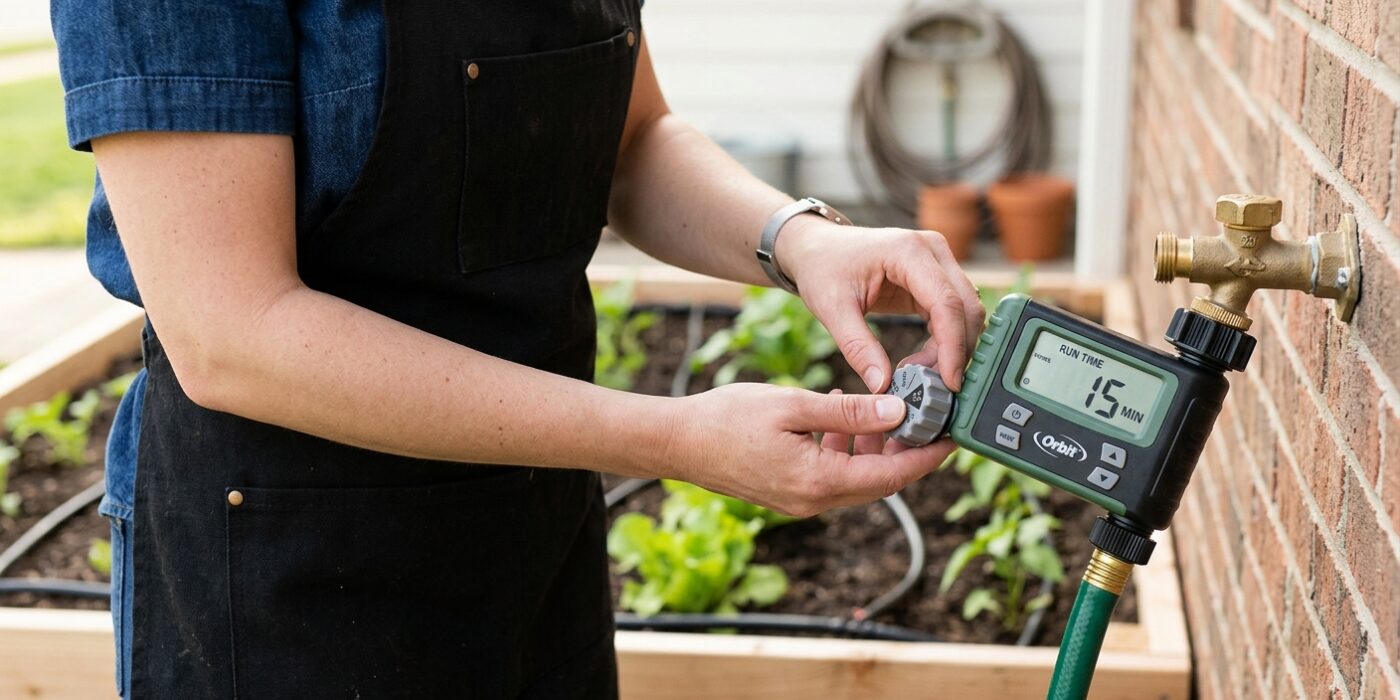
Now that your system is connected, it is time to set your hose timer to automate your garden’s hydration. Think of the timer as the heartbeat of your garden; by delivering water consistently, you prevent the soil from drying out and stressing your plants. Most vegetable gardens thrive with about 1 to 1.5 inches of water per week. To get started, program your timer for a 30-minute session every other day during the heat of summer. Always aim to water early in the morning, between 5:00 AM and 7:00 AM. Watering at this time allows the moisture to soak deep into the soil before the sun evaporates it, and it ensures that any stray droplets on leaves dry quickly, which helps prevent fungal diseases.
Beginner Tip: Avoid the common mistake of "set it and forget it." While the timer handles the labor, you must periodically check the soil moisture with your finger. If the dirt feels muddy or swampy, your plants are overwatered; if it feels like dry, dusty powder, you need to increase your runtime or frequency.
Pro Tip: If your local weather report calls for significant rain, temporarily turn the timer to the "Off" position or use the "Delay" function if your model has one. Overwatering during a rainy week can lead to root rot and nutrient leaching, so letting nature do the work is a great way to save water and keep your plants happy.
Step 7: Secure Lines and Cover with Mulch
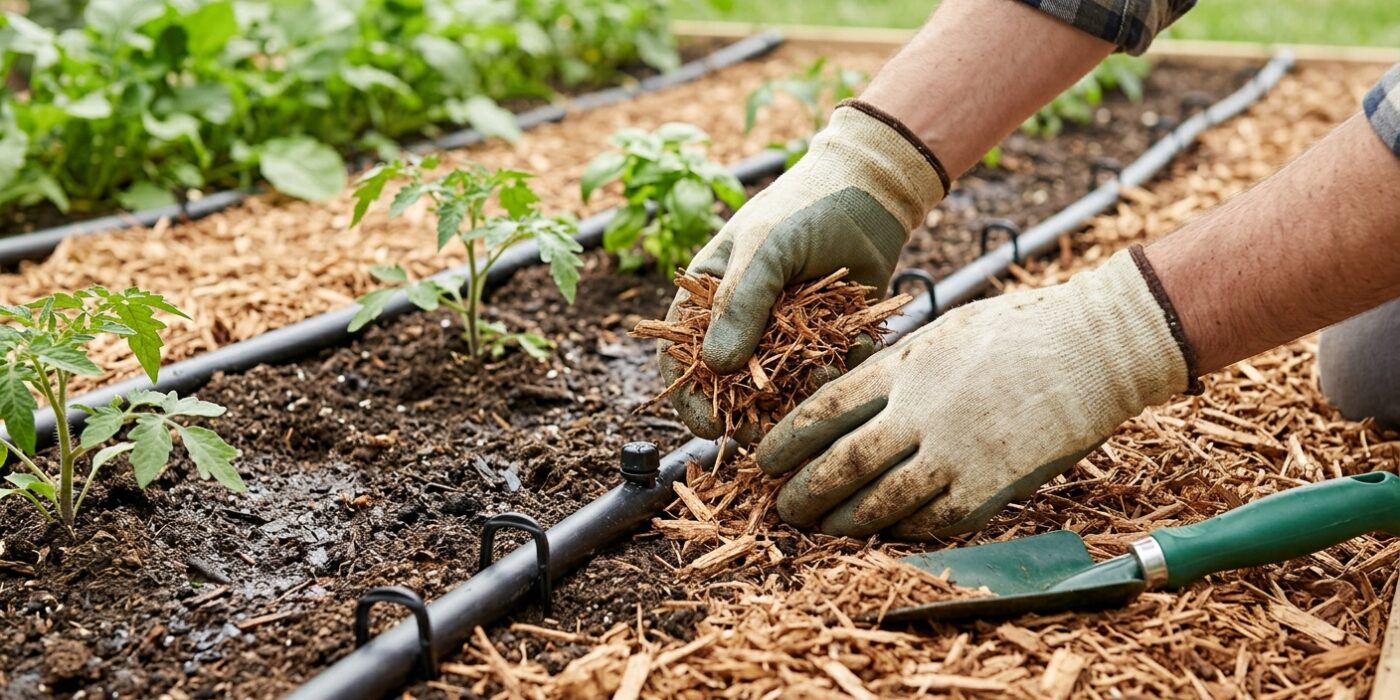
Now that your lines are connected, it is time to tidy up and protect your hard work. Secure your irrigation tubing to the soil using U-shaped garden stakes, spacing them every 12 to 18 inches. This keeps the lines from shifting when you garden or when pets run through the bed. Once secured, spread a 3-inch layer of organic mulch, such as wood chips or straw, over the entire bed. This layer acts as a shield against the sun’s harsh UV rays, which can make thin plastic tubing brittle and prone to cracking in just a single season. Mulch also locks in moisture, ensuring your plants stay hydrated longer.
Beginner Tip: Avoid burying your drip emitters deep under the soil. If you cover the emitters themselves with mulch or dirt, they are more likely to clog with debris. Keep the tip of the emitter slightly above the soil surface so you can easily see if it is flowing correctly during your routine checks.
Alternative Method: If you do not have U-pin stakes, you can use heavy stones or bricks to hold the tubing in place. Simply place a stone over the tubing at each corner or every few feet. While they aren’t as tidy as stakes, they effectively prevent the lines from curling or moving out of position.
Pro Tip: Before you finalize the mulch layer, turn the system on for five minutes to ensure everything is connected tightly. Checking for leaks now saves you from having to dig through your fresh mulch later to tighten a loose fitting or repair a spray point.