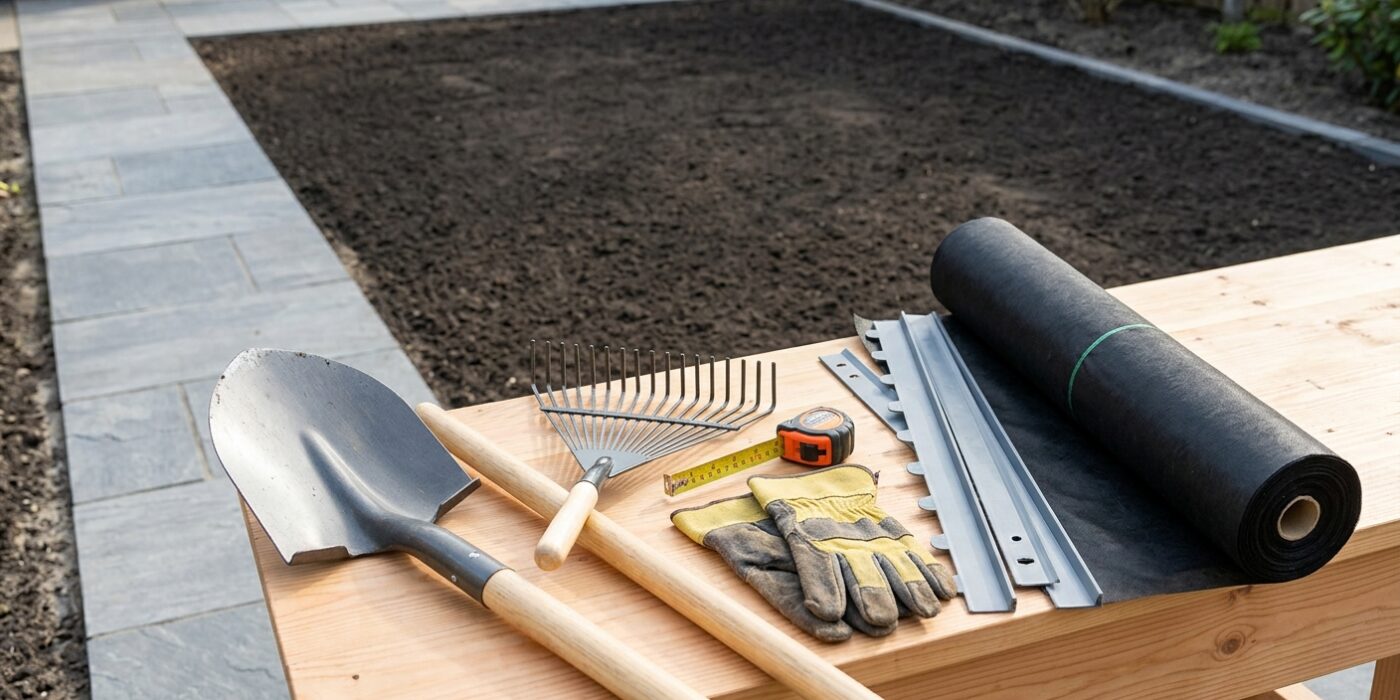
Project Shopping List
A gravel patio is one of the most accessible hardscaping projects you can tackle in a weekend. No concrete mixing, no heavy slab work, and no specialized tools beyond a shovel and a tamper. Done right with proper edging and a compacted base, a gravel patio is stable underfoot, drains instantly, and looks sharp for years. Done wrong (poured over bare soil with no edging), it turns into a muddy mess within a season.
This guide covers a 12 x 16-foot gravel patio using metal landscape edging, a compacted gravel base, and a 2-inch decorative top layer. The edging is what keeps gravel contained and defines the space. Choosing the right edging material and setting it correctly is more important than any other step in this project.
What You’ll Need
Tools
- Shovel and flat spade
- Plate compactor or hand tamper
- Wheelbarrow
- Level and stakes
- String line
- Garden rake
- Tape measure
Materials
- Metal landscape edging or steel edge restraints (enough to perimeter the patio)
- Stakes for edging (usually included with edging)
- Landscape fabric (weed barrier)
- Crushed stone base: 4 inches of 3/4-inch crushed stone
- Decorative gravel top: 2 inches of pea gravel, decomposed granite, or crushed limestone
Step 1: Mark and Excavate
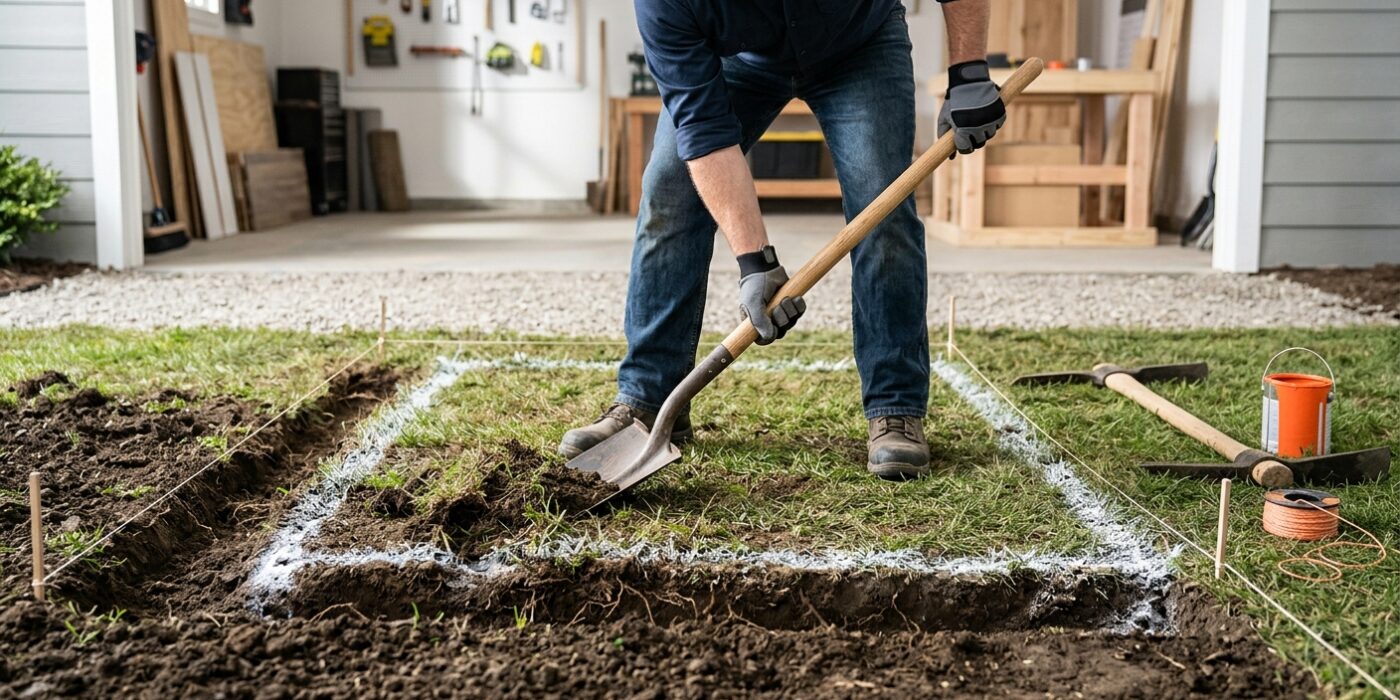
Before you begin, use wooden stakes and mason string to map out your patio’s footprint. This perimeter serves as your visual guide, so take the time to ensure your corners are square by measuring diagonally across the rectangle; the distances should be identical. Once outlined, you will need to excavate the area to a depth of 6 inches. This depth is critical because it provides space for 4 inches of dense, crushed stone base and 2 inches of decorative surface gravel. Removing all grass, roots, and organic soil is essential, as these materials will decompose over time, leading to an uneven, sunken patio.
As you dig, aim to keep the base level. Your finished patio surface should sit roughly 1 inch higher than the surrounding lawn. This slight elevation ensures that rainwater sheds away from your patio instead of pooling in the center, which helps prevent weeds and keeps your gravel tidy.
Beginner Tip: Avoid the mistake of tossing all your excavated soil into a single pile. Instead, use a wheelbarrow to move it to a tarp in a remote corner of your yard. This prevents your lawn from being smothered and makes cleanup much easier once the project is finished.
Pro Tip: Use a simple line level – a small tool that clips onto your string – to ensure your layout lines are perfectly level. If the ground is sloped, ensure the patio perimeter is slightly lower on the side furthest from your house to encourage natural drainage.
Step 2: Compact the Subgrade
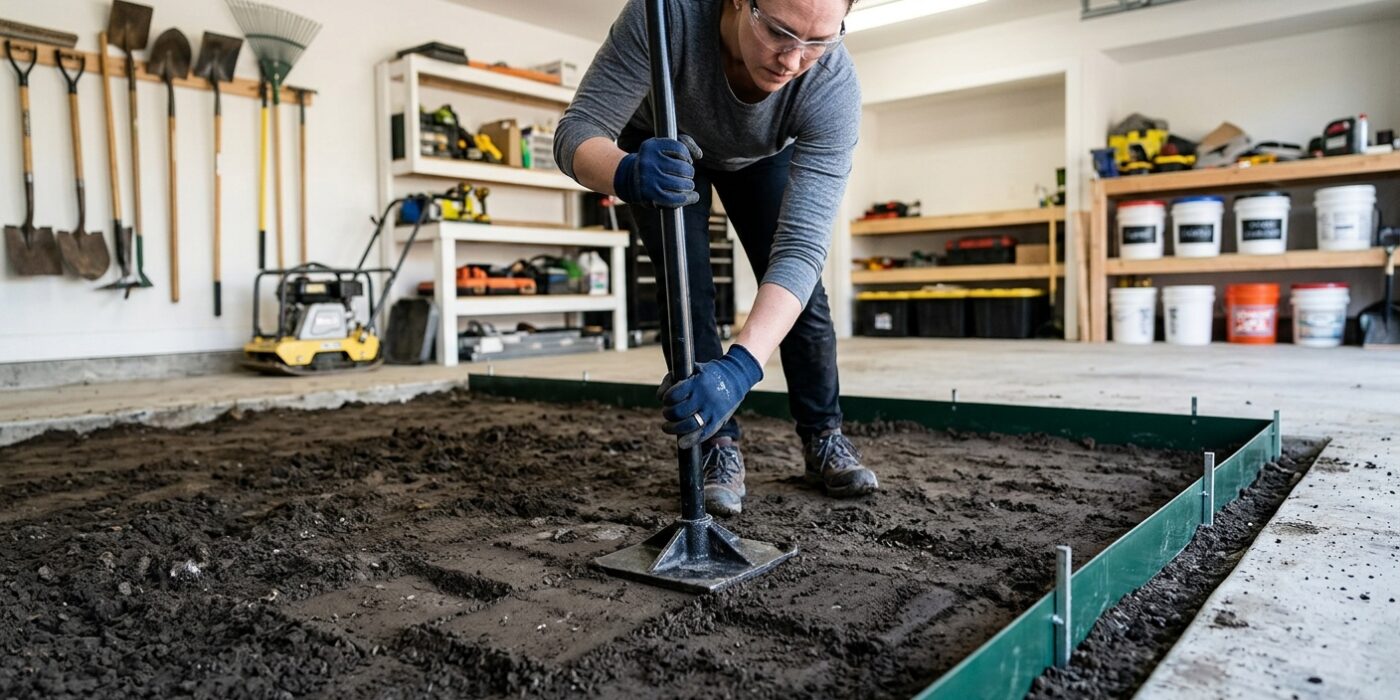
Now that your area is excavated, it is time to create a rock-solid foundation for your patio. This step is called compacting the subgrade. By pressing down the loose soil at the bottom of your hole, you ensure that your gravel won’t settle or shift once you start walking on it. Think of this as building a firm floor for your project; if the ground underneath is soft, your patio will eventually become uneven.
To begin, lightly dampen the soil with a garden hose – the ground should be moist like a wrung-out sponge, not muddy. If you are using a plate compactor, walk at a steady, slow pace, making two to three complete passes over the entire area. Overlap each pass by about six inches to ensure you do not miss any spots. If you notice the ground feels bouncy or squishy under your feet, it may be too soft; continue compacting until the surface feels hard and uniform.
Beginner Tip: Avoid over-watering the soil. If your ground turns into a puddle or sticks to the bottom of the compactor, you have added too much moisture. Stop immediately and let the sun dry it out for an hour before continuing, or you will simply be pushing mud around rather than compacting the earth.
Alternative Method: If you do not want to rent a heavy plate compactor, you can use a hand tamper, which is a heavy metal square on a long handle available at most hardware stores. Simply lift the tool and drop it firmly onto the soil, repeating this process until the entire area has been stamped down. It takes a little extra elbow grease, but it is perfectly effective for smaller patio projects.
Pro Tip: Check your work by walking across the compacted area. If your boots do not leave a noticeable footprint, your subgrade is firm enough to proceed to the next stage.
Step 3: Install Landscape Fabric
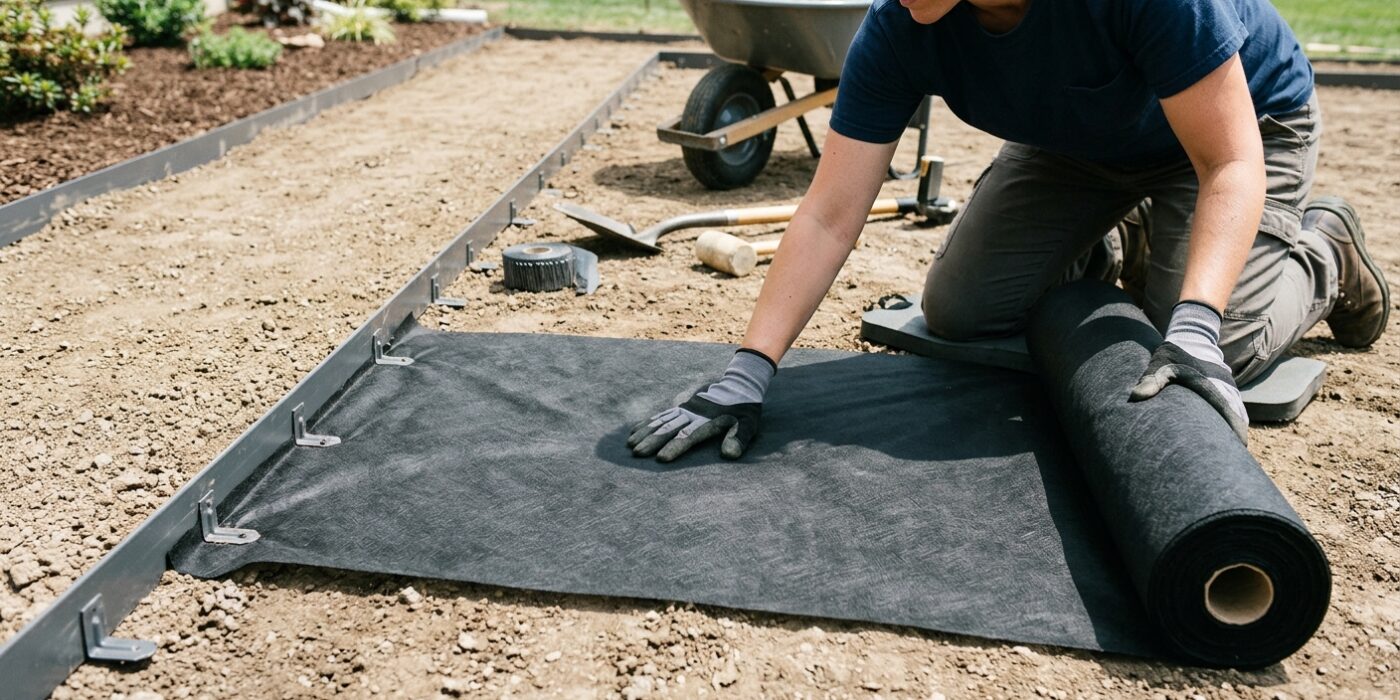
Now that your area is excavated, it is time to lay down the landscape fabric. Think of this material as a protective barrier; its sole purpose is to keep your clean gravel from sinking into the muddy soil below. Without it, your patio will eventually lose its shape and develop uneven dips.
Start by unrolling your landscape fabric over the entire excavated area. Ensure the fabric extends 4 to 6 inches up the vertical sides of your trench – this acts as a bowl to contain your gravel. If you need to use multiple strips, make sure they overlap by at least 6 inches so no gaps exist for weeds or dirt to push through. Secure the fabric in place using landscape staples or large garden pins, pressing them firmly into the ground every few feet to keep the material taut and wrinkle-free.
Beginner Tip: Avoid pulling the fabric so tight that it bridges over corners or dips in the ground. If there is a void underneath the fabric, the weight of the gravel will eventually tear it. Instead, press the fabric firmly into the corners and contours of your trench so it sits flush against the soil.
Pro Tip: If your fabric keeps blowing around while you are trying to work, use a few rocks or bricks to weigh down the corners of each sheet as you position them. Once you have everything perfectly overlapped and secured, you can simply move the weights as you work your way across the area.
Step 4: Set the Edging
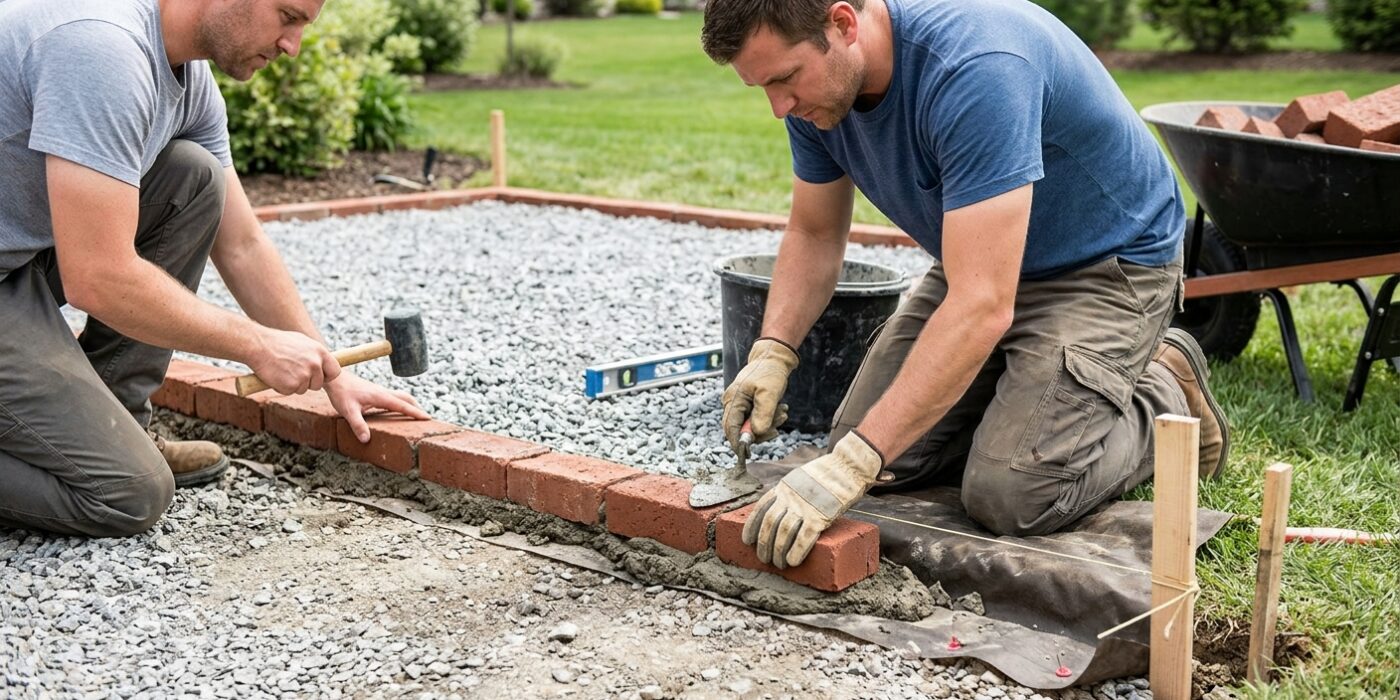
Now that your base is prepped, it is time to frame your patio. Metal landscape edging is the gold standard for this project because it is durable and offers a clean, professional look that keeps your gravel contained. Begin by laying your metal strips along the perimeter. You want the bottom flange (the flat lip at the base) to sit flush against the soil, while the top edge should sit roughly half an inch above your final ground level. This keeps the gravel from spilling onto your lawn while ensuring you do not trip over the edge.
Once the strips are positioned, drive the included steel stakes through the pre-cut holes at a slight inward angle. Space these stakes about 24 inches apart to ensure the metal stays rigid. If you reach a corner, use a pair of heavy-duty tin snips to cut the metal, overlap the ends by an inch, and secure the joint with an extra stake to lock it in place.
Beginner Tip: Avoid the temptation to install the edging perfectly flush with the existing grass level. If the edging is too low, gravel will easily spill out; if it is too high, it becomes an obstacle. Aim for a height that creates a clean boundary but still allows you to run a mower wheel along the edge without hitting metal.
Pro Tip: To get a perfectly smooth, flowing curve instead of a jagged line, use a rubber mallet to gently tap the edging into position before driving the stakes. If the metal resists, clear away a tiny bit of extra soil under the flange to help it settle into the desired shape effortlessly.
Step 5: Add and Compact Base Gravel
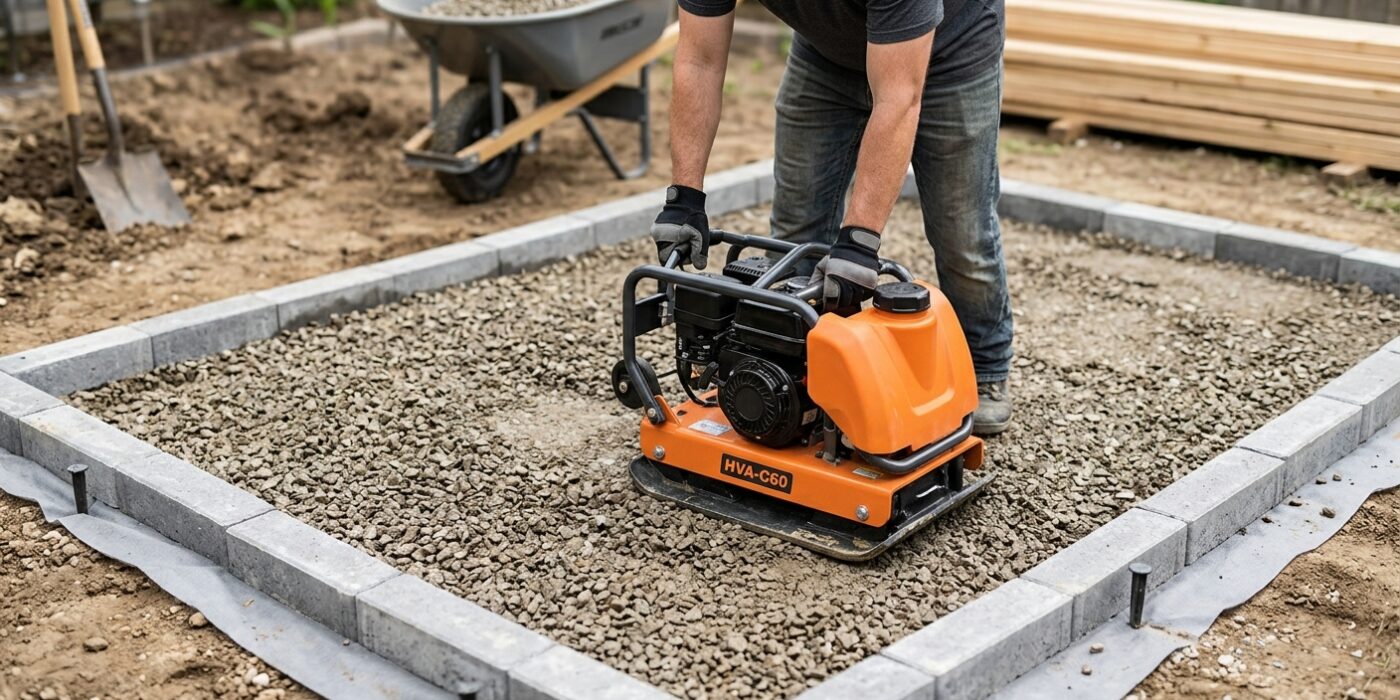
Now it is time to create the solid foundation for your patio. You will need to fill the entire edged area with 4 inches of 3/4-inch crushed stone. This specific size of stone is perfect because the irregular shapes lock together like puzzle pieces, creating a stable surface that resists shifting. Use a garden rake to spread the stone evenly, aiming for a consistent depth across the entire footprint.
Once leveled, it is time to compress the stones. Use a plate compactor to run three to four passes over the gravel. You will notice the ground sinks slightly as the air gaps are removed; add a bit more gravel to fill any low spots after the first pass, then compact again. Your goal is a base that feels completely solid and unyielding when you walk on it. This density is essential to prevent your patio from sinking or becoming uneven during heavy rain.
Beginner Tip: Do not skip the compaction phase thinking the gravel will settle on its own. If you fail to compress the base properly, your patio surface will eventually develop soft, dipping spots that are difficult to fix once the finishing layer of gravel is added.
Alternative Method: If you do not wish to rent a plate compactor, you can use a heavy-duty hand tamper for smaller areas. While it requires more physical effort, it is effective for spaces under 50 square feet. Simply lift the tamper and drop it firmly onto the surface, working in a grid pattern to ensure every inch is covered twice.
Pro Tip: Before you start, lightly dampen the gravel with a garden hose. A little moisture helps the crushed stone lock together much tighter during compaction, resulting in a significantly firmer base.
Step 6: Add the Decorative Top Layer
Now that your base is perfectly flat and compacted, it is time to add the finishing touch. You will need to spread a 2-inch layer of your chosen decorative gravel over the entire patio area. This layer acts as the aesthetic surface for your space. Pea gravel offers a classic, rounded look that is comfortable for bare feet, though it tends to shift; decomposed granite creates a firm, pathways-like finish; and crushed limestone provides a stable, rustic texture. Use a bow rake to distribute the stones across the patio, working backward so you do not leave footprints in your smoothed surface. Use the flat side of the rake head to lightly level the gravel, ensuring it sits just below the top edge of your patio border. Crucially, do not use a tamper on this final layer. You want this surface to remain loose to facilitate proper drainage, preventing puddles from pooling on your beautiful new patio.
Beginner Tip: A common mistake is dumping all your gravel in one spot and trying to push it across the entire patio. Instead, use a shovel to distribute small piles evenly across the base first. This saves your back and makes it much easier to achieve a consistent 2-inch depth without overworking the material.
Pro Tip: To get a perfectly level surface without guessing, cut a piece of scrap lumber to the width of your patio. Rest each end of the board on your side edging and pull it slowly toward you across the gravel; this “screeding” action will shave off the high spots and fill in the low spots instantly.
Step 7: Fine-Tune Grade and Drainage
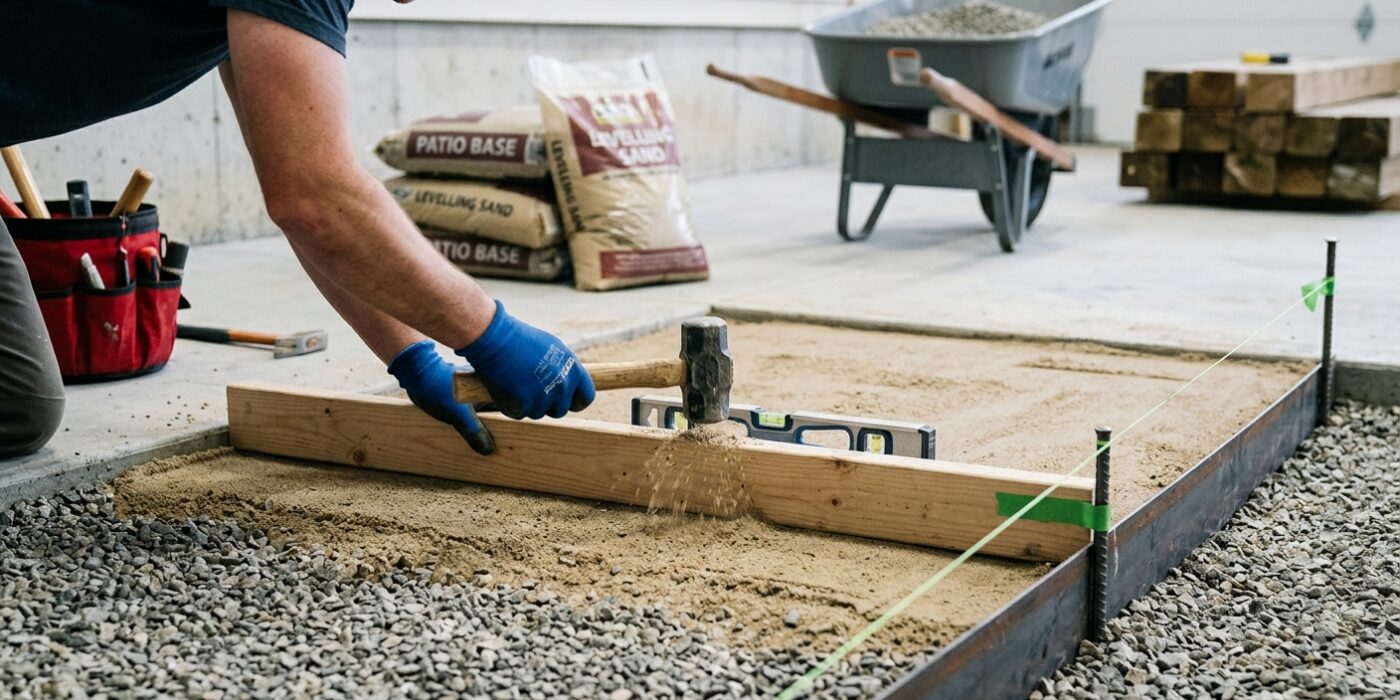
Now that your gravel is spread, it is time to ensure your patio is level and properly graded for drainage. You want the surface to slope gently away from your home or any nearby structures. This slope should be about 1/8 to 1/4 inch downward for every foot of distance. This crucial angle prevents rainwater from pooling against your house foundation, which could cause moisture damage over time. Place your level on top of the gravel to check your progress, then use a metal garden rake to push excess gravel from high spots into lower areas until the entire surface is smooth and follows that downward slope.
Beginner Tip: A common mistake is aiming for a perfectly flat, horizontal surface. While that sounds correct, you actually want a slight tilt. If the patio is perfectly flat, water will sit in the center instead of running off, creating muddy patches. Always keep your measuring tape handy to ensure that 1/8-inch-per-foot drop is consistent across the entire width.
Pro Tip: To get a professional-looking, perfectly even slope, drive two small stakes into the ground at the start and end of your patio. Tie a string between them, using a string level to ensure the end stake is exactly 1/4 inch lower for every foot of length. Simply rake your gravel until it is perfectly flush with the string line, and you will have a perfect, functional grade every time.
Step 8: Secure Edging and Add Finishing Touches
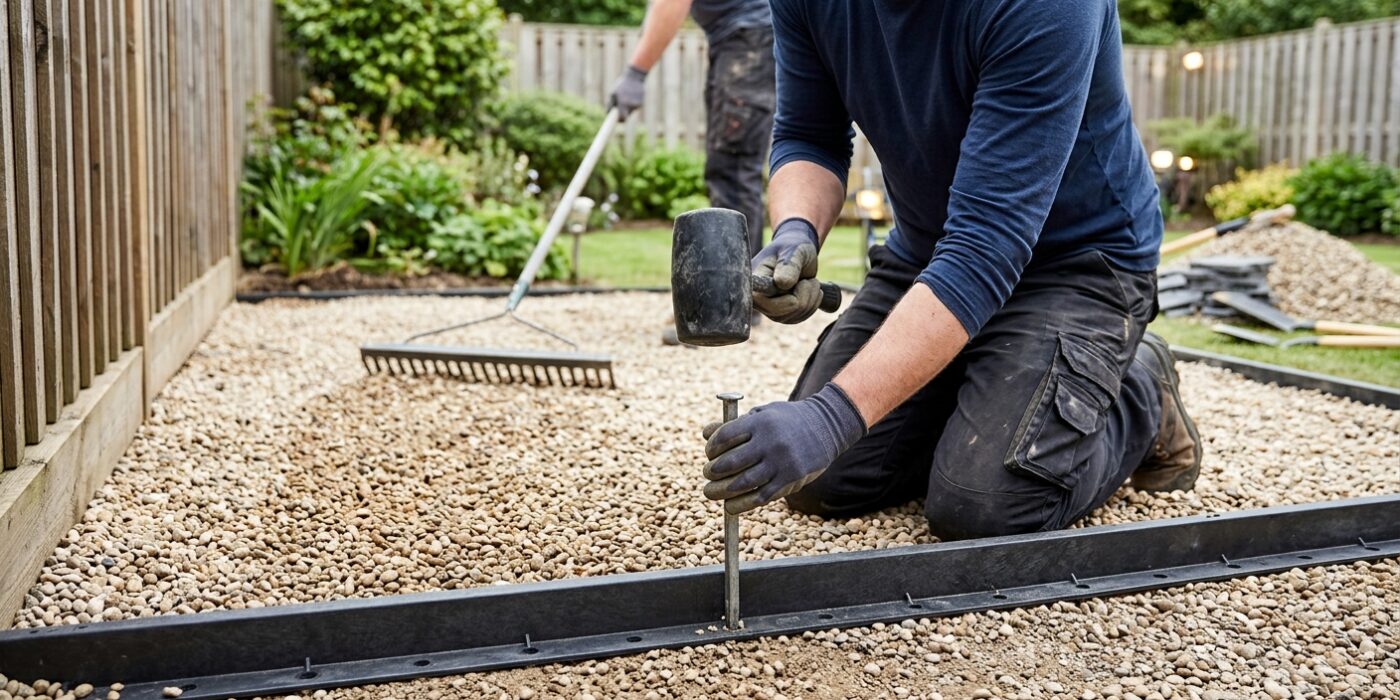
Now that your patio is filled, it is time to lock everything into place. Start by walking the entire perimeter of your patio. Check that your edging material is perfectly upright and flush against the gravel. If it has shifted during the filling process, use your hands or a rubber mallet to gently nudge it back into a straight, crisp line. Once the edging is secure, take a shovel and pack soil, mulch, or decorative stone tightly against the outside face of the edging. This backfilling acts like a structural brace, preventing the edging from leaning outward and keeping your gravel from migrating underneath.
Beginner Tip: A common mistake is placing heavy furniture directly onto fresh gravel without protection. Chair and table legs – especially thin metal ones – will act like stilts and sink into the loose stone, making your seating wobble. Before you host your first gathering, purchase inexpensive plastic furniture leg caps or flat patio pads. These provide a wider surface area to distribute weight, keeping your table steady and your chairs upright.
Pro Tip: To keep your patio looking professional for years, use a flat-head spade once a year to redefine the border. Place the spade blade vertically against the inside of your edging and slice down into the soil to sever any grass runners that have tried to sneak over the boundary. This “edging cut” maintains a sharp, clean contrast between your lawn and your beautiful new gravel surface.