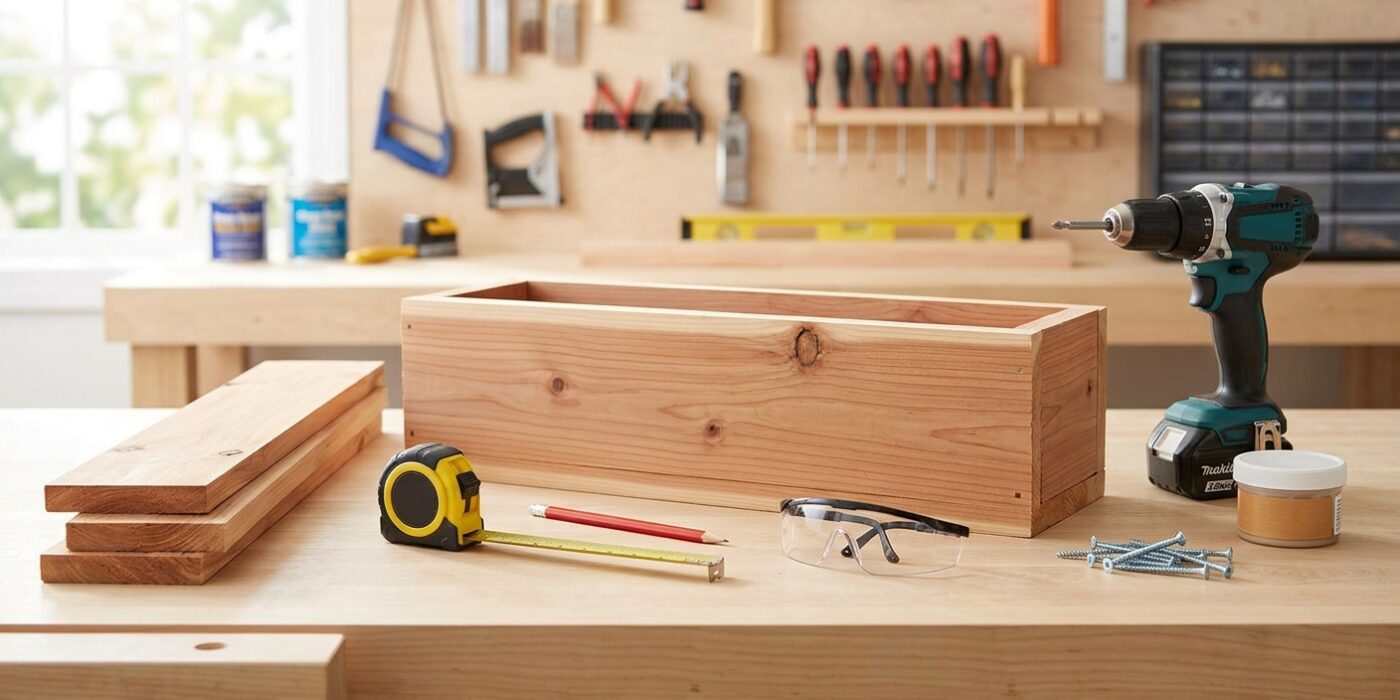
Project Shopping List
A window box full of flowers or herbs adds curb appeal, frames a view from inside, and brings a garden accent to windows that might otherwise have bare sills. Building your own lets you size the box exactly to the window width, choose materials that match the house, and get a sturdier result than most store-bought plastic boxes. This guide covers building a cedar or pine window box and mounting it securely beneath a window.
Window boxes are simple to build but must be mounted carefully – a full box of wet soil can weigh 40 to 80 lbs. Proper fastening into framing or with strong hardware is not optional.
What You’ll Need
Tools
- Miter saw or circular saw
- Drill and driver
- Level
- Clamps
- Drill bit for drainage holes
Materials
- 1×6 cedar or rot-resistant pine boards (sides, front, back)
- 1×4 cedar for the bottom
- 2-inch exterior screws (galvanized or stainless)
- Exterior wood glue
- Exterior primer and paint or cedar stain
- L-brackets or window box mounting brackets rated for the load
- 3-inch lag screws for wall attachment
- Landscape fabric or window screen (liner for drainage holes)
Step 1: Determine the Box Dimensions
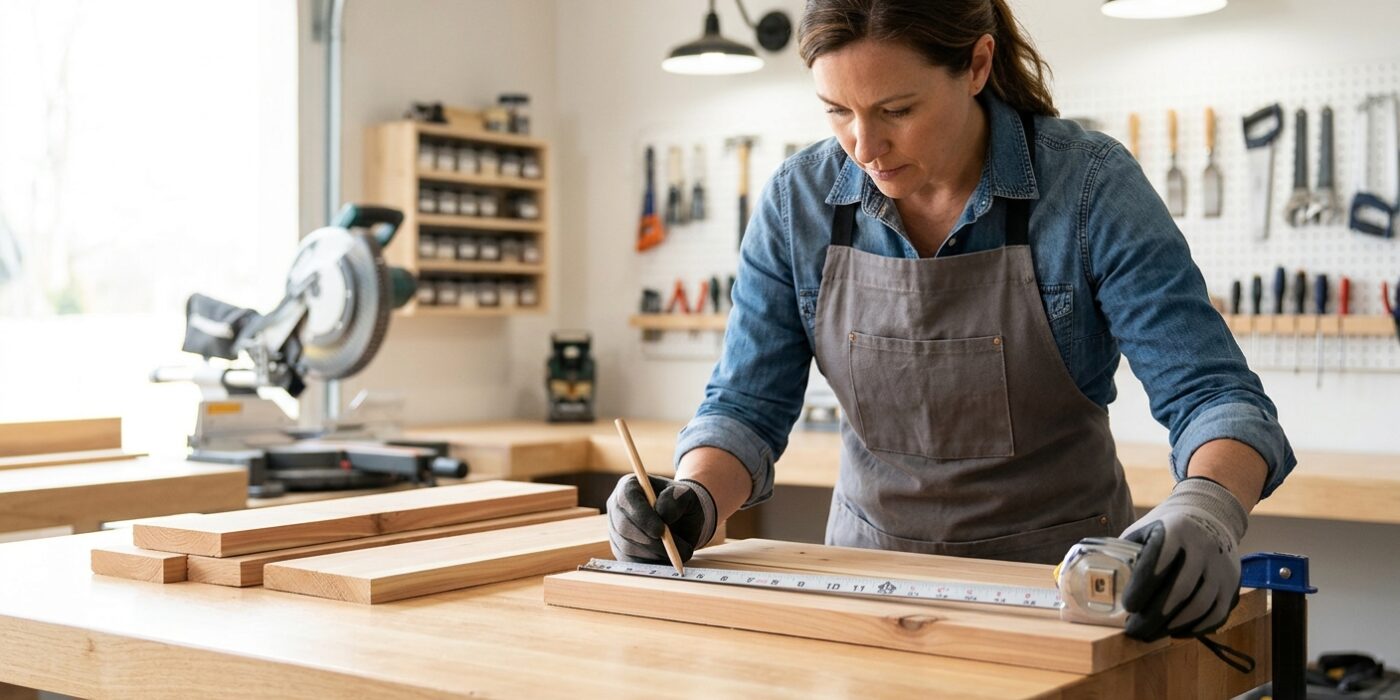
Before you make your first cut, you need to map out the size of your planter. The goal is to create a home for your flowers that is both beautiful and functional. First, measure the width of your window frame. For a classic look, aim to make the box match that width, or add two to four inches to each side if you prefer a fuller, more generous appearance.
Next, consider the depth and height. A standard depth of 6 to 8 inches is perfect because it accommodates a common 4-inch nursery pot while leaving plenty of room for soil and root growth. Keeping the front face height between 6 and 8 inches ensures the box doesn’t look bulky. If you go too shallow, the soil will dry out rapidly in the sun, requiring you to water constantly. If you go much deeper, the box becomes unnecessarily heavy and difficult to mount securely. Write down your final length, depth, and height measurements on a piece of paper so you have them ready for your shopping trip.
Beginner Tip: Don’t forget to account for the thickness of the wood! If you are using standard 1×8 lumber, remember that it is actually 0.75 inches thick. Always sketch your box assembly on paper first to ensure your internal space matches your target dimensions.
Pro Tip: Use painter’s tape to mark the intended length directly on your window sill. Standing back from the house helps you visualize the scale better than looking at a tape measure alone, ensuring the box proportions look just right before you start cutting.
Step 2: Cut the Parts
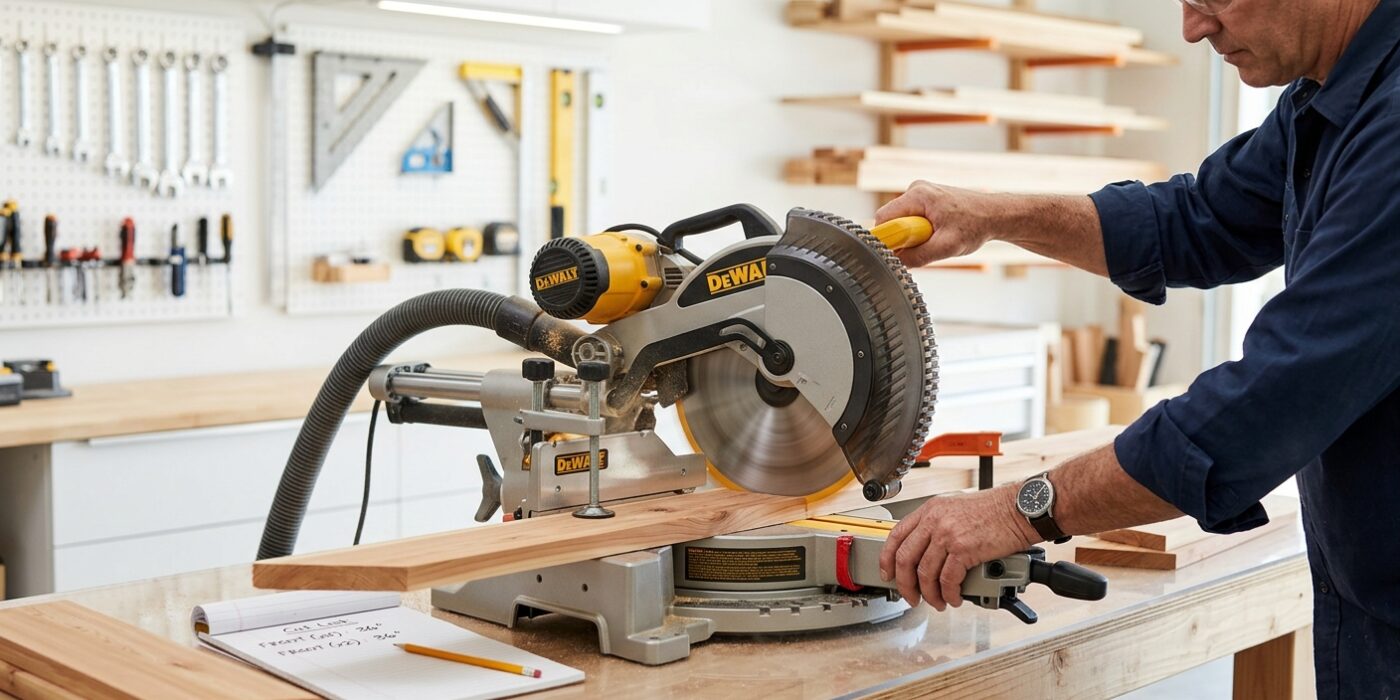
Now it is time to turn your lumber into the individual pieces for your planter. Before you begin, decide on your desired box length – most windows look best with a box that matches the window width exactly. For a standard size, we recommend 36 inches.
From your 1×6 board, use a circular saw or hand saw to cut two pieces at 36 inches long (the front and back). Next, measure and cut two side pieces. To ensure the box fits together correctly, measure the width of your 1×6 board (it is actually 5.5 inches) and subtract that from the desired depth. Cut your side pieces to 4 inches long. Finally, cut your 1×4 bottom board to 36 inches long. Cutting these carefully ensures your box will be square and sturdy once you start screwing it together.
Beginner Tip: The most common mistake is forgetting the “kerf,” which is the width of the saw blade itself. Every time you make a cut, the blade turns a small amount of wood into sawdust. Always measure and mark each piece individually rather than marking all lengths at once to ensure every board is exactly the right size.
Pro Tip: Use a speed square to mark your cut lines. By pressing the lip of the square against the edge of the board, you create a perfectly straight, 90-degree line every time, which makes assembly significantly easier and ensures your corners sit flush without ugly gaps.
Step 3: Assemble the Box
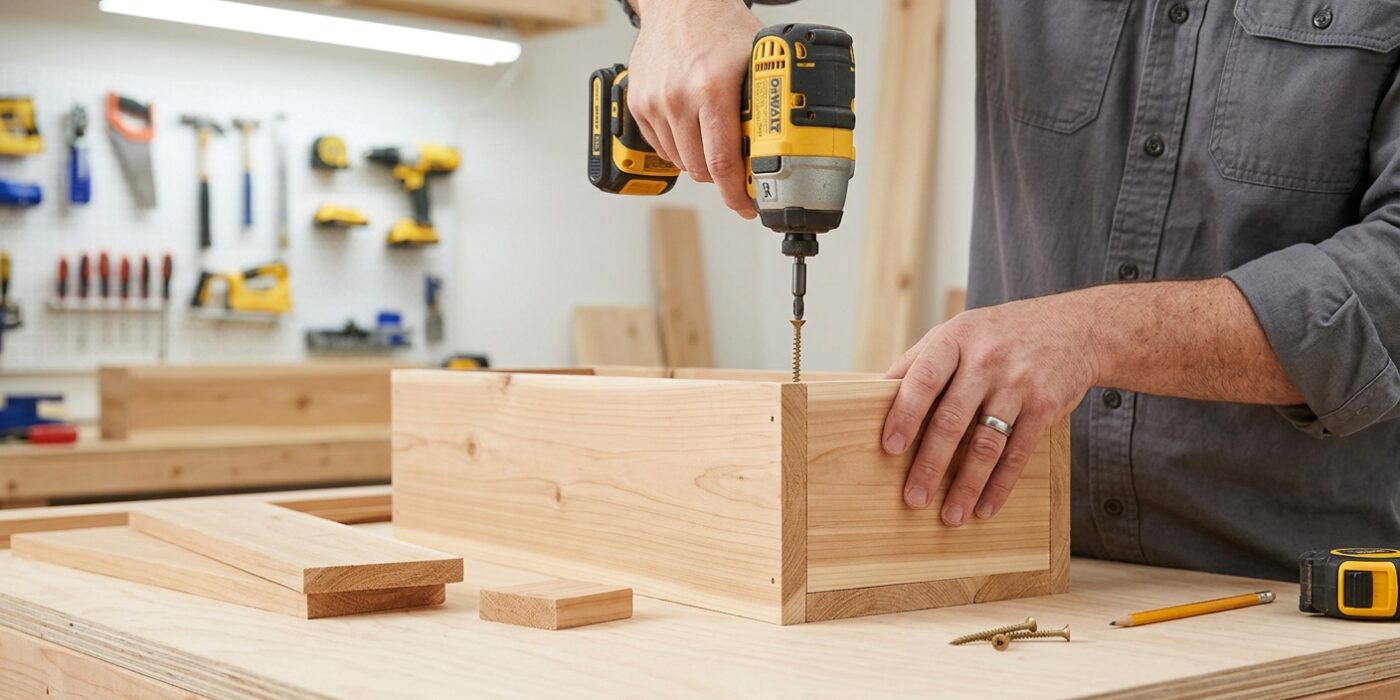
Now it is time to bring your planter to life! Start by running a thin bead of exterior wood glue along the raw ends of your two side boards. The glue acts as a secondary fastener, creating a weather-tight seal that prevents water from seeping into the joints. Align the front board flush with the edge of a side board, ensuring the top edges are perfectly level. Using your drill, drive two 2-inch galvanized screws through the front face into the side board. Repeat this for the other side, then attach the back board in the same manner. Finally, slide your bottom board into the frame. It should fit snugly inside, sitting flush with the bottom edges of your four walls. Secure it by driving two screws through the front, back, and sides, directly into the edges of the bottom piece.
Beginner Tip: Prevent your wood from cracking by drilling “pilot holes” first. Use a drill bit slightly smaller than your screw shank to create a small pathway. This relieves pressure and stops the wood from splitting, which is a common frustration for first-time builders.
Pro Tip: To keep your boards perfectly aligned while driving screws, use a “square” tool. If you don’t have one, just double-check that the corners form a perfect 90-degree angle before you sink the screws. A well-squared box will hang straight and look professional on your home.
Step 4: Drill Drainage Holes
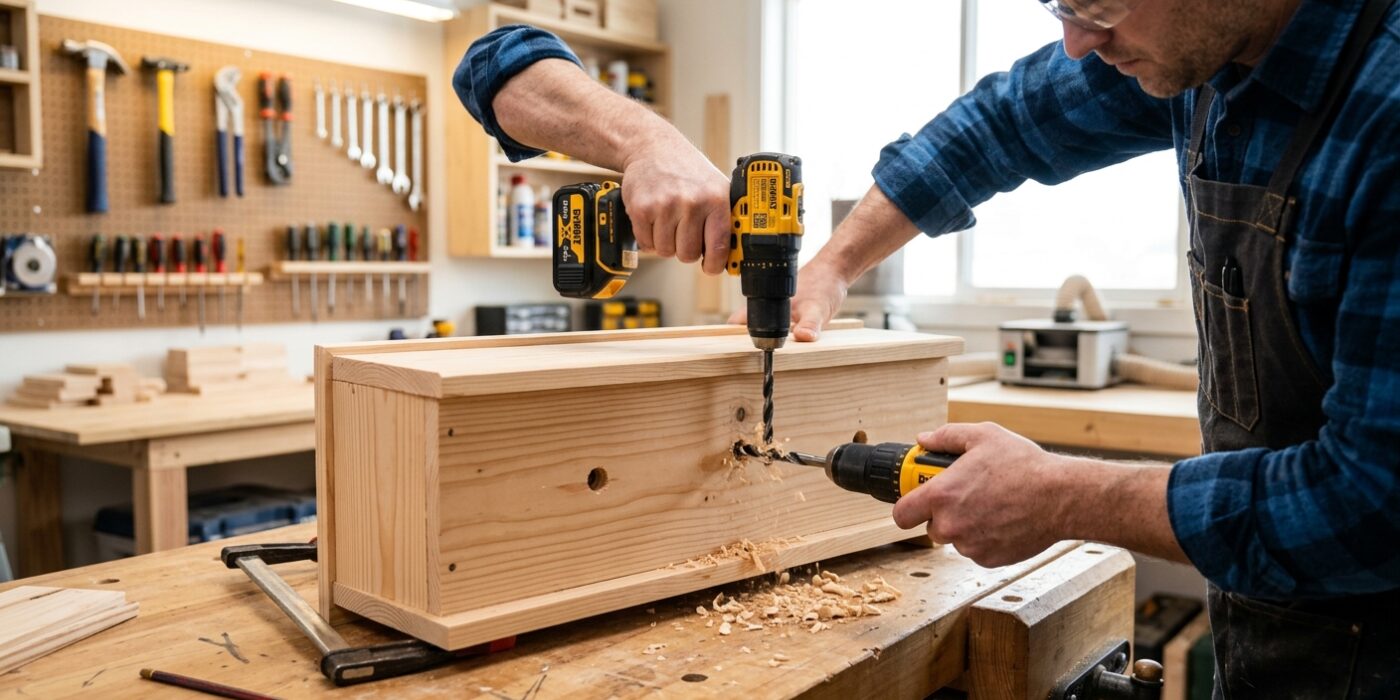
Now that your box is assembled, it is time to ensure your future plants stay happy and healthy. Plants hate sitting in “wet feet,” which occurs when water has nowhere to go and leads to root rot. To prevent this, flip your box upside down and mark five to seven spots along the bottom board, spacing them evenly across the length. Using a power drill equipped with a 1/2-inch spade bit or hole saw, drill straight down through the wood at each mark. Once the holes are clear, cut a piece of landscape fabric or a fine-mesh window screen to line the interior bottom of the box. Secure it in place with a few staples or a bead of waterproof glue at the corners. This clever barrier allows excess water to escape freely while keeping your soil exactly where it belongs.
Beginner Tip: When drilling, place a scrap piece of wood underneath your planter before you begin. This provides a “sacrificial” surface for the drill bit to enter once it pushes through the bottom of the planter, which prevents the wood from splintering or “blowing out” on the underside of your project.
Pro Tip: If you find the drill bit is sliding around before it bites into the wood, use a nail or a center punch to create a small indentation at your marks before drilling. This creates a tiny pilot divot that holds the tip of your drill bit perfectly in place, giving you total control and clean results every time.
Step 5: Finish the Box
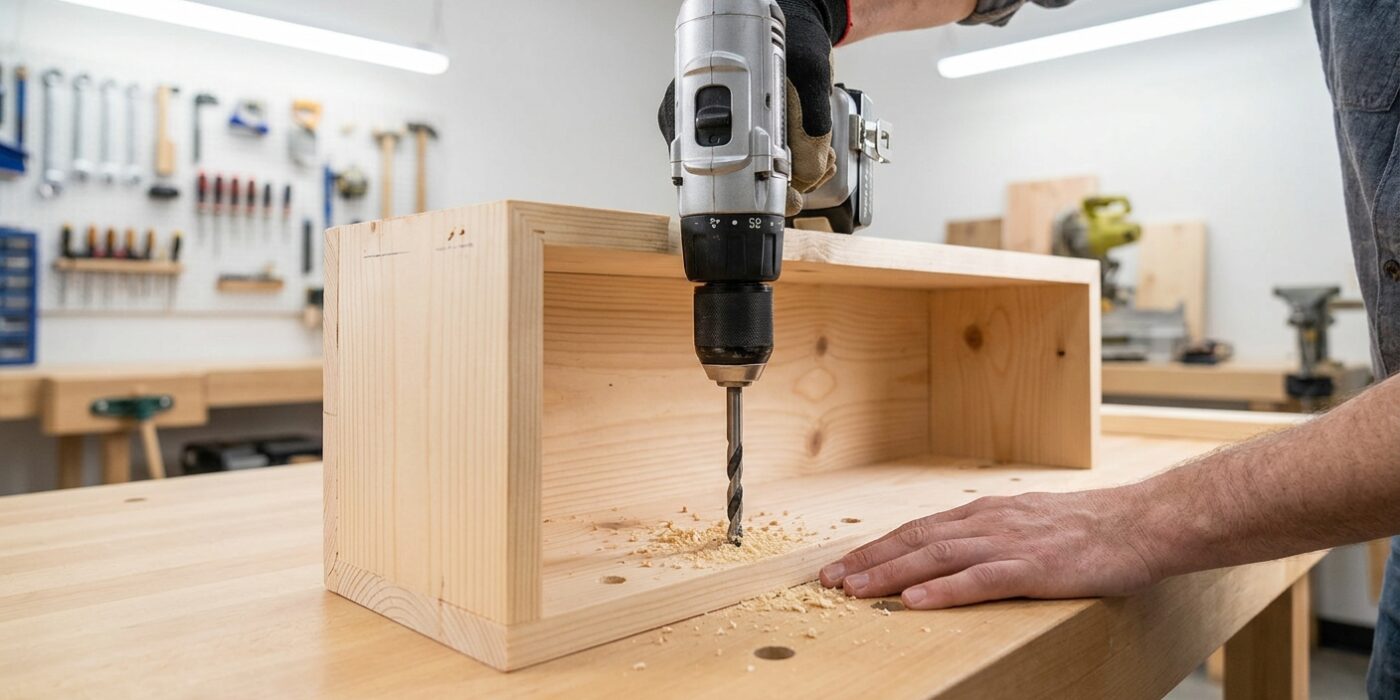
Now that your box is assembled, it is time to protect it from the elements. First, sand all surfaces with 120-grit sandpaper, moving in the direction of the wood grain. This smooths out rough edges and creates a clean surface for your finish to grip. If you chose cedar, apply two coats of exterior-grade stain; this preserves the wood’s natural warmth and prevents it from turning a weathered gray. If you used pine, apply one coat of exterior primer followed by two coats of exterior semi-gloss paint to match your home’s trim. Allow the box to cure in a dry, shaded area for 48 hours before adding soil; this ensures the chemicals are fully set so they do not leach into your plants.
Beginner Tip: Avoid the temptation to paint or stain the inside of the box. Wood needs to “breathe” to manage moisture. Painting the interior traps water against the wood, which significantly increases the risk of rot, shortening the lifespan of your planter.
Alternative Method: If you do not have space to paint or prefer a rustic aesthetic, you can skip the finish entirely if you used cedar. While it will turn a silvery-gray over time, cedar is naturally rot-resistant and can last for years without any external coating.
Pro Tip: When sanding, wrap your sandpaper around a small block of wood or a kitchen sponge. This provides a flat, firm surface that ensures you sand evenly without wearing out your fingertips or creating uneven divots in the wood.
Step 6: Mount the Box
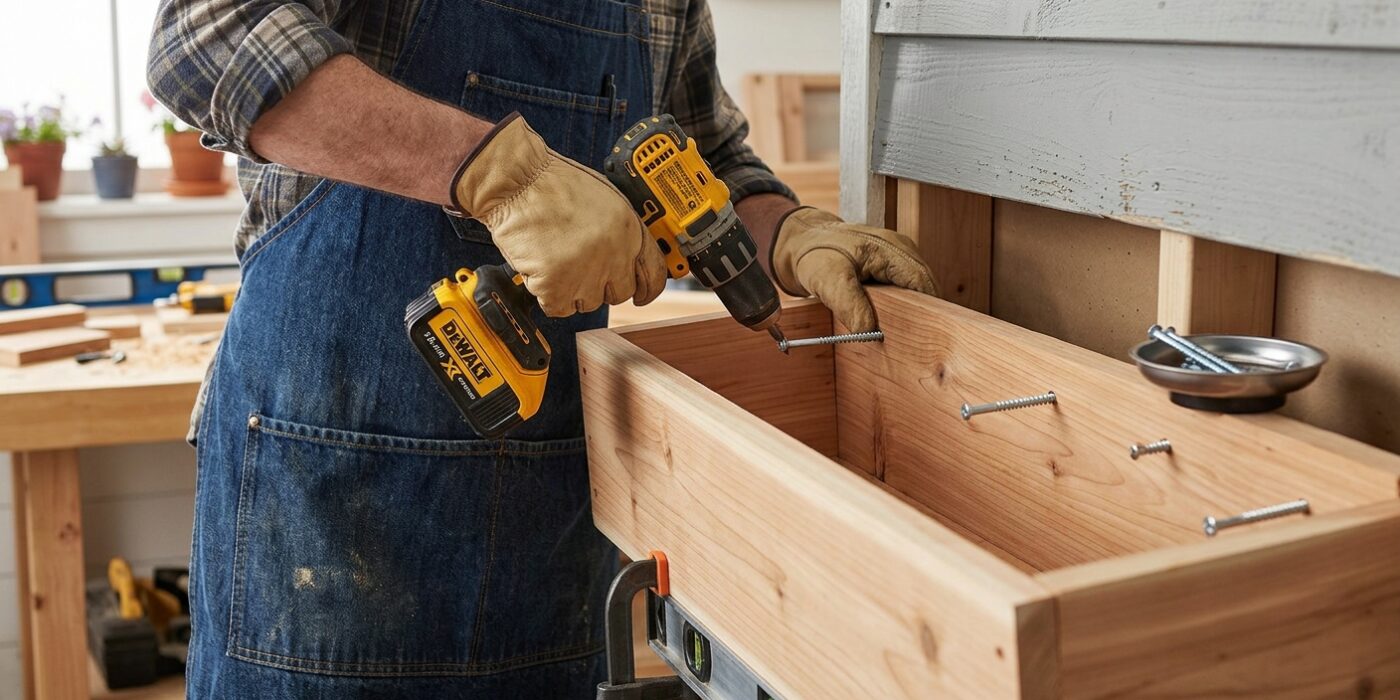
Now it is time to secure your hard work to your home. The most important rule is to mount the box into the solid structural wood (the “framing”) hidden behind your siding, rather than just the thin siding itself. Use a stud finder or look for the window’s vertical frame edges to locate these sturdy spots. Position the box so its top edge sits just below the window sill. Have a partner hold the box steady while you use a level to ensure it is perfectly horizontal – this keeps water draining evenly. Drive 3-inch lag screws through the back of the box, through the siding, and deep into the framing. For safety, install heavy-duty L-brackets underneath the box every 18 inches to prevent the weight of wet soil from pulling the box away from the house.
Beginner Tip: Never drive a screw directly into wood without first drilling a “pilot hole.” If you skip this, the force of the screw will likely split the wood of your beautiful new planter or the house framing. Use a drill bit slightly thinner than the shaft of your screw to create a smooth path for it.
Pro Tip: To keep your house siding healthy, create a small gap between the back of your box and the wall using a few washers as spacers. By sealing only the very top edge with a bead of exterior caulk, you allow air to circulate behind the box, which prevents trapped moisture from causing rot.