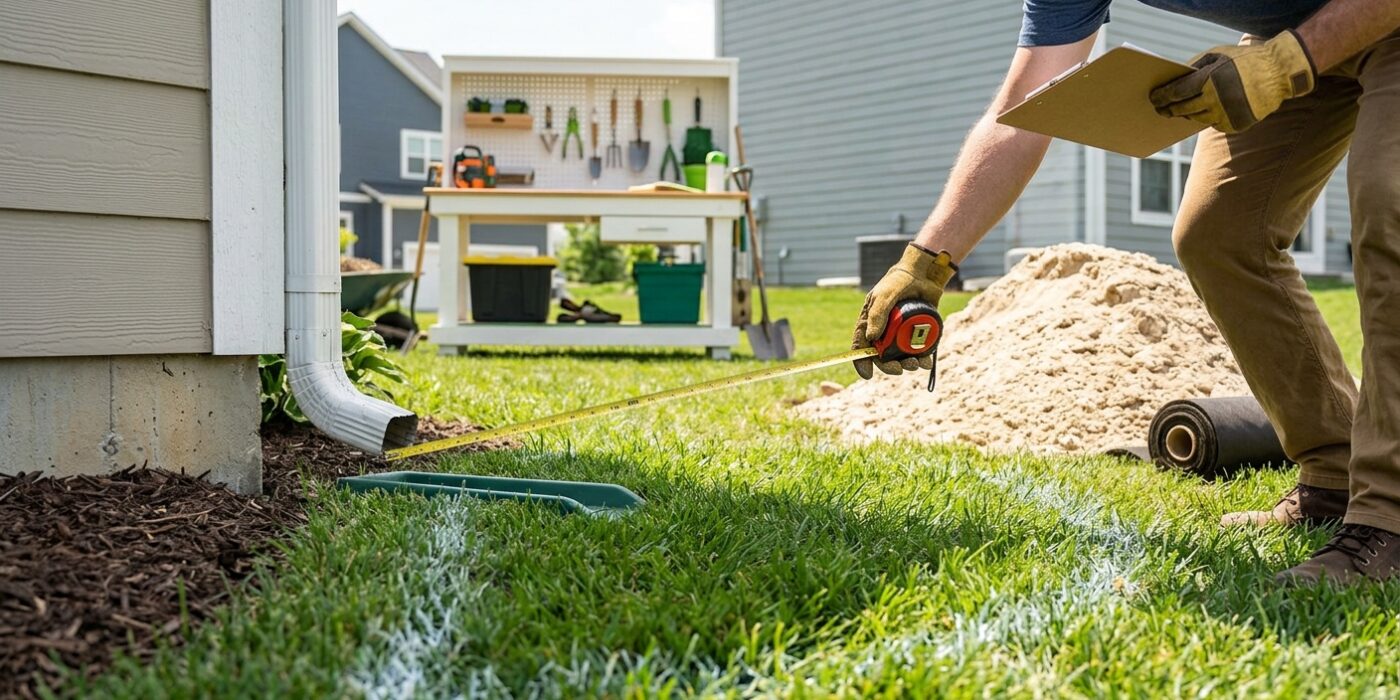
Project Shopping List
A rain garden is a shallow depression planted with deep-rooted native plants that captures runoff from impervious surfaces — driveways, rooftops, and compacted lawns — and allows it to slowly infiltrate into the soil instead of flowing into storm drains. A properly sized rain garden eliminates standing water problems in low-lying yards and reduces downstream flooding and pollution. This is one of the most environmentally beneficial projects a homeowner can build.
What You Need
- Shovels and wheelbarrow
- A level or laser level
- Sandy loam or amended soil mix (60% sand, 20% compost, 20% native topsoil)
- Native plants appropriate for your region and sun exposure
- Mulch (shredded wood or gravel, 2-3 inches)
- Optional: perforated drain pipe for overflow outlet
Sizing the Rain Garden
A rain garden must be large enough to absorb the runoff from the contributing area (roof, driveway, etc.) within 24-48 hours. As a general rule: the rain garden should be about 20-30% of the size of the impervious area draining to it. For a 500-square-foot roof section, a rain garden of 100-150 square feet is appropriate. Deeper bowls (8-12 inches) in well-draining soil can be smaller; shallower bowls (4-6 inches) in clay-heavy soil need to be larger.
Step-by-Step Instructions
Step 1: Choose a Location
The rain garden must be at least 10 feet from the house foundation, 25 feet from a septic system, and positioned to receive runoff naturally (downslope from the contributing surface). Avoid low spots that already hold standing water — these areas likely have high water tables and will not drain adequately. Partial sun with 4-6 hours of direct sun suits the widest range of native plants.
Step 2: Test Soil Drainage
Dig a 6-inch deep test hole and fill it with water. Time how long it takes to drain. Water should drain in 24-48 hours — if still standing after 48 hours, the soil drains too slowly for a basic rain garden without amendment. In clay soil, amend the entire rain garden bowl with a 50-70% sand mix to improve drainage, or install an underdrain (perforated pipe at the bottom of the bowl that exits to daylight).
Step 3: Mark and Excavate
Mark the rain garden outline — kidney or teardrop shapes are most natural-looking. Excavate 6-12 inches deep. Build a berm (low earth mound) along the downhill side of the rain garden using the excavated soil — the berm must be level across its top to prevent water from cutting through at a low point. The flat bottom of the bowl should be level. Slope the sides at 3:1 (horizontal to vertical) or gentler to prevent erosion.
Step 4: Create the Inlet
The inlet is where water enters the rain garden — from a downspout, a swale, or a simple notch in the uphill berm. Line the inlet area with rocks or gravel for the first 2-3 feet to dissipate the energy of incoming water and prevent erosion. A splash rock at the bottom of a downspout extension prevents a divot forming in the bowl.
Step 5: Amend the Soil and Plant
Fill the bowl with amended soil mix (sandy loam or 60% sand / 20% compost / 20% topsoil). Native plants with deep root systems are ideal: switchgrass, native sedges, coneflowers, black-eyed Susans, native iris, and cardinal flower for wet zones; native asters and goldenrod for the rim and berm. Plant densely — 6-inch spacing for groundcovers, 18-24 inches for perennials. Dense planting slows water, filters sediment, and establishes faster than sparse planting.
Step 6: Mulch and Establish an Overflow
Add 2-3 inches of shredded wood mulch throughout the bowl and berm. Install an overflow outlet where water exits when the rain garden is full — this can be a notch in the berm that directs overflow to a grassy area, or a perforated pipe that exits to daylight lower on the property. Without an overflow, an unusually large storm will overtop the berm randomly and cause erosion.
Pro Tips
- Water the rain garden weekly during its first growing season to establish deep roots. After the first year, established native plants are largely self-sufficient.
- Add a layer of gravel mulch in the inlet zone rather than wood mulch — gravel handles the water energy and does not float out during heavy rain events.
Frequently Asked Questions
Will my rain garden attract mosquitoes?
A properly designed rain garden drains completely within 24-48 hours, which is not long enough for mosquito larvae to develop (they need standing water for 7-10 days). If your rain garden holds water longer than 48 hours, the soil is draining too slowly and needs amendment or an underdrain to increase drainage rate.
Do rain gardens require much maintenance?
Once established (typically after 2-3 growing seasons), native plant rain gardens require minimal maintenance: remove invasive weeds that colonize bare spots during establishment, cut back stems in early spring, and refresh mulch every 2-3 years. They require far less maintenance than a traditional lawn area and no irrigation after establishment.