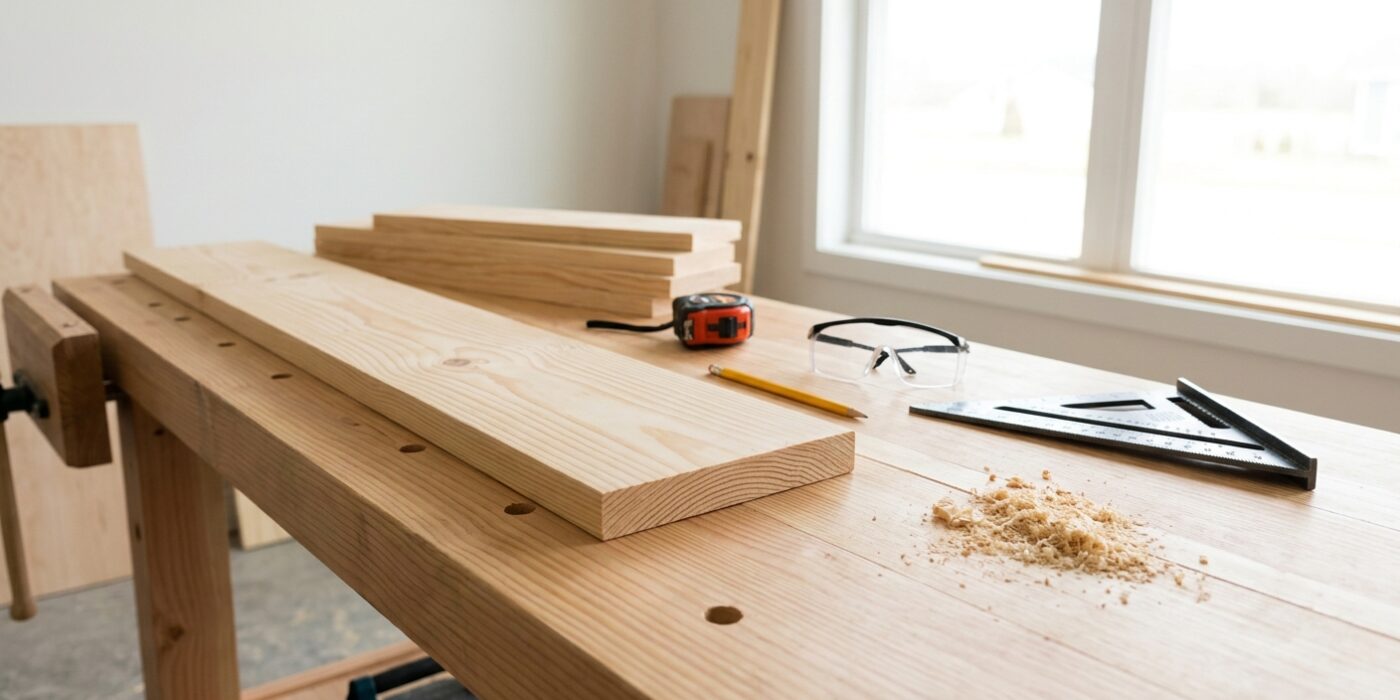
Project Shopping List
A wall-mounted wooden shelf looks impressive but takes only a few hours to build. Whether you need extra storage in a bedroom, a display ledge in the living room, or a utility shelf in the garage, building your own lets you control the exact size, wood species, and finish. Store-bought shelves are often particle board that sags under weight. A solid wood shelf costs about the same, lasts decades, and can be refinished whenever it needs freshening up.
Tools You Will Need
- Miter saw or circular saw
- Drill and drill bits
- Stud finder
- Level, 24-inch or longer
- Tape measure and pencil
- Sandpaper, 120-grit and 220-grit
- Two clamps minimum
- Safety glasses
Materials
- 1×10 or 1×12 pine or poplar board, cut to length
- Two shelf brackets rated for the load
- 3-inch lag screws, or toggle bolts if studs are not at bracket locations
- 1-5/8-inch wood screws to attach brackets to shelf underside
- Sandable primer and paint, or stain and polyurethane
Choosing Wood
Pine is the most economical choice for painted shelves and takes paint well after priming. Poplar has a tight grain and minimal knots and is ideal for stained work. Hardwoods like oak or maple are stronger and hold up in high-traffic spots but cost more. Buy a board at least 6 inches longer than your finished shelf so you can trim square ends and discard any splits.
Step 1 — Cut to Length
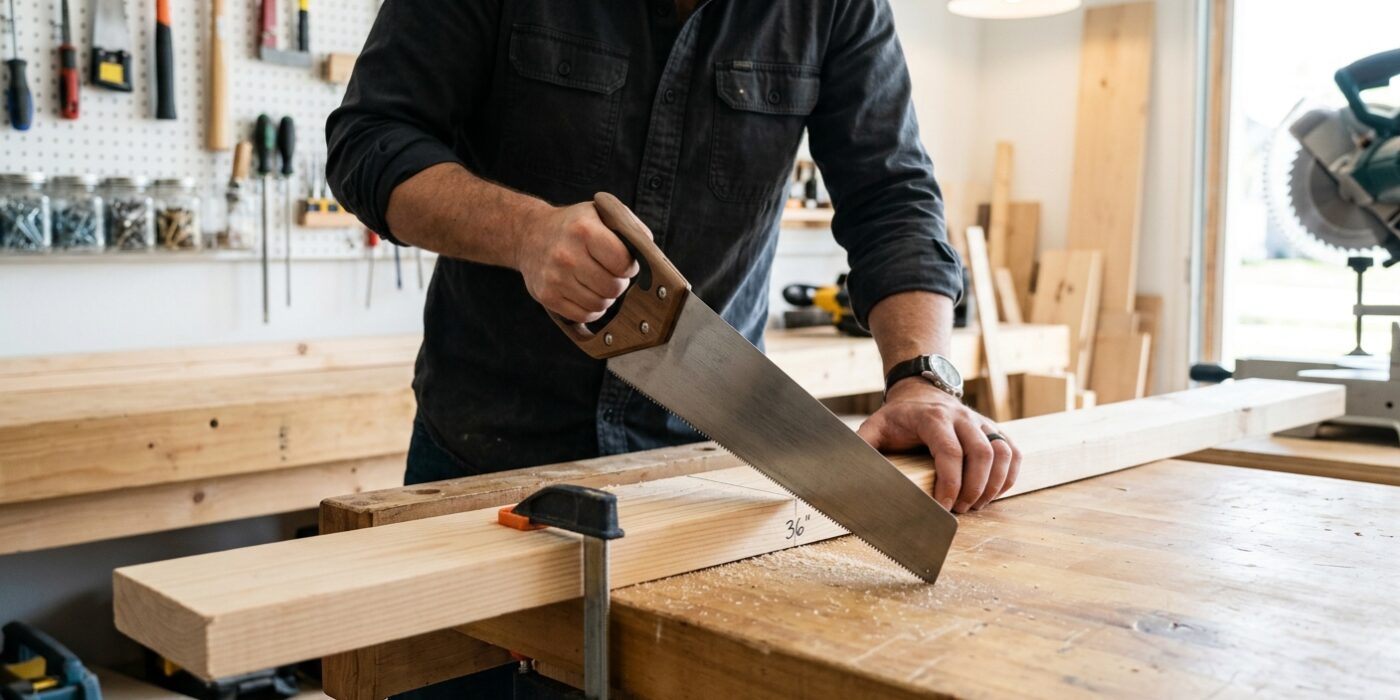
Before you begin cutting, double-check your measurements. Grab your tape measure and mark the exact length on your board with a sharp pencil. To ensure your shelf sits flush against the wall, your cut must be perfectly square, meaning it sits at a 90-degree angle to the long edge of the board. Place your combination square against the board’s edge and draw a line across the wood. This line is your guide.
Because circular saws can wander, you will create a DIY fence. Take a straight scrap piece of wood and clamp it to your board so that the distance between your saw blade and the edge of the saw’s base plate is perfectly aligned with your pencil line. This “fence” forces the saw to track in a straight, professional line. Keep your body off to the side, hold the saw firmly, and move it forward in one steady, continuous motion. Repeat this for your second shelf board.
Beginner Tip: Never force the saw. If you feel resistance or hear the motor whining, you are pushing too fast. Let the sharp teeth of the blade do the work for you by moving at a relaxed, steady pace.
Alternative Method: If you do not own a circular saw, a simple hand saw is a perfect starting point. Just take your time with the stroke and use your pencil line as a visual guide to keep the blade straight.
Pro Tip: Place a piece of painter’s tape across your cut line before marking. This prevents the wood fibers from splintering and gives you a much cleaner, smoother edge.
Step 2 — Sand the Board
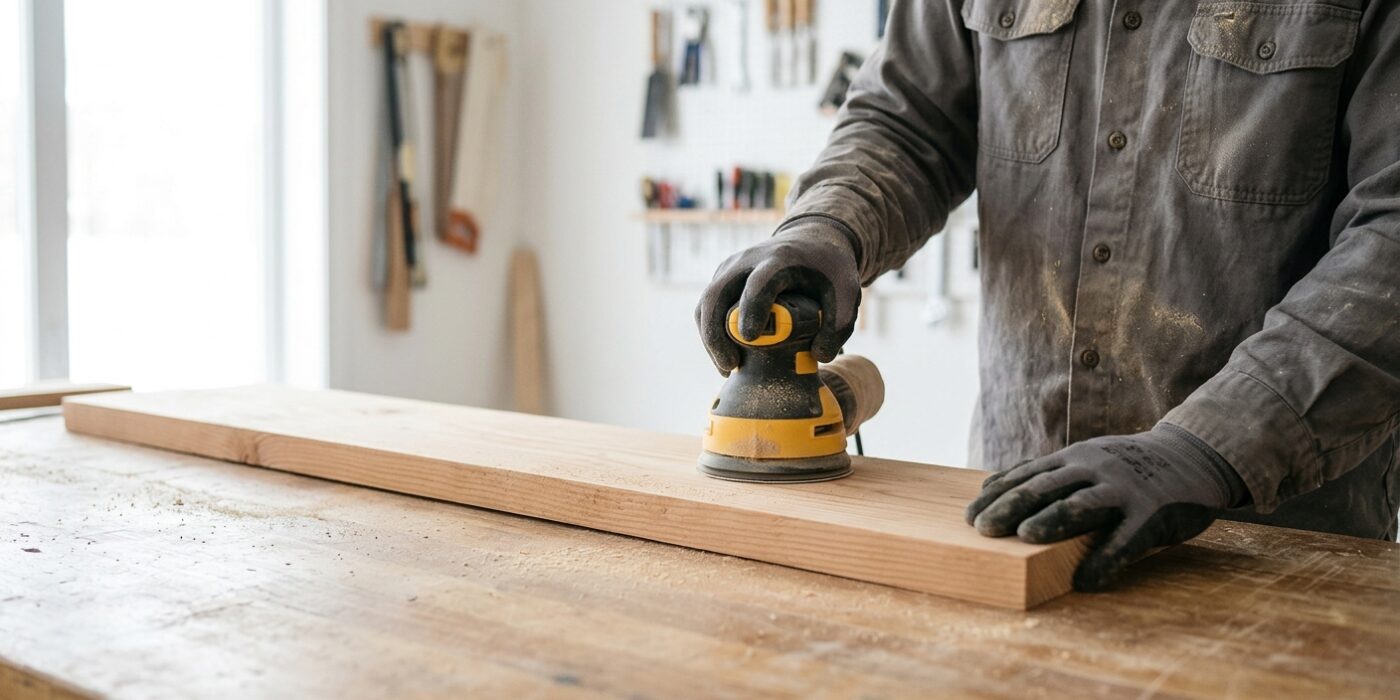
Sanding is the secret to a professional-looking project. Start by wrapping a piece of 120-grit sandpaper around a wooden sanding block to keep your pressure even. Move the block back and forth along the wood, always following the direction of the grain – the visible lines running through the timber. Sanding against the grain will leave ugly, circular scratches that are hard to remove later.
Work on the flat faces and the edges until the wood feels smooth to the touch. Once the surface is uniform, tilt your sanding block at a 45-degree angle to lightly rub the sharp corners of the shelf. Rounding these off slightly prevents the wood from splintering and ensures the edges won’t feel painfully sharp. After finishing with the 120-grit paper, switch to 220-grit sandpaper for a final pass to polish the wood. Finally, use a sticky tack cloth or a slightly damp rag to wipe away all the fine sawdust; this ensures your paint or stain sticks perfectly.
Beginner Tip: Avoid pressing too hard. Many beginners think heavy pressure makes the work go faster, but this can actually create uneven dips in the wood. Let the grit of the sandpaper do the work, using a light, steady hand.
Pro Tip: Before you begin, lightly scribble a pencil mark across the entire board. When you sand, you will be able to see exactly where you have already smoothed the surface and which areas still need a little more attention.
Step 3 — Finish the Wood
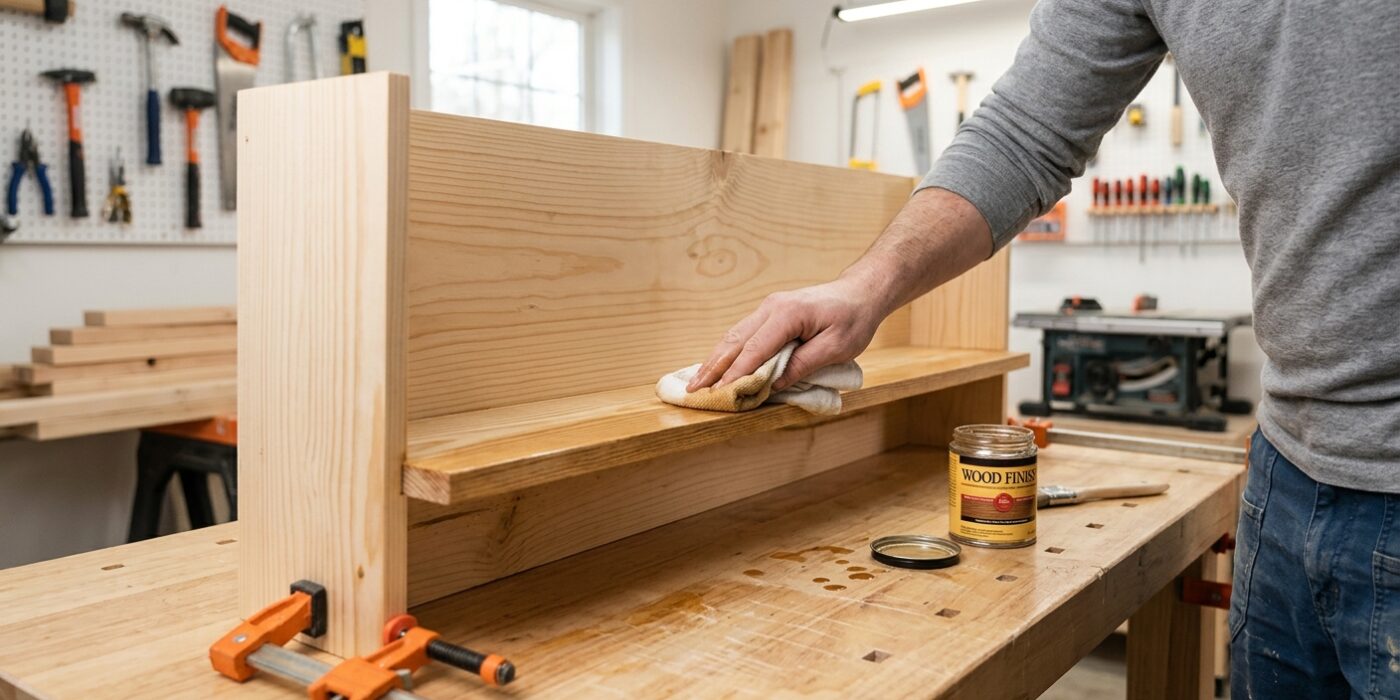
Now that your shelf is assembled, it is time to give it a professional look. Finishing your wood not only makes it look beautiful but also seals it against moisture and dust. You have two main paths: paint or stain.
If you choose to paint, start by applying one thin coat of sandable primer. Once it is completely dry, gently rub the surface with 220-grit sandpaper; this knocks down any tiny wood fibers that popped up. Wipe away the dust with a damp cloth, then apply two coats of your chosen paint, allowing it to dry fully between layers. If you prefer the look of wood grain, apply a wood stain using a clean cotton rag, wiping off the excess immediately so it does not become tacky. Once the stain is dry, apply two or three thin layers of polyurethane. Use 320-grit sandpaper to lightly scuff the surface between these layers for a silky-smooth finish. Let your final coat cure for at least 24 hours before mounting your shelf.
Beginner Tip: The most common mistake is applying too much paint or stain at once. Always aim for thin, even coats. It is much easier to apply an extra thin coat than it is to fix ugly drips or pooled stain that has dried into a sticky mess.
Pro Tip: To get a flawless finish, always wipe your project down with a tack cloth or a slightly damp microfiber rag right before you apply your final coat of paint or sealer to remove every speck of stray sawdust.
Step 4 — Find Studs
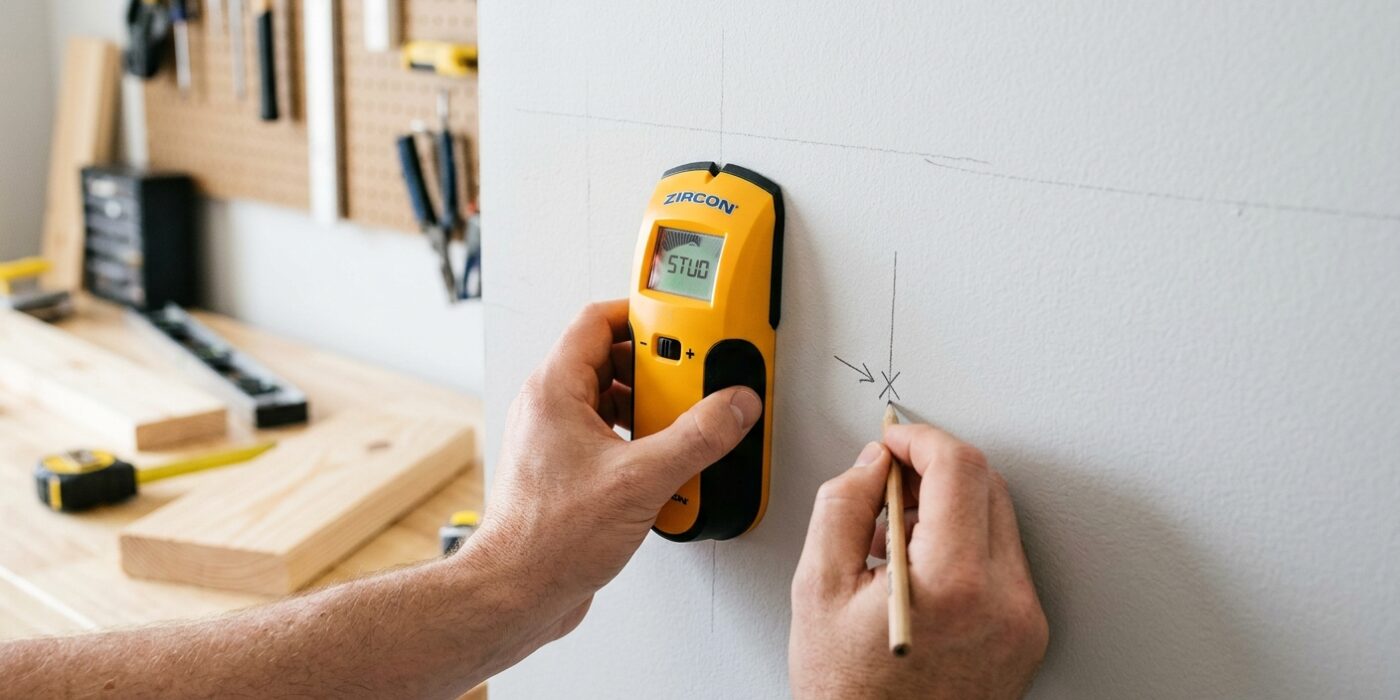
Before you lift a drill, you must find the wooden framework hidden behind your drywall, known as studs. Think of studs as the skeleton of your house; they are vertical wooden beams that provide the solid anchor your shelf needs to stay on the wall. Simply screwing into the drywall won’t hold the weight of your books or decor, so we need to lock into these studs.
Hold your stud finder flat against the wall and slowly slide it horizontally at the exact height where you plan to mount your brackets. When the device beeps or lights up, stop and use your pencil to mark the center of the stud. Repeat this process until you have found at least two studs that align with your desired shelf width. If the stud finder reveals that your brackets won’t land on studs, you will need to use heavy-duty toggle bolts, which expand behind the wall to create a secure grip.
Beginner Tip: Do not rely on just one beep. Sometimes, a stud finder will signal over electrical wires or pipes. Always slide the device back and forth across the same spot several times to ensure the beep consistently happens in the exact same location before you commit to marking it.
Pro Tip: If you find the stud finder is giving you inconsistent readings, try the “magnet trick.” Use a small, strong neodymium magnet to locate the screws that attach the drywall to the studs. When you feel the magnet “stick” to the wall, you have found a screw head, which is a guaranteed marker for the center of your stud.
Step 5 — Install Brackets
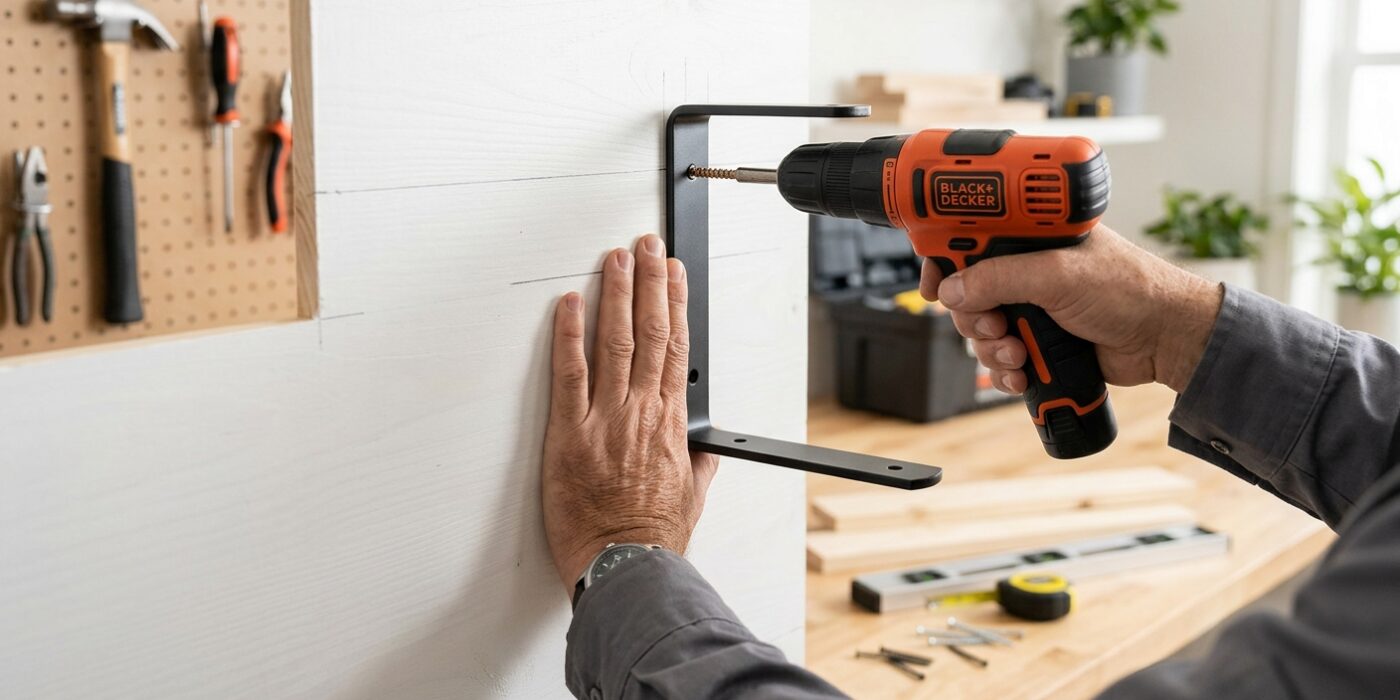
Now it is time to give your shelf some support. Hold your first bracket against the wall at your desired height. Use a bubble level on the horizontal arm to ensure it is perfectly flat; if the bubble sits exactly between the two lines, you are golden. While holding it steady, use a pencil to mark the center of each screw hole on the wall. Set the bracket aside and drill a pilot hole into each mark using a drill bit slightly smaller than the shank of your lag screw. This prevents the wood or drywall from splitting. Line the bracket back up and drive your screws in firmly with a screwdriver or drill on a low-torque setting. Repeat this process for the second bracket, ensuring it is perfectly aligned with the first.
Beginner Tip: A common mistake is letting the drill bit wander while starting your hole. To keep it steady, use a hammer and a small nail to tap a tiny “starter dent” exactly where you made your pencil mark. This creates a small divot for your drill bit to sit in so it does not slide across the wall.
Pro Tip: Before you screw the brackets in permanently, place your shelf board on top of them and set your long level across the top. If the bubble is off-center, you can nudge one bracket slightly up or down before tightening the screws completely. This ensures your shelf is perfectly level end-to-end, which makes the final result look professional.
Step 6 — Attach Shelf to Brackets
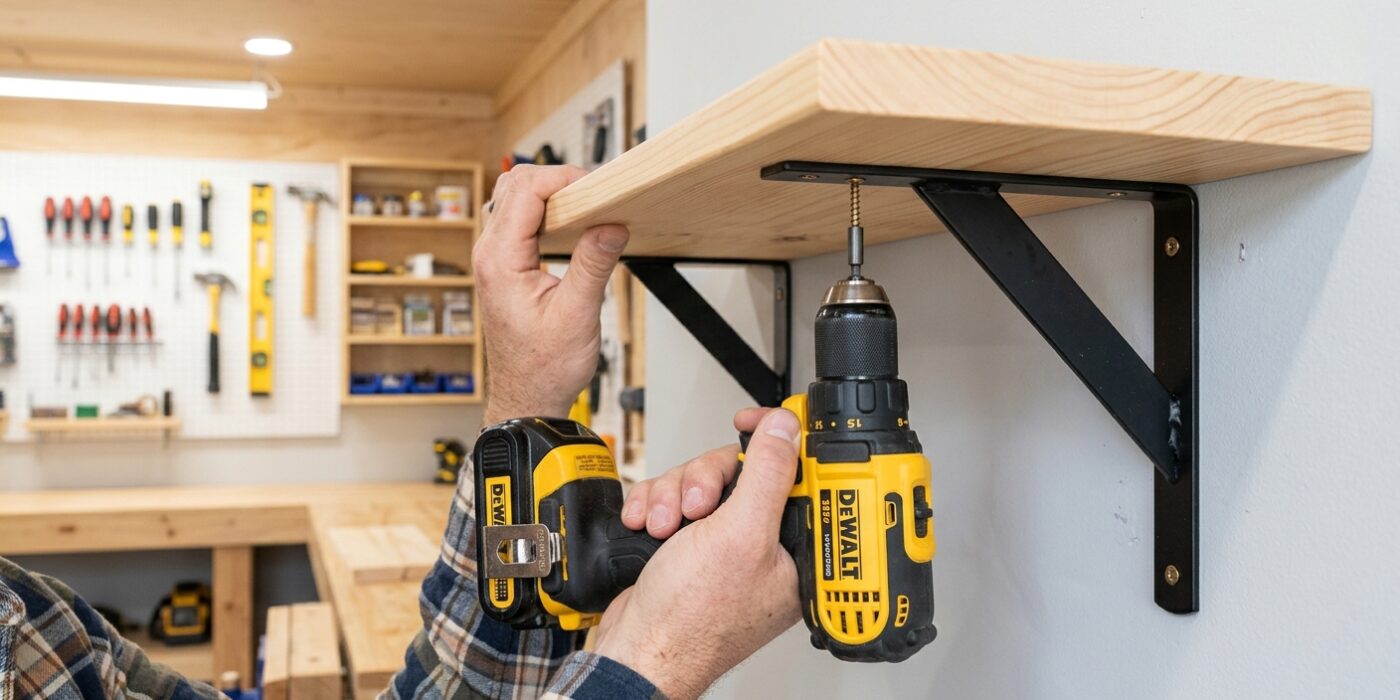
Now that your wall brackets are secure, it is time to fasten the shelf board to them. From underneath the shelf, locate the pre-drilled holes in the bracket tabs. Use a drill with a 1/8-inch bit to create pilot holes by drilling upward into the wood. Stop about 3/4 of the way through the board – never drill all the way through, or you will ruin the top surface! Once the holes are ready, drive your 1-5/8-inch screws through the bracket and into the board to lock it firmly in place. Give the shelf a firm push in all directions; it should feel solid and immovable.
Beginner Tip: The most common mistake is letting the drill bit wander while starting your pilot hole. Before you start drilling, use a hammer to gently tap a nail into the wood at the center of the bracket hole. This creates a tiny indentation, or “dimple,” that gives your drill bit a place to sit so it won’t slip and scratch the bottom of your beautiful new shelf.
Pro Tip: If your drill is too large to fit comfortably between the shelf and the wall, you do not need to struggle with awkward angles. Simply use a manual screwdriver to finish driving the final screws. While it takes a little more elbow grease, the extra control ensures you do not accidentally strip the screw head or drive the fastener through the top of your shelf.
Safety Note: Always confirm your total load does not exceed the manufacturer’s rating for your brackets. If you are storing heavy items like books or tools, add a third support bracket and ensure your total span remains under 36 inches for maximum stability.