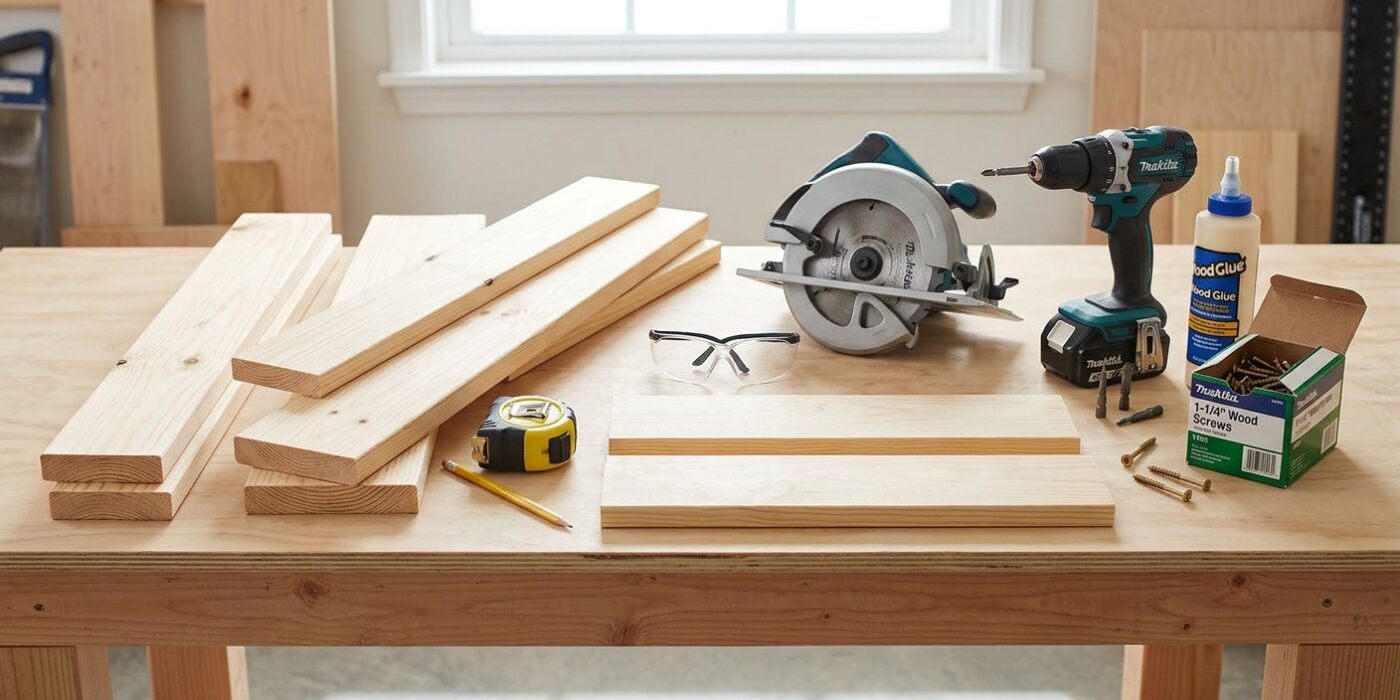
Project Shopping List
A two-step wooden stool is one of the best beginner joinery projects you can build. It uses a small amount of lumber, requires only basic tools, and produces something genuinely useful on the day you finish it. Unlike decorative projects, a step stool must support your full body weight, so you will know immediately whether your joinery is solid. Pocket hole joinery makes this achievable without a router table or mortise-and-tenon skills.
Tools You Will Need
- Miter saw or jigsaw
- Pocket hole jig, Kreg or equivalent
- Drill and bits
- Four clamps
- Tape measure, square, and pencil
- Sandpaper, 80, 120, and 220-grit
- Safety glasses
Materials
- One 1×12 x 8-foot pine board
- One 1×8 x 4-foot pine board
- 1-1/4-inch pocket hole screws
- Wood glue
- Primer and semi-gloss paint, or polyurethane
- Four rubber non-slip feet
Cut List
From the 1×12: two side panels at 18 inches long. From the 1×8: two step treads at 16 inches long each, and one back brace at 14 inches long. From 2×2 cedar or ripped scrap: four corner posts at 11 inches tall.
Step 1 — Cut the Stepped Side Panels
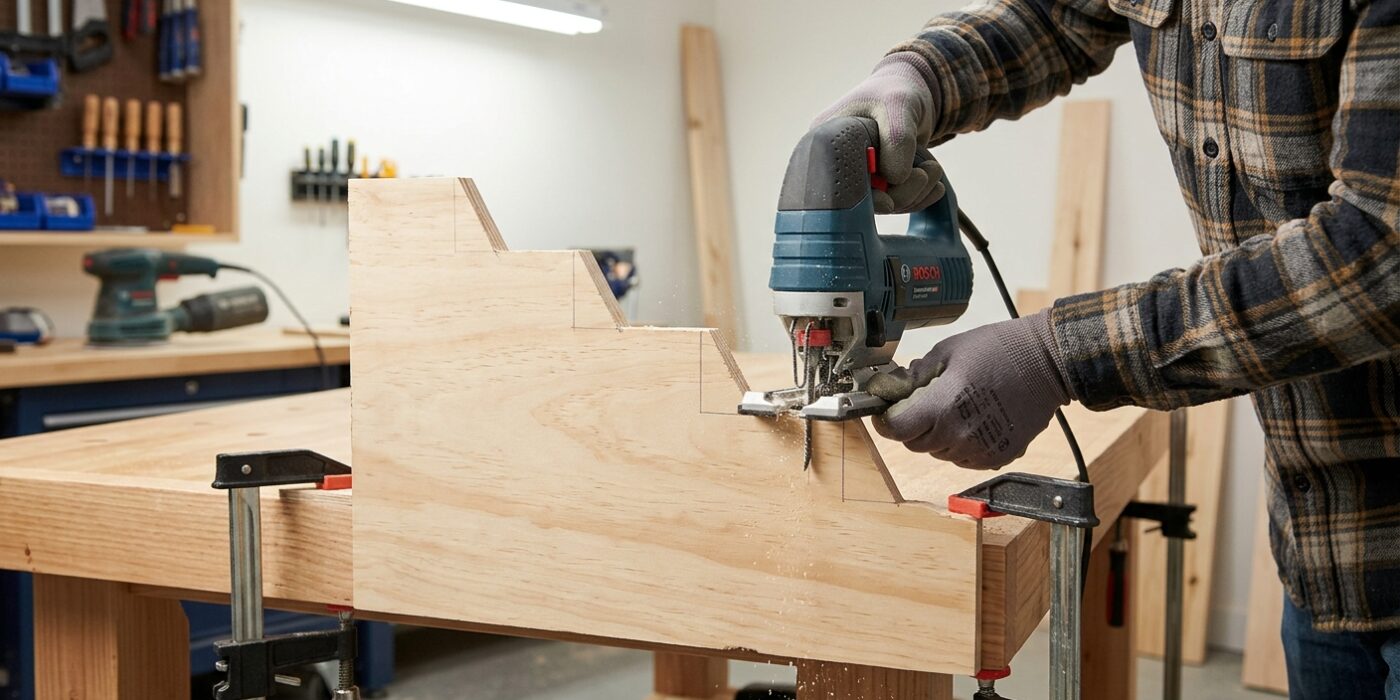
The side panels act as the skeleton of your stool. To create the pocket that supports the lower step, you need to cut a notch into each of your two 18-inch boards. Lay your boards flat on your workbench and use a carpenter’s square to mark a line starting 9 inches from the bottom edge. From the front edge, measure inward 3-1/2 inches to mark your second line. This creates an L-shaped cutout that will cradle the lower step securely.
When using your jigsaw, position the blade so it sits just on the “waste” side of your pencil line, leaving the line itself visible. This ensures your fit remains tight. Once the bulk of the wood is removed, use a flat wood file to gently smooth the edges back to your line. This technique ensures a perfect, snug fit for the step. Make sure you lay your boards out so they are mirror images of each other; the notches must face the same direction, or your stool will not sit level.
Beginner Tip: The most common mistake is cutting into the “good” side of your line. Always double-check which side of the line is the piece you are keeping. If you accidentally cut too deep, your step will be wobbly, so take your time and follow the “measure twice, cut once” rule.
Pro Tip: To get a perfectly straight corner where your two cuts meet, drill a small starter hole exactly in the corner before you begin sawing. This allows you to pivot the jigsaw blade easily without overcutting your layout lines.
Step 2 — Drill Pocket Holes
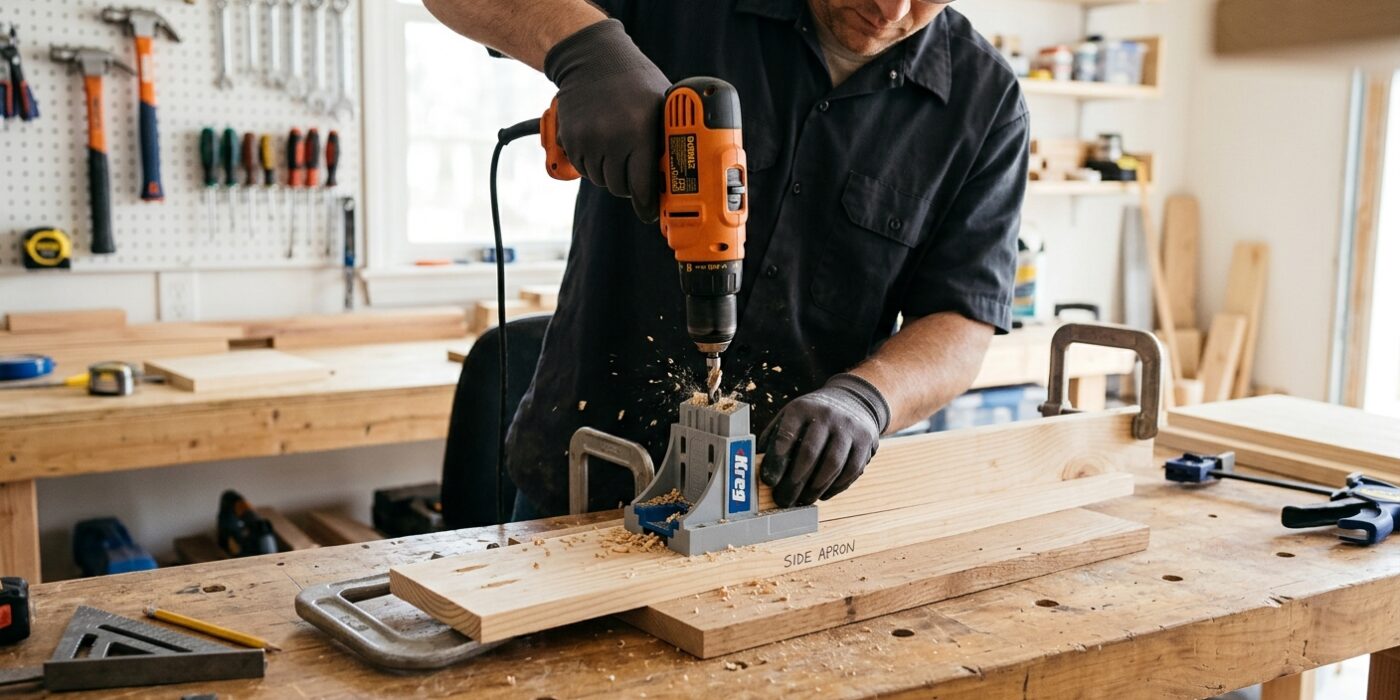
Now it is time to create the secret connection points for your stool. A pocket hole jig is a fantastic tool that allows you to drill angled holes, letting your screws hide inside the wood rather than showing on the outside. First, set your pocket hole jig depth to 3/4-inch, which matches the thickness of your boards. Using the specialized drill bit that came with your jig, drill two holes into the inside face of both ends of your two treads and the back brace. The goal is to drill deep enough so the screw head will sit flush inside the hole, creating a clean, professional finish once the stool is fully assembled.
Beginner Tip: Ensure your wood is clamped tightly to the jig before you start drilling. If the wood shifts even slightly while you pull the trigger, the hole will be misaligned, making it difficult to join your boards together later. Take a second to double-check that your clamp is secure.
Alternative Method: If you do not own a pocket hole jig, you can use simple metal L-brackets to connect your pieces. You will simply screw one side of the bracket into the tread and the other into the stool leg. While the brackets will be visible, it is a perfectly sturdy way to build your first stool without specialized equipment.
Pro Tip: Place a small piece of scrap wood underneath your board while drilling. This prevents the drill bit from tearing out the wood fibers on the underside, leaving you with a much neater, cleaner hole.
Step 3 — Assemble First Side
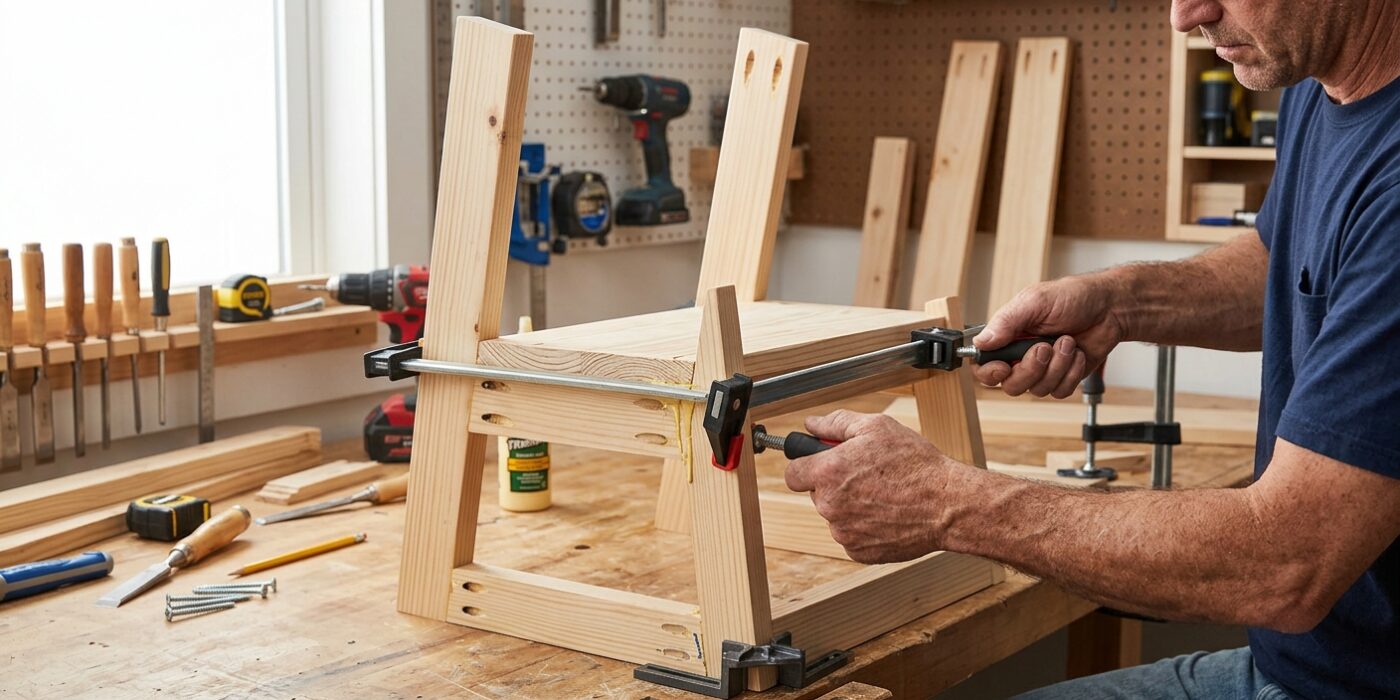
Now it is time to build the first side of your stool. Start by running a thin, consistent bead of wood glue along the inside of the notch and the top edge of your first side panel. Glue is the secret to a stool that stays rock-solid for years, as it fuses the wood fibers together.
Place your lower tread into the notch and position the upper tread so it is perfectly flush with the top edge of the panel. Once positioned, use your clamps to hold the pieces tightly against the panel. With everything secured, drive your pocket screws through the pre-drilled pocket holes into the treads. Finally, glue and screw the back brace at the bottom rear of the panel; this small piece acts as a stabilizer, preventing the stool from wobbling side-to-side.
Beginner Tip: Be careful not to overtighten your clamps. If you squeeze too hard, you might force all the glue out of the joint, leaving you with a “dry” connection that won’t hold well. Just tighten until the pieces feel snug and don’t move when nudged.
Pro Tip: Before you drive your screws, use a damp rag to wipe away any excess glue that squeezes out of the joints. Once wood glue dries, it is very difficult to sand away and will prevent wood stain or paint from soaking into the surface properly.
Step 4 — Close the Second Side
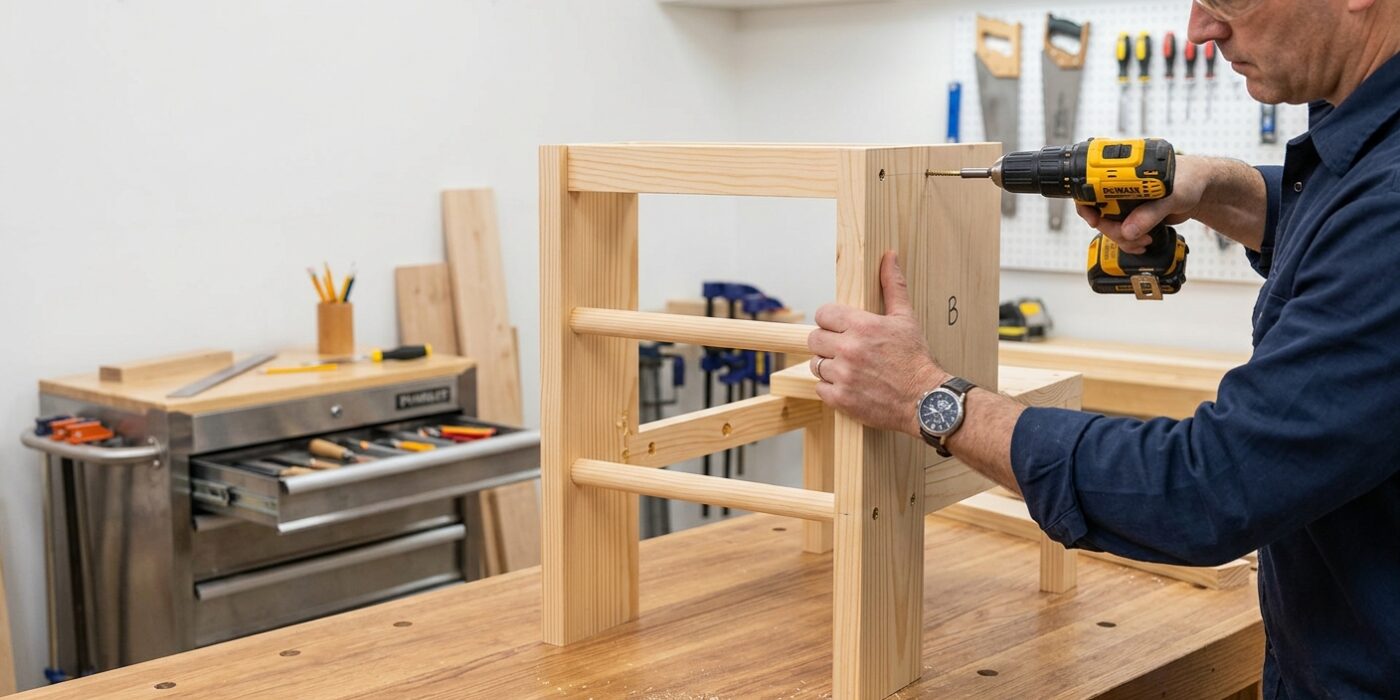
Now that your first side is attached, it is time to enclose the stool. Start by applying a thin, even bead of wood glue to the exposed ends of your treads and the back brace. The glue acts as the primary strength for your joint, while the screws hold everything together while it dries. Carefully align the second side panel with these glued ends. Using your drill, drive the pocket screws through the pre-drilled pocket holes and into the treads. Ensure your drill’s clutch is set to a medium torque setting to avoid stripping the wood fibers.
Once secured, place your stool on a perfectly flat surface, like a workbench or a kitchen counter. Gently press down on each corner. If you notice the stool “wobbling” or rocking, identify the leg that is slightly too long. Place a piece of medium-grit sandpaper on a flat sanding block and rub the bottom of that specific foot in a circular motion. Repeat this process until all four feet rest firmly on the surface, ensuring the stool is stable and safe for use.
Beginner Tip: The most common mistake here is overtightening the screws, which can cause the wood to split or the side panel to shift out of alignment. Stop tightening as soon as the screw head sits snugly against the pocket hole shelf.
Pro Tip: Use a damp rag to wipe away any glue squeeze-out immediately. Dried glue is notoriously difficult to remove and will prevent wood stain or paint from soaking into the surface evenly.
Step 5 — Sand and Finish
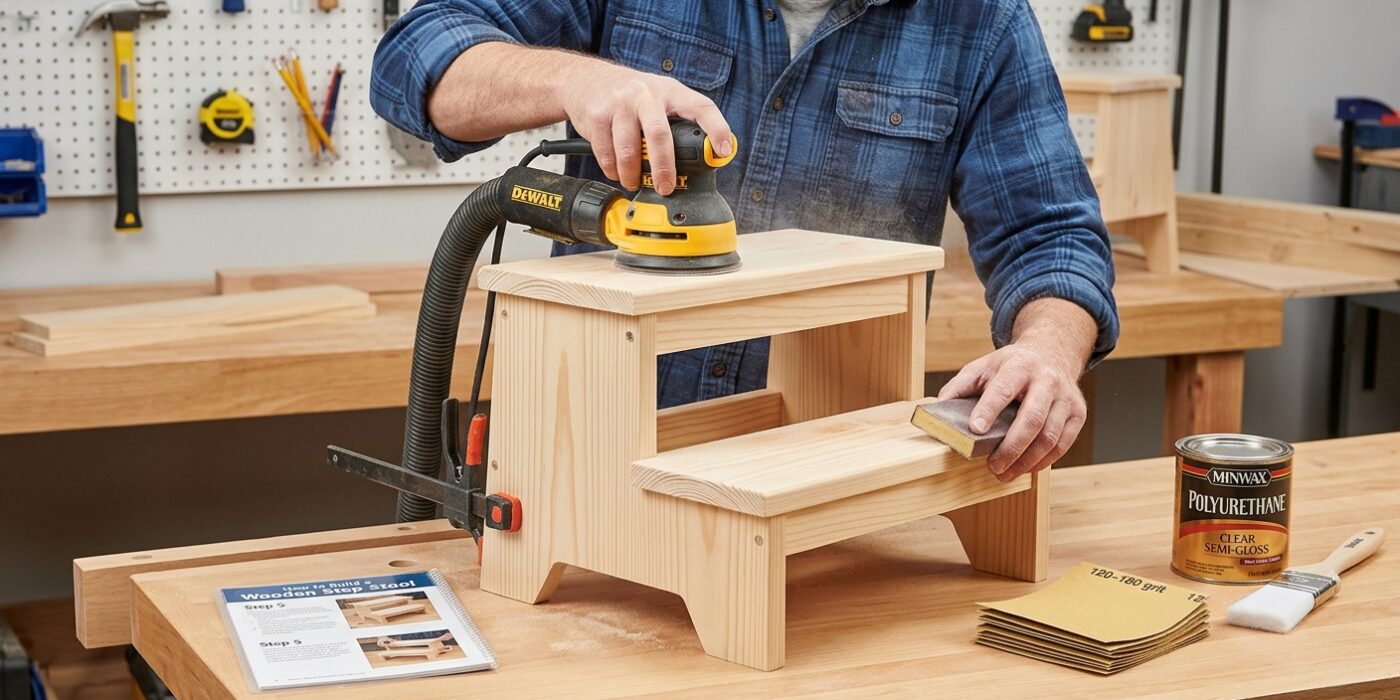
Now that your stool is assembled, it is time to make it smooth and protected. Sanding is the secret to a professional look. Start with 80-grit sandpaper to remove dried glue, then move to 120-grit, and finish with 220-grit for a silky surface. As you sand, focus on rounding over all sharp corners and edges; this prevents splinters and makes the stool much more comfortable to use. Once smooth, wipe away all dust with a tack cloth before applying your finish. If you want a pop of color, use a quality primer followed by two coats of semi-gloss paint. For a classic wood look, apply two to three coats of polyurethane, lightly sanding with 220-grit between each dry coat. Once fully cured, attach rubber feet to the bottom corners to keep the stool steady.
Beginner Tip: Never skip a grit level when sanding. If you jump from 80 to 220, the finish will highlight deep scratches left behind by the coarse paper. Always move up incrementally to erase the marks from the previous step.
Alternative Method: If you do not have a sander, wrap your sandpaper around a small, flat block of scrap wood. This provides a uniform, stable surface that prevents you from accidentally rounding off flat edges or creating “dips” in the wood.
Pro Tip: Before applying your final finish, run your bare hand over the entire project. Your fingers will detect tiny splinters or rough spots much faster than your eyes can see them, ensuring a flawless result every time.