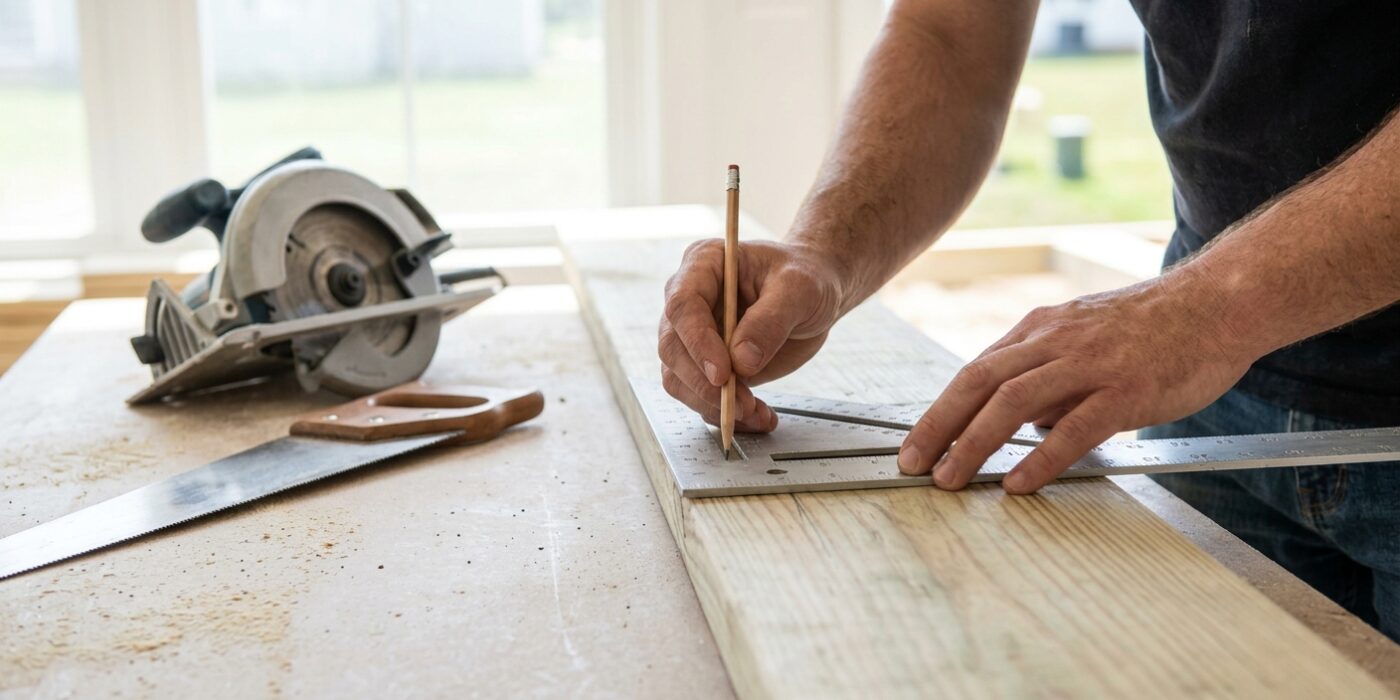
Project Shopping List
Deck steps are one of the trickier outdoor carpentry projects because they require precise layout math before any cutting starts. Get the rise and run wrong and every step will feel off — either too steep, too shallow, or inconsistent in height. Get them right and the steps feel natural to climb without thinking about it. This guide walks you through the full process from measuring total rise to attaching the final tread board.
Understanding Rise, Run, and Stringers
Rise is the vertical height of each step. Run is the horizontal depth of each tread. Stringers are the angled side supports that carry the treads and risers. Building codes typically require rise between 4 and 7.75 inches and run of at least 10 inches per step. The formula for comfortable steps is: 2 x rise + run = 24 to 25 inches. A rise of 7 inches and run of 11 inches satisfies both comfort and code for most applications.
Tools You Will Need
- Framing square with stair gauges
- Circular saw
- Jigsaw for finishing stringer notch corners
- Drill and impact driver
- Level
- Tape measure and pencil
- Safety glasses
Materials
- 2×12 pressure-treated lumber for stringers
- 5/4×6 or 2×6 pressure-treated decking for treads
- 1×8 or composite boards for risers, optional
- Structural stringer hardware or ledger board for top attachment
- Concrete pad or footings for stringer bottom support
- 3-inch exterior structural screws or structural nails
Step 1 — Measure Total Rise
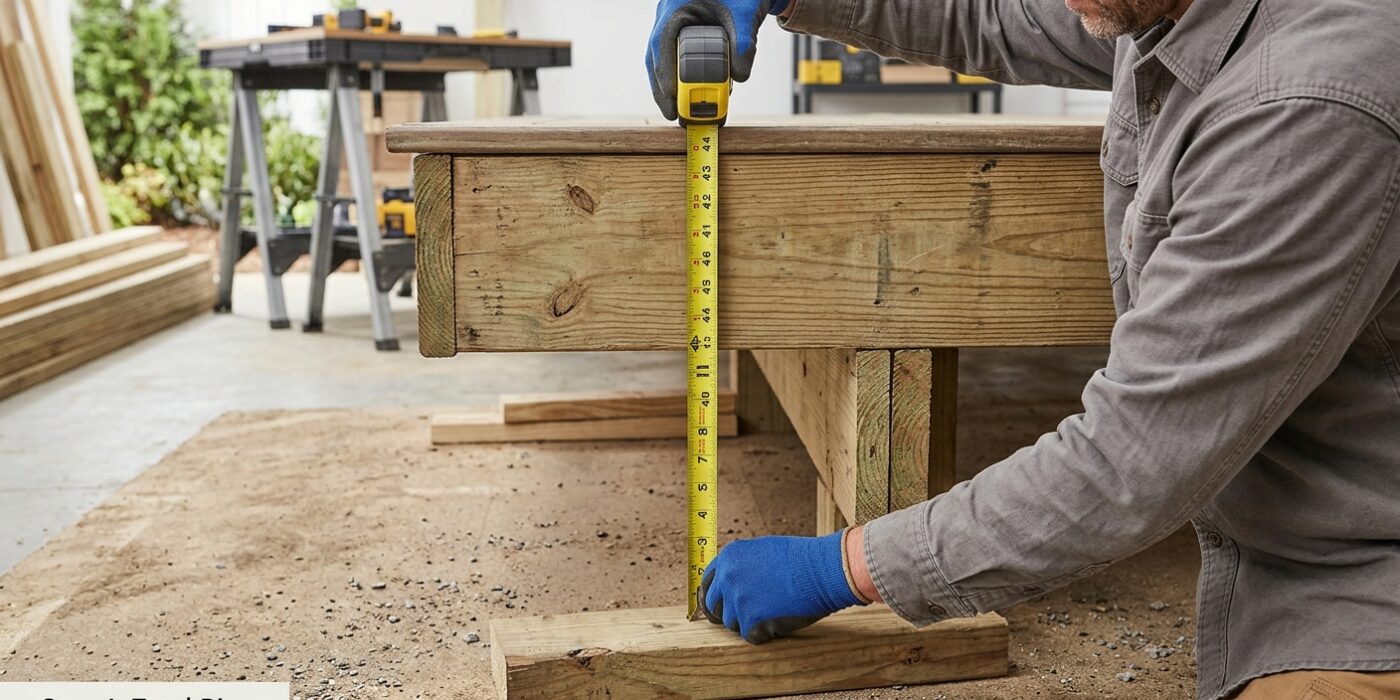
The “total rise” is simply the vertical distance from your deck surface down to the finished ground level. Measuring this correctly is the most important step in the entire build, as it ensures your stairs are safe, comfortable, and consistent. To find it, hold a long, straight board (a level works best) flat against your deck surface so it sticks out into the air like a diving board. Use a bubble level to ensure the board is perfectly horizontal. From the bottom of that board, drop a tape measure straight down to the ground. If your ground is sloped, measure at the exact spot where the stairs will land.
Once you have your total rise (let’s say 42 inches), divide that number by your desired step height – typically around 7 inches. If 42 divided by 7 equals 6, you have a perfect whole number. If you get a fraction, round to the nearest whole number and divide again to find your final, precise step height. This math guarantees that every single step you take on your new deck feels identical.
Beginner Tip: Never measure to loose dirt or grass. If you measure to soft ground, your steps will be uneven once you add a concrete landing pad or gravel base. Always measure to the finished surface where the bottom step will actually rest.
Pro Tip: To get an incredibly accurate measurement without fighting a tape measure, use a laser level. Set it up on the deck and mark the beam height on a stake driven into the ground where the stairs will land. You can then measure the distance between your mark and the actual ground with total precision.
Step 2 — Calculate Total Run
Now that you know how many steps you need, it is time to figure out the total “run.” The run is the total horizontal distance your staircase will travel away from the deck. To calculate this, multiply your number of treads by the depth of each tread. For example, if you have 6 steps and each tread is 11 inches deep, you will have 5 actual tread boards, resulting in a total run of 55 inches (5 x 11 = 55). Remember, you subtract one from the total number of steps because the deck surface itself acts as the top “step” or landing.
Before you commit to your layout, measure the area where the stairs will land. Ensure you have at least 55 inches of clear, level space. Check that your path doesn’t interfere with fences, flower beds, or property lines, and make sure the ground is stable enough to support the weight of the stairs.
Beginner Tip: A very common mistake is forgetting to account for the thickness of the riser board (the vertical board covering the front of the step). If you are using thick lumber, ensure your run calculation includes this extra thickness so your stairs do not end up being too short or protruding too far.
Pro Tip: To visualize the footprint, lay a long piece of scrap lumber or a string line on the ground extending from the deck. This gives you a physical guide to see exactly where the stairs will end, making it much easier to spot potential obstacles before you cut any wood.
Step 3 — Lay Out the Stringer
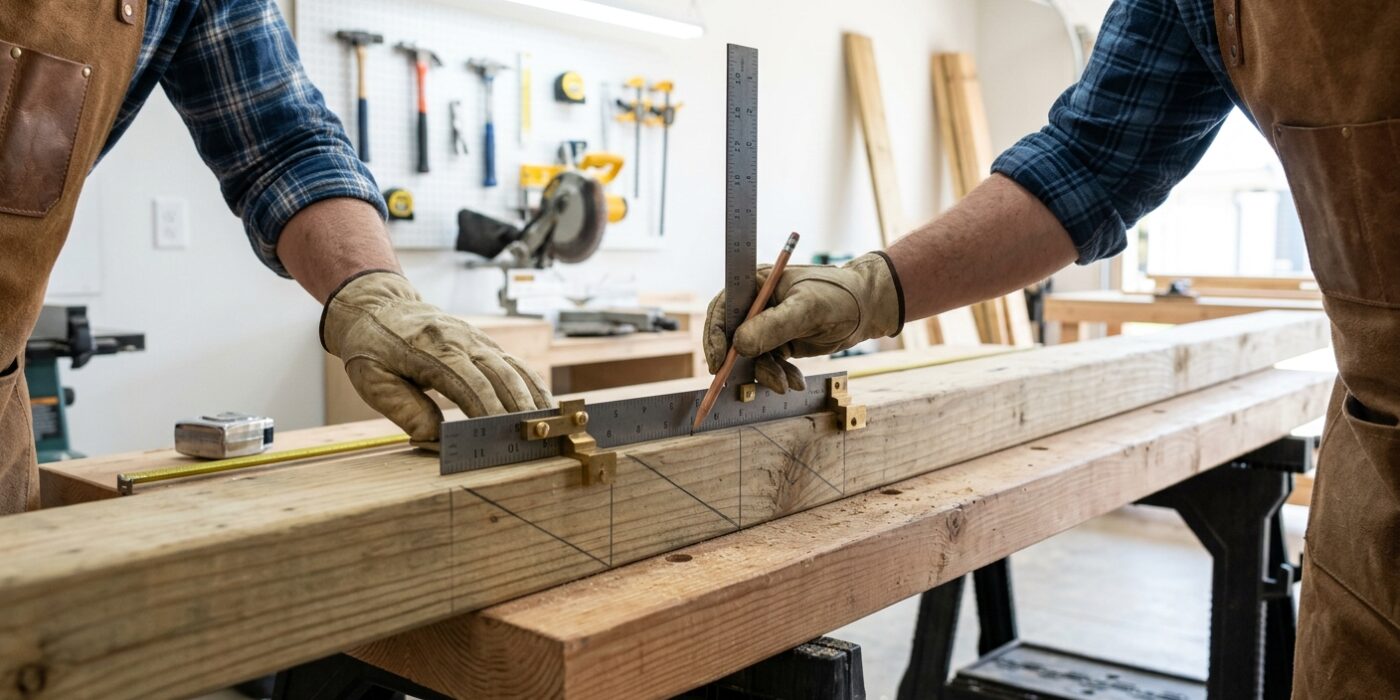
Now it is time to map out your stairs on a 2×12 lumber board. To do this, you will use a framing square outfitted with stair gauges – small metal attachments that clamp onto the square at your specific rise (height) and run (depth) measurements. These gauges ensure every step is perfectly identical.
Place your square on the edge of the board, aligning the gauges so they touch the wood. Trace the L-shape of the square onto the lumber. Slide the square down to the end of that mark and repeat the process until you have drawn all your steps. Remember: the top of the stringer needs a vertical (plumb) cut to sit flush against your deck frame, while the bottom requires a horizontal (level) cut to rest firmly on your landing. Crucially, ensure the “throat” of the stringer – the remaining wood after you cut your notches – is at least 5 inches deep. This structural integrity is what keeps your stairs from snapping under weight.
Beginner Tip: The most common mistake is failing to account for the thickness of your tread material. If your deck treads are 1 inch thick, you must trim exactly 1 inch off the very bottom of your stringer. If you skip this, your bottom step will be too tall and your top step will be too short, creating a tripping hazard.
Pro Tip: Before you commit to cutting the expensive 2×12, use a scrap piece of plywood to test your layout. Once cut, hold the template against your deck frame to verify the fit; it is much cheaper to replace a scrap of plywood than a full-length stringer!
Step 4 — Cut the First Stringer
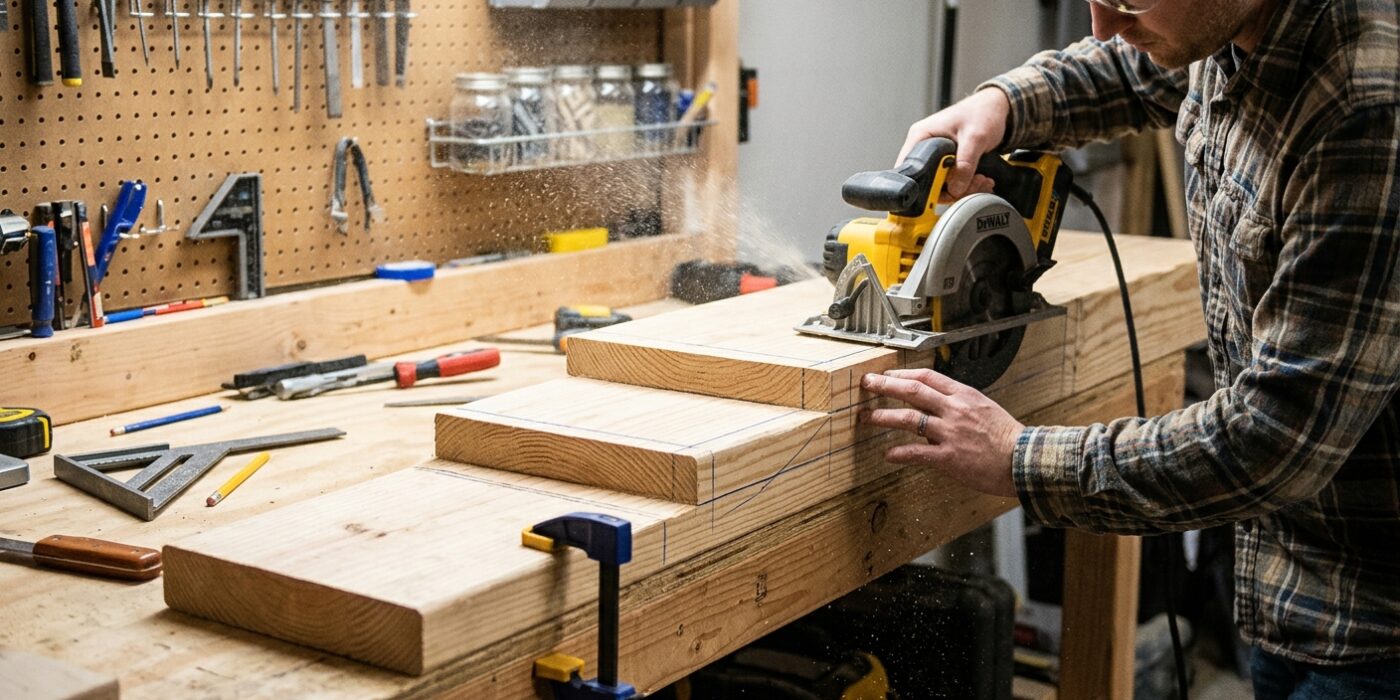
Now it is time to turn your marked lumber into a functional stringer. Using your circular saw, carefully cut along the lines you drew for the treads and risers. The most important rule here is to stop your saw blade just before it reaches the corner of each notch. If your blade goes even a fraction of an inch past the corner, you create a stress point that compromises the structural integrity of the wood, which could lead to cracks over time. Once you have made your circular cuts, use a jigsaw or a handsaw to finish the remaining bit of wood in the corner. This “plunge and finish” method ensures your stringer remains strong and sturdy.
Beginner Tip: Take your time with the first notch. It is tempting to try and finish the cut quickly, but if you accidentally over-cut the corner, that piece of wood is compromised. If you find your saw is shaking, ensure your board is clamped firmly to your workbench or a stable surface; a moving board is the leading cause of messy cuts.
Pro Tip: To avoid over-cutting entirely, flip your stringer over and finish the cuts from the back side. You will be able to see exactly when the blade reaches the corner from the other side, allowing you to stop the saw at the perfect moment without worrying about the blade depth overlapping your layout lines.
Step 5 — Test the Stringer
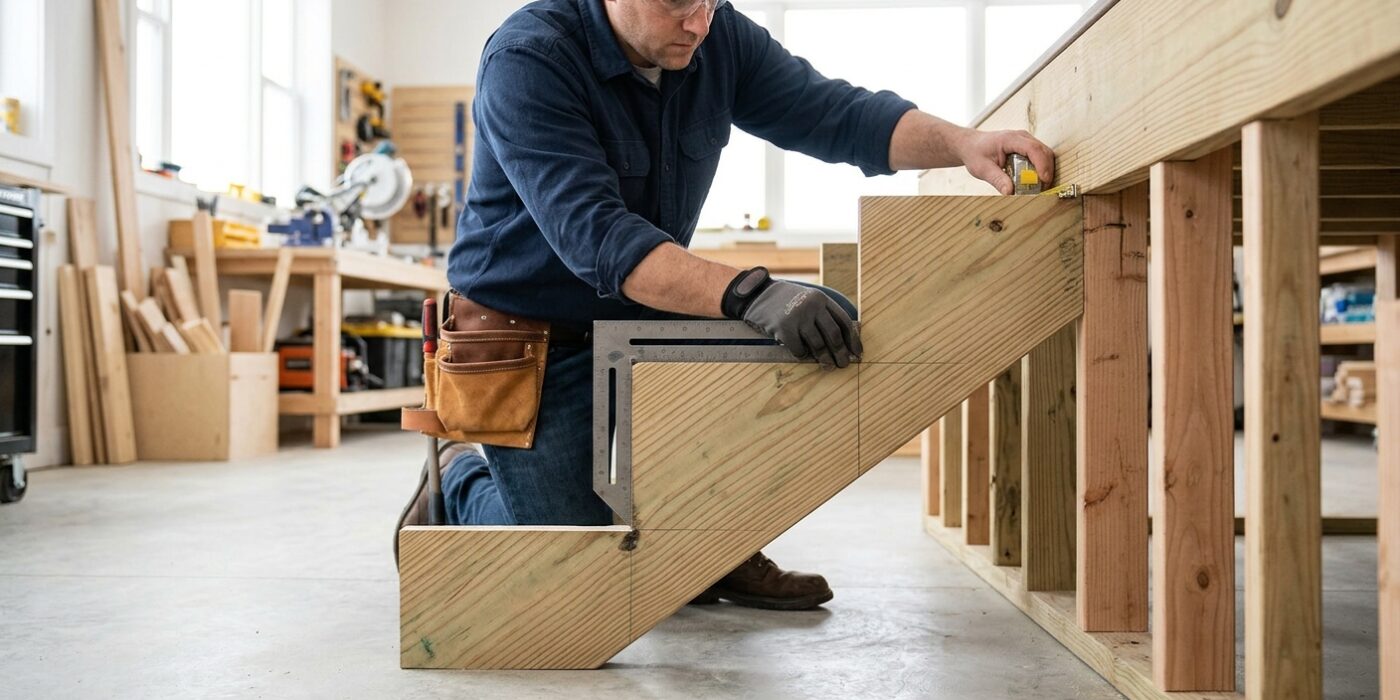
Now it is time to verify your work before you commit to cutting the rest of your lumber. Place your first completed stringer against the deck frame. The top plumb cut should fit snugly and flush against the deck rim joist, while the bottom level cut must sit completely flat on your landing surface. If there is a gap at the top or the bottom, your stringer will be unstable.
Use a bubble level to check each individual tread notch; the bubble should sit perfectly centered between the lines, indicating the surface is horizontal. Next, hold your level vertically against each riser notch to ensure they are perfectly plumb, or vertical. Finally, double-check your total rise by measuring from the landing surface to the top of the deck; it must match your original calculation exactly. If your level indicates any slant, do not proceed. It is much cheaper to re-mark and re-cut a single stringer now than to fix an entire staircase later.
Beginner Tip: The most common mistake is letting the stringer shift while checking your levels. If you are working alone, use a long wood screw or a clamp to hold the stringer securely to the deck frame. This keeps it steady so you can focus on reading the level accurately without the wood sliding away.
Pro Tip: Use a framing square or a simple piece of scrap wood to check the angle of your cuts. If the stringer feels slightly off, a quick touch-up with a belt sander or a sharp wood chisel can remove those last few stubborn millimeters to get a perfect, tight fit against your deck.
Step 6 — Cut Remaining Stringers and Install
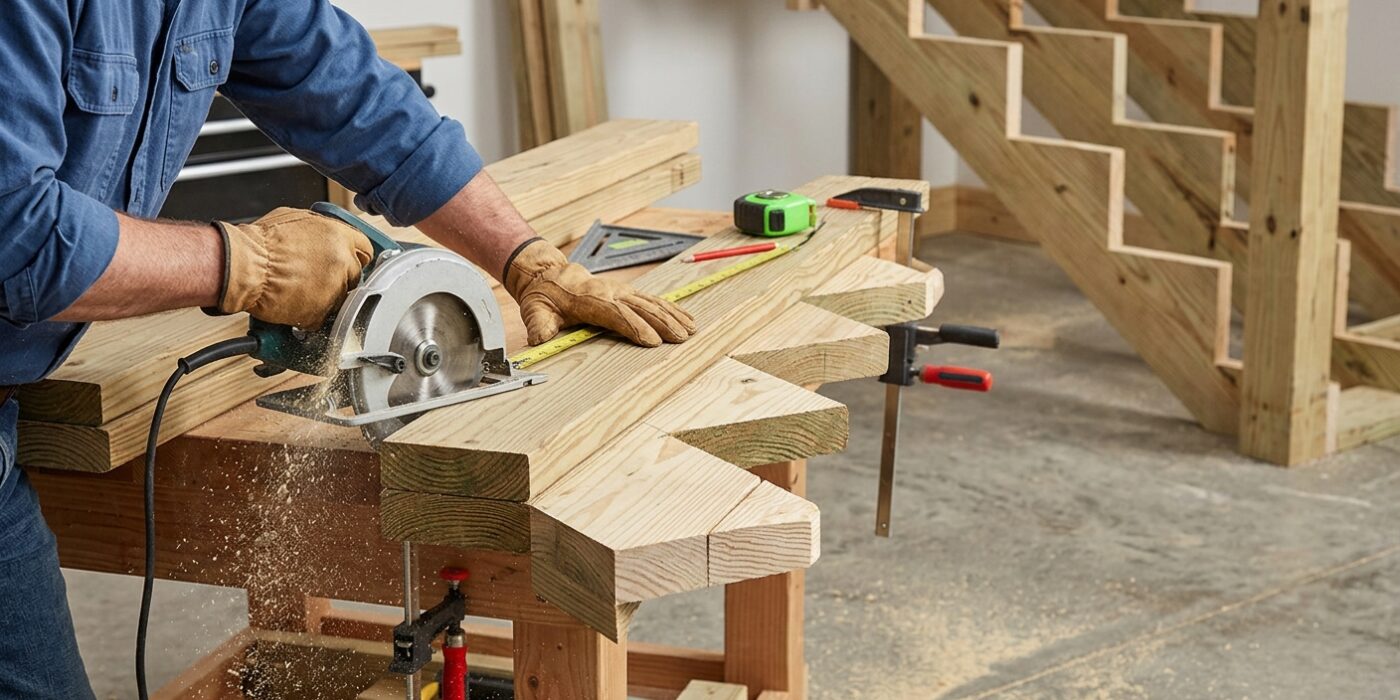
Now that you have perfected your master stringer, it is time to create the rest of your staircase skeleton. Lay your master stringer flat on top of your new lumber, aligning the edges perfectly. Using a sharp pencil, trace the exact cut lines onto the new boards. Take your time during the cutting process; use a circular saw for the long cuts, but stop just short of the corner to avoid over-cutting the wood. Finish those corners with a hand saw or jigsaw so the joint remains strong and square.
When installing, space your stringers no more than 16 inches apart from center to center. Secure the top of each board to the deck frame using metal stringer hangers, which are designed to hold the weight of the stairs securely. At the bottom, ensure your stringers sit on a level concrete pad or pressure-treated board, never directly on dirt. This prevents moisture from wicking into the wood, which would eventually cause the stairs to rot.
Beginner Tip: A common mistake is “creeping,” where your pencil line gets thicker or slightly off with every board you trace. To avoid this, always use the same master stringer to trace every other stringer. Do not trace a new board using one you just cut, as small errors will multiply, leading to uneven stairs.
Pro Tip: If your concrete pad isn’t perfectly level, attach a “rot-resistant” pressure-treated 2×4 board to the concrete first, then mount your stringers to that. It is much easier to shim a board to level than it is to scribe and cut the bottom of every individual stringer.
Step 7 — Install Treads
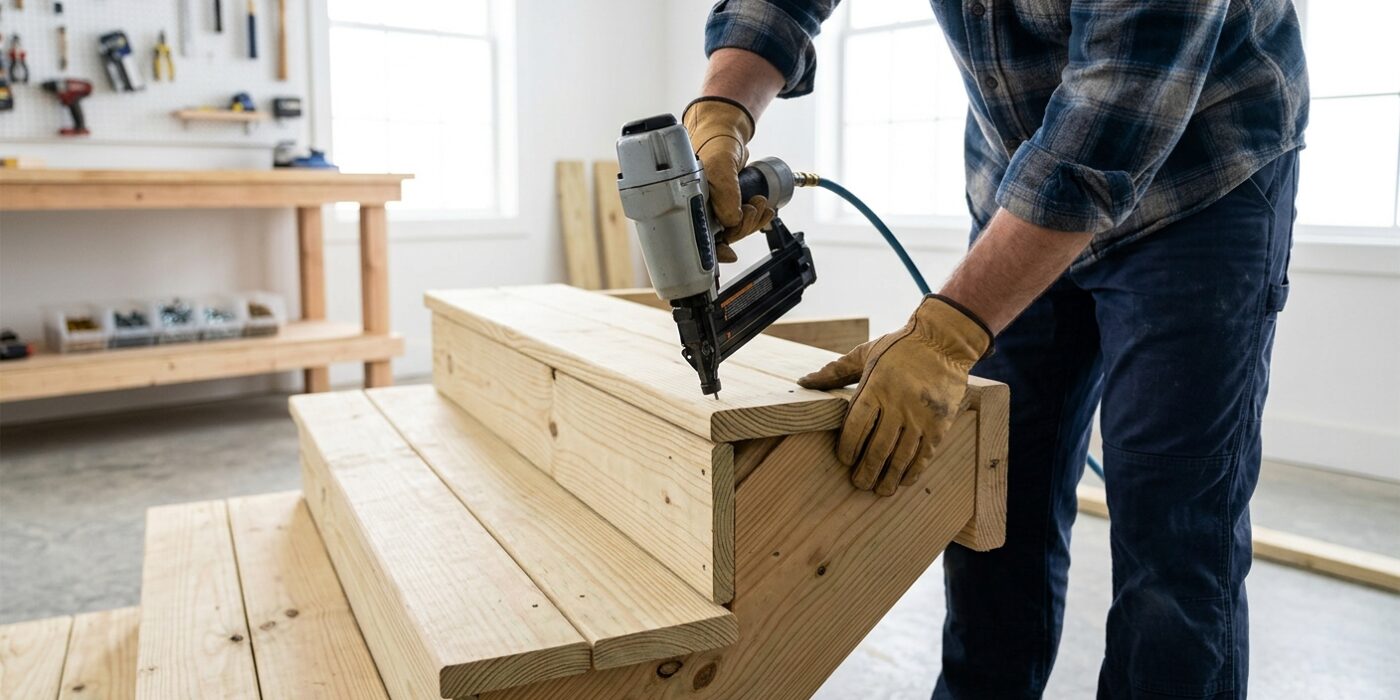
Now it is time to give your deck stairs their finished look by installing the tread boards. You will need to cut your decking planks to match the total width of your stairs, adding an extra inch on each side if you want a decorative “nosing” (overhang). To create the required 11-inch depth, place two deck boards side-by-side, leaving a 1/4-inch gap between them to ensure rainwater drains away rather than pooling. Secure each board by driving two deck screws into every stringer it crosses. Avoid using nails; screws provide a much stronger hold and allow you to easily swap out a warped board years down the line without damaging your staircase.
Beginner Tip: When choosing your boards, look at the end grain. You want the growth rings to form an arch (like a rainbow) rather than a U-shape. Installing boards “bark-side up” ensures that if the wood does warp, it will crown slightly in the middle, shedding water instead of creating a bowl that traps moisture and leads to rot.
Pro Tip: To keep your screws in a perfectly straight, professional-looking line across every tread, use a chalk line or a piece of masking tape as a guide. Place a strip of tape across your boards where the stringer sits underneath and mark your screw holes on the tape; this prevents your drill bit from wandering and ensures every screw is perfectly aligned with the center of the framing lumber below.