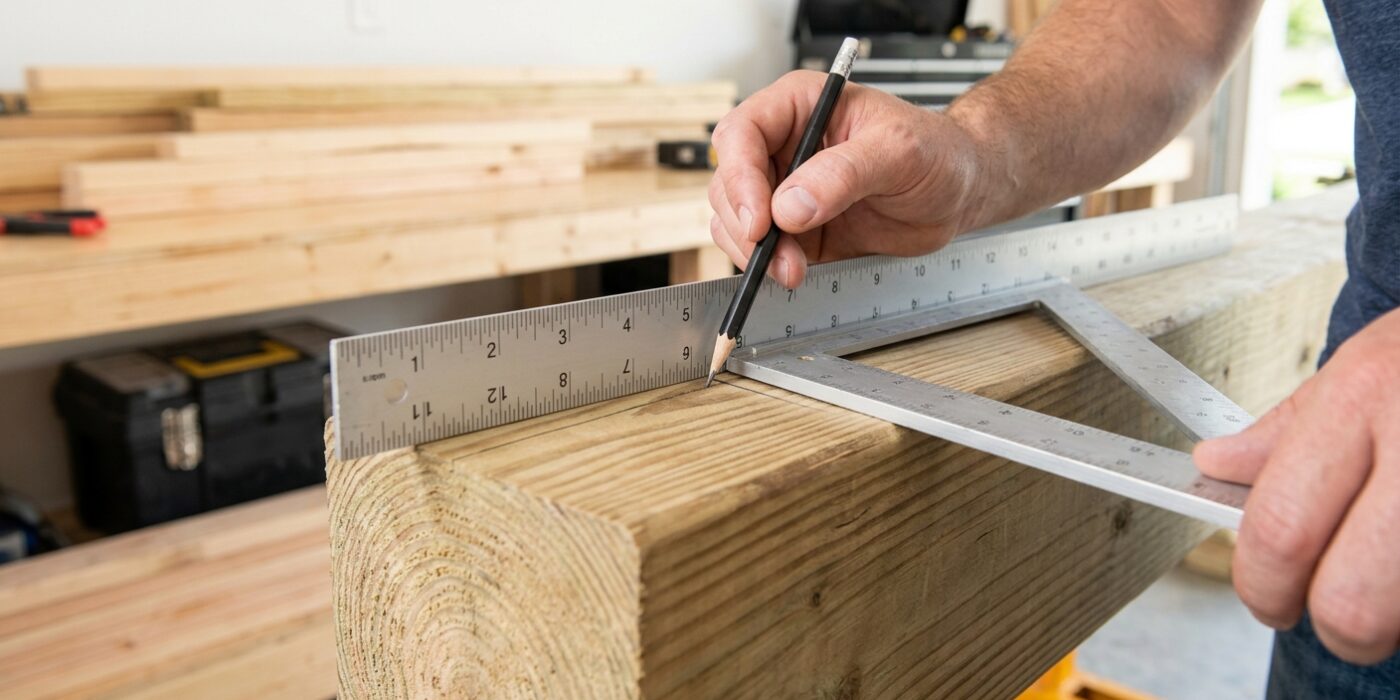
Project Shopping List
Building a wooden swing set for your kids is one of the most rewarding outdoor projects a parent can take on. A well-built wooden set is safer, more durable, and more attractive than most plastic sets sold in big-box stores. With pressure-treated or cedar lumber, a DIY swing set will outlast the kids who use it. This guide covers a basic A-frame set with two swings and a slide attachment point, which can be expanded with additional bays later.
Safety First — Design Principles
A swing set must resist both the static weight of children and the dynamic forces of swinging, which can be 3 to 4 times body weight at the peak of the arc. Every joint must be bolted, not just screwed. Post footings must anchor into the ground, not just sit on it. Use only hardware rated for outdoor playground use. Check all hardware annually and replace anything showing rust, wear, or looseness immediately.
Tools You Will Need
- Post hole digger or power auger
- Circular saw and miter saw
- Drill and impact driver
- 3/8-inch drill bit for carriage bolts
- Level and tape measure
- Adjustable wrench and socket set
- Safety glasses and gloves
Materials for a Two-Swing A-Frame Set
- Four 4×4 pressure-treated posts, 12 feet long (legs of the A-frames)
- Two 4×6 cross-beams, 12 feet long
- Apex hardware (A-frame top brackets), two sets
- 3/8-inch carriage bolts with washers and nuts, 5-inch long, at least 12
- Two playground swings with chains or rope rated for outdoor use
- Two heavy-duty swing hangers rated for 300+ lb each
- Concrete mix, two bags per post hole
- Wood preservative for cut ends
Step 1 — Plan the Layout
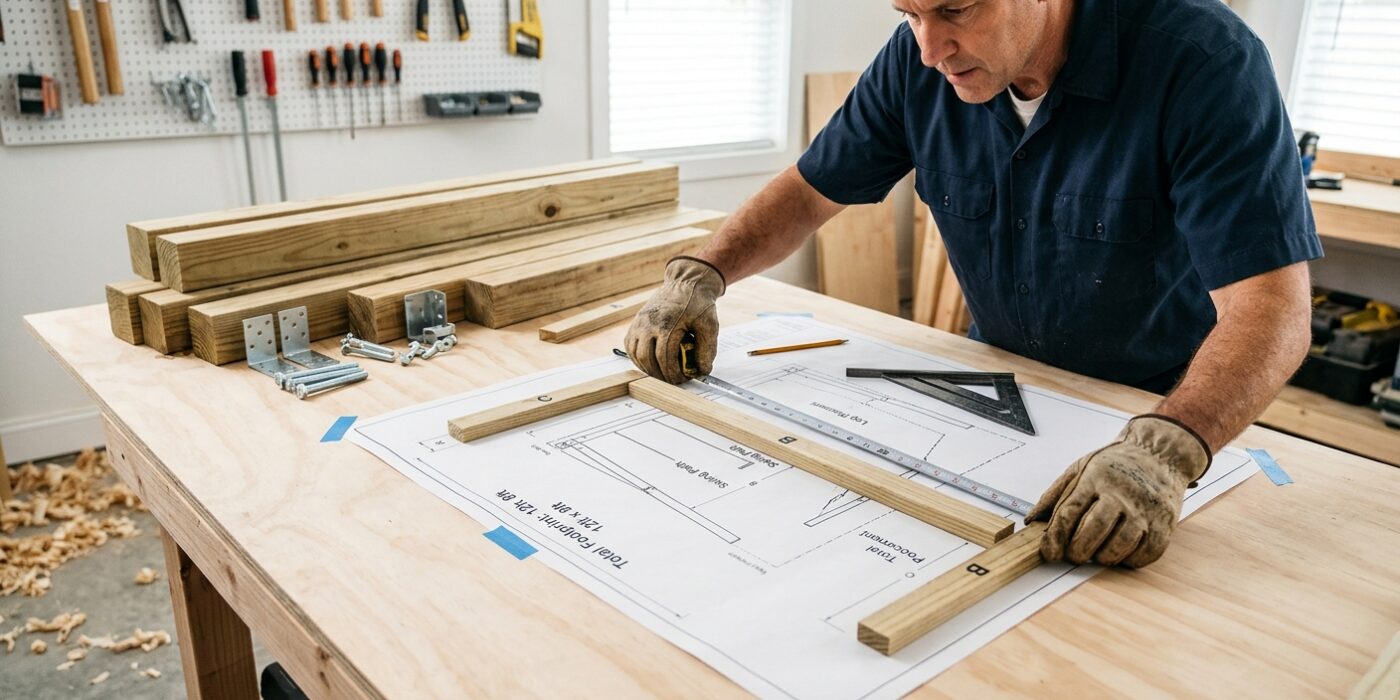
Before you lift a hammer, you must ensure your yard can safely accommodate a swing set. Safety is your top priority: you need an open zone that allows for the full motion of the swing without hitting fences, walls, or trees. A good rule of thumb is to clear space equal to twice the length of your swing chains in both the front and back. If your chain is 6 feet long, you need a 12-foot clearance in each direction, totaling 24 feet of unobstructed space. This buffer zone should also be free of hard surfaces like concrete or rocks to keep play areas soft.
Next, map out your four post locations. To ensure stability, the legs of your A-frame should splay outward at a 15-degree angle. This creates a wider base at the ground than at the top, preventing the set from tipping. For a standard 12-foot cross-beam, your leg bottoms should sit approximately 14 feet apart. Use marking paint or wooden stakes to outline these points clearly before you begin digging.
Beginner Tip: A common mistake is measuring your layout on a slope. Always perform your measurements on level ground. Building on an incline compromises structural stability and makes it incredibly difficult to keep the swing frame square and level.
Pro Tip: Use a long piece of string or a garden hose to visualize the swing’s path before you mark the ground. By hanging a weight from a string, you can swing it through the planned area to see exactly where it travels, helping you identify hidden obstacles that a tape measure might miss.
Step 2 — Dig Post Holes and Set Posts
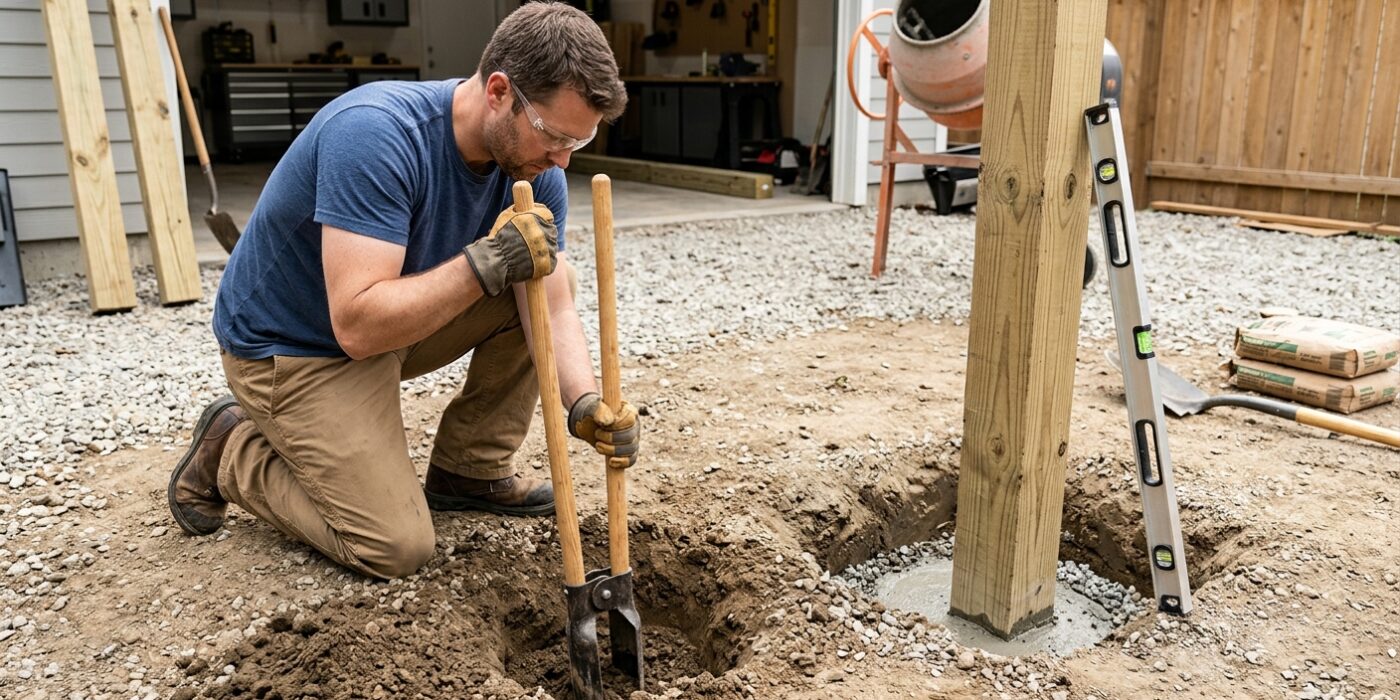
Now that your site is prepped, it is time to set your foundation. You will need to dig four holes, each 24 to 30 inches deep. These holes act as the anchors for your swing set, preventing the A-frame legs from sliding outward when the kids are swinging. Use a post-hole digger to ensure the holes are clean and straight. Once dug, place your posts into the holes. Because the legs of an A-frame swing set naturally want to spread apart under weight, you want the posts to lean slightly inward toward each other at the top. This geometry creates a self-locking structure that becomes incredibly stable once the top beam is connected. Fill the holes with fast-setting concrete, checking that each post is plumb – perfectly vertical – using a level before the concrete cures.
Beginner Tip: Don’t rush the concrete mixing process. A common mistake is adding too much water, which results in a weak, crumbly base. Follow the “peanut butter” consistency rule: your mixture should be thick enough to hold its shape but wet enough to flow into the gaps around your post.
Pro Tip: Before you pour any concrete, use scrap wood to create temporary “braces.” Screw these boards into your posts and stake them into the ground. This holds the posts in the exact right angle and height while you pour, preventing them from shifting or sinking as the heavy concrete settles.
Step 3 — Assemble the A-Frames
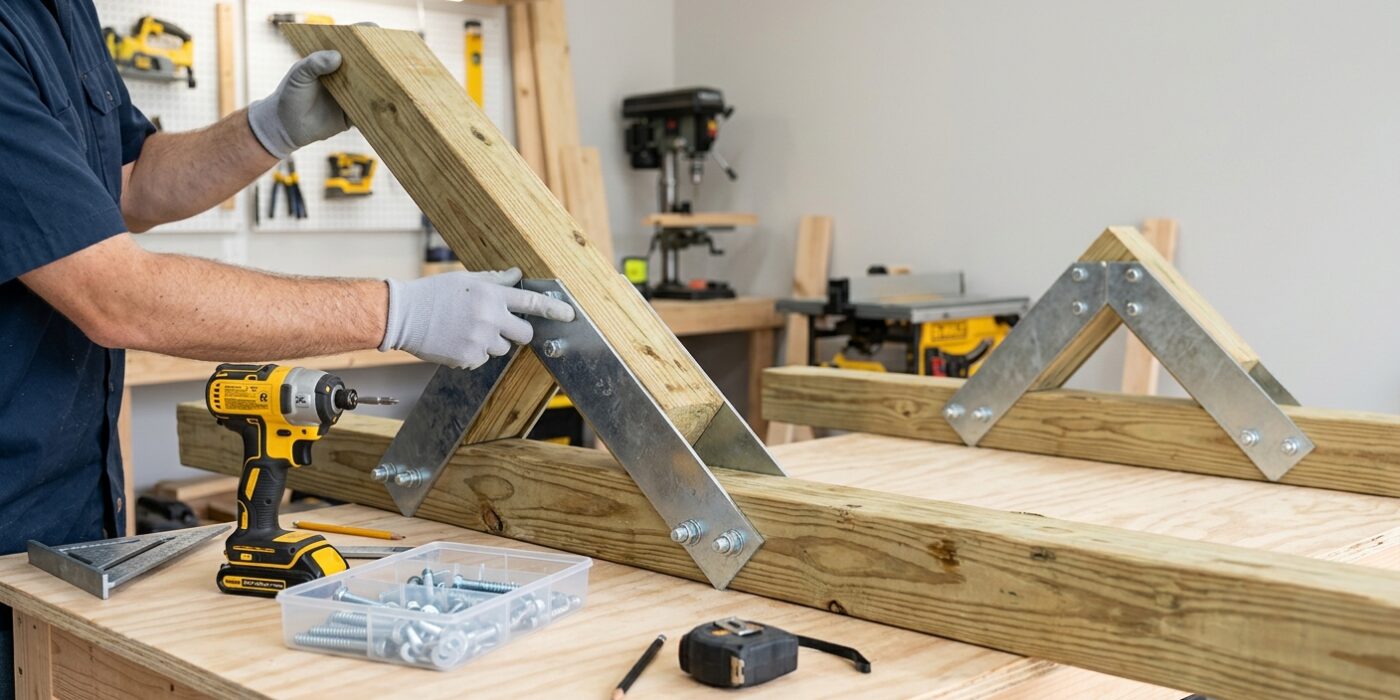
Now it is time to build the structural skeleton of your swing set. You will need at least two helpers for this step to ensure safety. First, lay your two A-frame leg pairs flat on the ground. Carefully lift the heavy cross-beam and nestle it into the metal apex brackets resting on top of the leg pairs. The beam should sit perfectly centered so the weight is distributed evenly across both sides.
Insert your carriage bolts through every pre-drilled hole in the bracket. Using carriage bolts is mandatory here because the square shoulder under the head locks into the wood, preventing the bolt from spinning while you tighten the nut. Use a socket wrench to tighten each nut until the bracket is flush against the timber. These connections must be rock-solid to withstand the constant motion of swinging.
Beginner Tip: Do not fully tighten the bolts until all of them are inserted through the bracket and into the beam. If you tighten one side completely first, the remaining holes will likely become misaligned, making it nearly impossible to thread the final bolts.
Pro Tip: Use a rubber mallet to gently tap the carriage bolts into place. If the holes are slightly tight, a few light taps will seat the bolt head into the wood without marring the finish or damaging the surrounding timber, ensuring a professional, snag-free look for your final build.
Step 4 — Add Lateral Bracing
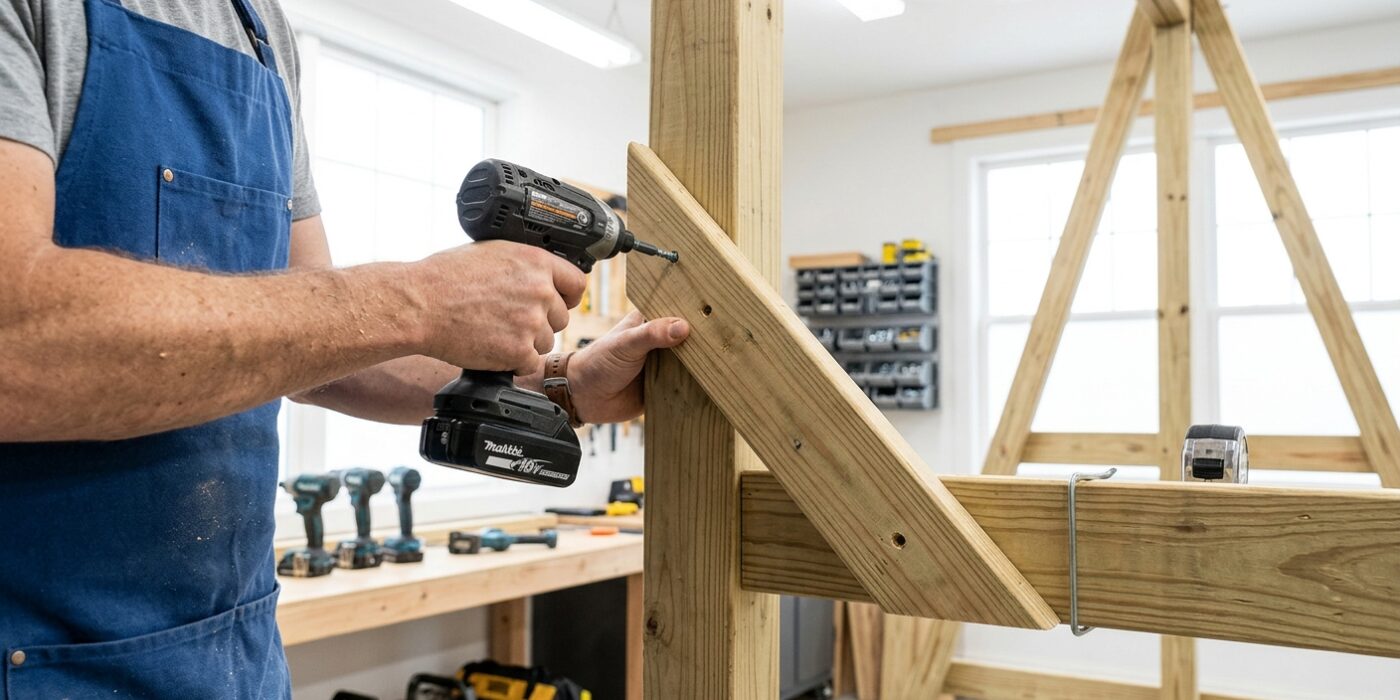
Now that your A-frame stands tall, we need to ensure it stays rock-solid. While your legs handle the forward-and-back motion, side-to-side stability – known as racking – is your next priority. To fix this, you will install a diagonal brace on each side of the swing set. These braces act like triangles, which are the strongest shape in construction, locking the legs and cross-beam together so they cannot wiggle.
Cut two 2×4 boards to approximately 36 inches long. Using your miter saw, cut a 45-degree angle at both ends so the board sits flush against the leg and the underside of the beam. Position the top of the brace roughly 24 inches from the top of the leg and secure it using a carriage bolt at both the top and bottom connection points. Tighten the nuts firmly, ensuring the brace is perfectly flat against both structural members.
Beginner Tip: A common mistake is tightening the bolts before checking for squareness. Before you drill through for your bolts, use a carpenter’s square or a level to ensure your A-frame legs are perfectly vertical. If you bolt the braces while the legs are tilted, you will permanently lock the swing set into an uneven position.
Pro Tip: To get the perfect fit every time, hold your brace board up against the frame and use a pencil to trace the angles directly onto the wood. This “scribe” method is much more accurate than guessing measurements and accounts for any tiny variations in how your frame was assembled.
Step 5 — Hang the Swings
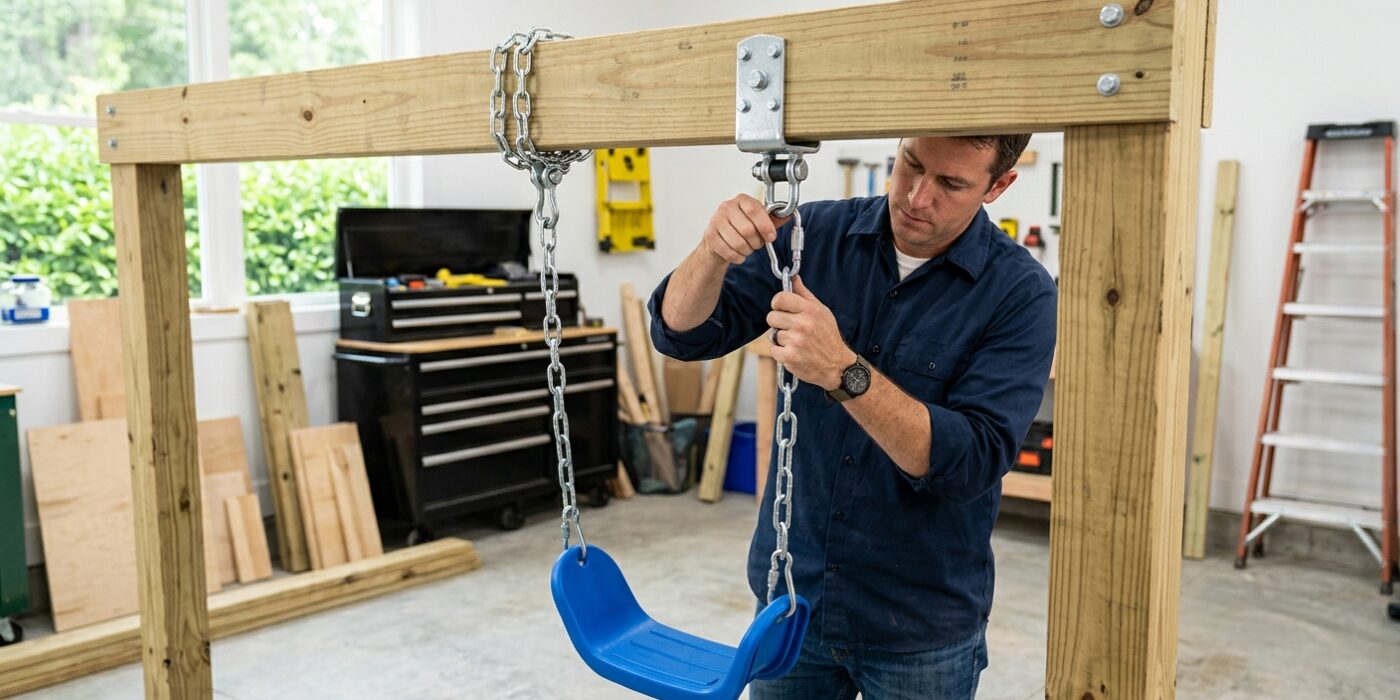
Now that your frame is sturdy, it is time to add the fun part! You will be installing heavy-duty swing hangers into the underside of your top cross-beam. These hangers are the connection point that keeps the swings secure, so precision matters. Measure and mark your spots at least 24 inches away from each other and at least 24 inches from the A-frame legs to ensure children have plenty of room to swing without bumping into the frame or each other.
When installing, use a drill bit slightly smaller than your lag screw shank to create a “pilot hole.” This prevents the wood from splitting. Drive your lag screws straight up into the beam until the hanger is flush against the wood, ensuring at least 2.5 inches of the screw is buried in solid timber. Once the hardware is secure, clip your chains or ropes to the hangers. Ideally, the seat should hang 18 to 24 inches above the ground; test this height by having your child stand next to the swing to ensure their feet clear the grass comfortably.
Beginner Tip: Avoid drilling your pilot holes at an angle. If the screw enters the wood at a tilt, it loses its structural integrity and could work loose over time. Take a moment to ensure your drill is perfectly perpendicular to the beam before you start.
Pro Tip: To keep your swings from twisting and tangling, use “swivel” style hangers or add a stainless steel swivel attachment between the hanger and the chain. This allows the swing to rotate freely, which prevents the chains from winding up and significantly extends the life of your hardware.
Step 6 — Install Safety Surface
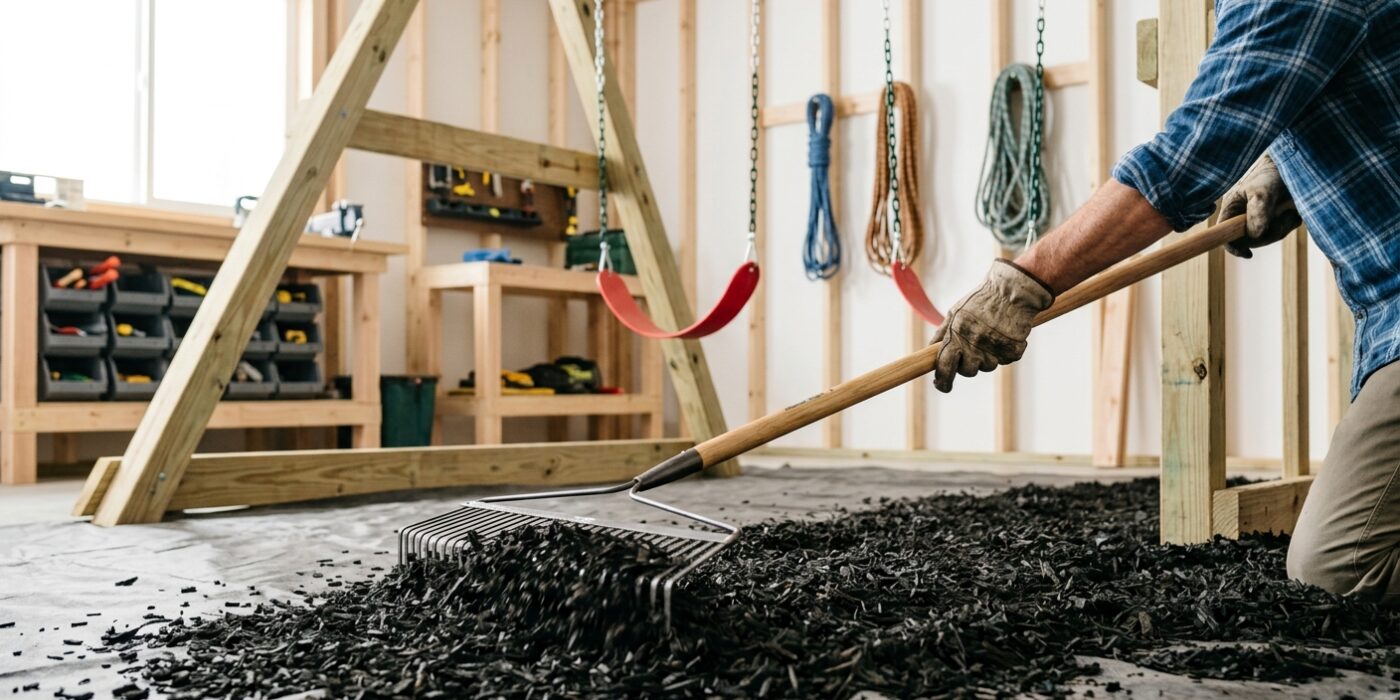
Now that your swing set is standing, it is time to create a “fall zone” to keep your children safe. This is the most important step for injury prevention. You need to spread a 12-inch deep layer of loose-fill material – such as wood chips, engineered wood fiber, or shredded rubber mulch – under and around the entire swing set. This area should extend at least six feet in every direction from the equipment. This soft, impact-absorbing surface acts like a cushion, significantly reducing the severity of injuries if a child happens to lose their grip or jump off too early.
Beginner Tip: A common mistake is spreading the mulch directly onto the grass. Over time, grass will decompose and push through the surface, and weeds will sprout up. Before you dump your mulch, lay down a layer of heavy-duty landscape fabric. This keeps your safety surface clean, prevents weeds from growing through, and helps with drainage so your mulch stays dry and effective.
Pro Tip: To keep your mulch from migrating all over your yard during a big rainstorm or heavy play, install a simple border using landscape timbers or flexible plastic edging. By framing the perimeter of your fall zone, you contain the material exactly where it belongs, saving you from having to rake the mulch back into place every few weeks. This keeps your play area looking tidy and your safety surface at the required, life-saving depth.