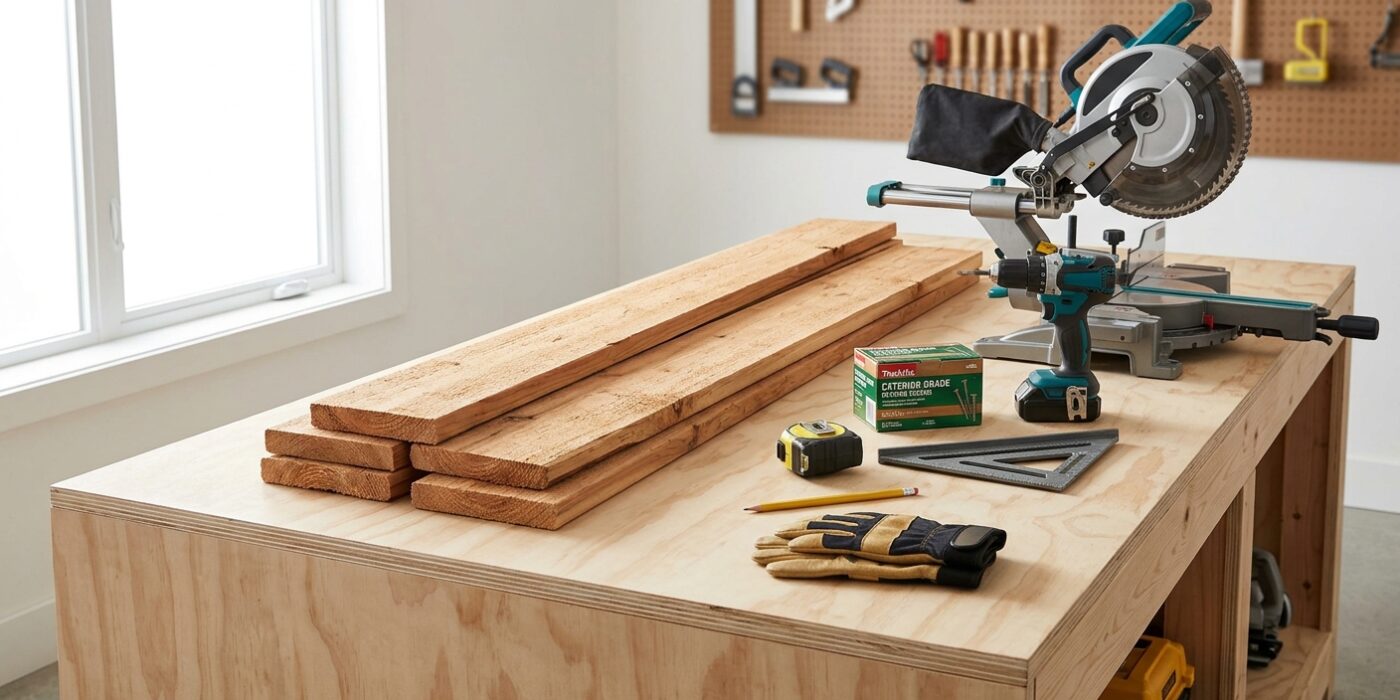
Project Shopping List
A large cedar planter box adds instant permanence and curb appeal to a deck, patio, or front entry. Unlike plastic or terra cotta containers, a wood planter box is fully customizable in size, holds more soil volume for deeper root systems, and actually ages better as cedar weathers. This guide builds a 36 x 18 x 18-inch planter using rough cedar boards without a liner. Cedar is naturally rot-resistant enough that when properly constructed with drainage, it will last 10 to 15 years or more with no liner needed.
The build is entirely pocket screws and exterior construction screws. No special woodworking skills required. The same techniques work for any size planter, from window boxes to large raised beds.
What You’ll Need
Tools
- Miter saw or circular saw
- Drill and driver
- Pocket hole jig
- Clamps
- Square and tape measure
Materials
- Cedar 2×6 boards (sides and bottom cleats): approximately 40 linear feet for a 36x18x18-inch box
- Cedar 2×2 or 1×4 (corner posts and bottom cleats)
- Stainless steel or hot-dipped galvanized 2-inch and 3-inch exterior screws
- Exterior wood glue (optional but recommended at joints)
- Landscape fabric (for drainage layer inside box)
Step 1: Plan the Box Dimensions
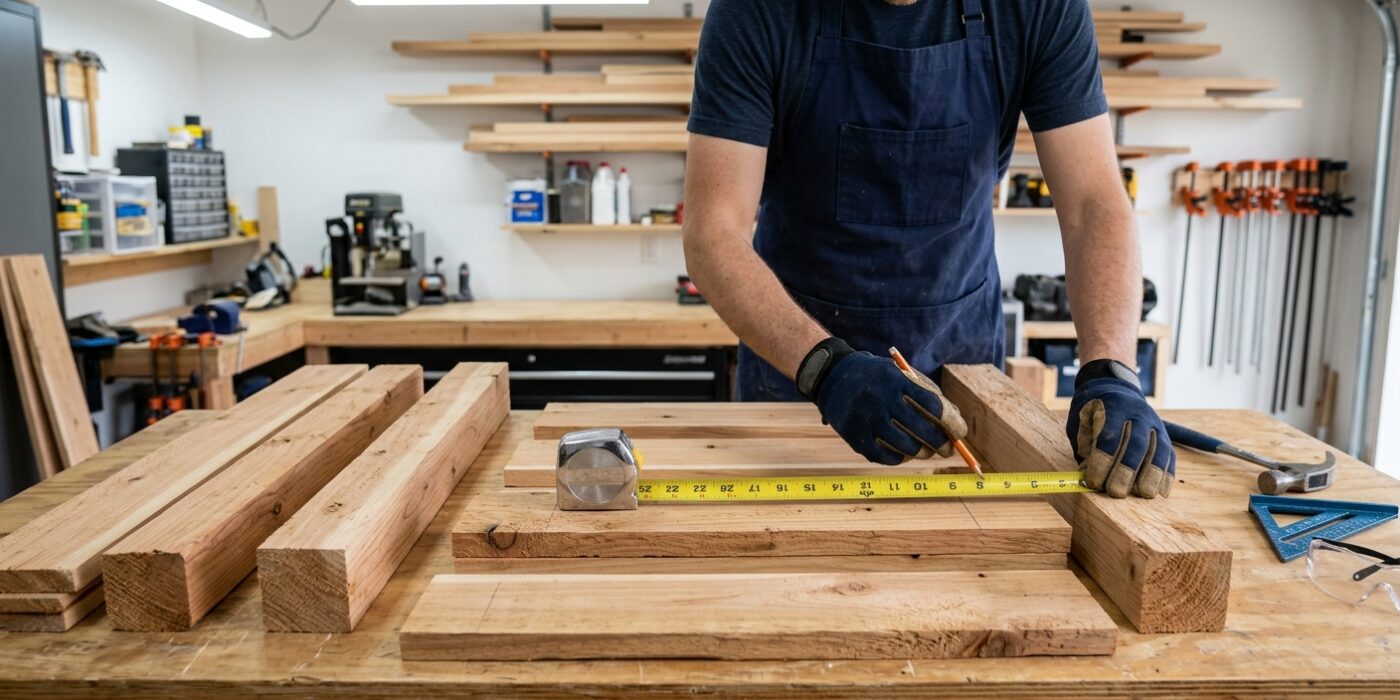
Before you head to the lumber yard, you need to decide on the dimensions of your planter. A 36x18x18-inch box is a fantastic “goldilocks” size; it holds about 5 cubic feet of soil, which provides plenty of room for root systems to thrive for herbs, perennials, and small shrubs. When planning, remember that a standard “2×6” board is actually 1.5 inches thick and 5.5 inches wide. Stacking three of these boards horizontally creates a wall height of 16.5 inches, and once you add a decorative top rail, you will reach that ideal 18-inch height.
Create a simple cut list on a piece of paper before buying your materials. This list should itemize every piece of wood you need, such as your four corner posts, your long side walls, and your short end walls. By calculating these lengths in advance, you ensure you can fit the lumber into your vehicle and minimize wasted wood, saving both money and time.
Beginner Tip: Never buy exactly the amount of wood your cut list requires. Wood is a natural product that may have knots, splits, or warped sections. Always purchase at least 15% extra material to account for these imperfections or potential measuring mistakes; it is much better to have a spare board than to make a second trip to the store mid-project.
Pro Tip: When visualizing your dimensions, use painter’s tape to mark the footprint of the planter directly on your patio or deck. This helps you confirm that the box fits your space perfectly and allows you to “walk around” the future planter to ensure the size doesn’t feel too bulky or too small for the area.
Step 2: Cut the Side and End Boards
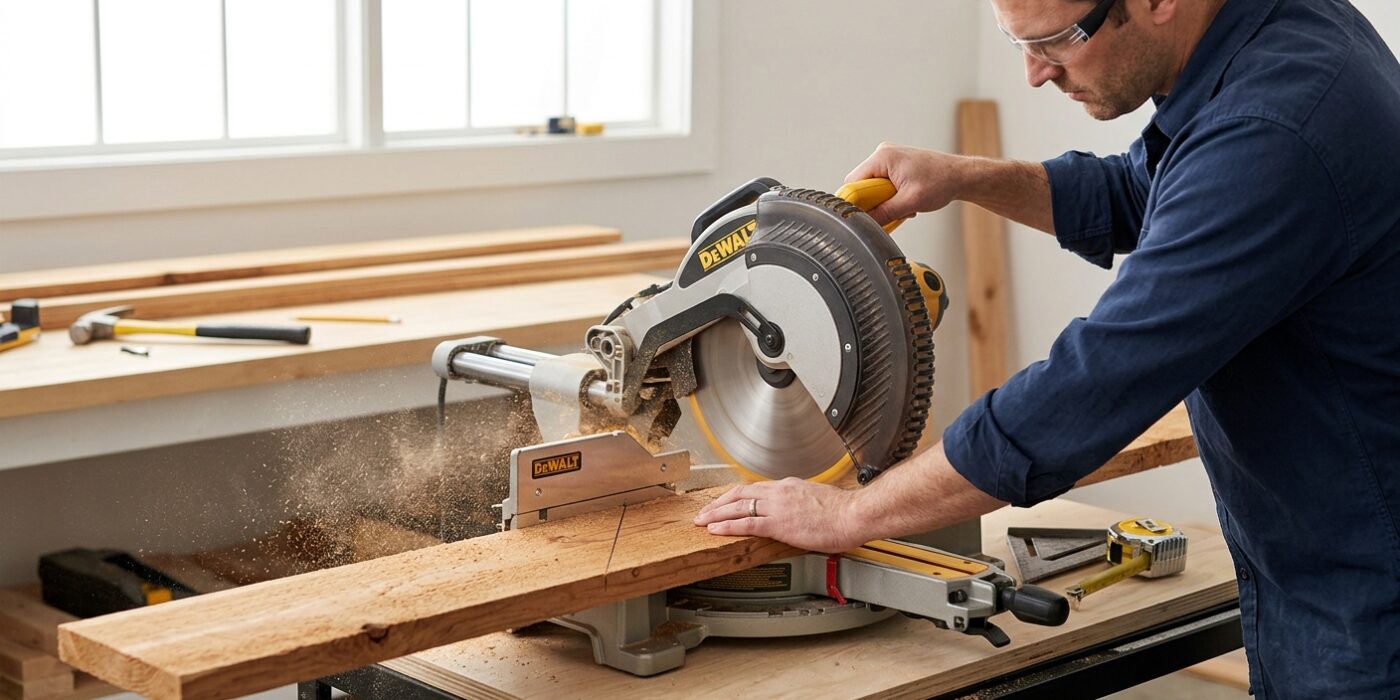
Now that your materials are ready, it is time to turn that long cedar lumber into the individual pieces for your planter box. To build a sturdy frame, you will need to cut twelve boards in total: six long side boards and six short end boards. Set your saw to cut exactly at 36 inches for your long boards and 15 inches for your short boards. Because our design has the end boards sitting neatly inside the side boards, these specific lengths ensure your box forms a perfect rectangle with flush corners.
Before you start, take a moment to measure twice and cut once. Use a pencil to mark your cutting lines clearly on the wood. Once a board is cut, use a piece of painter’s tape or a pencil to label it as “Side” or “End.” Keeping your pieces organized now prevents a massive headache when you begin assembly later.
Beginner Tip: The most common mistake is failing to account for the “kerf” – the width of the saw blade itself. When measuring multiple pieces on one board, remember that the blade will turn a small sliver of wood into sawdust with every cut. Always measure and mark each piece individually rather than marking them all at once, or your final boards will end up slightly shorter than you intended.
Pro Tip: To ensure every single board is identical, use your first cut piece as a template. Align it perfectly with the end of your next board, trace the edge with your pencil, and use that line for your cut. This “cut-to-match” method is the secret to professional-looking projects where every corner aligns flawlessly.
Step 3: Make the Corner Posts
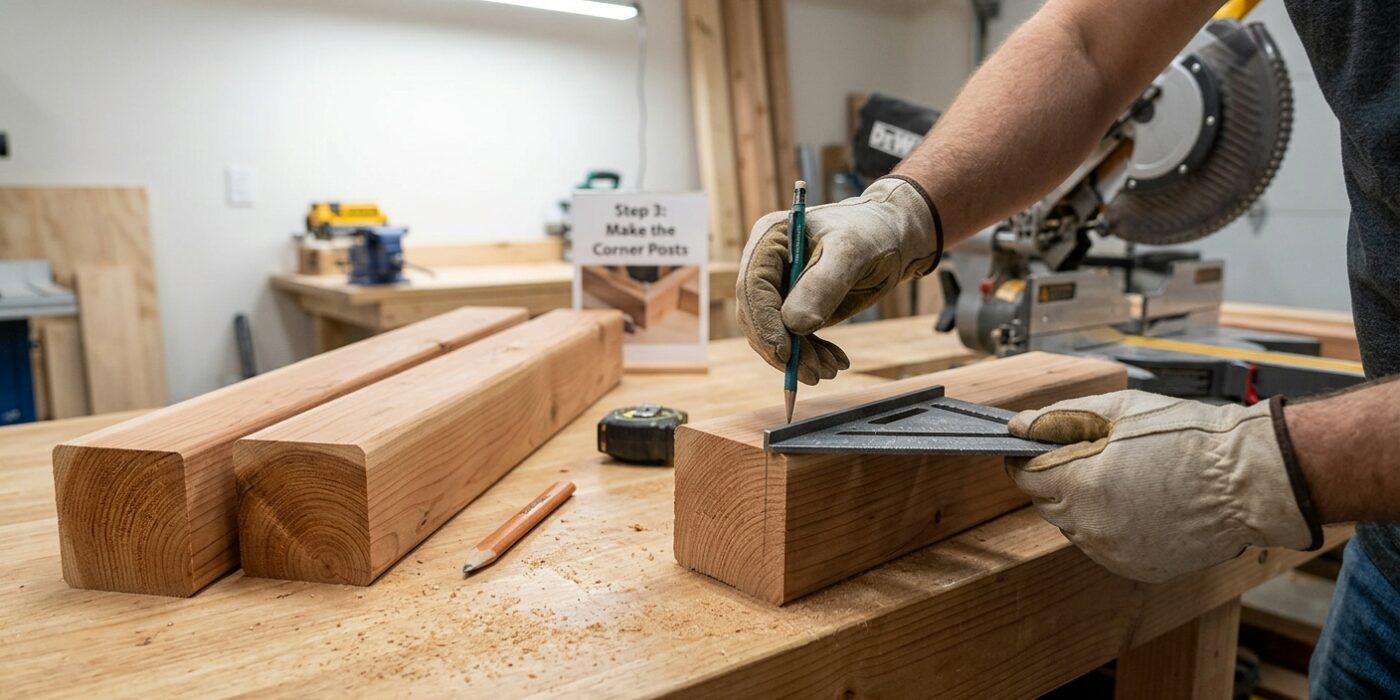
The corner posts are the skeleton of your planter; they provide the strength needed to hold the weight of the soil and keep your project sturdy. To begin, take your 2×2 cedar board and measure four individual 17-inch lengths. Using a pencil and a speed square, draw a straight, crisp line across the wood at each 17-inch mark. Double-check your measurements before you cut – this ensures that your planter won’t wobble once it’s assembled. If you are using a miter saw, bring the blade down slowly to ensure a perfectly flat, 90-degree cut. These four posts will sit vertically inside the interior corners of your box, serving as the anchor points where you will drive your screws to hold the side and end boards firmly in place.
Beginner Tip: The most common mistake is forgetting to account for the width of the saw blade, known as the “kerf.” When marking your second or third piece, do not just measure 17 inches from the previous cut; instead, reset your tape measure to zero for each new piece to ensure every post is exactly the same length. Even a small difference in height will make your planter sit unevenly on your patio.
Pro Tip: To keep your measurements perfect every time, use a “stop block.” Clamp a piece of scrap wood to your saw station exactly 17 inches away from the blade. Simply slide your 2×2 board until it hits the block, then cut. This removes the need for measuring each individual piece and guarantees that all four posts are identical.
Step 4: Assemble the Box Frame
Now it is time to build your frame! You will be attaching your side boards to the 4×4 corner posts to create a sturdy rectangle. Start by running a thin, consistent bead of exterior wood glue along the ends of your long side boards where they will meet the posts. This glue acts as a secondary bond that strengthens the joint against moisture and weight. Position the board flush against the post, ensuring the bottom edges are perfectly level, and secure it using 2 1/2-inch exterior-grade pocket screws. Repeat this to form two L-shaped corner units, then connect them with your remaining boards to close the rectangle.
Before the glue dries, check your frame for square by measuring diagonally from corner to corner. If the two measurements are identical, your planter is perfectly square. If they differ, gently nudge the frame until the numbers match.
Beginner Tip: The most common mistake is driving screws too quickly, which can cause the board to shift or the wood to split. Take your time, hold the board firmly in place with a clamp or a helper’s hand, and drive the screw slowly. If you feel resistance, back the screw out and start again.
Pro Tip: To keep your joints flush without a second pair of hands, use a “spacer block.” Place a piece of scrap wood of the same thickness under your side board before attaching it to the post; this acts as a shelf to hold the board at the exact height you need while you drive the screws.
Step 5: Add the Remaining Board Courses
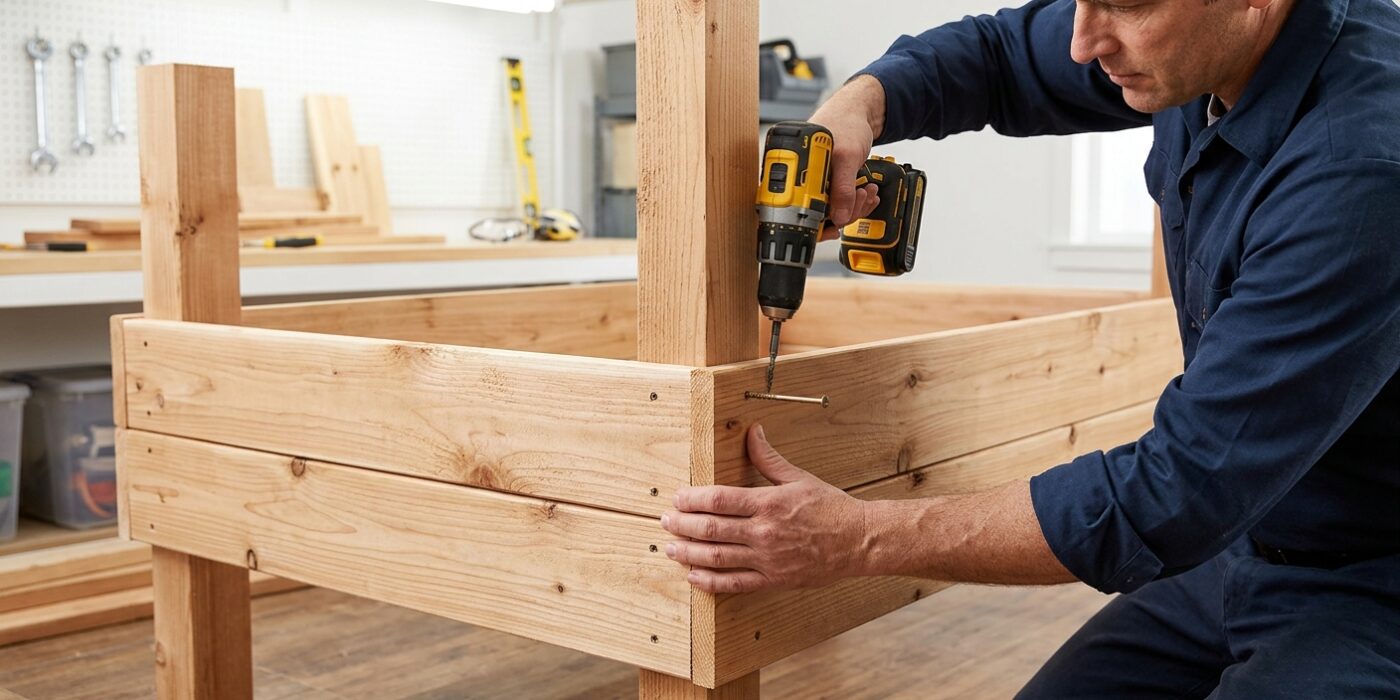
Now that your base layer is secure, it is time to build the walls of your planter. Position your next set of cedar boards directly on top of the first layer. For each board, drive two exterior-grade deck screws through the face of the board and into the corner posts. If you want drainage and natural wood movement, place a 1/4-inch thick spacer – such as a scrap piece of plywood or even a large washer – between the layers while you fasten them. This gap prevents the wood from warping or cracking when it swells after being watered. If you prefer a sleek, solid look, you can skip the spacer and butt the boards together, though keep in mind that the wood will naturally expand and contract as the seasons change.
Beginner Tip: Avoid the temptation to drive your screws too close to the very end of the cedar boards. If you place a screw less than an inch from the edge, you risk splitting the wood. Always keep your screws at least 1 1/2 inches away from the board ends to maintain structural integrity.
Pro Tip: To keep your walls perfectly level, don’t rely on your eyes alone. Every few layers, place a carpenter’s level on top of the boards. If you notice a slight tilt, you can use a thin wood shim under one side of the board to bring it back to a perfectly horizontal position before driving in your screws.
Step 6: Build the Bottom
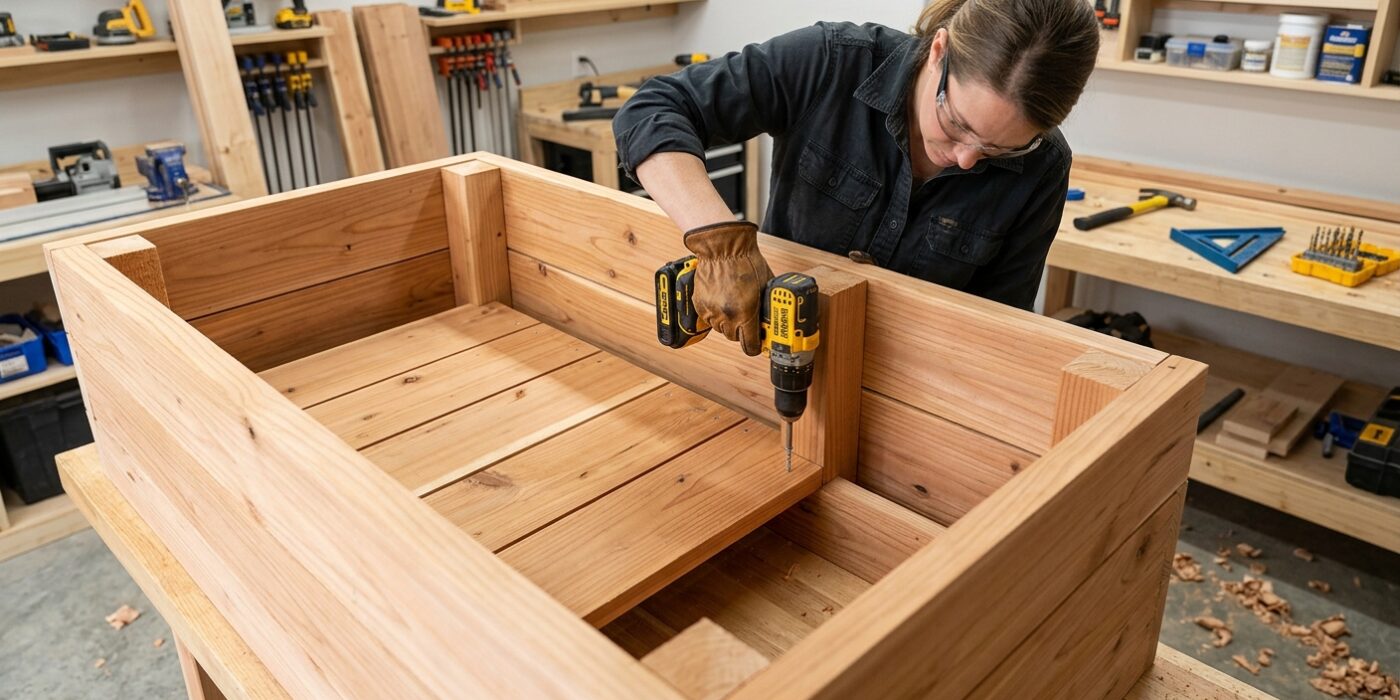
Now it is time to create the floor of your planter. Since wet soil is surprisingly heavy and plants need proper airflow, we will install the bottom boards with intentional gaps. Take your 2×6 cedar boards and cut them to match the inner width of your planter box. Place these boards across the bottom opening, spacing them roughly 1/2 to 3/4 of an inch apart. This spacing is critical; it allows excess water to escape, preventing the roots from rotting in standing water.
To secure them, drive 3-inch deck screws through the outside of your side walls and directly into the ends of each bottom board. Use two screws per board end to keep them from wobbling. For a 36-inch long box, six boards evenly spaced will provide perfect drainage and plenty of structural support.
Beginner Tip: A common mistake is to drill your screws too close to the edge of the wood, which can cause the cedar to split. Always aim for the center of the board’s thickness and use a drill bit to create a “pilot hole” first. This small hole guides the screw and keeps your wood pristine.
Pro Tip: To keep your board gaps perfectly consistent without measuring every single time, use a scrap piece of wood or a standard wooden paint stirrer as a spacer. Simply wedge the spacer between the boards as you work; it acts as a perfect guide to ensure every gap is uniform.
Step 7: Add Bottom Cleats and Feet
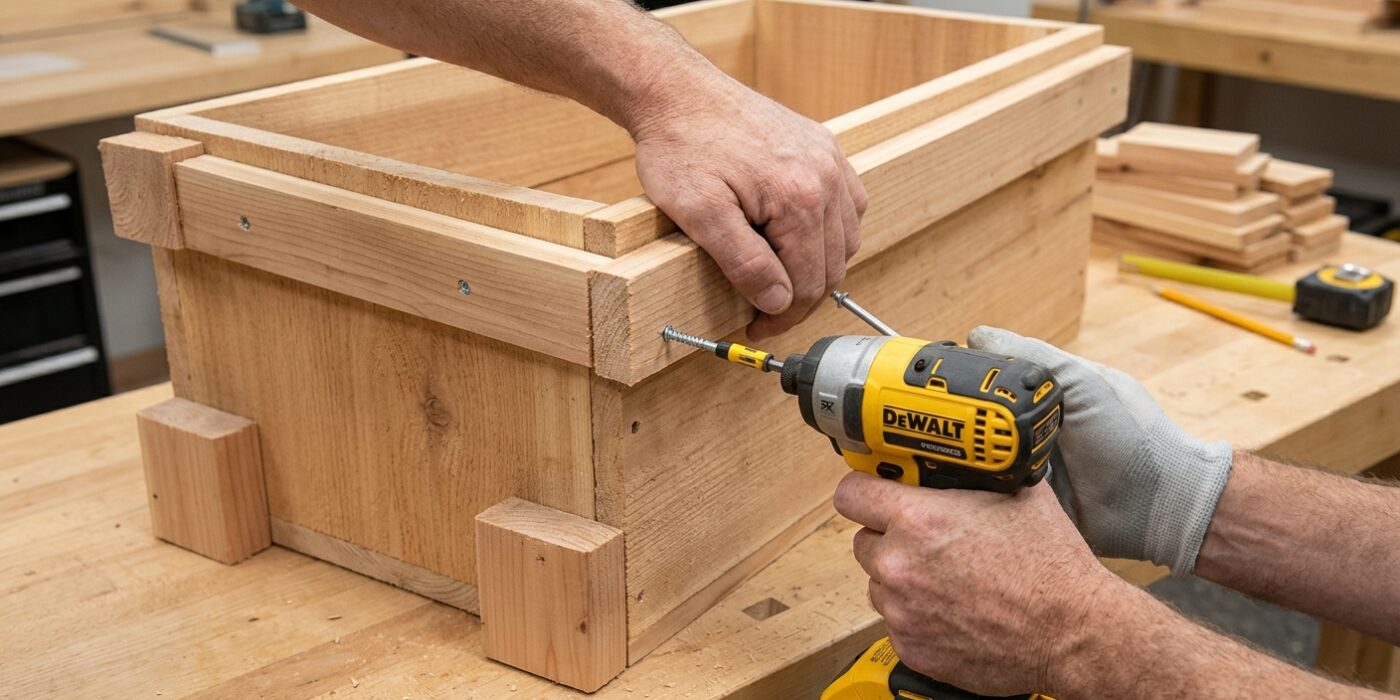
Now that your box is assembled, it is time to give it some breathing room. You will attach two 2×2 cedar cleats across the bottom of the planter, positioned at each end. Measure the width of your planter and cut two 2×2 pieces of cedar to that exact length. Place these cleats perpendicular to your bottom boards, flush against the inside edge of the end walls. Secure them using two 2-inch exterior-grade wood screws on each end, driving them through the bottom of the box and into the cleats.
The goal here is elevation. By lifting your planter 1.5 inches off the ground, you allow air to circulate freely beneath the base. This simple act prevents your wood from sitting in standing water or damp soil, which is the leading cause of rot. Without this gap, moisture gets trapped between your planter and the deck, significantly shortening the lifespan of your hard work.
Beginner Tip: Before driving your screws, use a drill bit slightly smaller than the shank of your screw to create pilot holes. This prevents the cedar from splitting or cracking when you drive the screws in near the end of the board.
Pro Tip: To keep the box perfectly level, place a scrap piece of plywood or a shim under each corner while you attach the cleats. This ensures that the weight of the soil will be evenly distributed across all four feet once you finish.
Step 8: Line and Fill
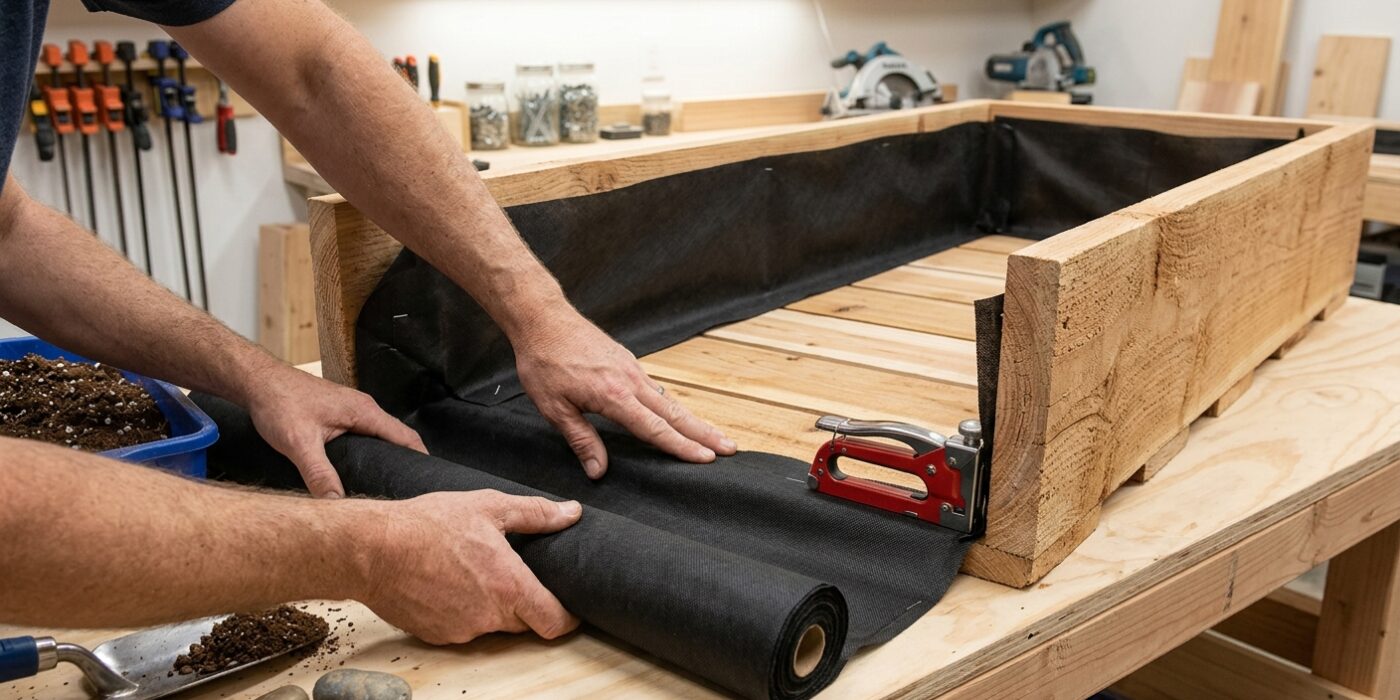
Now that your box is structurally sound, it is time to prepare it for planting. First, use a staple gun to attach landscape fabric to the inside faces of your box. Make sure the fabric covers the sides all the way up to the top board and wraps across the bottom boards. You want the fabric to be taut against the wood so it doesn’t sag. This fabric is essential because it keeps your expensive potting mix inside the planter while allowing excess water to drain out through the gaps in the bottom boards, which keeps your plant roots healthy and prevents rot.
When filling the box, use a high-quality potting mix blended with perlite. Avoid using garden soil or topsoil; these are far too heavy and will compact over time, essentially suffocating your plant’s roots in a confined space.
Beginner Tip: A common mistake is using too much fabric. If you overlap the fabric too much at the corners, it creates pockets where water can pool. Cut your fabric panels to fit each side individually rather than trying to wrap one giant sheet around the entire interior; this prevents wrinkles and ensures a cleaner fit.
Pro Tip: To make filling easier, place your empty planter exactly where you want it to live before adding any soil. Once filled and saturated with water, a large cedar box can weigh several hundred pounds, making it nearly impossible to move without damaging your deck or your back!