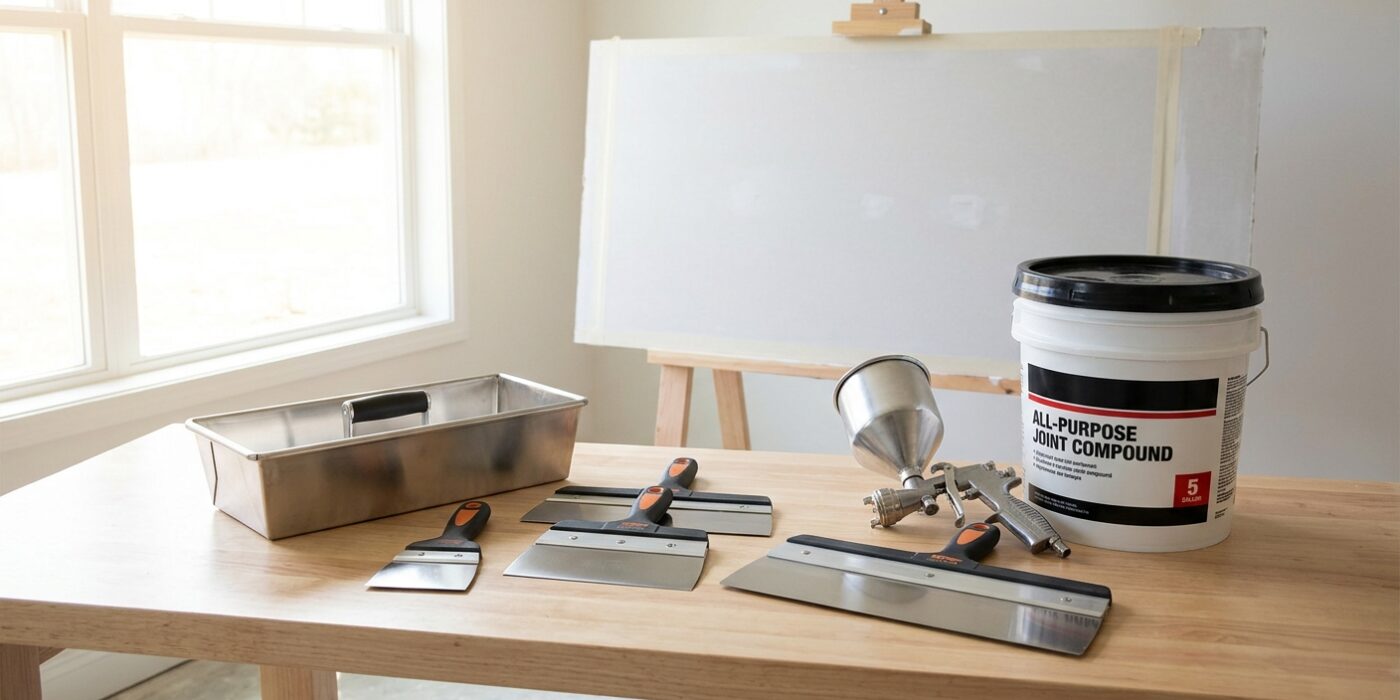
Project Shopping List
Wall texture transforms plain drywall into a finished surface that hides minor imperfections, reduces sound reflection, and provides a distinct visual character. The most common residential textures — orange peel, knockdown, and skip trowel — are achievable by a DIYer with the right tools and materials. Matching existing texture on a patch is more difficult than texturing a new wall, but both are covered here.
What You Need
- Joint compound (pre-mixed, thinned to appropriate consistency)
- Spray texture gun and compressor, or aerosol texture can
- Paint roller (3/8-inch nap for orange peel, heavy nap for stipple)
- Trowel or drywall knife for knockdown and skip trowel
- Plastic sheeting to protect floors and trim
- Primer before texturing
Three Common Textures
Orange Peel
Orange peel creates a fine, bumpy surface that resembles the skin of an orange — subtle and even. It is the most common texture in new residential construction since 1990 because it is fast to apply and consistent. Application method: spray hopper gun with air compressor and thinned compound, or aerosol orange peel texture can (for small areas). Adjust air pressure and material flow at the gun to change droplet size from fine (high pressure) to coarse (lower pressure).
Knockdown
Knockdown texture is applied by rolling thinned compound on the wall in random patterns, letting the peaks set up slightly (5-10 minutes), then “knocking them down” with a wide knife held flat at a shallow angle. The result is a mottled, irregular surface with flat islands separated by low channels. Knockdown is one of the most popular textures in custom residential construction because it is visually interesting but not as busy as heavy stucco or skip trowel.
Skip Trowel
Skip trowel (also called California knockdown or Venetian skip) is applied with a trowel in random, overlapping strokes that cover about 70% of the surface, leaving the remaining 30% untextured. The trowel pressure and angle create a random pattern of smooth and textured areas. Skip trowel is more labor-intensive than the other textures but produces the most artisan-looking result and is often requested for upscale renovations.
Step-by-Step: Knockdown Texture
Step 1: Prime the Surface
Apply drywall primer and let it dry completely. Never apply texture to unprepared drywall — the paper face absorbs water from the compound at different rates than primed surfaces, causing uneven texture absorption and a patchy appearance.
Step 2: Mix Compound
Thin pre-mixed joint compound with water to the consistency of thick pancake batter — it should drip off a stir stick in slow, even drops. Too thin and the compound does not hold peaks; too thick and it dries before you can knock it down.
Step 3: Apply Compound
Roll thinned compound on the wall using a 3/4-inch nap roller. The roller creates random stipple marks across the surface. Apply just enough to wet the entire surface evenly — the effect you want is from the knockdown, not from the roller texture itself. Work in sections small enough to knock down before the compound dries: typically 4-8 feet of wall height at a time.
Step 4: Knock Down
Wait 5-10 minutes for the compound to become slightly firm — it should not be shiny wet but still soft to the touch. Using a wide drywall knife (10-inch or wider) held nearly flat and angled just off the surface, glide across the peaks of the compound, flattening the tops while leaving the valleys untouched. Work in random, overlapping strokes of varying length and direction. The flattened peaks create the characteristic knockdown islands. Let dry completely (4-8 hours) before painting.
Matching Existing Texture for Repairs
Matching existing texture is one of the hardest drywall tasks. Test the texture type by holding a flashlight at a raking angle to the existing surface. Practice on cardboard or scrap drywall until your test matches the existing texture closely. For orange peel, an aerosol texture can with adjustable nozzle provides the most control for small repairs. For knockdown, apply and knock down as above, adjusting your waiting time to match the island size. Blend the repair by extending the textured area slightly past the patch and feathering.
Pro Tips
- Humidity dramatically affects texture dry time — on a humid day, wait longer before knocking down and the compound sets differently. Always test timing on a scrap piece first on the same day you are texturing.
- Protect floors with canvas drop cloths rather than plastic — compound on plastic creates a slippery hazard that is much harder to clean than compound on canvas.
Frequently Asked Questions
How do I remove existing wall texture?
Spray-applied texture (orange peel, popcorn) can be wet-scraped: mist the surface with water, let it absorb for a few minutes, then scrape with a wide drywall knife. Multiple passes are needed. Skim coat over the scraping marks afterward. Heavily applied trowel textures may require sanding or skim coating rather than scraping.
How long does texture need to dry before painting?
Most spray and roll-applied textures dry in 4-8 hours in normal conditions. Wait until the texture is completely dry and uniformly white (no gray wet spots) before priming and painting. Painting over partially dried texture causes it to soften, pull, and create streaks in the paint.